Trashed Wings
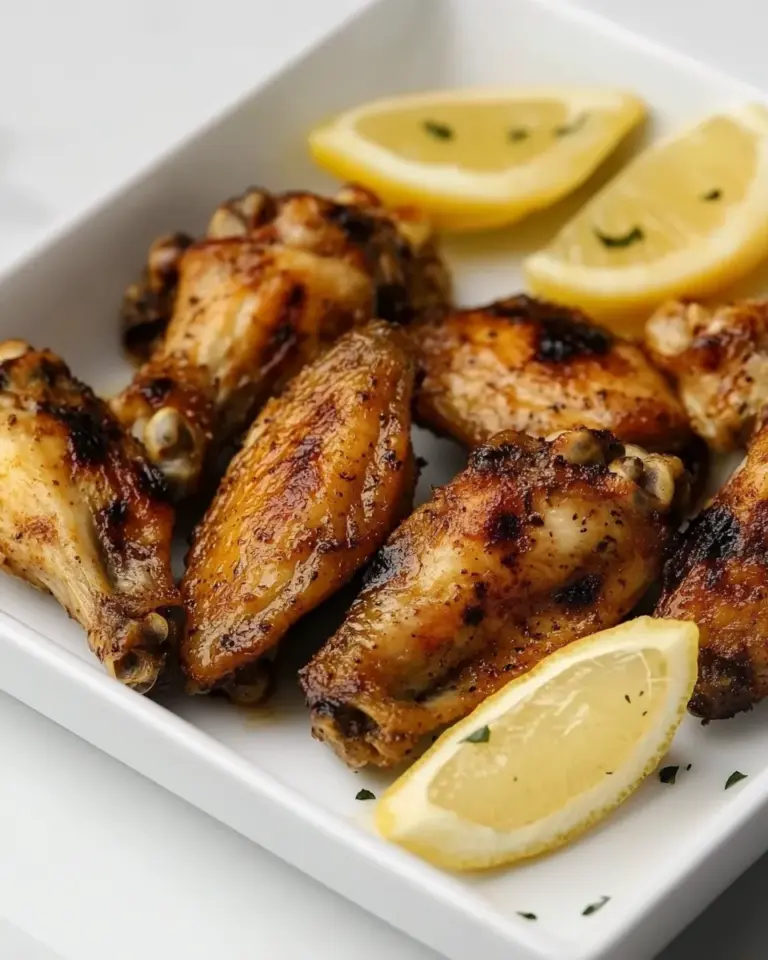
When it comes to game day snacks, few things can rival the crispy, saucy goodness of chicken wings. Today, we’re diving into a recipe that’s sure to become a staple in your collection: Trashed Wings. With their perfectly fried exterior and a flavorful Buffalo sauce coating, these wings are designed to impress your friends, family, or just yourself as you settle in for a night of binge-watching your favorite shows. Let’s get started on this delicious journey!
Why Cooks Rave About It
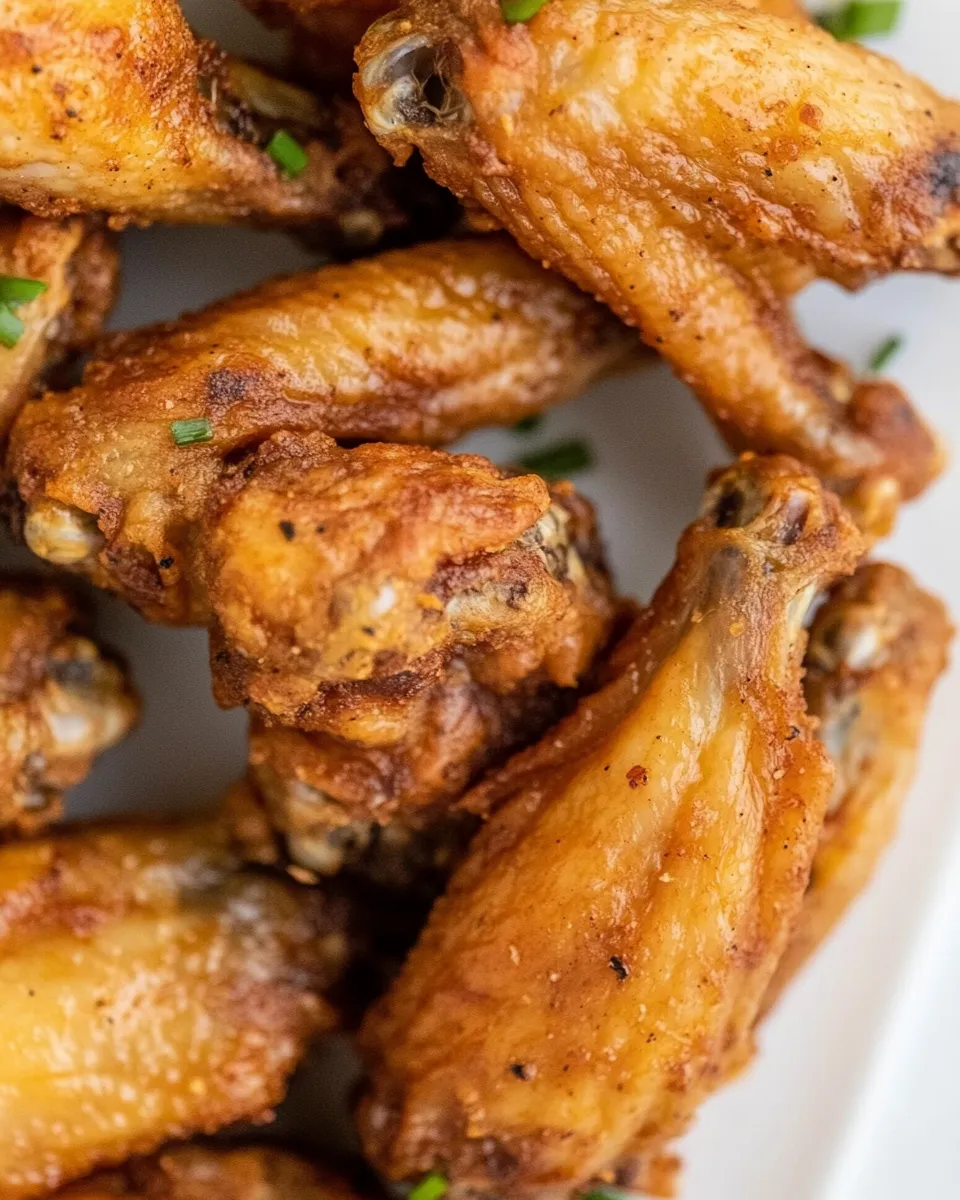
There’s something about the combination of crispy chicken skin and spicy Buffalo sauce that makes Trashed Wings a crowd-pleaser. Whether you’re hosting a party or enjoying a quiet evening in, these wings provide the perfect balance of flavor and texture. The process of frying the wings gives them that satisfying crunch, while the Buffalo sauce adds a zing that keeps you coming back for more. Plus, this recipe is simple enough for even novice cooks to master, making it a go-to for any occasion.
Ingredient Breakdown
To make Trashed Wings, you’ll need the following ingredients:
- Vegetable oil – for frying, provides a high smoke point for crispy wings.
- 4 pounds bone-in, skin-on chicken wings – flats and drums separated for variety in each bite.
- 1 cup Buffalo sauce – store-bought or homemade, this is the star of the show!
- Kosher salt and freshly ground black pepper – to taste, enhancing the overall flavor of the wings.
What’s in the Gear List
Before you start frying, make sure you have the following equipment:
- Large heavy-bottomed pot or deep fryer – essential for even frying and achieving that perfect crunch.
- Cooking thermometer – helps monitor the oil temperature for optimal frying.
- Slotted spoon or spider – for safely removing the wings from hot oil.
- Mixing bowl – to toss the wings in the sauce after frying.
- Paper towels – for draining excess oil from the wings.
Trashed Wings in Steps
Now that we have everything we need, let’s get into the step-by-step process of making Trashed Wings.
Step 1: Prepare the Chicken Wings
Start by separating the wings into flats and drums if they aren’t already. Pat them dry with paper towels to ensure a crispy finish. Season generously with Kosher salt and freshly ground black pepper.
Step 2: Heat the Oil
In your large pot or deep fryer, pour enough vegetable oil to submerge the wings completely, about 4-6 inches deep. Heat the oil to 375°F (190°C). Use your cooking thermometer to monitor the temperature closely.
Step 3: Fry the Wings
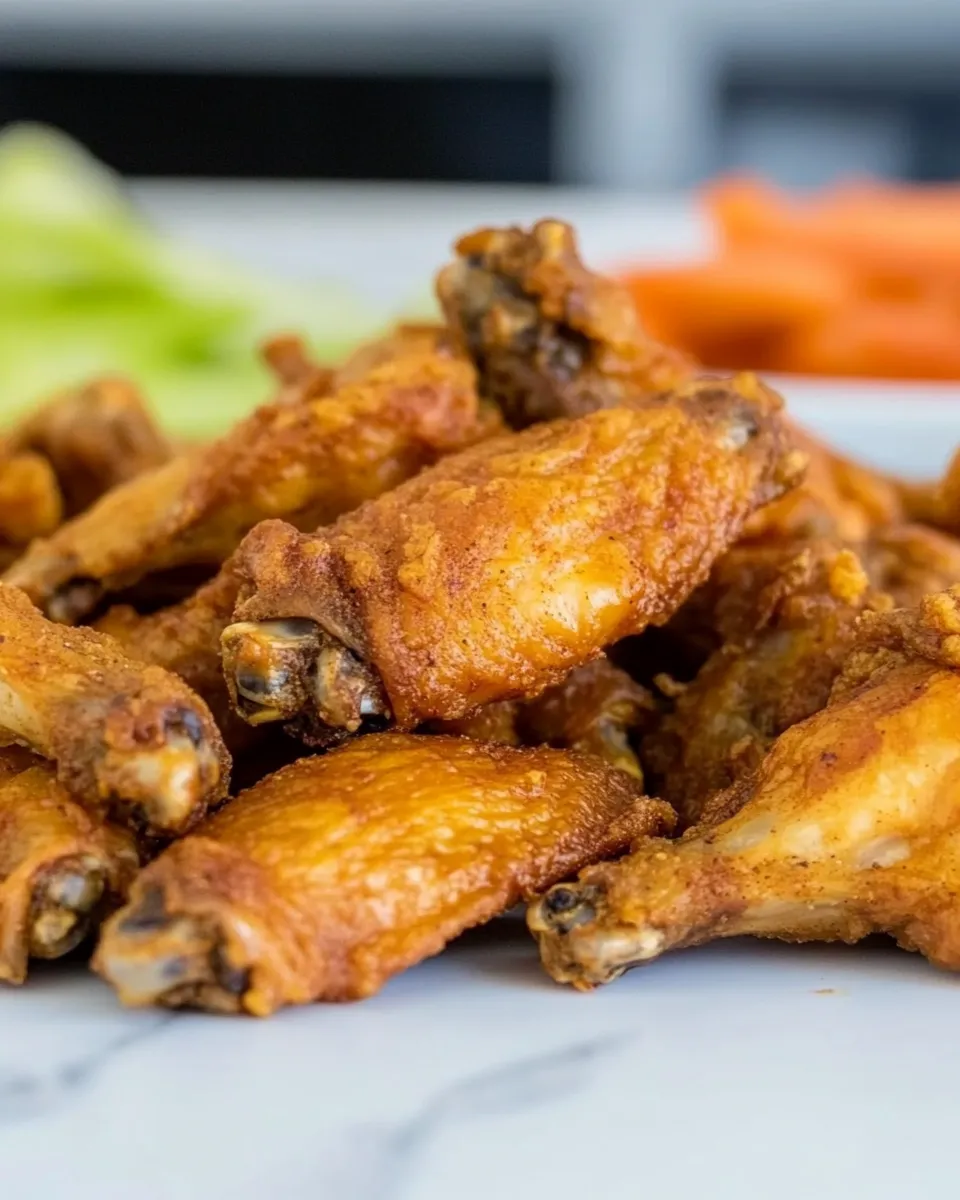
Once the oil is hot, carefully add the wings in batches. Avoid overcrowding the pot as this can lower the oil temperature and lead to soggy wings. Fry the wings for about 8-10 minutes or until they are golden brown and crispy.
Step 4: Drain the Wings
Using your slotted spoon or spider, carefully remove the wings from the oil and let them drain on paper towels. This will help absorb any excess oil, keeping them crisp.
Step 5: Toss with Buffalo Sauce
In a mixing bowl, combine the hot wings with Buffalo sauce. Toss until the wings are evenly coated. You can adjust the amount of sauce according to your heat preference.
Step 6: Serve and Enjoy!
Transfer the Trashed Wings to a serving platter. Serve them hot with your favorite dipping sauces, like ranch or blue cheese, and enjoy the deliciousness!
Healthier Substitutions

If you’re looking to lighten up your Trashed Wings, consider these substitutions:
- Air fryer – Use an air fryer instead of frying in oil for a lower-fat version.
- Homemade sauce – Make a lighter Buffalo sauce using hot sauce mixed with Greek yogurt instead of butter.
- Chicken breast wings – Opt for chicken breast pieces for a leaner alternative.
Avoid These Mistakes
To ensure your Trashed Wings turn out perfectly, avoid these common pitfalls:
- Not drying the wings – Moisture can prevent crisping, so make sure to pat them dry.
- Overcrowding the pot – Fry in batches to maintain oil temperature and ensure even cooking.
- Skipping seasoning – Don’t skimp on salt and pepper; it enhances the overall flavor.
- Ignoring oil temperature – Keep an eye on the temperature to prevent soggy wings.
Keep-It-Fresh Plan
If you have leftovers or want to prep ahead, here’s how to keep your Trashed Wings fresh:
Store any leftover wings in an airtight container in the refrigerator for up to 3 days. To reheat, place them in a preheated oven at 400°F (200°C) for about 10-15 minutes until heated through and crispy. You can also freeze the cooked wings for up to 2 months. Thaw in the refrigerator before reheating.
Trashed Wings FAQs
Can I use frozen wings for this recipe?
Yes, you can use frozen wings, but be sure to thaw them completely and pat them dry before frying for the best results.
What can I serve with Trashed Wings?
Some great side options include celery sticks, carrot sticks, and your choice of dipping sauces like ranch or blue cheese dressing.
How do I make homemade Buffalo sauce?
To make homemade Buffalo sauce, simply mix ½ cup of hot sauce (like Frank’s RedHot) with ½ cup of melted butter or a healthier alternative like Greek yogurt for a lighter version.
Can I bake the wings instead of frying them?
Absolutely! To bake, preheat your oven to 425°F (220°C), place the seasoned wings on a baking sheet lined with parchment paper, and bake for about 40-45 minutes, flipping halfway through for even crispiness.
Save & Share
If you love this recipe for Trashed Wings, be sure to save it and share it with your friends! Whether it’s for a game day, a family gathering, or just a cozy night at home, these wings are sure to be a hit.
So gather your ingredients, fire up that fryer, and get ready to indulge in the deliciousness that is Trashed Wings. Enjoy every bite, and don’t forget to share your creations on social media with your favorite food-loving friends!
Trashed Wings
Ingredients
Equipment
Method
- Step 1: Prepare the Chicken Wings - Start by separating the wings into flats and drums if they aren’t already. Pat them dry with paper towels to ensure a crispy finish. Season generously with Kosher salt and freshly ground black pepper.
- Step 2: Heat the Oil - In your large pot or deep fryer, pour enough vegetable oil to submerge the wings completely, about 4-6 inches deep. Heat the oil to 375°F (190°C). Use your cooking thermometer to monitor the temperature closely.
- Step 3: Fry the Wings - Once the oil is hot, carefully add the wings in batches. Avoid overcrowding the pot as this can lower the oil temperature and lead to soggy wings. Fry the wings for about 8-10 minutes or until they are golden brown and crispy.
- Step 4: Drain the Wings - Using your slotted spoon or spider, carefully remove the wings from the oil and let them drain on paper towels. This will help absorb any excess oil, keeping them crisp.
- Step 5: Toss with Buffalo Sauce - In a mixing bowl, combine the hot wings with Buffalo sauce. Toss until the wings are evenly coated. You can adjust the amount of sauce according to your heat preference.
- Step 6: Serve and Enjoy! - Transfer the Trashed Wings to a serving platter. Serve them hot with your favorite dipping sauces, like ranch or blue cheese, and enjoy the deliciousness!
Notes
- Store leftovers in an airtight container for up to 3 days.
- To reheat, place in a preheated oven at 400°F (200°C) for 10-15 minutes.
- Consider using an air fryer for a healthier option!