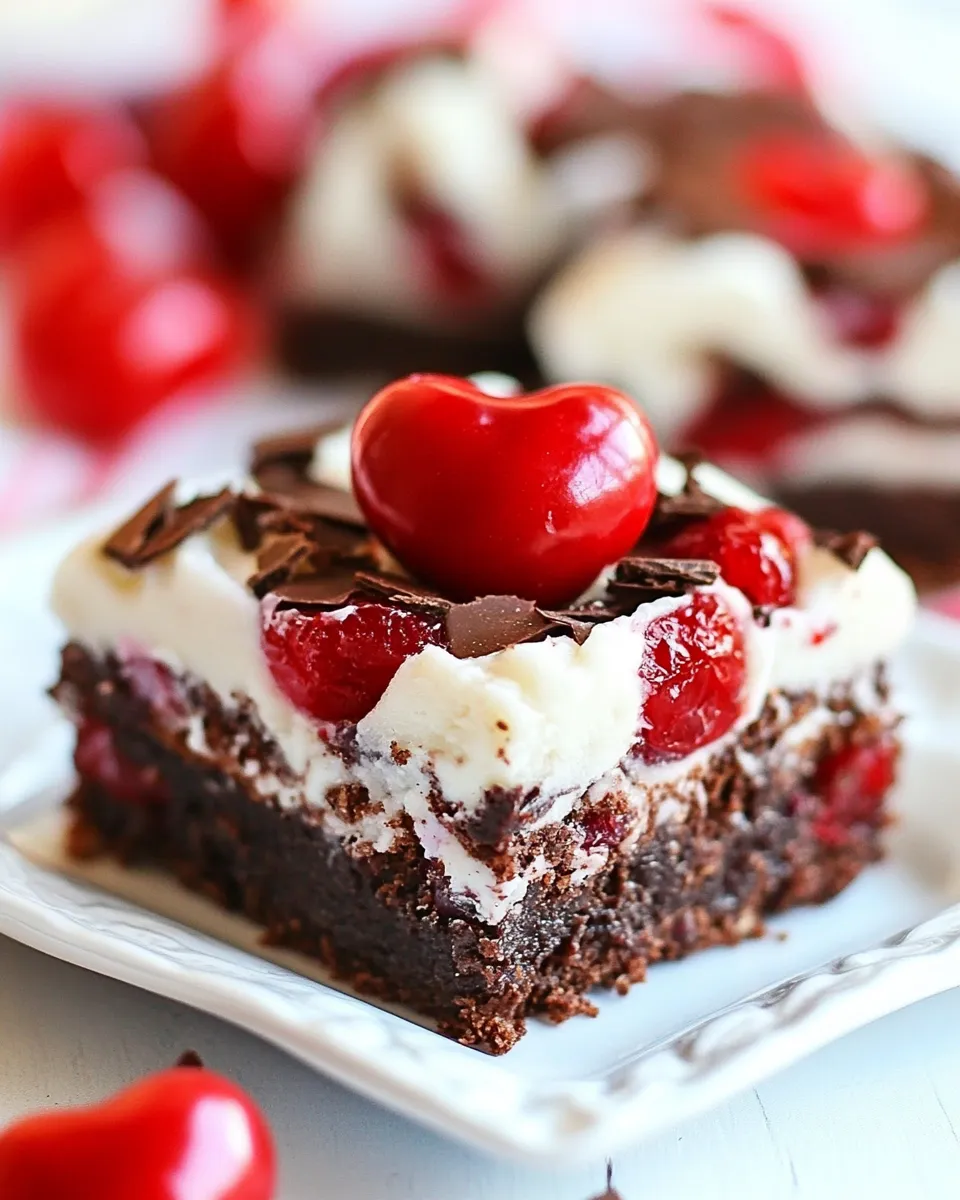
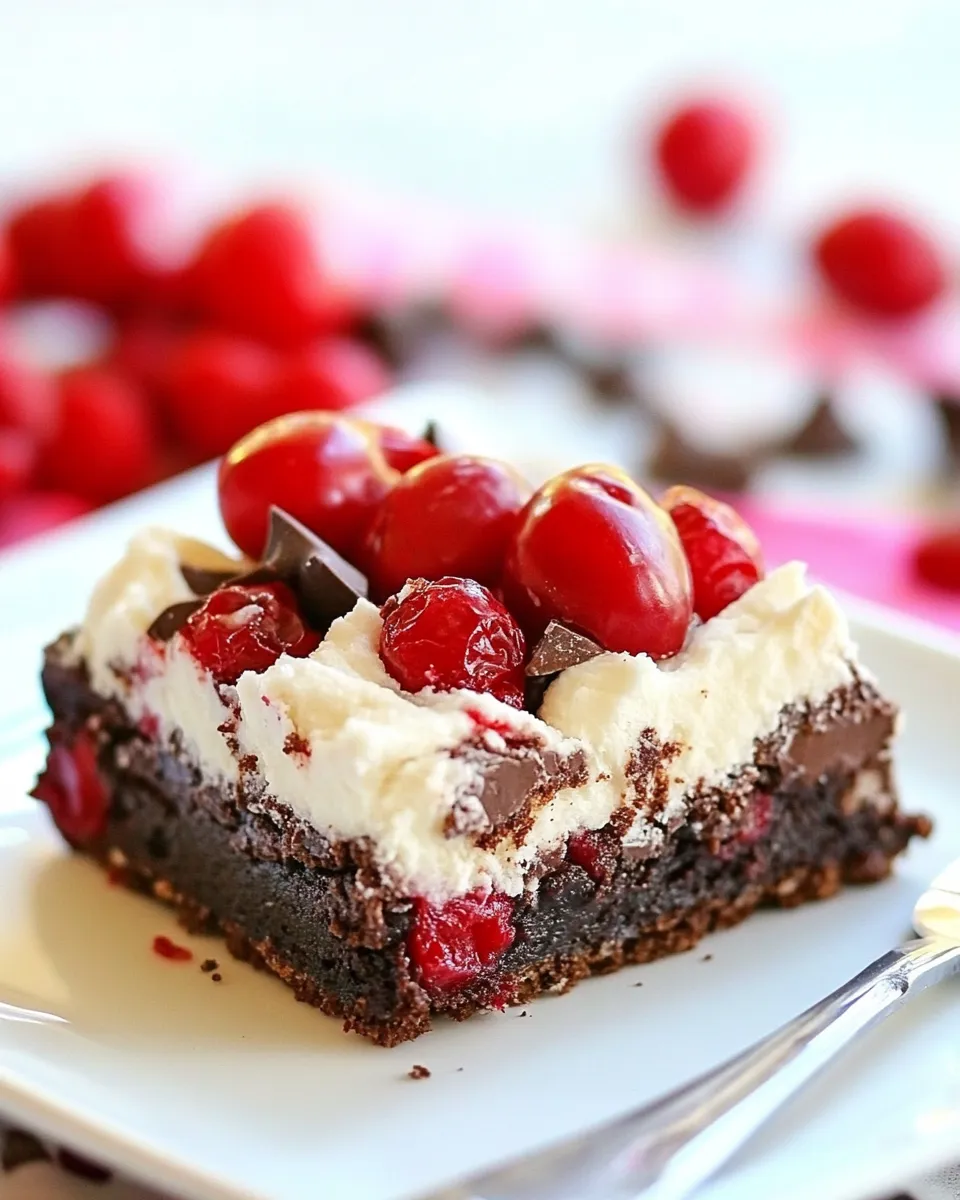
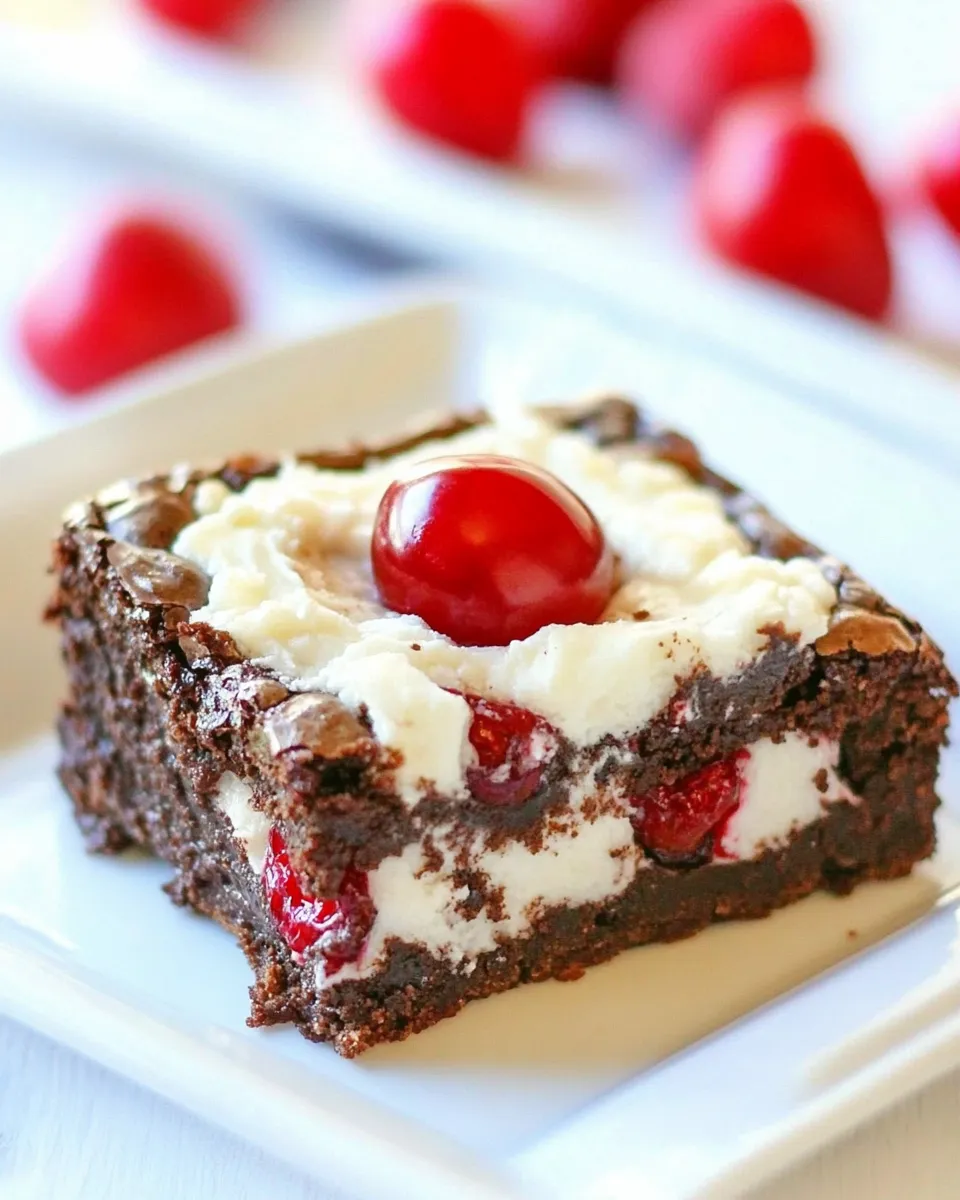
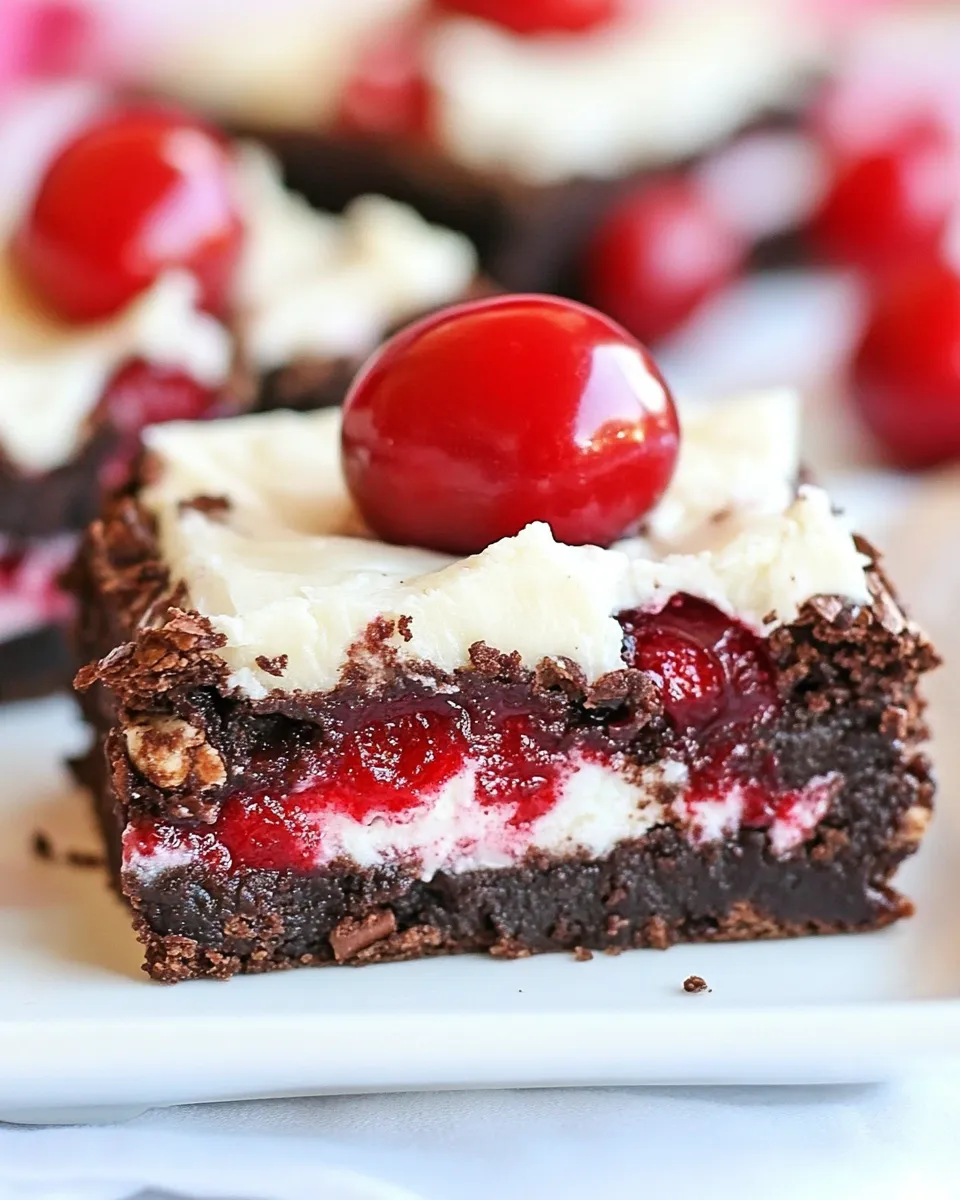
Cherry Brownie Dream Bars
If you’re looking for a dessert that perfectly balances rich chocolate, sweet cherries, and a hint of nostalgia, then look no further than these Cherry Brownie Dream Bars. These treats are not just a feast for the eyes but also for the taste buds. With a chewy brownie base, a fluffy marshmallow topping, and the delightful crunch of crispy rice cereal, every bite is a delightful surprise. Plus, they’re super easy to make with just a few ingredients. Let’s dive into this dreamy recipe!
Why This Recipe Is Reliable
This Cherry Brownie Dream Bars recipe combines the convenience of a premade brownie mix with the richness of chocolate, the sweetness of marshmallows and cherries, and the crunch of crispy rice cereal, ensuring a delicious outcome every time. The use of an 18-ounce brownie mix allows for a quick prep time without sacrificing flavor. The ingredients work harmoniously together, making these bars suitable for any occasion, whether it’s a family gathering, a potluck, or simply treating yourself.
The Essentials
To create these Cherry Brownie Dream Bars, you will need the following ingredients:
- 18 oz brownie mix: This forms the base of our bars, providing that rich chocolate flavor.
- 7 oz marshmallow creme: A fluffy topping that adds sweetness and a delightful texture.
- 10 oz maraschino cherries: These add a burst of fruity flavor and a pop of color.
- 12 oz semi-sweet chocolate chips: For an extra layer of chocolate goodness.
- 1 cup creamy peanut butter: This adds richness and a nutty flavor that complements the chocolate.
- 3 cups crispy rice cereal: For that perfect crunch in every bite.
- Reddi-wip: A fun and easy way to top your bars before serving.
- Additional maraschino cherries: For garnishing and an extra touch of sweetness.
Tools & Equipment Needed
Before you start baking, gather the following tools:
- Mixing bowl: For combining your ingredients.
- Spatula: To spread the brownie mix evenly and mix the other ingredients.
- Baking pan (9×13): The ideal size for these bars, ensuring they bake evenly.
- Measuring cups and spoons: Essential for accurate ingredient measurements.
- Microwave-safe bowl: For melting the peanut butter and chocolate chips.
Cherry Brownie Dream Bars in Steps
Step 1: Preheat Your Oven
Begin by preheating your oven to 350°F (175°C). This ensures that your brownie base will bake evenly.
Step 2: Prepare the Baking Pan
Grease your 9×13 baking pan lightly or line it with parchment paper for easy removal of the bars once they’re baked.
Step 3: Prepare the Brownie Mix
In a large mixing bowl, combine the 18-ounce brownie mix with the ingredients specified on the box (usually water, eggs, and oil). Stir until just combined.
Step 4: Bake the Brownie Base
Pour the brownie batter into the prepared baking pan and spread it evenly. Bake in the preheated oven for about 25-30 minutes, or until a toothpick inserted into the center comes out with a few moist crumbs.
Step 5: Make the Marshmallow Layer
While the brownies are baking, in a microwave-safe bowl, combine the creamy peanut butter and semi-sweet chocolate chips. Heat in the microwave in 30-second intervals, stirring in between until melted and smooth.
Step 6: Add the Marshmallow Creme
Once the brownie base is done baking, remove it from the oven and let it cool slightly. Spread the 7-ounce marshmallow creme over the warm brownie base evenly.
Step 7: Top with Cherries and Peanut Butter Mixture
Evenly distribute the 10 ounces of maraschino cherries over the marshmallow layer. Then, pour the melted peanut butter and chocolate chip mixture over the cherries, spreading it carefully.
Step 8: Add the Crispy Rice Cereal
In a separate bowl, combine the crispy rice cereal with any remaining melted chocolate mixture. Mix gently until the cereal is well-coated, then layer it over the peanut butter mixture.
Step 9: Final Bake
Return the pan to the oven and bake for an additional 10-15 minutes, or until the top is set and slightly golden.
Step 10: Cool and Slice
Allow the bars to cool completely in the pan. Once cooled, slice them into squares, and serve topped with a dollop of Reddi-wip and an extra maraschino cherry on top.
Quick Replacement Ideas
If you’re missing an ingredient or looking for alternatives, here are some quick replacements:
- Brownie mix: Use your favorite homemade brownie recipe if you prefer to bake from scratch.
- Marshmallow creme: You can substitute with homemade marshmallow fluff if you have the time.
- Maraschino cherries: Fresh cherries or dried cranberries can also work for a different flavor profile.
- Crispy rice cereal: Substitute with granola or chopped nuts for added texture.
Common Errors (and Fixes)
Here are some common mistakes and how to avoid them:
- Overbaking the brownies: Keep an eye on the brownies during baking. Start checking for doneness a few minutes before the recommended time.
- Marshmallow layer sliding off: Allow the brownies to cool slightly before adding the marshmallow layer to help it stick.
- Cereal mixture too hard: If your mixture appears too hard to spread, add a tablespoon of melted butter or additional peanut butter to soften it.
Storing, Freezing & Reheating
To ensure your Cherry Brownie Dream Bars stay fresh:
Store them in an airtight container at room temperature for up to 3 days. For longer storage, you can freeze them. Wrap each bar individually in plastic wrap and place them in a freezer-safe bag. They can be frozen for up to 3 months. When you’re ready to enjoy, simply thaw them in the refrigerator or at room temperature. Reheat in the microwave for a few seconds for a warm treat.
Common Qs About Cherry Brownie Dream Bars
Can I make these bars ahead of time?
Absolutely! These bars can be made a day in advance. Just store them properly, and they will taste great the next day.
Can I use a different type of nut butter?
Yes! If you’re not a fan of peanut butter, feel free to use almond butter, cashew butter, or even sunflower seed butter for a nut-free version.
What can I substitute for the marshmallow creme?
If you can’t find marshmallow creme, you can use whipped cream cheese or make your own marshmallow fluff by whipping egg whites and sugar until soft peaks form.
Are these bars suitable for a crowd?
Yes! This recipe makes a generous batch, perfect for parties, family gatherings, or bake sales. Just cut them into smaller squares for easy serving.
Let’s Eat
Now that you’ve made your Cherry Brownie Dream Bars, it’s time to indulge in a slice (or two!). These bars are perfect as a sweet treat after dinner, a fun addition to a picnic, or simply enjoyed with a cup of coffee on a lazy afternoon. The combination of chocolate, cherries, and that irresistible marshmallow layer will have everyone coming back for more.
In conclusion, these Cherry Brownie Dream Bars are a delightful treat that combines the best of chocolate and cherries into a fun and easy dessert. Whether you’re baking for a special occasion or just because, this recipe is sure to please. So gather your ingredients, roll up your sleeves, and get ready to enjoy a sweet slice of heaven!
Cherry Brownie Dream Bars
Ingredients
Equipment
Method
- Preheat your oven to 350°F (175°C).
- Grease your 9x13 baking pan lightly or line it with parchment paper.
- In a large mixing bowl, combine the brownie mix with the ingredients specified on the box (usually water, eggs, and oil). Stir until just combined.
- Pour the brownie batter into the prepared baking pan and spread it evenly. Bake for about 25-30 minutes, or until a toothpick comes out with a few moist crumbs.
- While the brownies are baking, in a microwave-safe bowl, combine the creamy peanut butter and semi-sweet chocolate chips. Heat in 30-second intervals, stirring until melted and smooth.
- Once the brownie base is done baking, remove it from the oven and let it cool slightly. Spread the marshmallow creme over the warm brownie base.
- Distribute the maraschino cherries over the marshmallow layer, then pour the melted peanut butter and chocolate mixture over the cherries.
- In a separate bowl, combine the crispy rice cereal with any remaining melted chocolate mixture. Layer it over the peanut butter mixture.
- Return the pan to the oven and bake for an additional 10-15 minutes, or until the top is set and slightly golden.
- Allow the bars to cool completely in the pan, then slice into squares and serve topped with Reddi-wip and an extra maraschino cherry.
Notes
- Store bars in an airtight container at room temperature for up to 3 days.
- Freeze individually wrapped bars for up to 3 months.
- Reheat in the microwave for a few seconds for a warm treat.