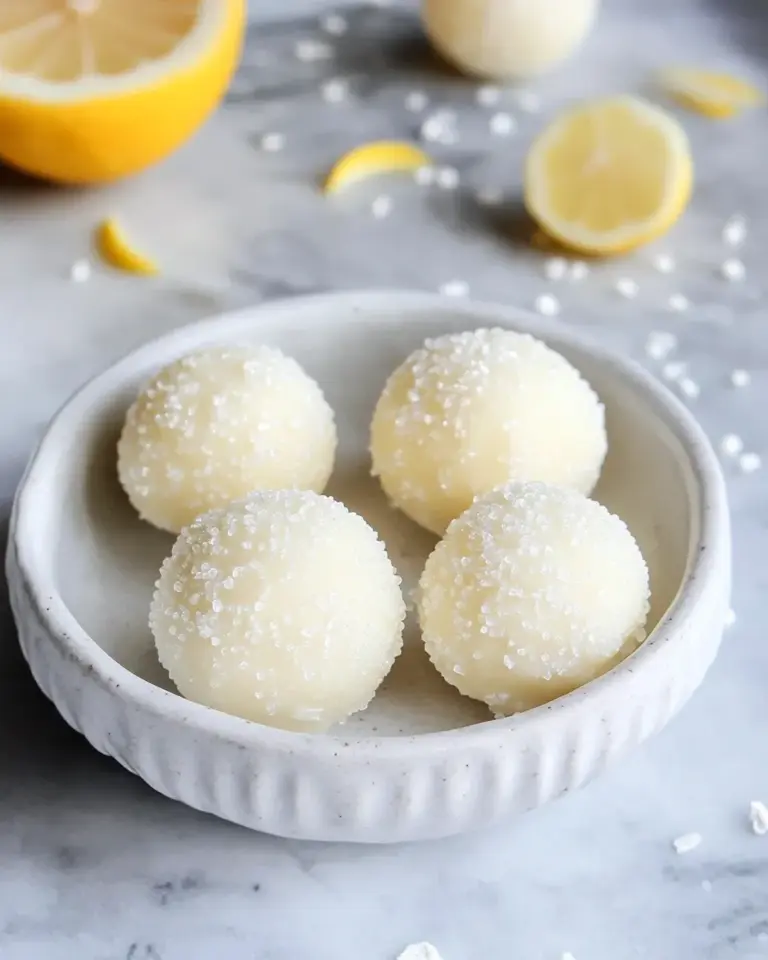
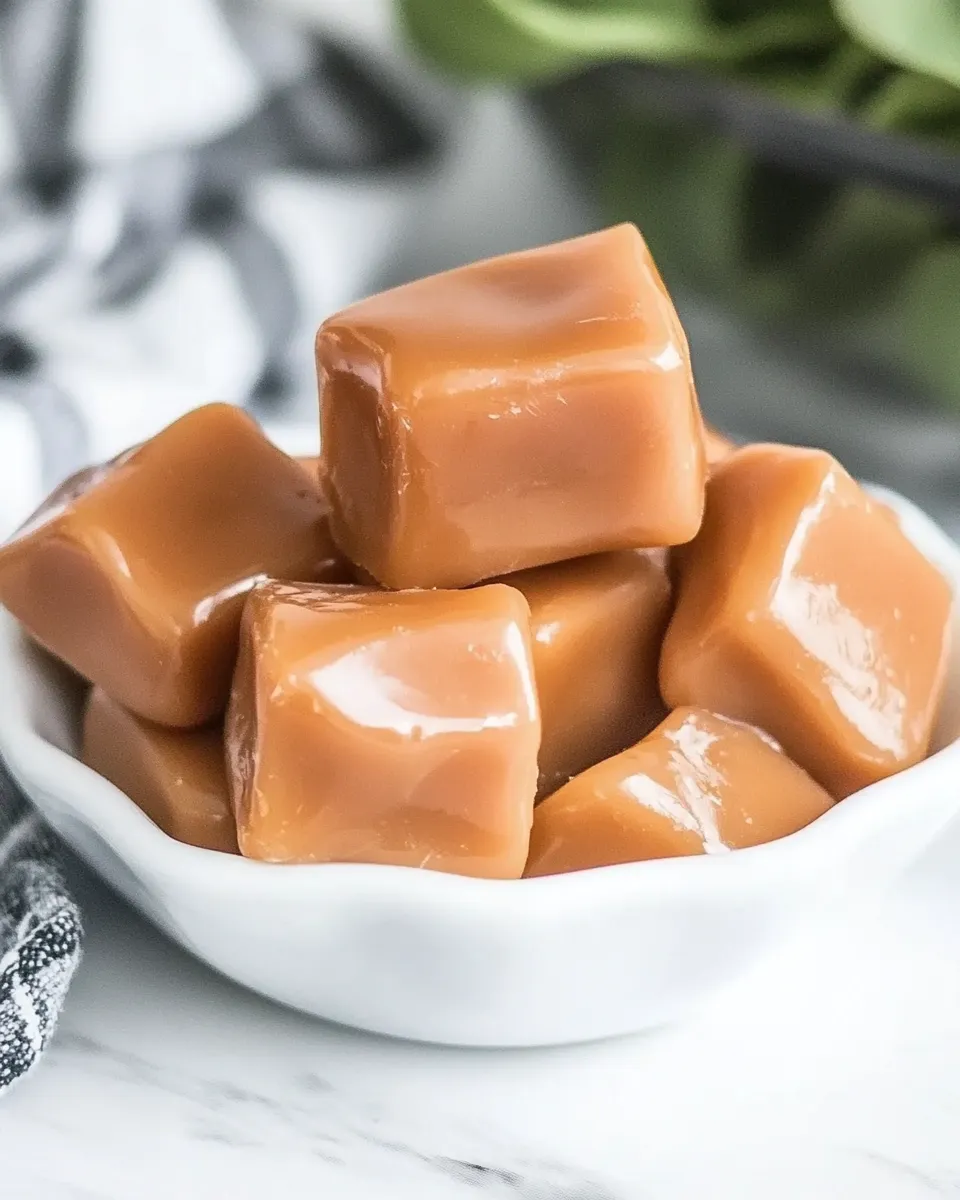
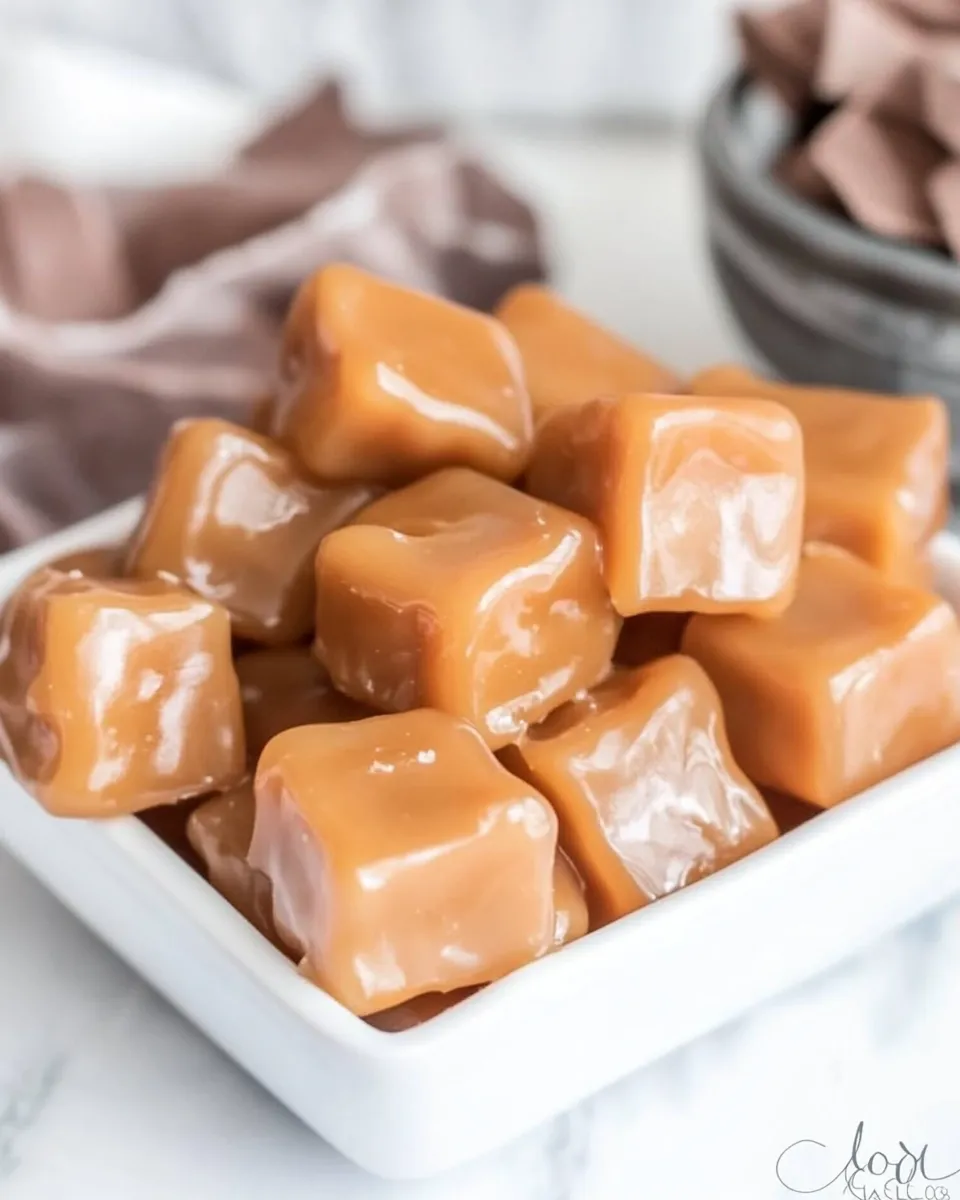
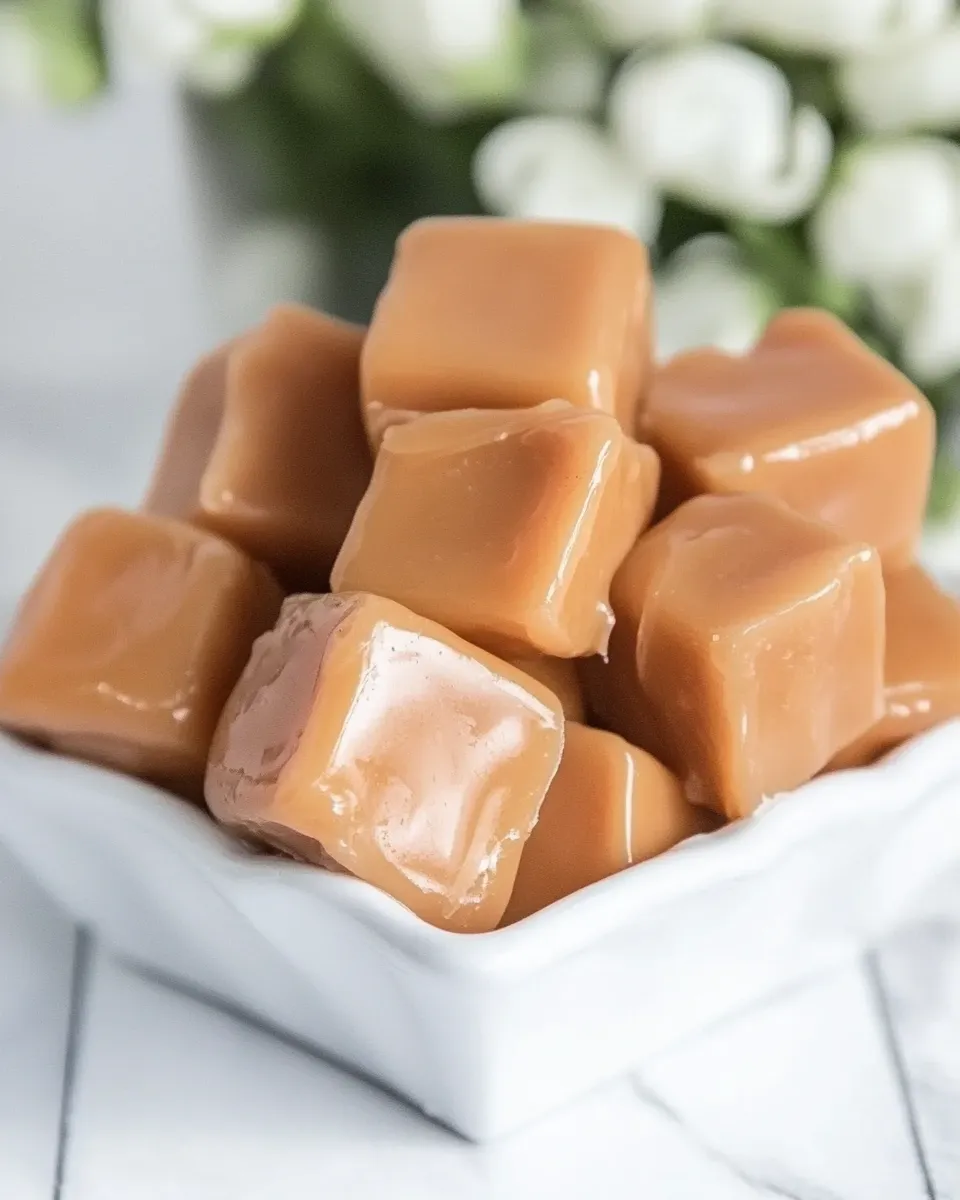
Soft Chewy Cream Caramels
There’s something undeniably magical about a piece of homemade caramel. The way it melts in your mouth, the rich buttery flavor, and the satisfying chewiness all come together to create a treat that feels like a warm hug. Today, we’re diving into a recipe for Soft Chewy Cream Caramels that is sure to impress your friends and family. With just a handful of ingredients and a little patience, you can create these delightful candies right in your own kitchen. Let’s get started on this sweet journey!
The Upside of Soft Chewy Cream Caramels
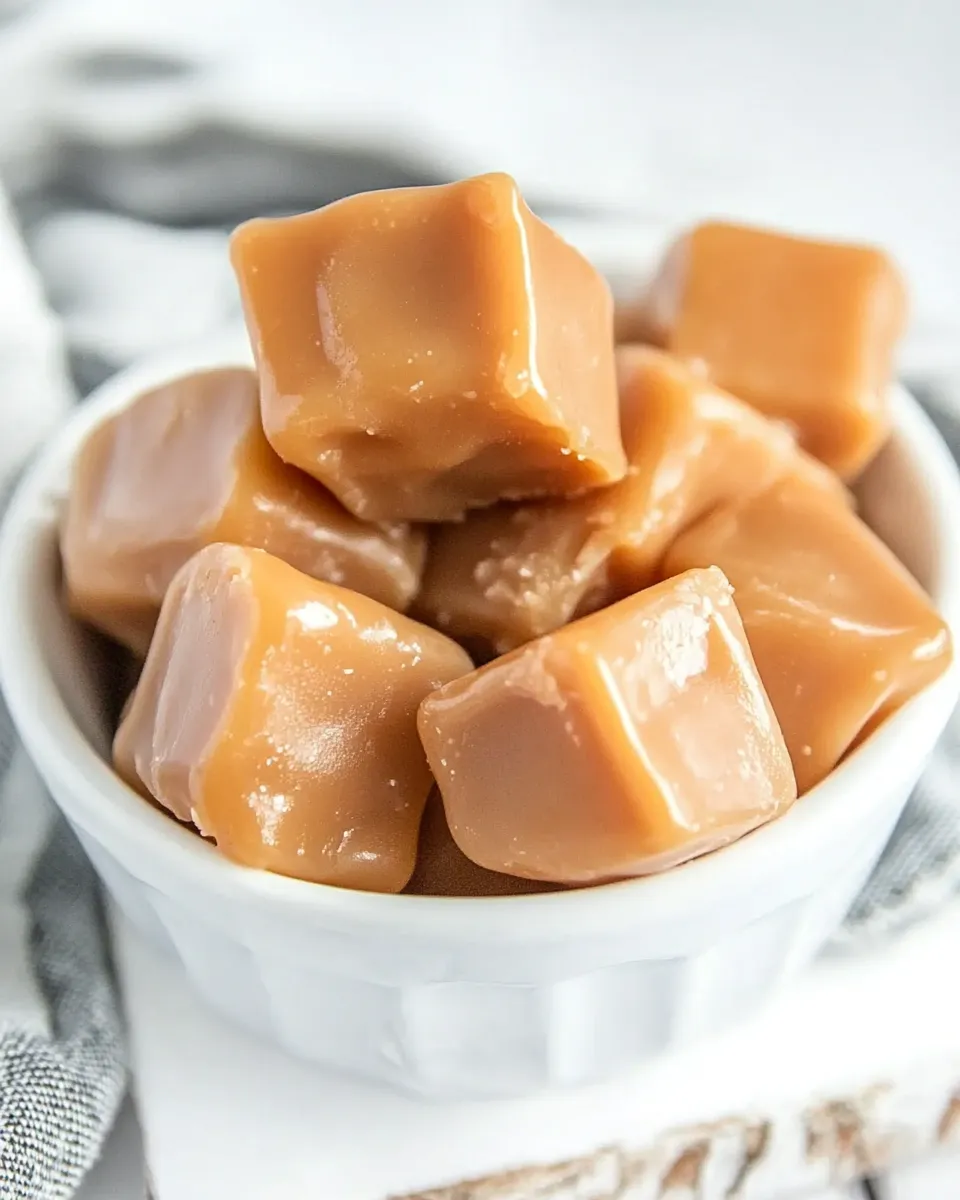
Soft Chewy Cream Caramels are not just any candy; they are a nostalgic treat that brings back memories of childhood and cozy gatherings. These caramels are perfect for sharing during the holidays, wrapping as gifts, or simply enjoying at home while curled up with a good book. The beauty of making your own caramels lies in the ability to customize flavors and add-ins, making each batch unique. Plus, there’s something incredibly satisfying about watching sugar transform into a silky, golden confection.
Shopping List
- Butter: 1 cup (2 sticks) – for a rich buttery flavor.
- Sugar: 2 cups – the main sweetener that creates the caramel.
- Heavy cream: 2 cups – adds creaminess and a luxurious texture.
- Light corn syrup: _ cup – prevents crystallization, ensuring a smooth caramel.
- Vanilla extract: 2 teaspoons – for a warm, aromatic finish.
Gear Up: What to Grab
- Heavy-bottomed saucepan: Essential for even heat distribution.
- Wooden spoon or silicone spatula: For stirring the mixture as it cooks.
- Candy thermometer: To ensure perfect caramelization (optional but recommended).
- 9×9 inch baking pan: Where you’ll pour the caramel to set.
- Parchment paper: To line the pan, making the caramels easy to remove.
Soft Chewy Cream Caramels Made Stepwise
Step 1: Prepare Your Pan
Start by lining a 9×9 inch baking pan with parchment paper. Leave some overhang to make removing the caramels easier later on. Lightly grease the parchment paper to prevent sticking.
Step 2: Combine Ingredients
In your heavy-bottomed saucepan, combine the butter, sugar, heavy cream, and light corn syrup. Stir gently to combine the ingredients.
Step 3: Heat the Mixture
Place the saucepan over medium heat. Stir the mixture continuously until the sugar dissolves completely and begins to boil.
Step 4: Cook to the Right Temperature
If using a candy thermometer, attach it to the side of the pan. Allow the caramel to boil without stirring until it reaches 240°F (soft ball stage). This step is crucial for achieving that perfect chewy texture.
Step 5: Add Vanilla
Once the caramel reaches the desired temperature, remove it from the heat. Stir in the vanilla extract until well combined.
Step 6: Pour and Set
Carefully pour the hot caramel into the prepared baking pan, using a spatula to scrape every last bit from the pan. Let it cool at room temperature for several hours or until completely set.
Step 7: Cut and Enjoy
Once set, lift the caramel out of the pan using the parchment overhang. Use a sharp knife to cut the caramels into squares or rectangles. Wrap each piece in wax paper for easy sharing and storage.
Texture-Safe Substitutions
- Butter: You can use a plant-based butter for a dairy-free version.
- Heavy cream: Substitute with coconut cream for a coconut flavor.
- Sugar: Use coconut sugar for a lower glycemic index option.
- Light corn syrup: Replace with maple syrup or agave syrup if desired.
Learn from These Mistakes
Making caramel can be tricky, but here are some common pitfalls to avoid:
- Don’t skip the thermometer: Cooking sugar without a thermometer can lead to overcooked or undercooked caramel.
- Watch the temperature: If the caramel starts to smoke or smells burnt, it’s likely too hot.
- Be patient: Stirring too vigorously can introduce air and create bubbles that can make the texture grainy.
Make Ahead Like a Pro
Homemade Soft Chewy Cream Caramels can be made in advance and stored for later enjoyment. Here are some tips:
- Store wrapped caramels in an airtight container at room temperature for up to two weeks.
- For longer storage, keep them in the refrigerator for up to a month.
- These caramels also freeze well; just ensure they are tightly wrapped to prevent freezer burn.
Questions People Ask
Can I add flavorings to my caramels?
Absolutely! You can infuse your caramel with flavors like sea salt, espresso, or even spices like cinnamon. Just add these ingredients when you stir in the vanilla.
What happens if my caramel crystallizes?
If you notice sugar crystals forming, add a bit of water and gently heat it to dissolve the crystals. For future batches, ensure you don’t stir the mixture once it starts boiling.
How do I know when my caramel is done?
The ideal temperature for soft chewy caramels is 240°F. If you don’t have a thermometer, you can test the caramel by dropping a small amount into cold water; it should form a soft ball that you can squish between your fingers.
Can I use a microwave to make caramels?
While it’s possible, making caramels on the stovetop gives you more control over the temperature and texture. The microwave can easily lead to uneven cooking.
Bring It to the Table
These Soft Chewy Cream Caramels are a delightful addition to any dessert spread or holiday gathering. Whether you’re enjoying them yourself or gifting them to friends and family, these caramels are sure to leave a lasting impression. They embody the warmth of homemade treats and the joy of sharing something special.
With a little practice and patience, you’ll soon be a caramel-making pro. So, gather your ingredients, follow the steps, and prepare to be amazed at the deliciousness you can create in your own kitchen. Enjoy the process as much as the sweet rewards, and remember: the best moments are often found in the kitchen, surrounded by those you love. Happy cooking!
Soft Chewy Cream Caramels
Ingredients
Equipment
Method
- Step 1: Prepare Your Pan - Line a 9x9 inch baking pan with parchment paper. Leave some overhang to make removing the caramels easier later on. Lightly grease the parchment paper to prevent sticking.
- Step 2: Combine Ingredients - In your heavy-bottomed saucepan, combine the butter, sugar, heavy cream, and light corn syrup. Stir gently to combine the ingredients.
- Step 3: Heat the Mixture - Place the saucepan over medium heat. Stir the mixture continuously until the sugar dissolves completely and begins to boil.
- Step 4: Cook to the Right Temperature - If using a candy thermometer, attach it to the side of the pan. Allow the caramel to boil without stirring until it reaches 240°F (soft ball stage).
- Step 5: Add Vanilla - Once the caramel reaches the desired temperature, remove it from the heat. Stir in the vanilla extract until well combined.
- Step 6: Pour and Set - Carefully pour the hot caramel into the prepared baking pan, using a spatula to scrape every last bit from the pan. Let it cool at room temperature for several hours or until completely set.
- Step 7: Cut and Enjoy - Once set, lift the caramel out of the pan using the parchment overhang. Use a sharp knife to cut the caramels into squares or rectangles. Wrap each piece in wax paper for easy sharing and storage.
Notes
- Store wrapped caramels in an airtight container at room temperature for up to two weeks.
- For longer storage, keep them in the refrigerator for up to a month.
- These caramels also freeze well; just ensure they are tightly wrapped to prevent freezer burn.