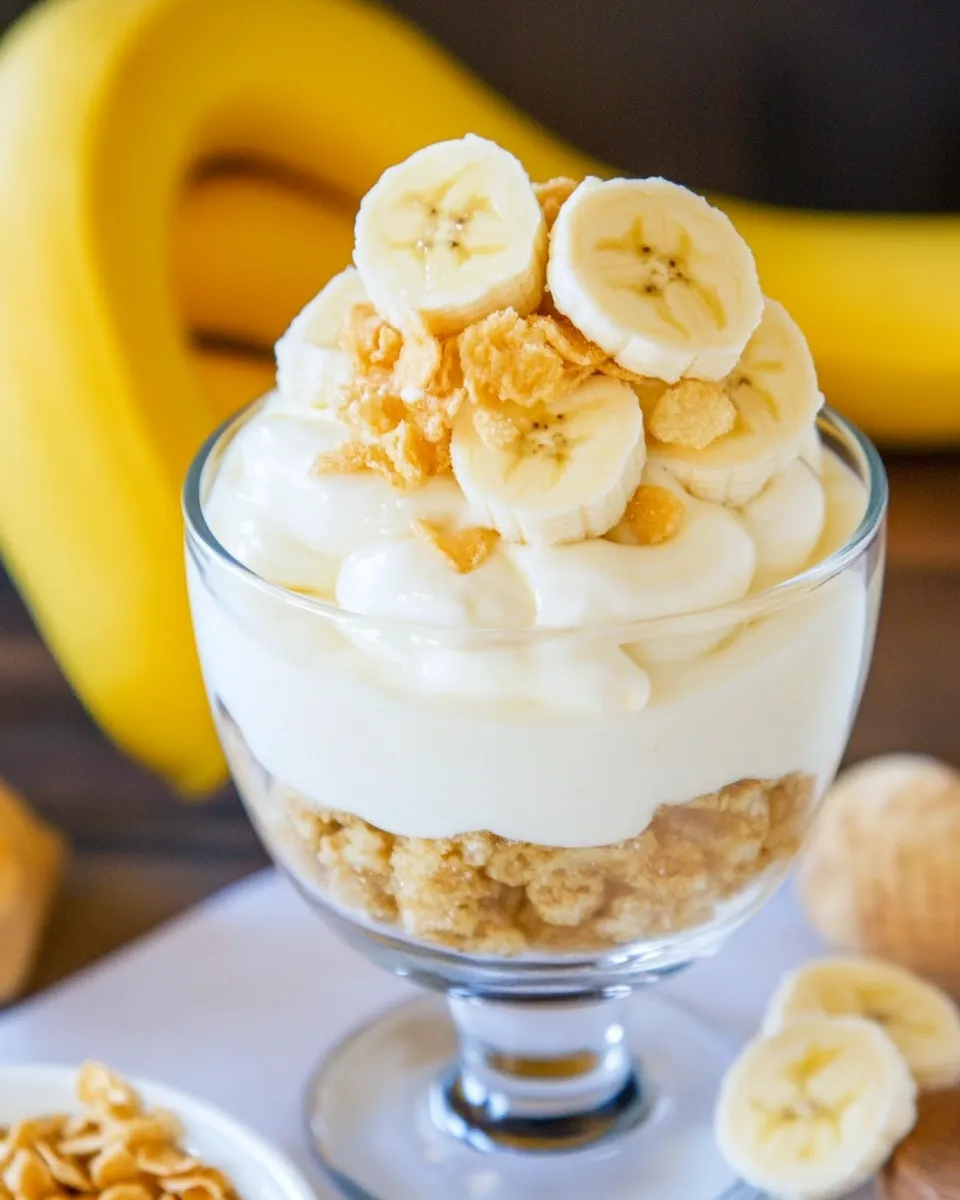
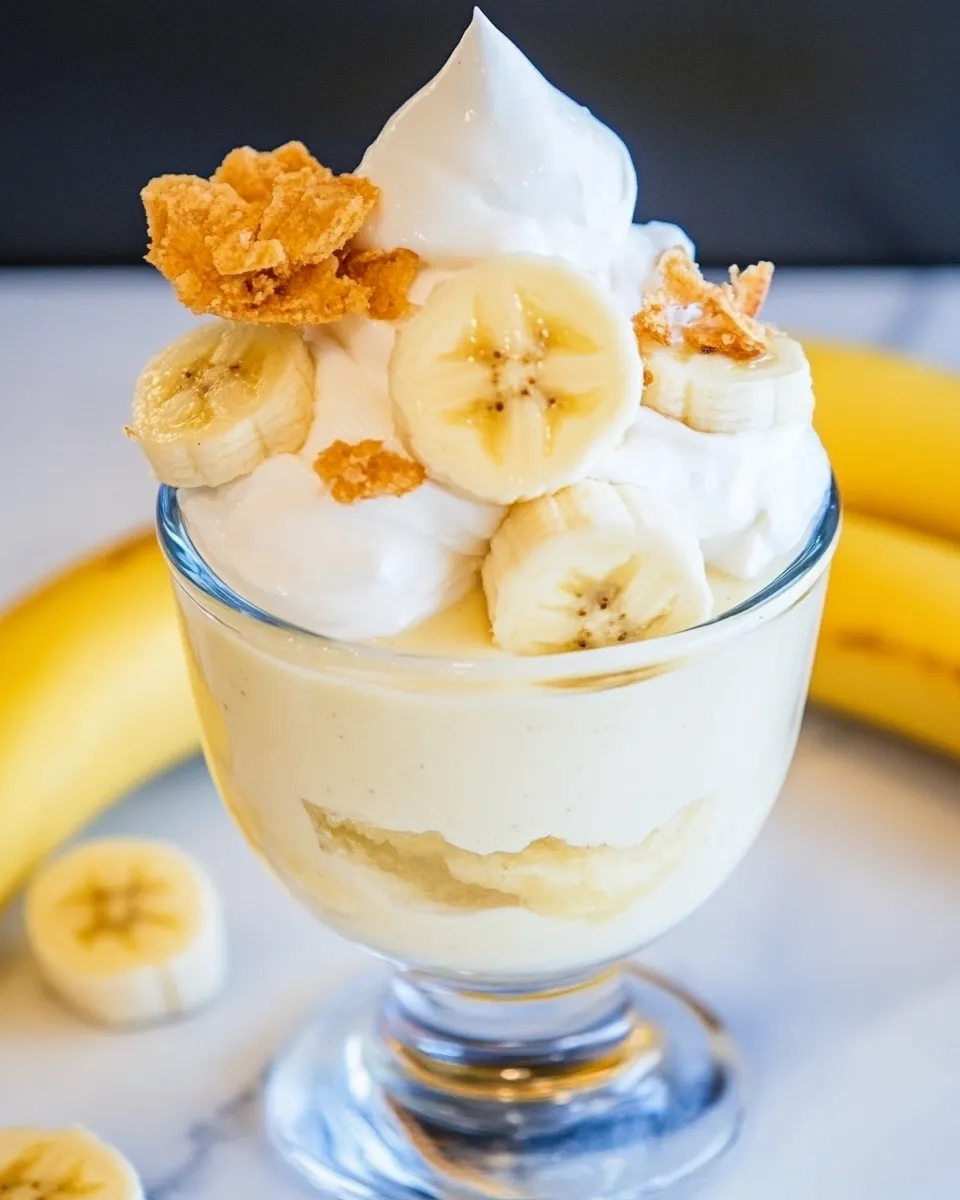
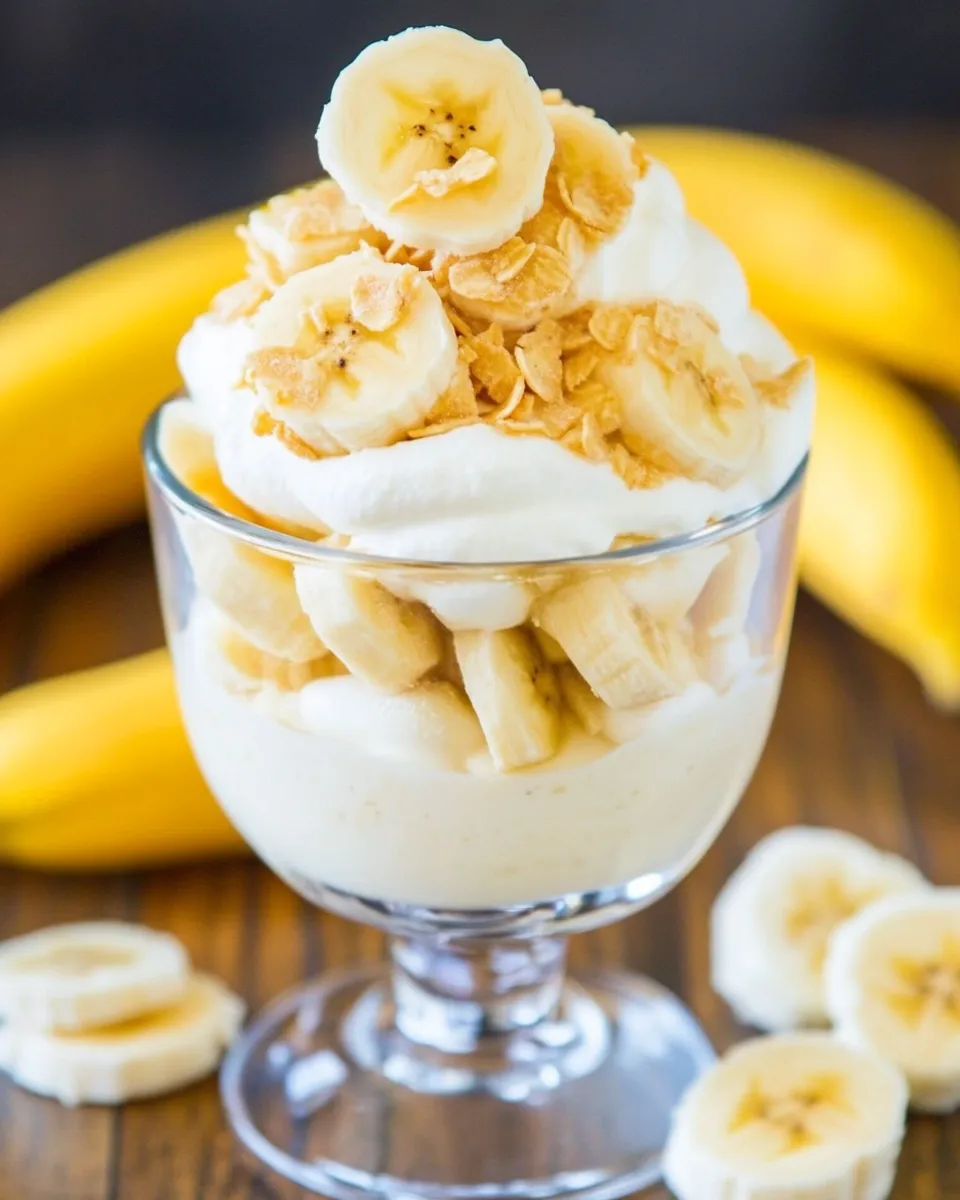
Homemade Banana Pudding Recipe
There’s something incredibly comforting about a bowl of homemade banana pudding. It’s one of those classic desserts that brings back fond memories of family gatherings and warm summer days. This Homemade Banana Pudding Recipe is creamy, dreamy, and packed with flavor. With layers of luscious vanilla custard, sweet bananas, and delightful Nilla Wafers, this treat is sure to impress any crowd!
Why It’s Crowd-Pleasing
This dessert checks all the boxes for a crowd-pleaser. The combination of textures from the creamy pudding, soft bananas, and crunchy wafers makes every bite a delight. The sweetness is perfectly balanced, and the flavors meld together beautifully, creating a nostalgic dish that appeals to both young and old. Whether you’re serving it at a family reunion, holiday gathering, or just a cozy night in, this homemade banana pudding is bound to be a hit!
Shopping List
- 2 cups half-and-half
- 1 cup whole milk
- 3/4 cup sugar, divided
- 1/4 teaspoon salt
- 4 egg yolks
- 3 tablespoons cornstarch
- 2 tablespoons butter, cut into 4 pieces
- 1 teaspoon vanilla extract
- 1 box Nilla Wafers (you will use almost the whole box)
- 3 medium bananas (cut into slices just before serving)
- 1 cup heavy cream (whipped to soft peaks with 1 tablespoon granulated sugar)
Cook’s Kit
- Medium saucepan – for cooking the pudding.
- Whisk – essential for mixing ingredients smoothly.
- Mixing bowls – for combining the egg yolks and cornstarch.
- Spatula – to gently fold in the whipped cream.
- Serving dish or individual cups – for presenting your beautiful pudding.
How to Prepare Homemade Banana Pudding Recipe
Step 1: Combine the Dairy
In a medium saucepan, combine the 2 cups of half-and-half and 1 cup of whole milk. Heat the mixture over medium heat until it starts to steam, but do not let it boil.
Step 2: Whisk Together Egg Yolks
In a mixing bowl, whisk together the 4 egg yolks, 3 tablespoons of cornstarch, and 1/2 cup of the sugar until fully combined and smooth.
Step 3: Temper the Egg Mixture
Slowly add a few tablespoons of the hot milk mixture into the egg yolk mixture while whisking continuously. This step is crucial to avoid scrambling the eggs. Once tempered, gradually whisk the egg mixture back into the saucepan with the remaining hot milk.
Step 4: Cook the Pudding
Continue to cook the mixture over medium heat, stirring constantly, until it thickens and begins to bubble. This should take about 5-7 minutes. Be patient; this is where the magic happens!
Step 5: Add Butter and Flavor
Once thickened, remove the saucepan from heat. Stir in the 2 tablespoons of butter, 1/4 teaspoon of salt, and 1 teaspoon of vanilla extract until fully melted and incorporated.
Step 6: Layer the Pudding
In a serving dish, layer the Nilla Wafers, then add a layer of the warm pudding, followed by a layer of banana slices. Repeat the layers, finishing with a layer of pudding on top.
Step 7: Whip the Cream
In a separate bowl, whip the heavy cream with 1 tablespoon of granulated sugar until soft peaks form. Gently spread this whipped cream over the top layer of pudding.
Step 8: Chill and Serve
Cover the dish with plastic wrap and refrigerate for at least 4 hours, or overnight if possible. This allows the flavors to meld beautifully. When ready to serve, top with additional banana slices and Nilla Wafers for a lovely presentation.
Holiday-Friendly Variations
- Add a layer of chocolate pudding for a chocolate banana pudding variation.
- Incorporate strawberries or other fruits for a mixed fruit version.
- Use coconut cream instead of heavy cream for a tropical twist.
- Sprinkle toasted coconut flakes on top for added texture and flavor.
Problems & Prevention
- Problem: Pudding is lumpy. Prevention: Whisk continuously while cooking and make sure to temper the egg mixture properly.
- Problem: Bananas turn brown. Prevention: Slice bananas just before layering them in the pudding.
- Problem: Pudding doesn’t thicken. Prevention: Ensure you cook it long enough and stir constantly to help it reach the right consistency.
How to Store & Reheat
Your Homemade Banana Pudding Recipe can be stored in the refrigerator for up to 3 days. To keep the bananas from browning, it’s best to add them just before serving. If you have leftovers, simply cover the dish with plastic wrap. Reheating isn’t necessary, as this pudding is best served chilled.
Homemade Banana Pudding Recipe FAQs
Can I use a different type of milk?
Absolutely! You can use almond milk or oat milk as a dairy alternative. Just keep in mind that the texture may vary slightly.
How do I make this recipe gluten-free?
To make this recipe gluten-free, simply replace Nilla Wafers with gluten-free vanilla wafers or cookies that are gluten-free.
Can I add a different flavor to the pudding?
Yes! Feel free to experiment by adding a bit of almond extract or even a splash of rum for a unique flavor twist.
What can I do with leftover pudding?
Leftover pudding can be served as a snack or dessert on its own, or you can layer it with granola for a delicious parfait!
Ready, Set, Cook
Now that you have all the steps and tips to create this delightful Homemade Banana Pudding Recipe, it’s time to gather your ingredients and get started. This dessert is not just a treat; it’s a way to create lasting memories with your loved ones. Enjoy the process, and watch as this classic favorite comes to life in your kitchen!

Homemade Banana Pudding Recipe
Ingredients
Equipment
Method
- In a medium saucepan, combine the 2 cups of half-and-half and 1 cup of whole milk. Heat the mixture over medium heat until it starts to steam, but do not let it boil.
- In a mixing bowl, whisk together the 4 egg yolks, 3 tablespoons of cornstarch, and 1/2 cup of the sugar until fully combined and smooth.
- Slowly add a few tablespoons of the hot milk mixture into the egg yolk mixture while whisking continuously. This step is crucial to avoid scrambling the eggs. Once tempered, gradually whisk the egg mixture back into the saucepan with the remaining hot milk.
- Continue to cook the mixture over medium heat, stirring constantly, until it thickens and begins to bubble. This should take about 5-7 minutes. Be patient; this is where the magic happens!
- Once thickened, remove the saucepan from heat. Stir in the 2 tablespoons of butter, 1/4 teaspoon of salt, and 1 teaspoon of vanilla extract until fully melted and incorporated.
- In a serving dish, layer the Nilla Wafers, then add a layer of the warm pudding, followed by a layer of banana slices. Repeat the layers, finishing with a layer of pudding on top.
- In a separate bowl, whip the heavy cream with 1 tablespoon of granulated sugar until soft peaks form. Gently spread this whipped cream over the top layer of pudding.
- Cover the dish with plastic wrap and refrigerate for at least 4 hours, or overnight if possible. This allows the flavors to meld beautifully. When ready to serve, top with additional banana slices and Nilla Wafers for a lovely presentation.
Notes
- For a chocolate twist, add a layer of chocolate pudding.
- Keep bananas from browning by slicing them just before serving.
- Store leftovers in the refrigerator for up to 3 days.