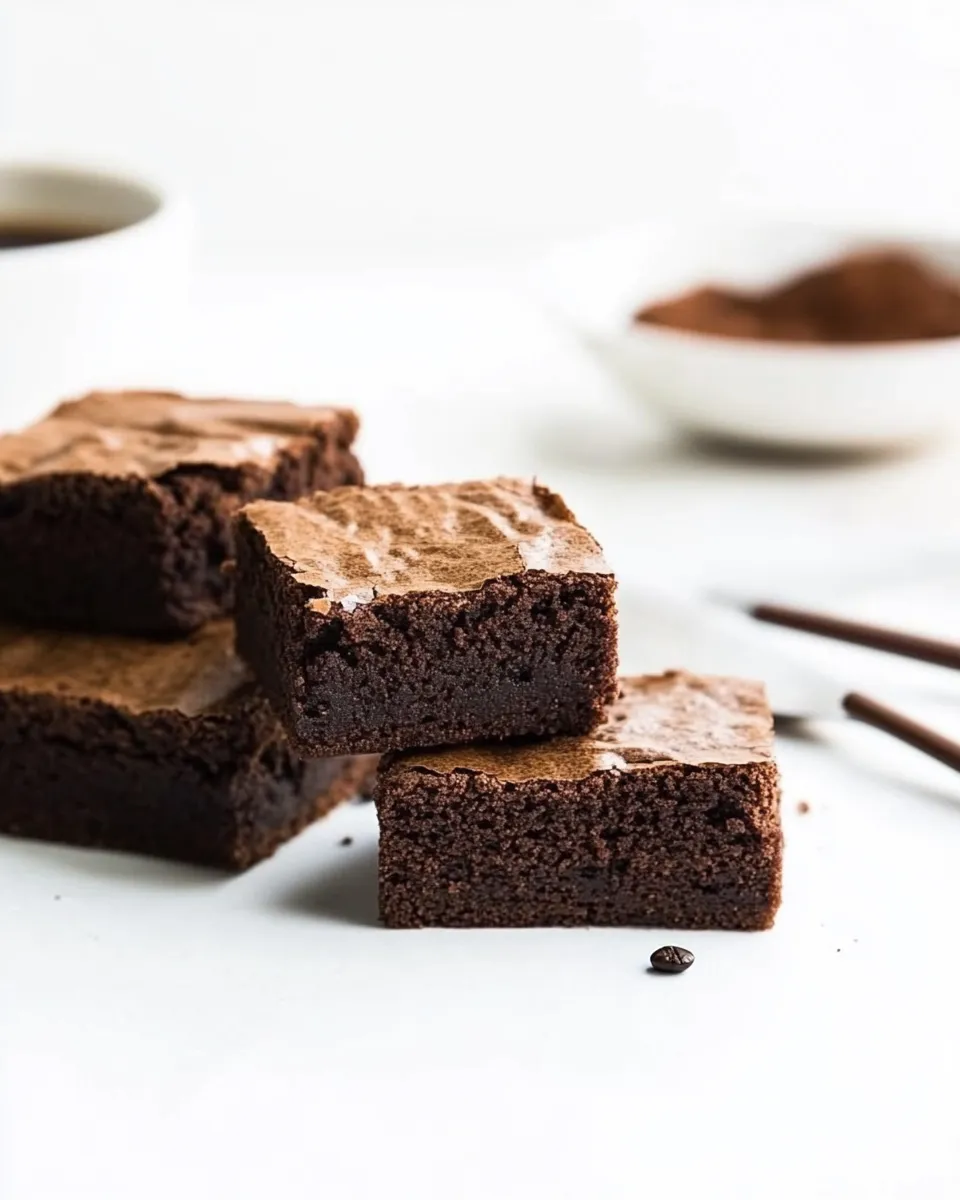
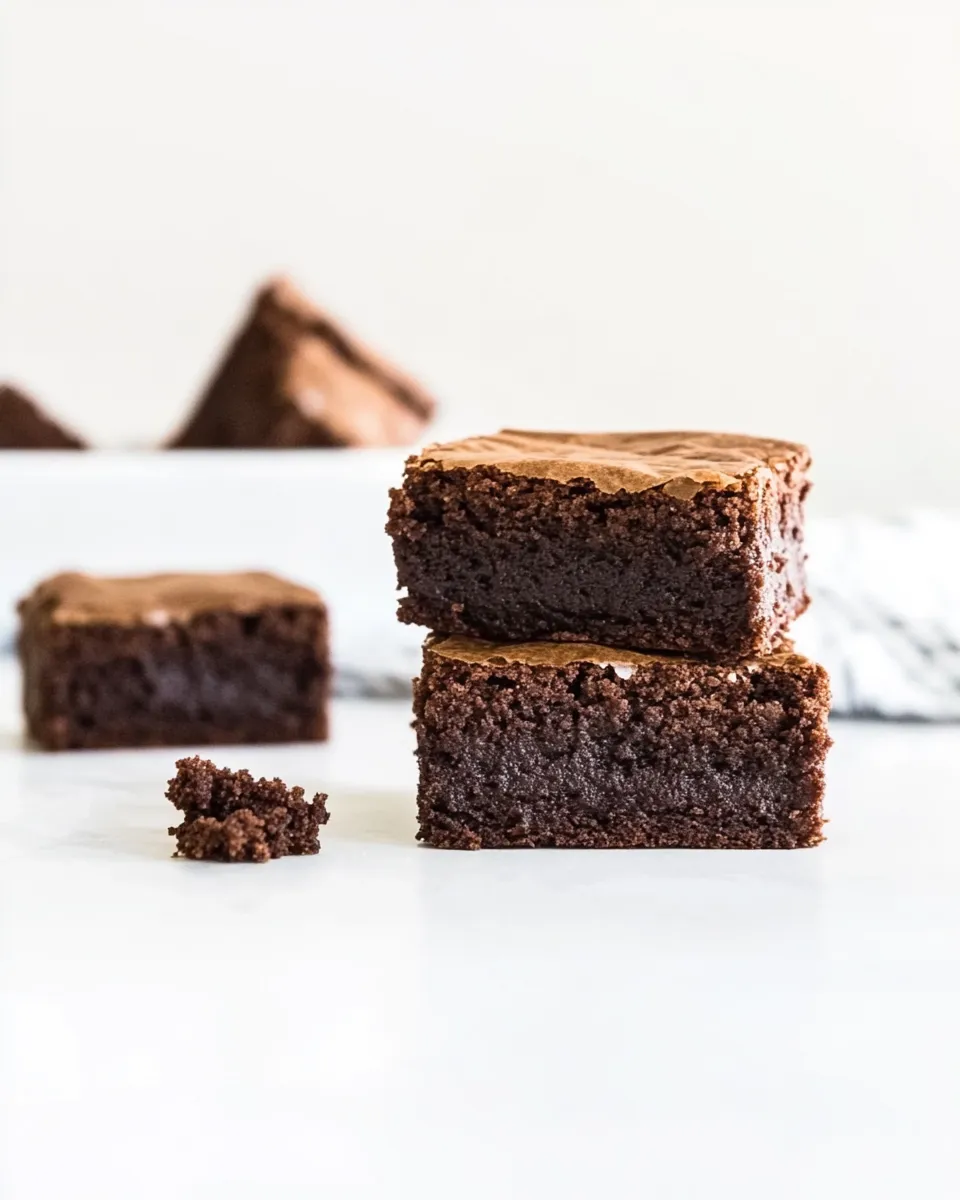
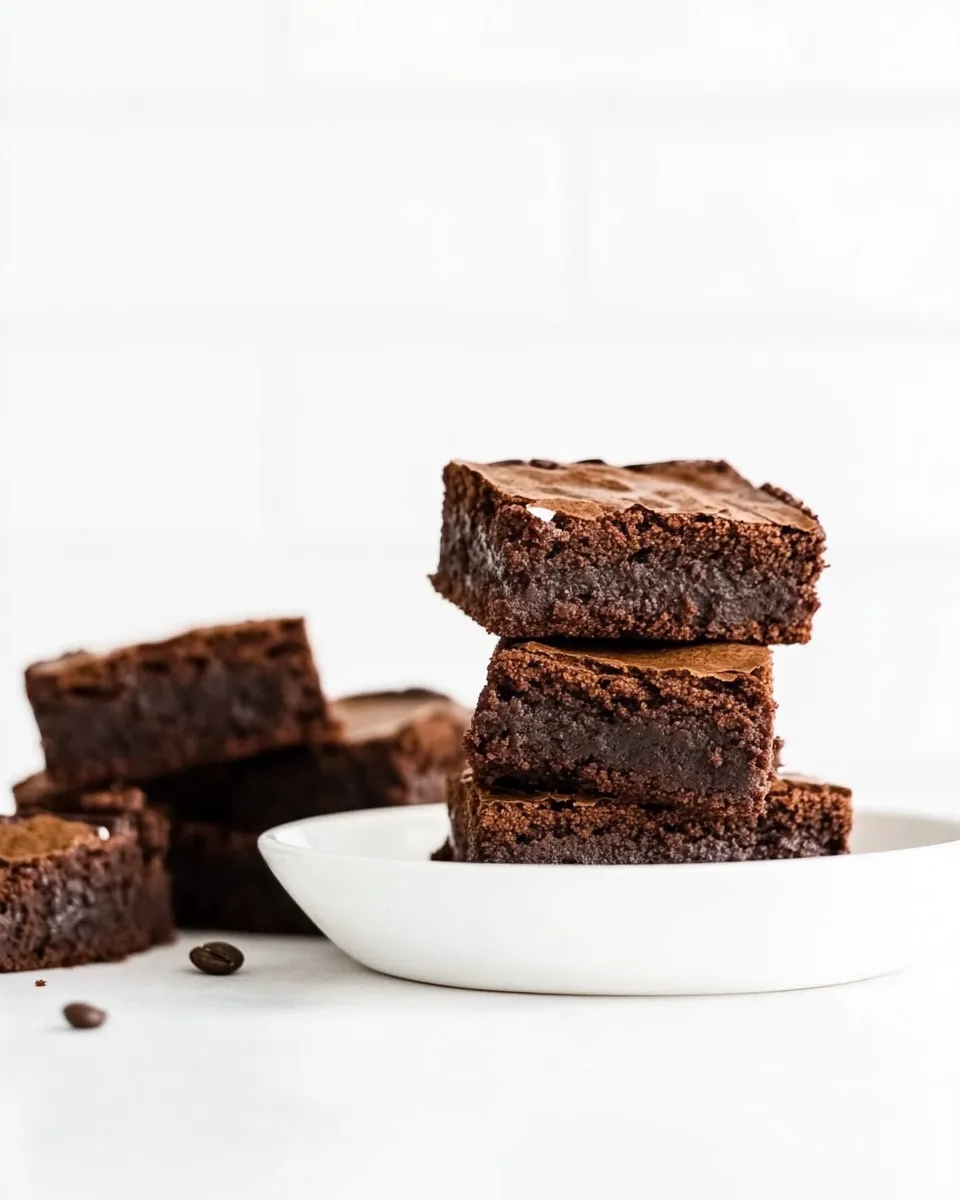
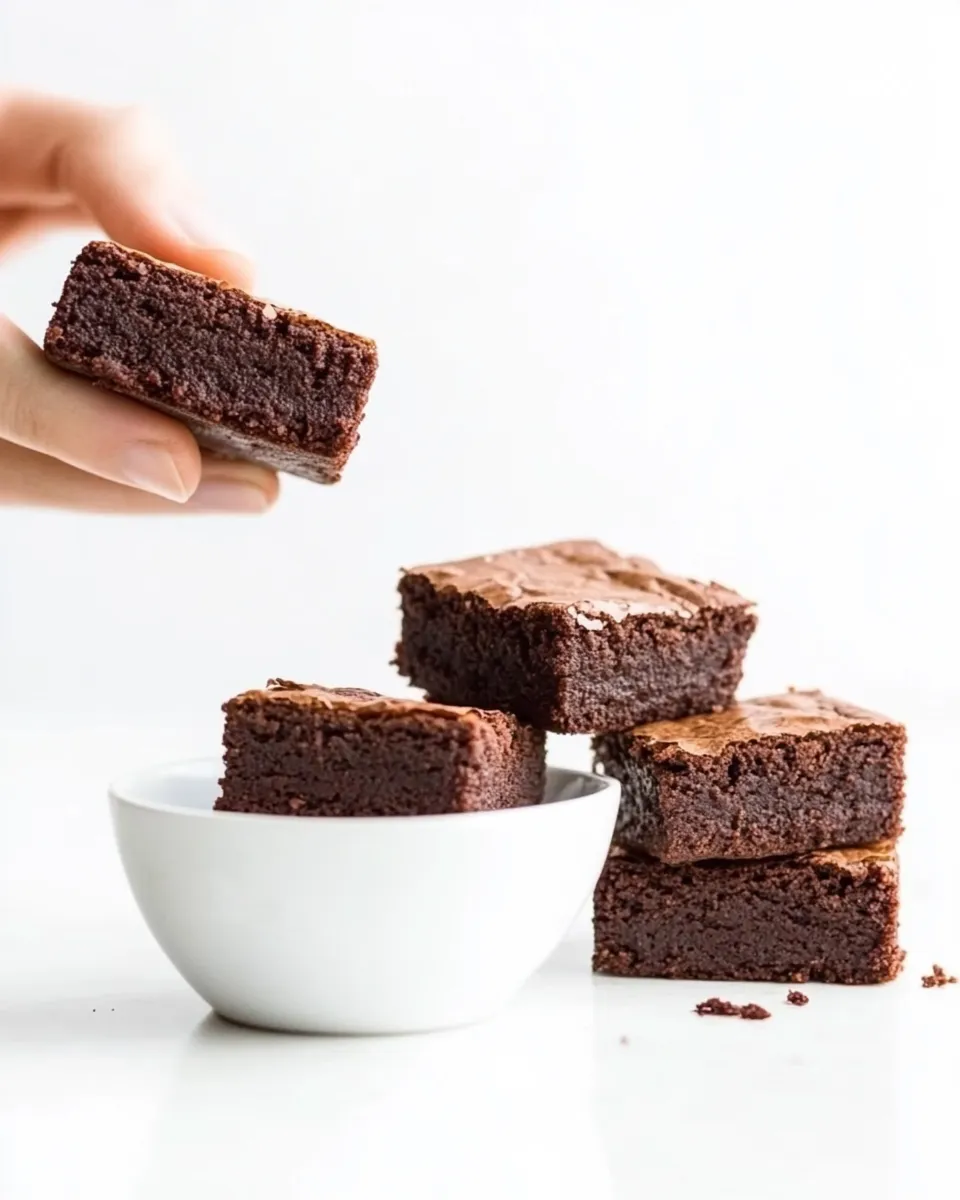
Espresso Coffee Brownies
There’s something undeniably enchanting about the combination of rich chocolate and bold espresso. When you blend these two ingredients together in a brownie, magic happens! These Espresso Coffee Brownies are the perfect solution for those who crave a decadent treat with an energetic kick. With a fudgy texture and a delightful coffee flavor, they are sure to become your new go-to dessert. Let’s dive into this scrumptious recipe that will have everyone asking for seconds!
Why This Recipe is a Keeper
If you’re looking for a brownie recipe that stands out, these Espresso Coffee Brownies are the answer. The dark chocolate pairs beautifully with the espresso, creating an indulgent taste that is rich but not overly sweet. They are perfect for coffee lovers and chocolate enthusiasts alike. Plus, they come together quickly and require minimal equipment, making them a fantastic choice for both seasoned bakers and newcomers. You’ll be amazed at how a few simple ingredients can yield such a delicious result.
Your Shopping Guide
Before you start baking, let’s gather all the ingredients you’ll need. Here’s a detailed shopping list to make your trip to the store easier:
- 160g unsalted butter
- 150g 70% dark chocolate, chopped into chunks
- 60g ground espresso coffee (or about 2 tablespoons espresso powder)
- 210g caster sugar
- 3 tablespoons organic maple syrup
- 1 teaspoon vanilla extract
- 3 large free-range eggs
- 100g all-purpose flour
- 50g Dutch-processed unsweetened cocoa powder
- A pinch of sea salt flakes
Make sure to select high-quality chocolate and fresh espresso for the best flavor. These ingredients will truly elevate your brownies to the next level!
Hardware & Gadgets
Now that you have your ingredients, let’s talk about the essential tools you’ll need for making these Espresso Coffee Brownies:
- Mixing bowls – A medium bowl for melting chocolate and a large bowl for mixing the batter.
- Whisk – For combining the wet ingredients smoothly.
- Spatula – To fold the mixture without losing air.
- 9×9-inch baking pan – Perfect for creating thick, fudgy brownies.
- Parchment paper – To line the baking pan for easy removal.
- Oven – Preheated to the right temperature for baking.
With these tools on hand, you’ll be well on your way to creating the ultimate brownie masterpiece.
The Method for Espresso Coffee Brownies
Now, let’s get into the step-by-step method for creating these delicious Espresso Coffee Brownies:
Step 1: Preheat the Oven
Preheat your oven to 180°C (350°F). Line your 9×9-inch baking pan with parchment paper, leaving some overhang for easy removal later.
Step 2: Melt the Chocolate and Butter
In a medium mixing bowl, combine the chopped dark chocolate and unsalted butter. Microwave in 20-second intervals, stirring in between, until the mixture is completely melted and smooth. Alternatively, you can melt them together in a heatproof bowl over a pot of simmering water.
Step 3: Combine the Espresso
Once melted, stir in the ground espresso coffee (or espresso powder) until well incorporated. The warm chocolate will help to bloom the coffee, enhancing its flavor.
Step 4: Mix in Sugar and Syrup
Add the caster sugar, organic maple syrup, and vanilla extract to the chocolate mixture. Whisk until combined and smooth.
Step 5: Add the Eggs
Crack in the large free-range eggs, one at a time, whisking well after each addition. This will help incorporate air into the batter, giving your brownies a lovely texture.
Step 6: Fold in the Dry Ingredients
In a separate bowl, whisk together the all-purpose flour, Dutch-processed cocoa powder, and a pinch of sea salt flakes. Gradually fold the dry ingredients into the wet mixture using a spatula, being careful not to over-mix. Just mix until you see no more flour!
Step 7: Bake the Brownies
Pour the brownie batter into the prepared baking pan, spreading it evenly. Bake in the preheated oven for 25-30 minutes, or until a toothpick inserted in the center comes out with a few moist crumbs.
Step 8: Cool and Serve
Allow the brownies to cool in the pan for about 10 minutes before lifting them out using the parchment paper. Let them cool completely on a wire rack before slicing into squares. Serve them as is or with a scoop of vanilla ice cream for an extra treat!
Seasonal Flavor Boosts
Feeling adventurous? Here are some seasonal flavor boosts you can incorporate into your Espresso Coffee Brownies:
- Fall: Add a teaspoon of cinnamon and a pinch of nutmeg for a cozy autumn twist.
- Winter: Fold in some crushed peppermint candies for a festive touch.
- Spring: Mix in some chopped dark chocolate and hazelnuts for a nutty flavor.
- Summer: Swirl in some raspberry puree before baking for a fruity contrast.
These variations will keep your Espresso Coffee Brownies fresh and exciting throughout the year!
Missteps & Fixes
While making brownies can be straightforward, there are a few common missteps to watch out for:
- Overmixing the batter: This can lead to tough brownies. Mix until just combined.
- Underbaking: To ensure your brownies are fudgy but set, always check for moist crumbs on your toothpick, not wet batter.
- Using cold ingredients: Make sure your eggs and butter are at room temperature for the best texture.
- Not lining the pan: Always line your baking pan with parchment paper for easy removal and clean-up!
With these tips in mind, you’ll be on your way to perfect brownies every time.
Keep It Fresh: Storage Guide
To keep your Espresso Coffee Brownies fresh for longer, consider the following storage tips:
- Room Temperature: Store in an airtight container at room temperature for up to 3 days.
- Refrigerator: For longer storage, keep them in the fridge for up to a week. Just be sure to let them come to room temperature before serving for the best taste.
- Freezer: You can freeze brownies for up to 3 months. Wrap them tightly in plastic wrap and then in foil. Thaw in the fridge overnight before enjoying.
These storage methods will help maintain their deliciousness for as long as possible!
Common Questions
Can I substitute the dark chocolate with milk chocolate?
Yes! While using milk chocolate will result in a sweeter brownie, it will still be delicious. Just keep in mind that the overall flavor profile will change.
Is there a way to make these brownies gluten-free?
Absolutely! You can substitute the all-purpose flour with a gluten-free flour blend. Make sure it’s a 1:1 substitute for the best results.
How can I enhance the coffee flavor?
If you want a stronger coffee flavor, consider adding an additional tablespoon of espresso powder to the batter, or even a splash of brewed espresso in place of some of the eggs.
Can I make these brownies ahead of time for an event?
Definitely! These brownies can be made a day in advance. Just make sure to store them properly to keep them fresh, and they’ll be perfect for serving at your event!
Save & Share
If you love these Espresso Coffee Brownies as much as I do, don’t forget to save this recipe and share it with your friends and family! Whether it’s for a gathering, a special occasion, or just a cozy evening at home, these brownies are sure to impress.
Now, grab your ingredients and get ready to savor the delightful blend of chocolate and espresso in every bite. Happy baking!
Espresso Coffee Brownies
Ingredients
Equipment
Method
- Preheat your oven to 180°C (350°F). Line your 9x9-inch baking pan with parchment paper, leaving some overhang for easy removal later.
- In a medium mixing bowl, combine the chopped dark chocolate and unsalted butter. Microwave in 20-second intervals, stirring in between, until the mixture is completely melted and smooth.
- Once melted, stir in the ground espresso coffee until well incorporated.
- Add the caster sugar, organic maple syrup, and vanilla extract to the chocolate mixture. Whisk until combined and smooth.
- Crack in the large free-range eggs, one at a time, whisking well after each addition.
- In a separate bowl, whisk together the all-purpose flour, Dutch-processed cocoa powder, and a pinch of sea salt flakes. Gradually fold the dry ingredients into the wet mixture using a spatula, being careful not to over-mix.
- Pour the brownie batter into the prepared baking pan, spreading it evenly. Bake for 25-30 minutes, or until a toothpick inserted in the center comes out with a few moist crumbs.
- Allow the brownies to cool in the pan for about 10 minutes before lifting them out using the parchment paper. Let them cool completely on a wire rack before slicing into squares.
Notes
- Use high-quality chocolate and fresh espresso for the best flavor.
- Store in an airtight container at room temperature for up to 3 days.
- You can freeze brownies for up to 3 months, wrapped tightly.