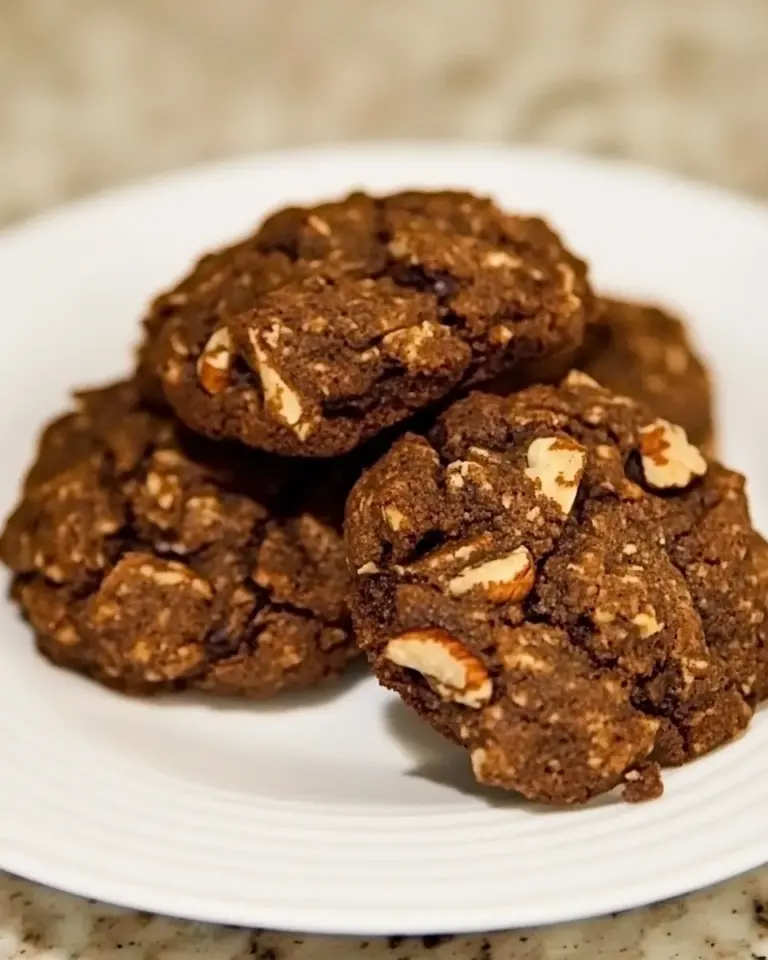
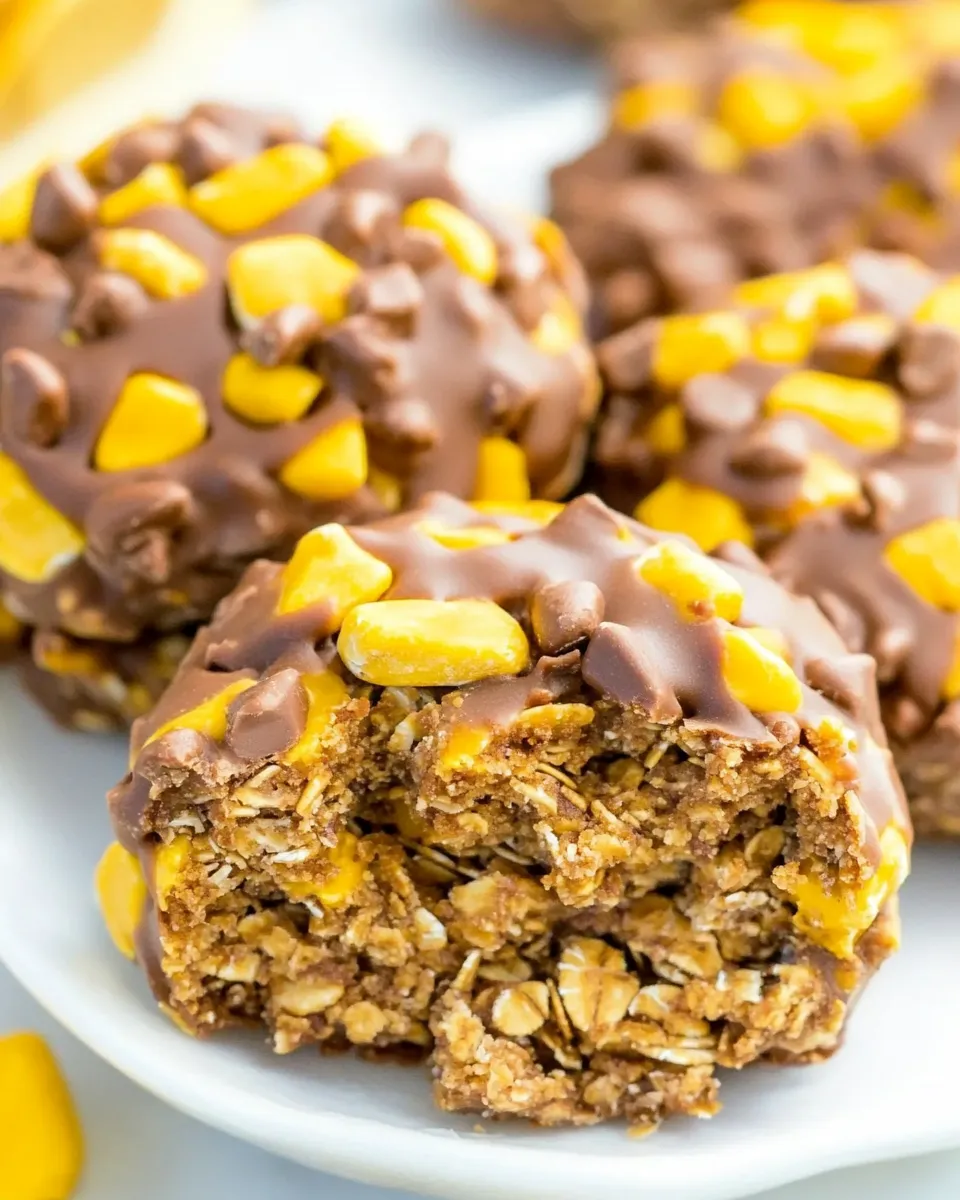
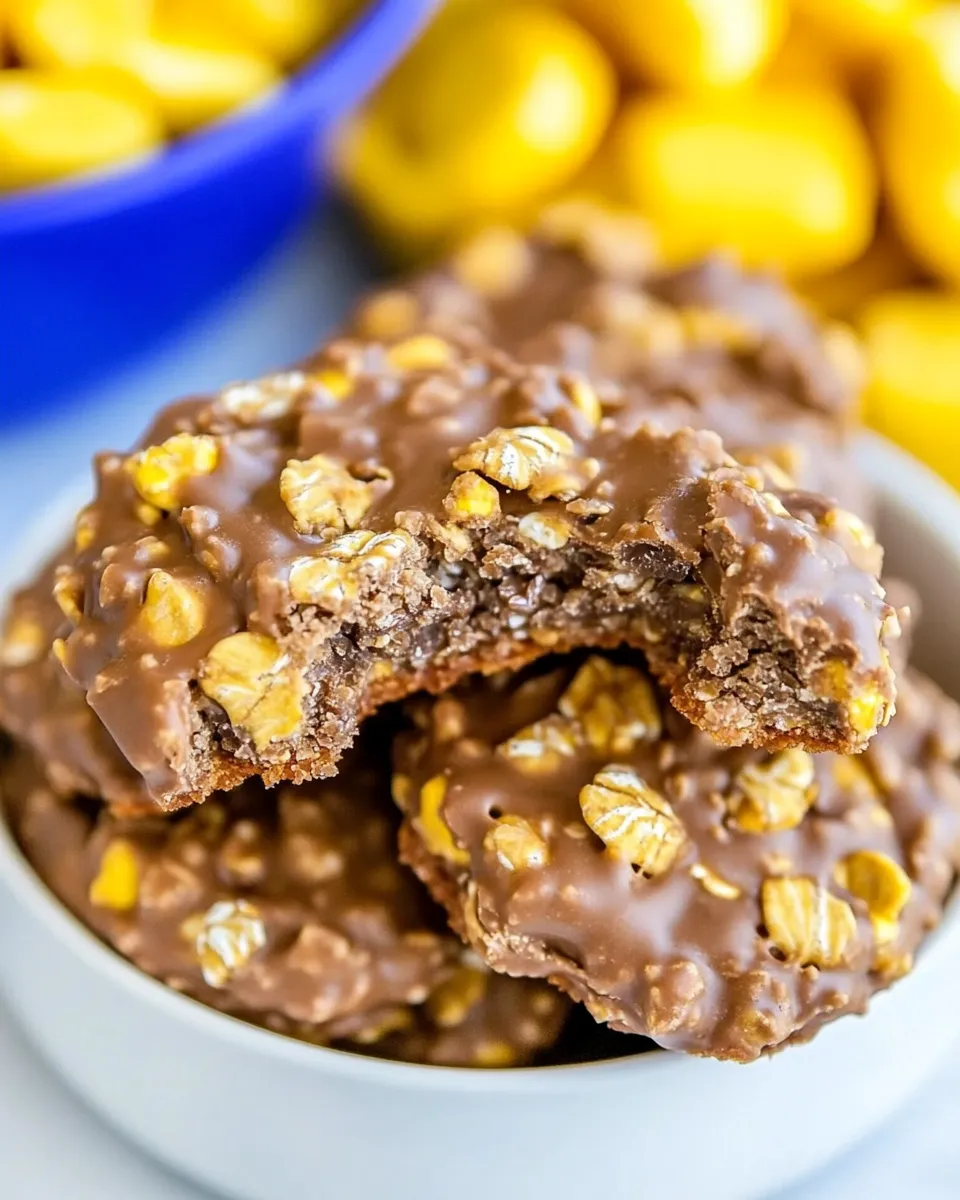
No-Bake Butterfinger Oatmeal Cookies
When it comes to sweet treats, there’s something incredibly satisfying about the combination of chocolate, peanut butter, and a crunch factor that gets everyone excited. These No-Bake Butterfinger Oatmeal Cookies are a delightful blend of flavors and textures, bringing together creamy peanut butter, rich cocoa, and the irresistible crunch of Butterfinger candy bars. The best part? There’s no oven required! Perfect for those warm days or when you simply want a quick and easy dessert, these cookies come together in a flash and are sure to be a hit with family and friends.
Why I Love This Recipe
There’s a certain charm in no-bake desserts, and these No-Bake Butterfinger Oatmeal Cookies are no exception. They are incredibly easy to make, taking just minutes to whip up. The combination of oats and peanut butter keeps them hearty, while the Butterfinger pieces add a delightful crunch and sweetness. Whether you’re making them for a party, a cozy night in, or a lunchbox treat, these cookies are versatile and delicious. I love how they come together without the need for any baking, making them a go-to recipe in my kitchen.
Your Shopping Guide
Before you dive into making these scrumptious cookies, here’s what you need to pick up at the store:
- 1/2 cup salted butter – This adds richness and flavor to your cookies.
- 3 tablespoons unsweetened cocoa powder – For that delicious chocolatey taste.
- 2 cups granulated sugar – Sweetens the cookies and balances the flavors.
- 1/2 cup milk – Helps to bind the ingredients together.
- 2/3 cup peanut butter – The star ingredient for that creamy, nutty flavor.
- 3 cups quick-cooking oats – Adds texture and heartiness to the cookies.
- 1 teaspoon vanilla extract – Enhances the overall flavor.
- 1 cup coarsely chopped Butterfingers – For the perfect crunch and caramel flavor.
- More Butterfingers for sprinkling – Because you can never have too much!
Equipment at a Glance
Before you start cooking, gather the following equipment:
- Large mixing bowl – For combining all your ingredients.
- Medium saucepan – To melt the butter and mix the wet ingredients.
- Wooden spoon or spatula – For stirring and mixing.
- Baking sheet or parchment paper – To set the cookies as they cool.
- Measuring cups and spoons – For accuracy in your ingredients.
No-Bake Butterfinger Oatmeal Cookies Cooking Guide
Creating these No-Bake Butterfinger Oatmeal Cookies is a breeze. Follow these simple steps:
Step 1: Prepare Your Ingredients
Start by gathering all your ingredients on the counter. It makes the process smoother and faster.
Step 2: Melt the Butter and Mix the Wet Ingredients
In a medium saucepan over medium heat, add the 1/2 cup salted butter and allow it to melt completely. Once melted, stir in the 3 tablespoons unsweetened cocoa powder, 2 cups granulated sugar, and 1/2 cup milk. Mix well until everything is combined and smooth.
Step 3: Bring to a Boil
Increase the heat slightly and bring the mixture to a rolling boil. Allow it to boil for exactly one minute. This step is crucial for the cookies to set properly.
Step 4: Remove from Heat and Add Peanut Butter
After one minute, remove the saucepan from the heat. Stir in the 2/3 cup peanut butter and 1 teaspoon vanilla extract, mixing until the peanut butter is fully melted and incorporated.
Step 5: Stir in Oats and Butterfingers
Next, add the 3 cups quick-cooking oats and 1 cup coarsely chopped Butterfingers to the mixture. Stir until everything is well-combined and the oats are evenly coated.
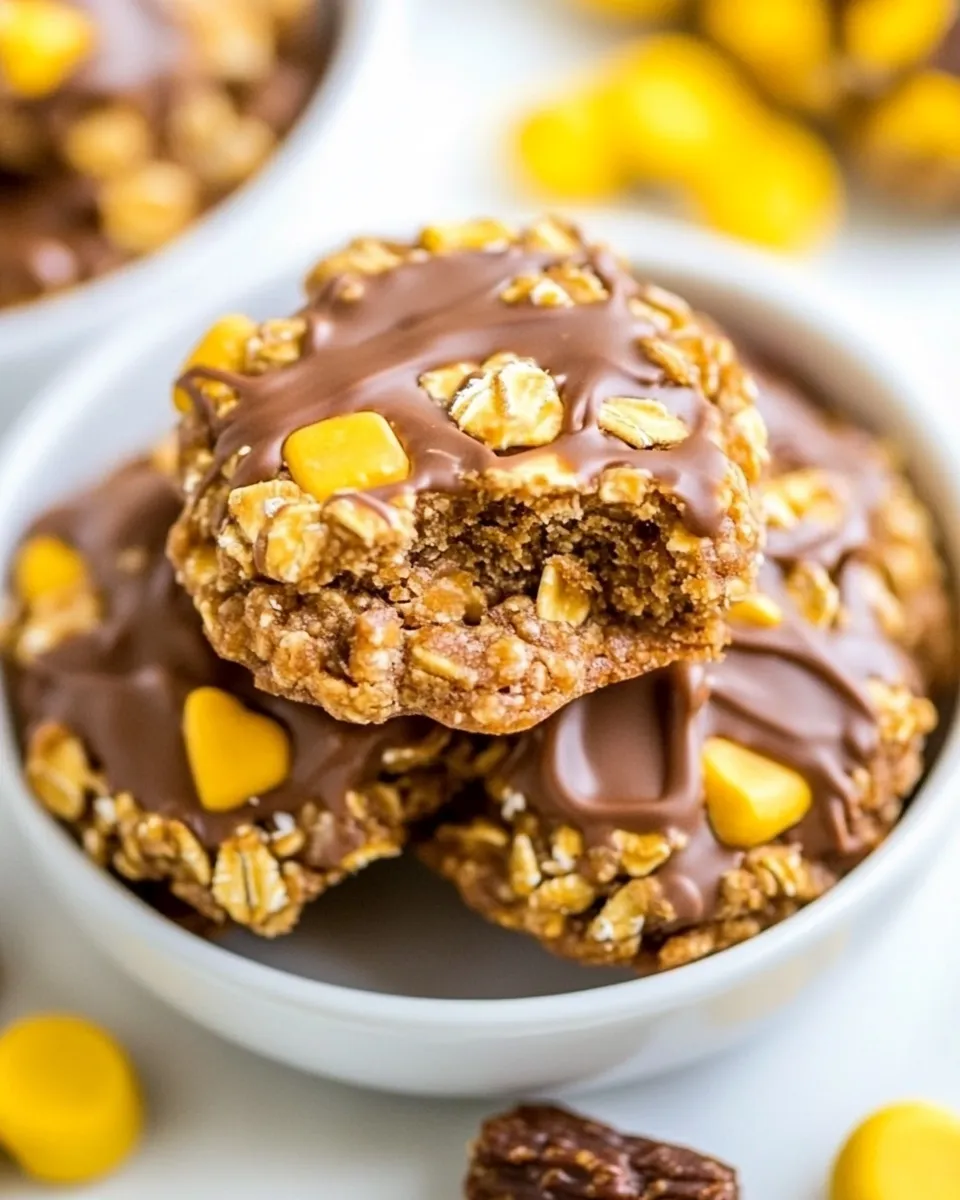
Step 6: Form the Cookies
Using a spoon or cookie scoop, drop spoonfuls of the mixture onto a baking sheet lined with parchment paper. You can shape them into cookie rounds if you prefer.
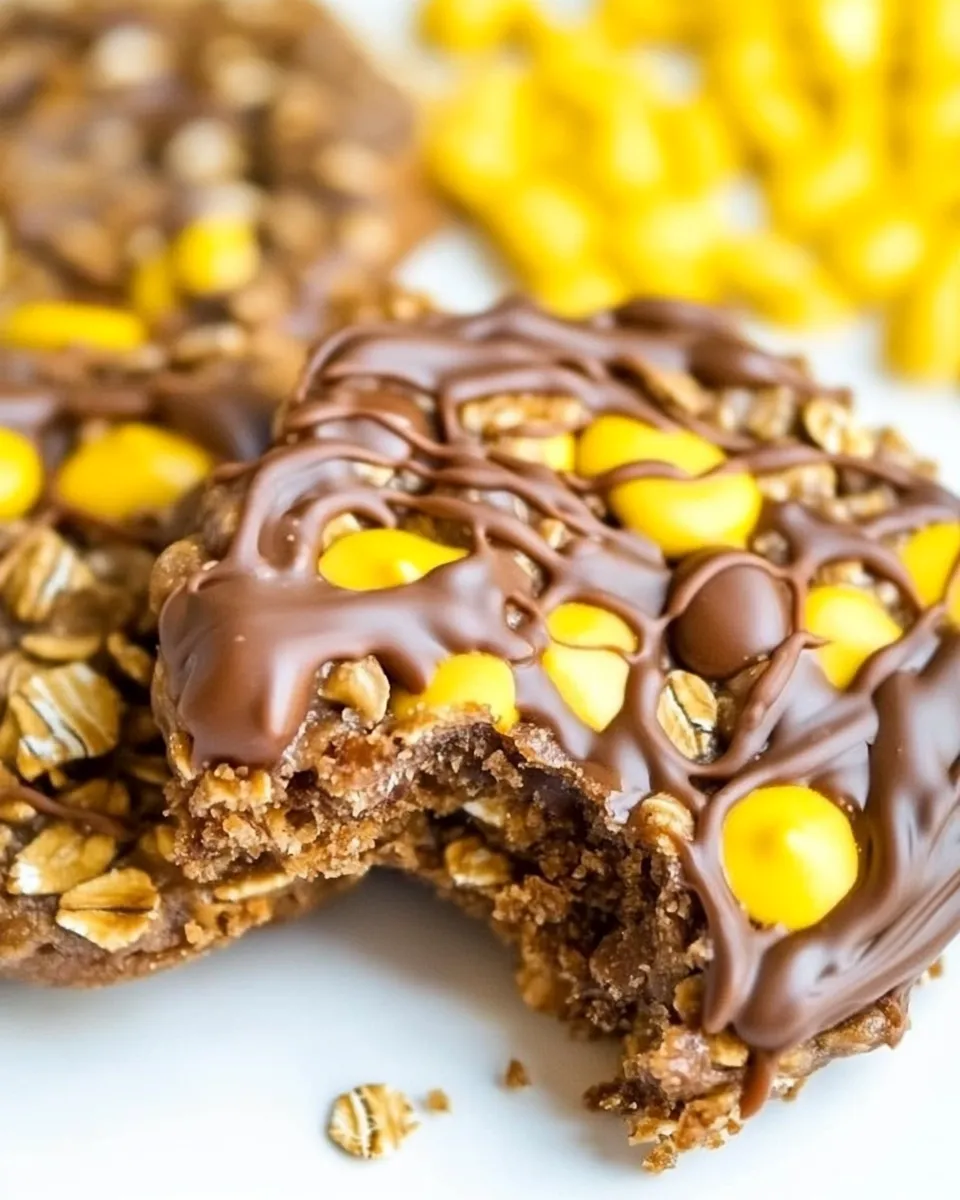
Step 7: Add Extra Butterfinger Topping
Before the mixture sets, sprinkle a few extra Butterfinger pieces on top of each cookie for added crunch and visual appeal.
Step 8: Let Them Set
Allow the cookies to cool at room temperature for about 30 minutes, or until they are firm and set. You can also place them in the refrigerator to speed up the process.
Dietary Swaps & Alternatives
If you’re looking to customize these No-Bake Butterfinger Oatmeal Cookies, consider the following swaps:
- Butter: Use coconut oil for a dairy-free option.
- Granulated Sugar: Substitute with brown sugar or a sugar alternative like coconut sugar for a healthier option.
- Peanut Butter: Try almond butter or sunbutter for nut-free cookies.
- Oats: Use gluten-free oats if you need a gluten-free treat.
Mistakes That Ruin No-Bake Butterfinger Oatmeal Cookies
Even though this recipe is relatively foolproof, there are a few common mistakes to avoid:
- Not boiling the mixture long enough: Make sure to boil for a full minute to ensure the cookies set properly.
- Using old oats: Fresh oats yield the best texture; check the expiration date on your package.
- Skipping the cooling time: Allow the cookies to set undisturbed; rushing this process can lead to a gooey mess.
- Not mixing thoroughly: Be sure all ingredients are well-mixed for a consistent flavor in every bite.
Cooling, Storing & Rewarming
Once your No-Bake Butterfinger Oatmeal Cookies are set, follow these tips for cooling and storage:
Allow them to cool completely on the baking sheet before transferring them to an airtight container. Store the cookies in the fridge for up to one week. If you want to enjoy them warm, simply pop them in the microwave for a few seconds to soften them up again.
FAQ
Can I use regular oats instead of quick oats?
While quick oats provide a better texture for these cookies, you can use regular rolled oats if that’s what you have on hand. Just keep in mind that the texture may be slightly different.
Can I freeze these cookies?
Yes! These cookies freeze well. Just place them in an airtight container, separating layers with parchment paper, and they’ll last up to three months in the freezer.
What can I use instead of Butterfingers?
If you don’t have Butterfingers, you can substitute with any crunchy candy bar, such as Reese’s, Snickers, or even crushed pretzels for that salty-sweet combination!
How can I make these cookies healthier?
To make these No-Bake Butterfinger Oatmeal Cookies healthier, consider reducing the sugar, using natural peanut butter without added sugars, and adding in some chia seeds or flaxseeds for extra nutrition.
In Closing
These No-Bake Butterfinger Oatmeal Cookies are not only a breeze to make, but they also bring a smile to everyone who tries them. The combination of chocolate, peanut butter, and the crunch of Butterfingers makes for a delightful treat that is perfect for any occasion. Whether you’re treating yourself, impressing guests, or packing a lunch, these cookies are sure to satisfy your sweet tooth.
So, next time you’re looking for a quick dessert that delivers on flavor and texture, reach for this simple recipe. Your taste buds will thank you, and you’ll be craving these No-Bake Butterfinger Oatmeal Cookies for days to come! Happy cooking!
No-Bake Butterfinger Oatmeal Cookies
Ingredients
Equipment
Method
- Start by gathering all your ingredients on the counter. It makes the process smoother and faster.
- In a medium saucepan over medium heat, add the salted butter and allow it to melt completely. Once melted, stir in the cocoa powder, granulated sugar, and milk. Mix well until everything is combined and smooth.
- Increase the heat slightly and bring the mixture to a rolling boil. Allow it to boil for exactly one minute.
- After one minute, remove the saucepan from the heat. Stir in the peanut butter and vanilla extract, mixing until the peanut butter is fully melted and incorporated.
- Add the quick-cooking oats and coarsely chopped Butterfingers to the mixture. Stir until everything is well-combined and the oats are evenly coated.
- Using a spoon or cookie scoop, drop spoonfuls of the mixture onto a baking sheet lined with parchment paper.
- Before the mixture sets, sprinkle a few extra Butterfinger pieces on top of each cookie for added crunch and visual appeal.
- Allow the cookies to cool at room temperature for about 30 minutes, or until they are firm and set.
Notes
- Store cookies in an airtight container in the fridge for up to one week.
- For a dairy-free option, substitute butter with coconut oil.
- These cookies can be frozen for up to three months.