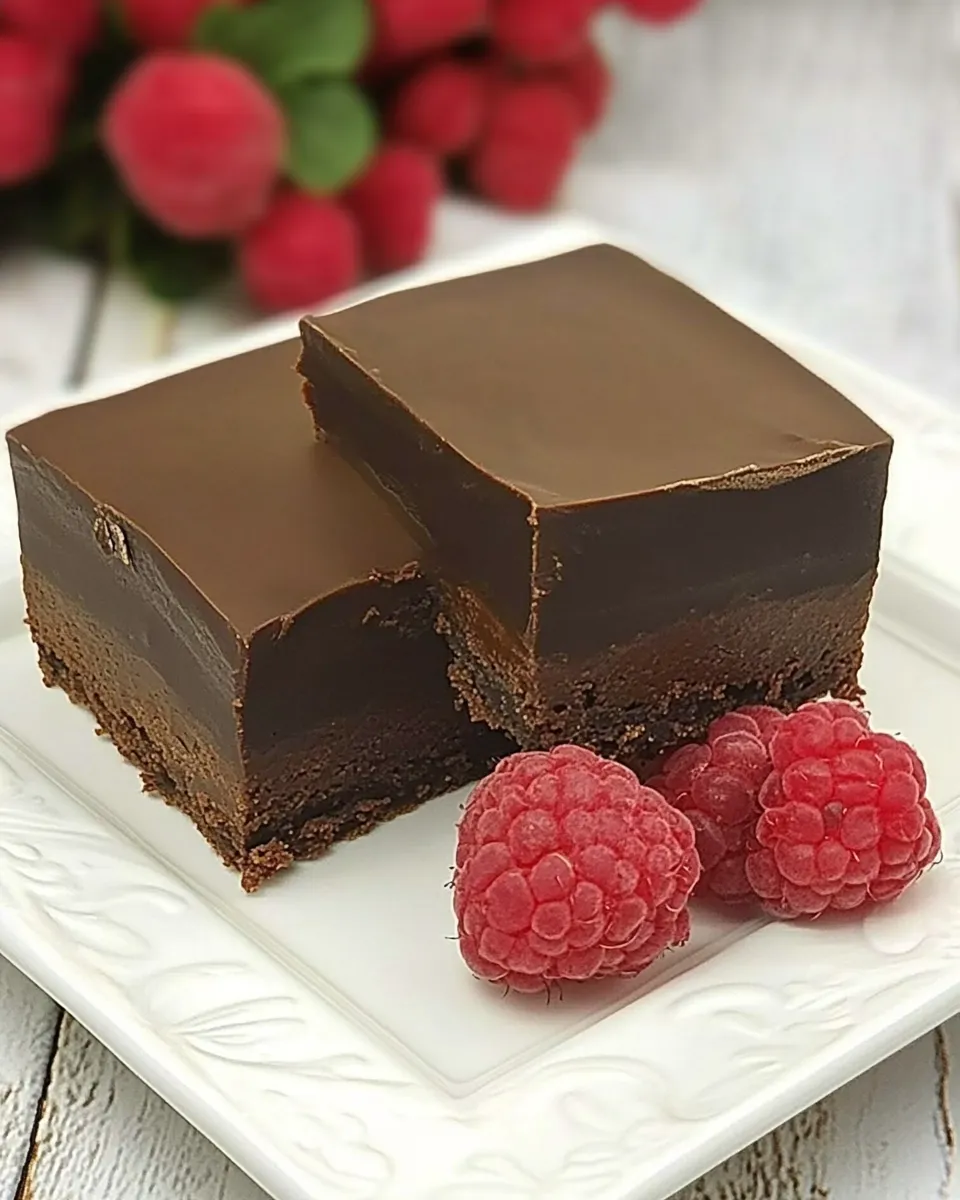
Chocolate Truffle Brownies
Chocolate Truffle Brownies are the ultimate indulgence for any chocolate lover. These decadent brownies are rich, fudgy, and packed with a luxurious truffle-like center that will leave you craving more. The combination of brown sugar and butter creates a moist texture, while the chocolate adds a depth of flavor that elevates these brownies to a new level. Whether you’re baking for a party, a special occasion, or simply to satisfy your sweet tooth, these brownies are sure to impress!
Reasons to Love Chocolate Truffle Brownies
– Irresistible Flavor: The rich chocolate flavor combined with a buttery sweetness is simply divine.
– Decadent Texture: With their fudgy interior and slightly crisp top, these brownies offer a perfect balance of textures.
– Simple Ingredients: Made with pantry staples, you can whip up a batch anytime the chocolate cravings hit.
– Customizable: Add nuts, chocolate chips, or even a swirl of caramel to personalize your brownies.
Ingredient Breakdown
- 1 cup brown sugar: Adds moisture and a deep, caramel-like flavor.
- 1 cup butter, at room temperature: Provides richness and creates a fudgy texture.
- 1 ½ cup flour: Gives structure to the brownies while keeping them soft and chewy.
- 1 cup cocoa powder: Enhances the chocolate flavor and gives the brownies their signature dark color.
- 4 large eggs: Binds the ingredients together and adds moisture.
- 1 teaspoon vanilla extract: Elevates the flavor profile.
- ½ teaspoon salt: Balances the sweetness of the brownies.
Setup & Equipment
- Oven: Preheat to 350°F (175°C).
- Baking pan: An 8×8 inch square pan works perfectly.
- Mixing bowls: Use one for wet ingredients and another for dry.
- Whisk: To combine ingredients smoothly.
- Spatula: For folding in the mixture and spreading the batter evenly.
- Parchment paper: For easy brownie removal.
Stepwise Method: Chocolate Truffle Brownies

Step 1: Preheat the Oven
Preheat your oven to 350°F (175°C) and line your baking pan with parchment paper, leaving some overhang for easy removal later.
Step 2: Mix the Wet Ingredients
In a large mixing bowl, cream together the brown sugar and butter until light and fluffy. This should take about 2-3 minutes. Add the eggs one at a time, mixing well after each addition. Finally, stir in the vanilla extract.
Step 3: Combine the Dry Ingredients
In another bowl, whisk together the flour, cocoa powder, and salt. Make sure there are no lumps, as this will ensure a smooth batter.
Step 4: Combine Wet and Dry Ingredients
Gradually add the dry mixture to the wet ingredients, stirring until just combined. Be careful not to overmix; a few lumps are perfectly fine.
Step 5: Bake the Brownies
Pour the batter into the prepared baking pan, smoothing the top with a spatula. Bake in the preheated oven for 25-30 minutes, or until a toothpick inserted in the center comes out with a few moist crumbs.
Step 6: Cool and Serve
Once baked, remove the brownies from the oven and let them cool in the pan for about 10 minutes. Using the parchment paper, lift them out and transfer to a wire rack to cool completely before cutting into squares.
What to Use Instead
- Coconut oil: Use instead of butter for a dairy-free version.
- Maple syrup: Can replace brown sugar for a natural sweetener option.
- Whole wheat flour: Substitute for all-purpose flour for a healthier twist.
- Dark chocolate: For a richer flavor, melt dark chocolate and use it in place of the cocoa powder.
What I Learned Testing
- Using room temperature ingredients makes for a smoother batter and a better rise.
- Letting the brownies cool completely allows them to set properly, making them easier to cut.
- A sprinkle of sea salt on top before baking enhances the chocolate flavor significantly.
- These brownies can be made ahead of time and still taste amazing after being stored.
Make-Ahead & Storage
Chocolate Truffle Brownies can be made a day in advance, allowing the flavors to meld together beautifully. Once cooled, store them in an airtight container at room temperature for up to 3 days. For longer storage, you can freeze individual portions wrapped tightly in plastic wrap and then placed in a zip-top bag for up to 3 months. Simply thaw at room temperature before enjoying!
Quick Questions
Can I use cocoa powder instead of chocolate bars?
Yes! Cocoa powder is a key ingredient in this recipe, providing that rich chocolate flavor.
How do I know when the brownies are done baking?
The brownies are done when a toothpick inserted into the center comes out with a few moist crumbs attached, not wet batter.
Can I add nuts to the brownies?
Absolutely! Feel free to fold in some chopped nuts like walnuts or pecans for added texture and flavor.
What’s the best way to cut brownies?
Use a sharp knife and clean it between cuts for clean edges. For even easier cutting, chill the brownies for a bit before slicing.
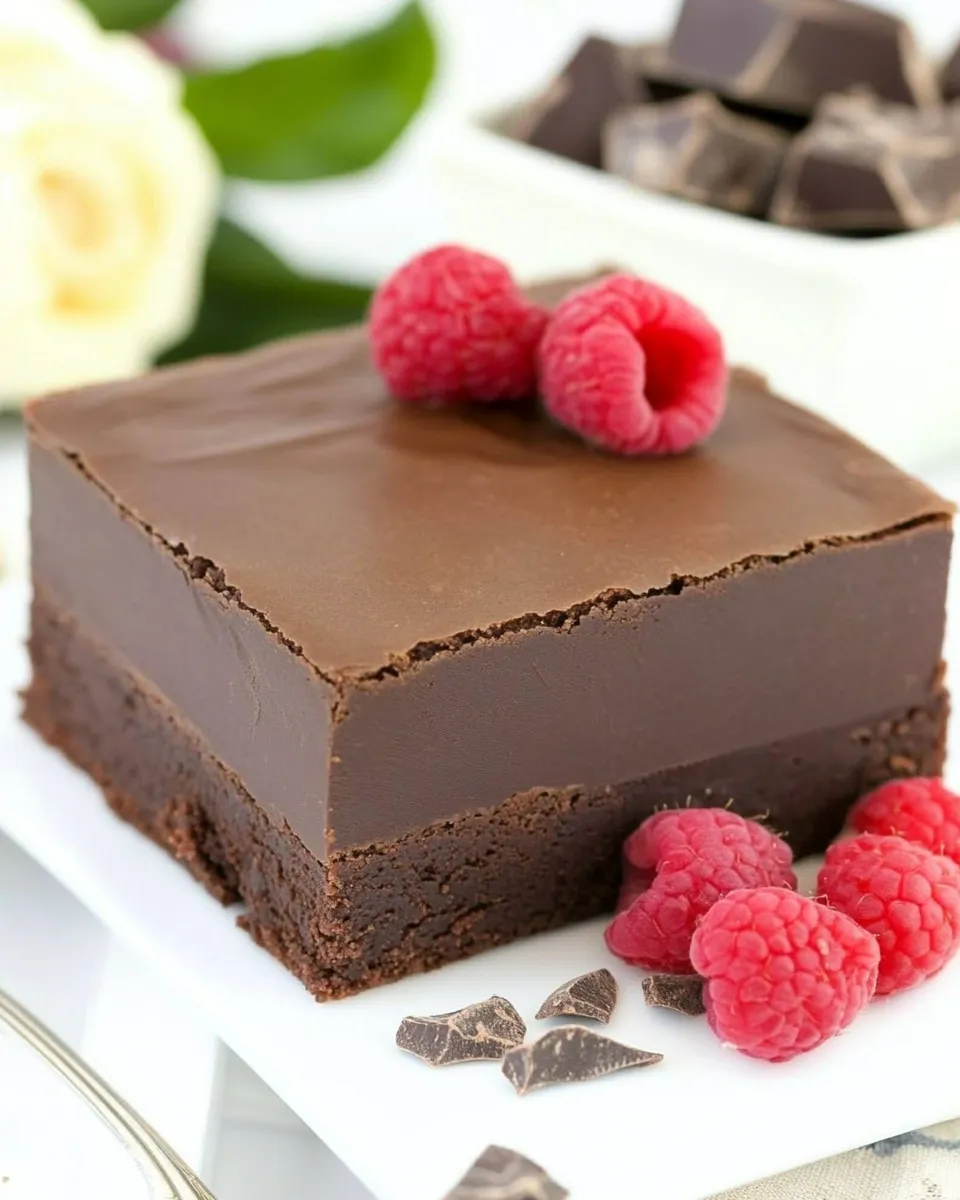
See You at the Table
These Chocolate Truffle Brownies are the perfect treat for any gathering or a cozy night in. With their rich flavor and fudgy texture, they are sure to be a hit with everyone. So gather your ingredients, preheat that oven, and get ready to enjoy a slice of chocolate heaven. Happy baking!
Chocolate Truffle Brownies
Ingredients
Equipment
Method
- Preheat your oven to 350°F (175°C) and line your baking pan with parchment paper, leaving some overhang for easy removal later.
- In a large mixing bowl, cream together the brown sugar and butter until light and fluffy. This should take about 2-3 minutes. Add the eggs one at a time, mixing well after each addition. Finally, stir in the vanilla extract.
- In another bowl, whisk together the flour, cocoa powder, and salt. Make sure there are no lumps to ensure a smooth batter.
- Gradually add the dry mixture to the wet ingredients, stirring until just combined. Be careful not to overmix; a few lumps are perfectly fine.
- Pour the batter into the prepared baking pan, smoothing the top with a spatula. Bake in the preheated oven for 25-30 minutes, or until a toothpick inserted in the center comes out with a few moist crumbs.
- Once baked, remove the brownies from the oven and let them cool in the pan for about 10 minutes. Using the parchment paper, lift them out and transfer to a wire rack to cool completely before cutting into squares.
Notes
- Use coconut oil instead of butter for a dairy-free version.
- Maple syrup can replace brown sugar for a natural sweetener option.
- Substitute whole wheat flour for all-purpose flour for a healthier twist.