Easy Blender-Batter Self-Crusting Cheesecake
If you’ve ever dreamed of a cheesecake that requires minimal effort yet delivers maximum flavor, then the Easy Blender-Batter Self-Crusting Cheesecake is your answer. Imagine a dessert that combines the creamy richness of cheesecake with a delightful crust that forms on its own, all thanks to a quick blend in your trusty kitchen appliance. This recipe is perfect for both beginners and seasoned bakers looking to save time without sacrificing taste. With just a handful of ingredients and a few simple steps, you’ll be indulging in a slice of heaven in no time!
The Upside of Easy Blender-Batter Self-Crusting Cheesecake

This cheesecake is not just simple; it’s also incredibly forgiving. The self-crusting aspect means you won’t need to fuss with a traditional crust, making it an excellent choice for those who might be intimidated by the thought of making a crust from scratch. Plus, the blender does most of the heavy lifting, ensuring a smooth and creamy filling every time. It’s perfect for gatherings, special occasions, or just a sweet treat for yourself after a long day. The combination of cream cheese and sour cream creates a rich texture that’s both decadent and delightful.
The Essentials
To whip up your own Easy Blender-Batter Self-Crusting Cheesecake, you’ll need the following ingredients:
- 2 large eggs
- 1 cup granulated sugar
- ½ cup milk or half-and-half
- 1 cup Original Bisquick mix
- 2 teaspoons vanilla extract
- Two 8-ounce packages cream cheese, softened (lite is okay, dice into chunks if your blender isn’t very powerful)
- 1 cup sour cream or Greek yogurt (lite is okay)
- ½ cup granulated sugar
- ½ teaspoon vanilla extract
- About 1 ounce dark chocolate, chopped
Equipment at a Glance
- Blender: A high-speed blender works best for smooth consistency.
- 9-inch pie or springform pan: Choose based on your preference for serving.
- Measuring cups and spoons: Essential for precise ingredient quantities.
- Mixing spatula: For scraping down the sides of the blender.
Directions: Easy Blender-Batter Self-Crusting Cheesecake
Step 1: Preheat the Oven
Preheat your oven to 350°F (175°C). This ensures that your cheesecake bakes evenly and rises beautifully.
Step 2: Prepare the Blender Batter
In your blender, add the 2 large eggs, 1 cup granulated sugar, ½ cup milk or half-and-half, 1 cup Original Bisquick mix, and 2 teaspoons vanilla extract. Blend until well combined and smooth.
Step 3: Incorporate the Cream Cheese
Next, add the two 8-ounce packages of softened cream cheese to the blender. Blend again until the mixture is silky smooth. If your blender isn’t powerful, consider dicing the cream cheese into smaller chunks to make blending easier.
Step 4: Add Sour Cream or Greek Yogurt
Add in the 1 cup of sour cream or Greek yogurt, ½ cup granulated sugar, and ½ teaspoon vanilla extract. Blend until everything is well mixed and creamy.
Step 5: Pour into the Pan
Pour the cheesecake batter into your prepared 9-inch pie or springform pan. Don’t worry if the batter seems thin; it will set beautifully while baking.
Step 6: Bake the Cheesecake
Bake in the preheated oven for 35 to 40 minutes, or until the edges are set and the center has a slight jiggle. The cheesecake will firm up as it cools.
Step 7: Cool and Chill
Once baked, remove the cheesecake from the oven and allow it to cool at room temperature for about 30 minutes. Then refrigerate for at least 2 hours, but overnight is best if you can wait!
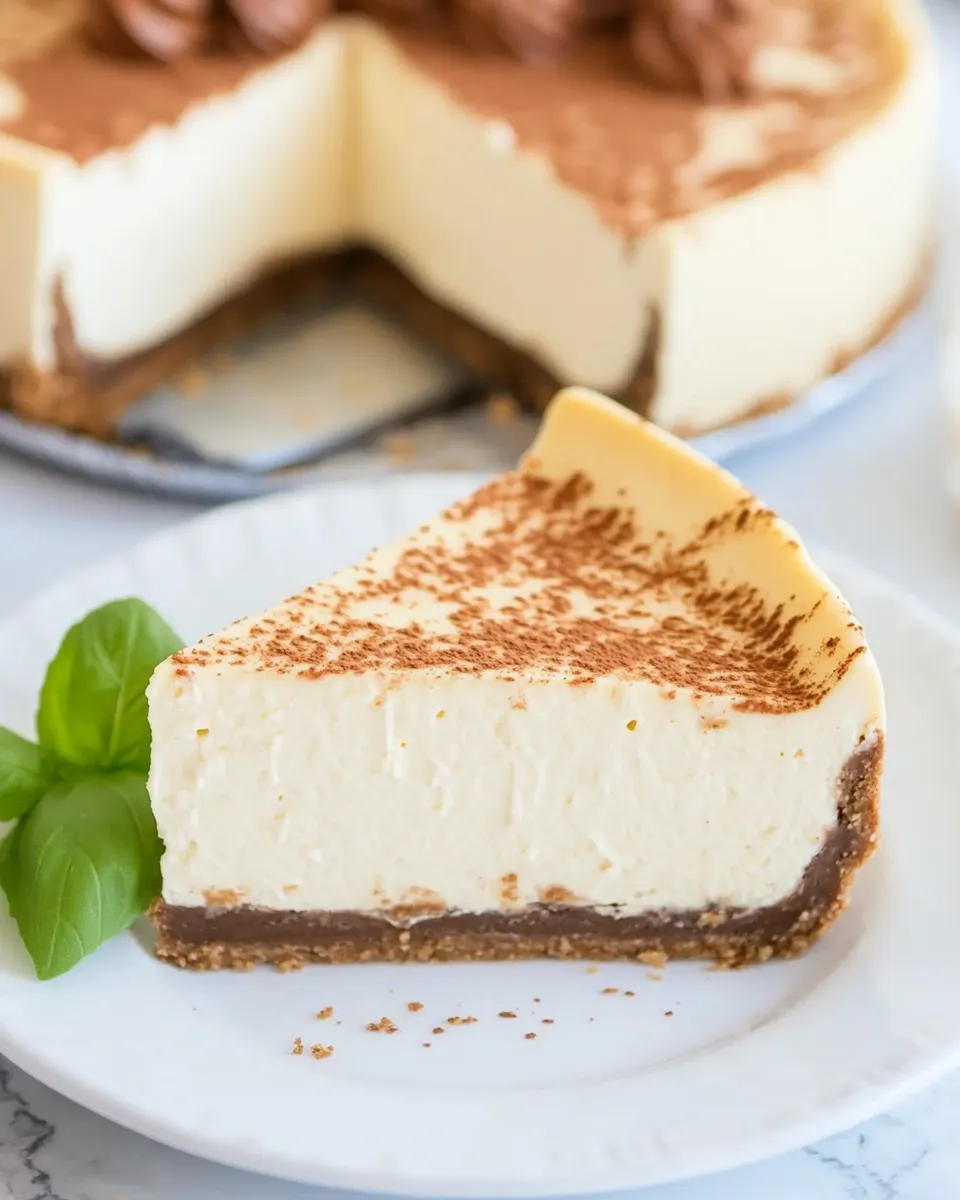
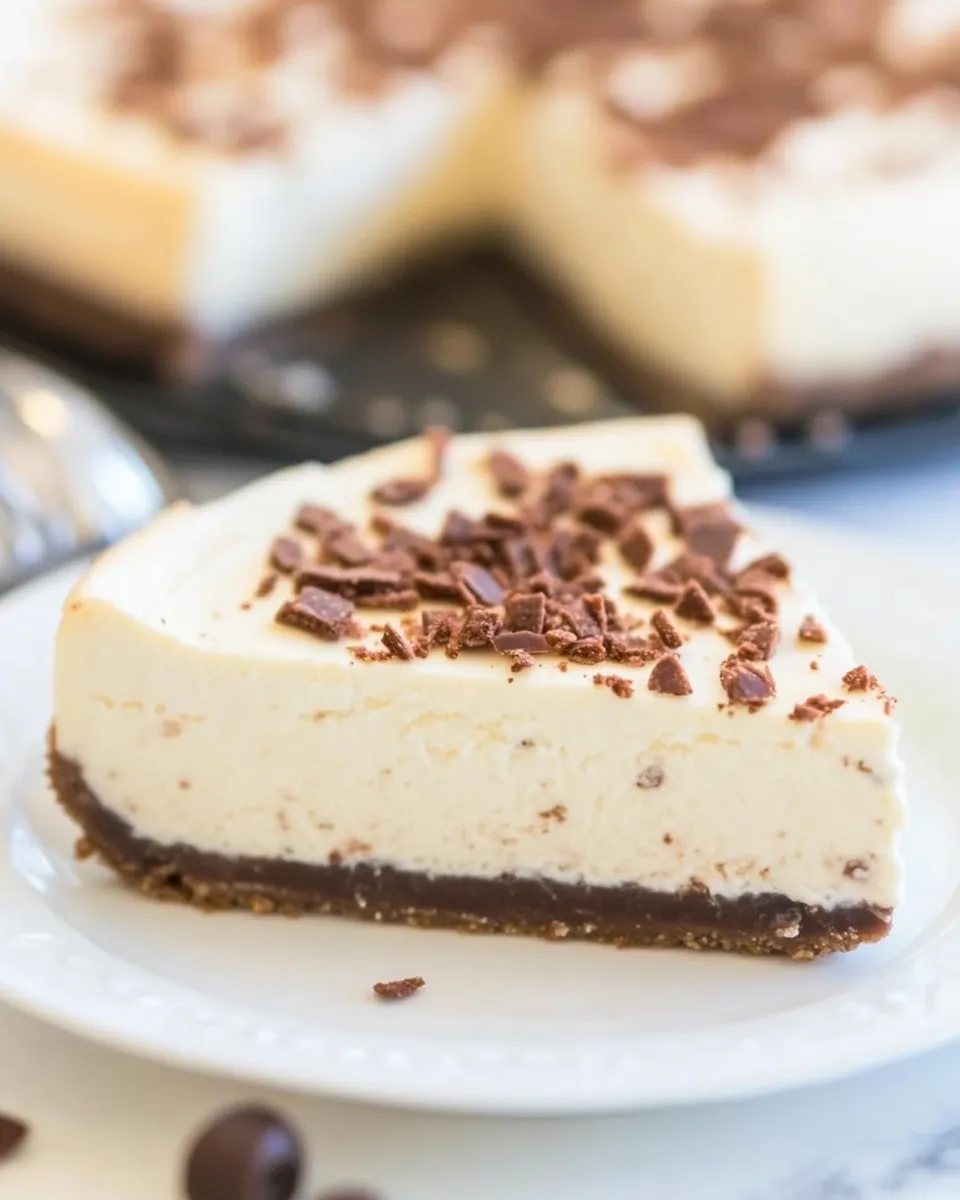
Step 8: Add the Finishing Touch
Before serving, sprinkle the chopped dark chocolate on top for a touch of elegance and extra flavor.
Vegan & Vegetarian Swaps
If you’re looking to adapt the Easy Blender-Batter Self-Crusting Cheesecake for vegan or vegetarian diets, consider the following substitutes:
- Eggs: Use a flaxseed meal or chia seed mixture (1 tablespoon flaxseed meal or chia seeds + 2.5 tablespoons water = 1 egg).
- Cream Cheese: Substitute with vegan cream cheese or blended tofu for a dairy-free option.
- Sour Cream: Use coconut cream or a homemade cashew cream as a replacement.
- Milk: Almond milk, oat milk, or any plant-based milk works well in this recipe.
Behind-the-Scenes Notes
Creating the Easy Blender-Batter Self-Crusting Cheesecake is not only simple but also a great way to experiment with flavors. Feel free to add a zest of lemon or a splash of your favorite liqueur to the batter for an exciting twist. The self-crusting feature is a game-changer, making it easy to achieve that quintessential cheesecake crust without any fuss. Plus, it’s a perfect canvas for toppings like fresh fruit, whipped cream, or even a chocolate ganache.
Shelf Life & Storage
Your Easy Blender-Batter Self-Crusting Cheesecake will keep well in the fridge for up to 5 days. Be sure to cover it well to maintain its freshness. If you’d like to freeze it, wrap individual slices tightly in plastic wrap and then place them in an airtight container. This way, you can enjoy a piece whenever the craving strikes!
Quick Questions
Can I use low-fat cream cheese?
Absolutely! Lite cream cheese works perfectly in this recipe without compromising on taste or texture.
How do I know when my cheesecake is done baking?
The edges should be set, and the center will have a slight jiggle. It’s normal for the center to continue to firm up as it cools.
Can I make this cheesecake ahead of time?
Yes! This cheesecake can be made up to two days in advance, making it an excellent option for entertaining.
What can I use instead of Bisquick mix?
If you don’t have Bisquick, you can use all-purpose flour combined with a teaspoon of baking powder and a pinch of salt as a substitute.
The Last Word
The Easy Blender-Batter Self-Crusting Cheesecake is your go-to dessert for any occasion. Whether you’re hosting a dinner party, celebrating a birthday, or simply treating yourself, this cheesecake is sure to impress with its creamy texture and delightful flavor. With easy preparation and minimal cleanup, you can spend less time in the kitchen and more time enjoying the sweet moments with your loved ones. So grab your blender and get ready to indulge in a slice of this incredible cheesecake!
Easy Blender-Batter Self-Crusting Cheesecake
Ingredients
Equipment
Method
- Preheat your oven to 350°F (175°C) to ensure even baking.
- In your blender, add the eggs, granulated sugar, milk or half-and-half, Original Bisquick mix, and vanilla extract. Blend until well combined and smooth.
- Add the softened cream cheese to the blender and blend until silky smooth. Dice the cream cheese into smaller chunks if your blender isn’t very powerful.
- Add in the sour cream or Greek yogurt, the additional granulated sugar, and vanilla extract. Blend until creamy and well mixed.
- Pour the cheesecake batter into your prepared 9-inch pie or springform pan. Don't worry if the batter seems thin; it will set beautifully while baking.
- Bake in the preheated oven for 35 to 40 minutes, until the edges are set and the center has a slight jiggle.
- Once baked, let the cheesecake cool at room temperature for about 30 minutes, then refrigerate for at least 2 hours.
- Before serving, sprinkle the chopped dark chocolate on top for extra flavor.
Notes
- Feel free to add lemon zest or a splash of liqueur for a flavor twist.
- This cheesecake can be made up to two days in advance.
- Store in the fridge for up to 5 days, covered well to maintain freshness.