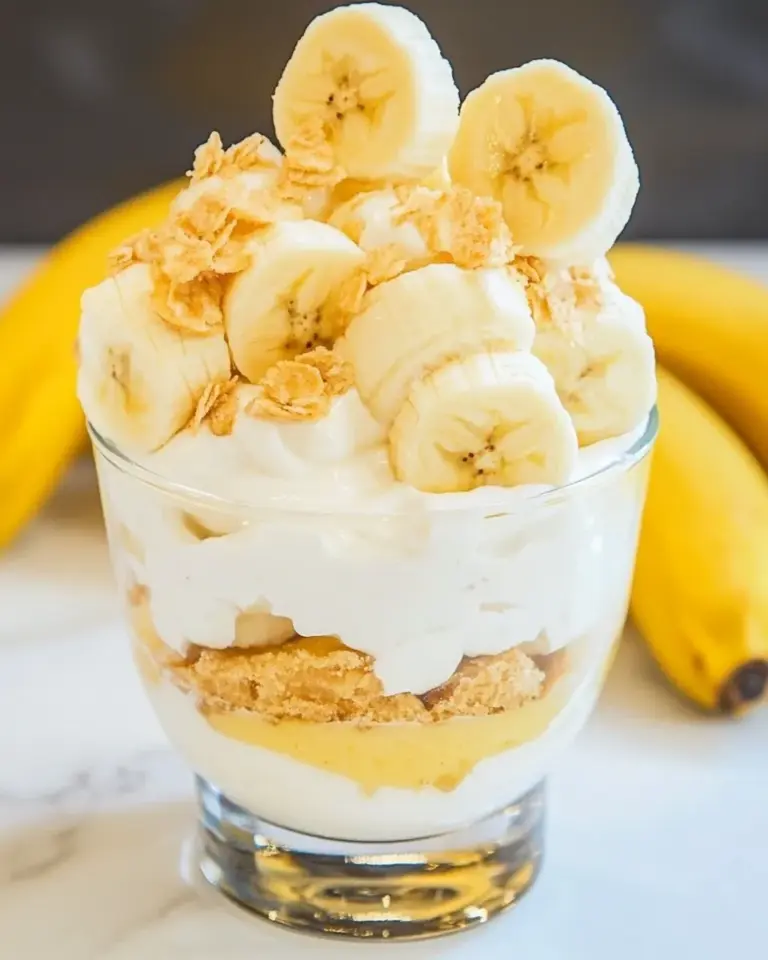
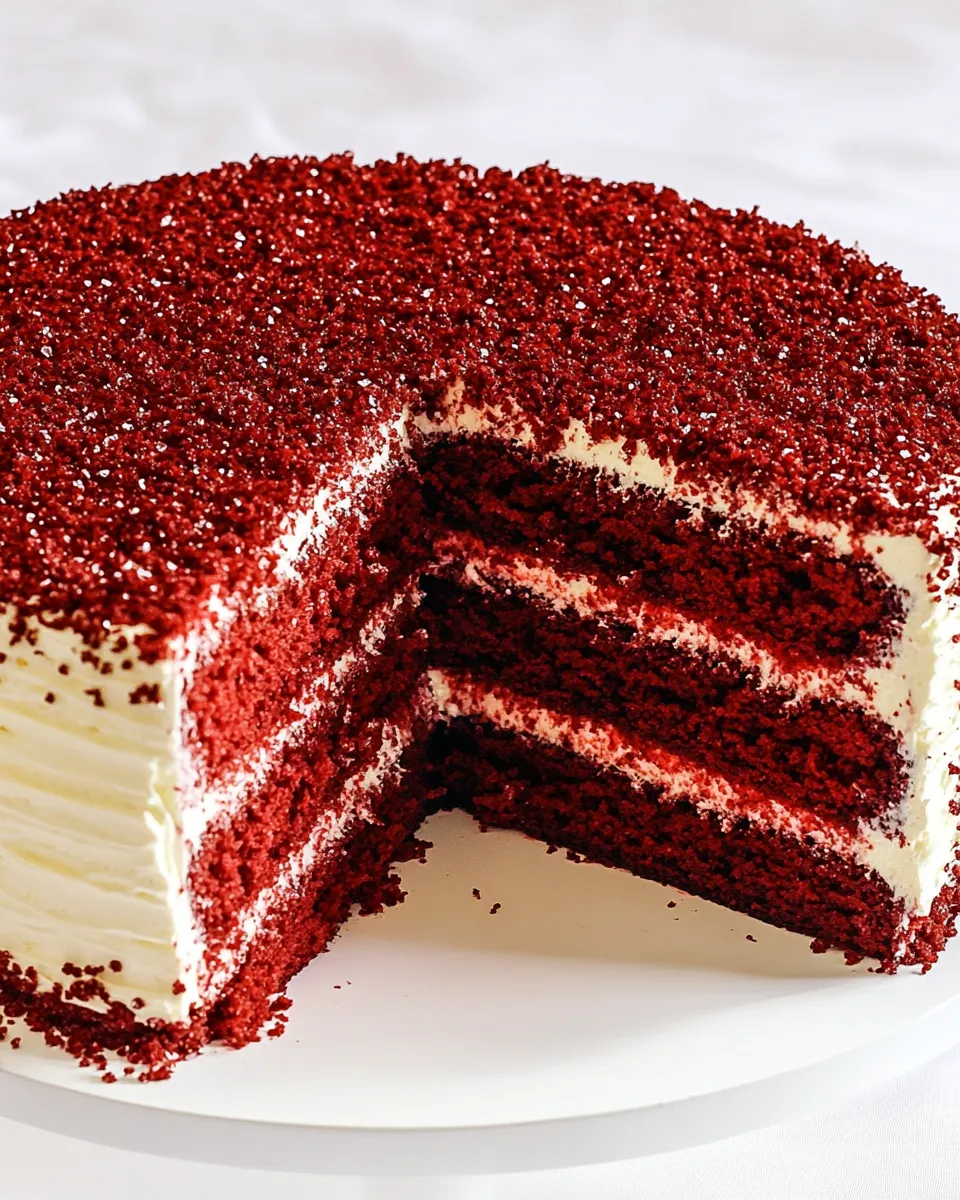
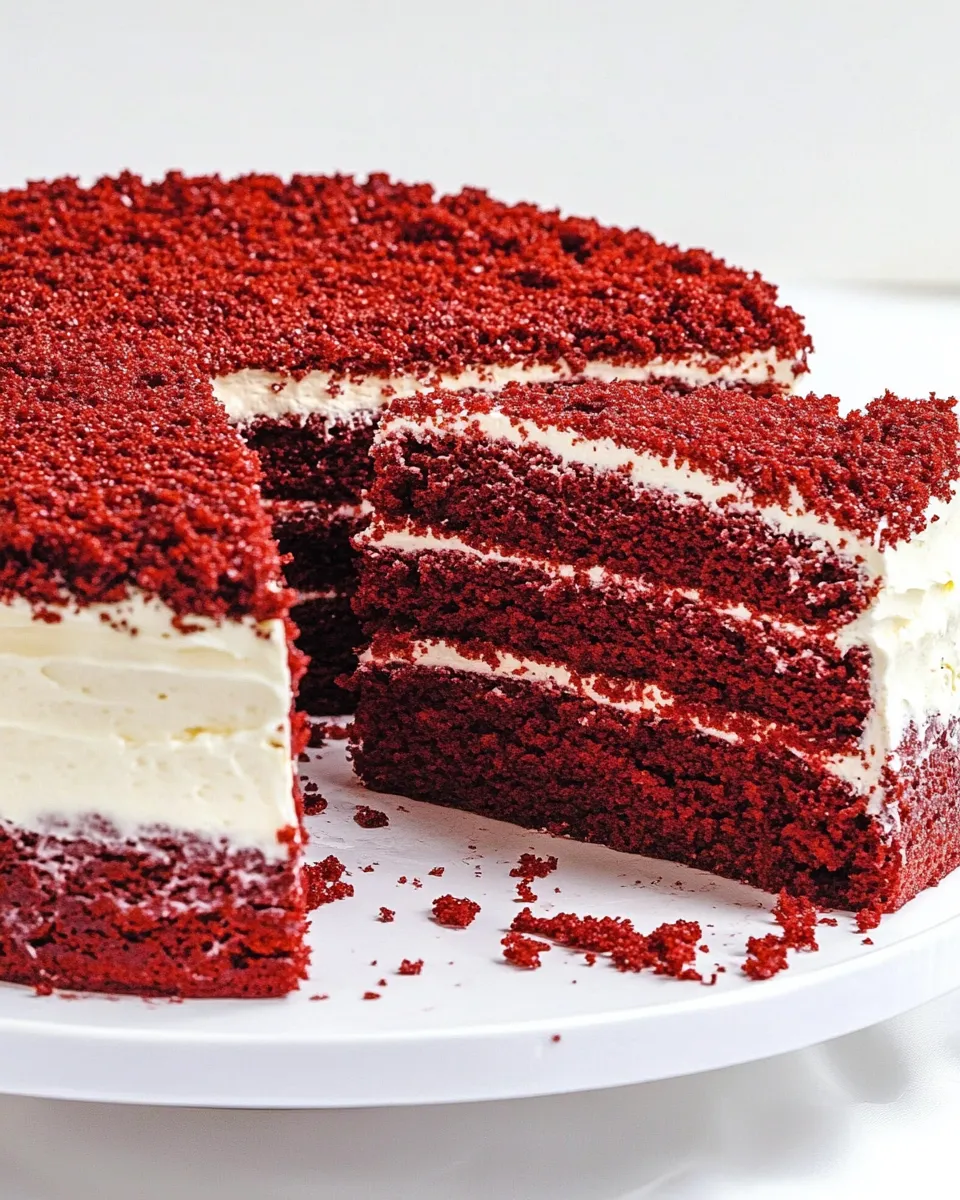
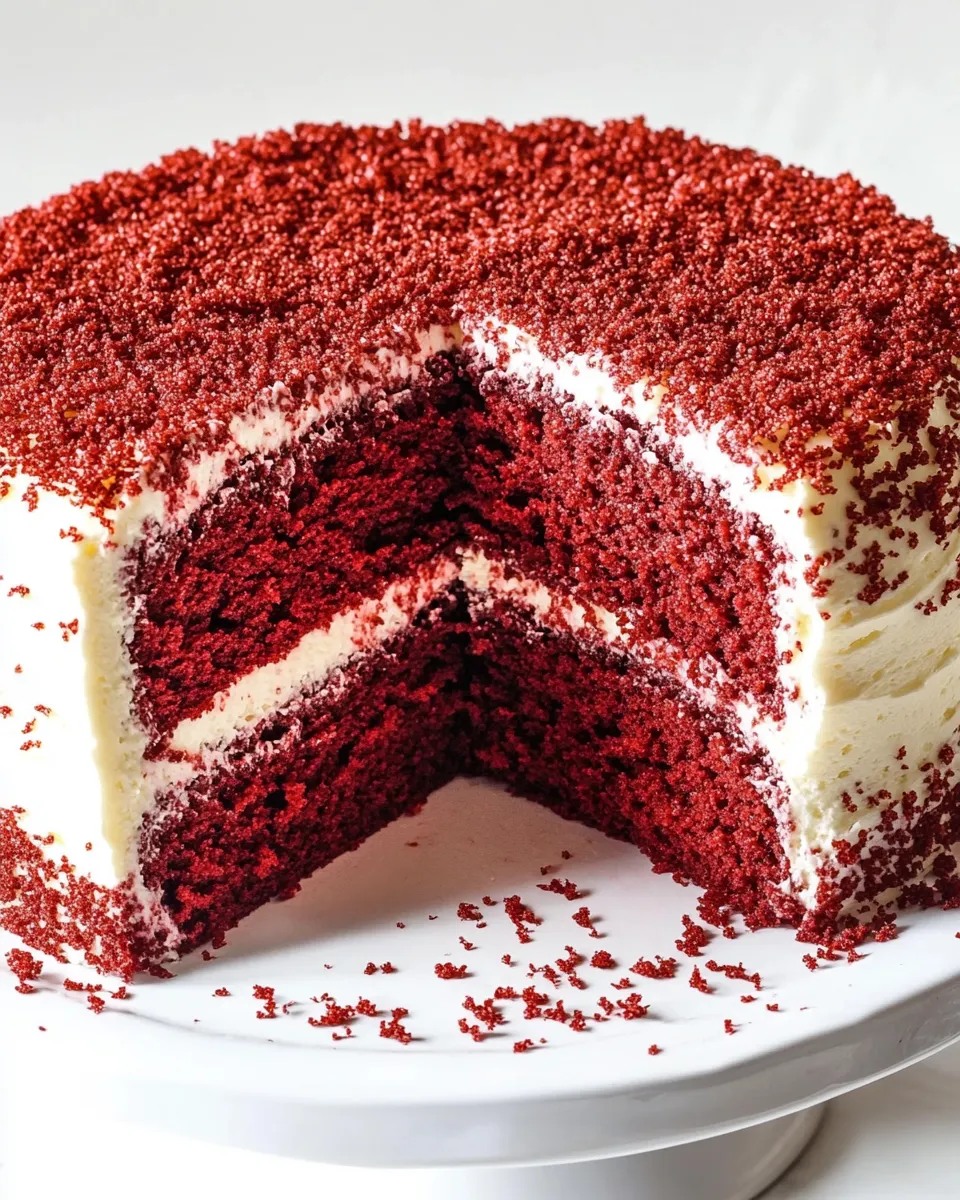
Red Velour Cake
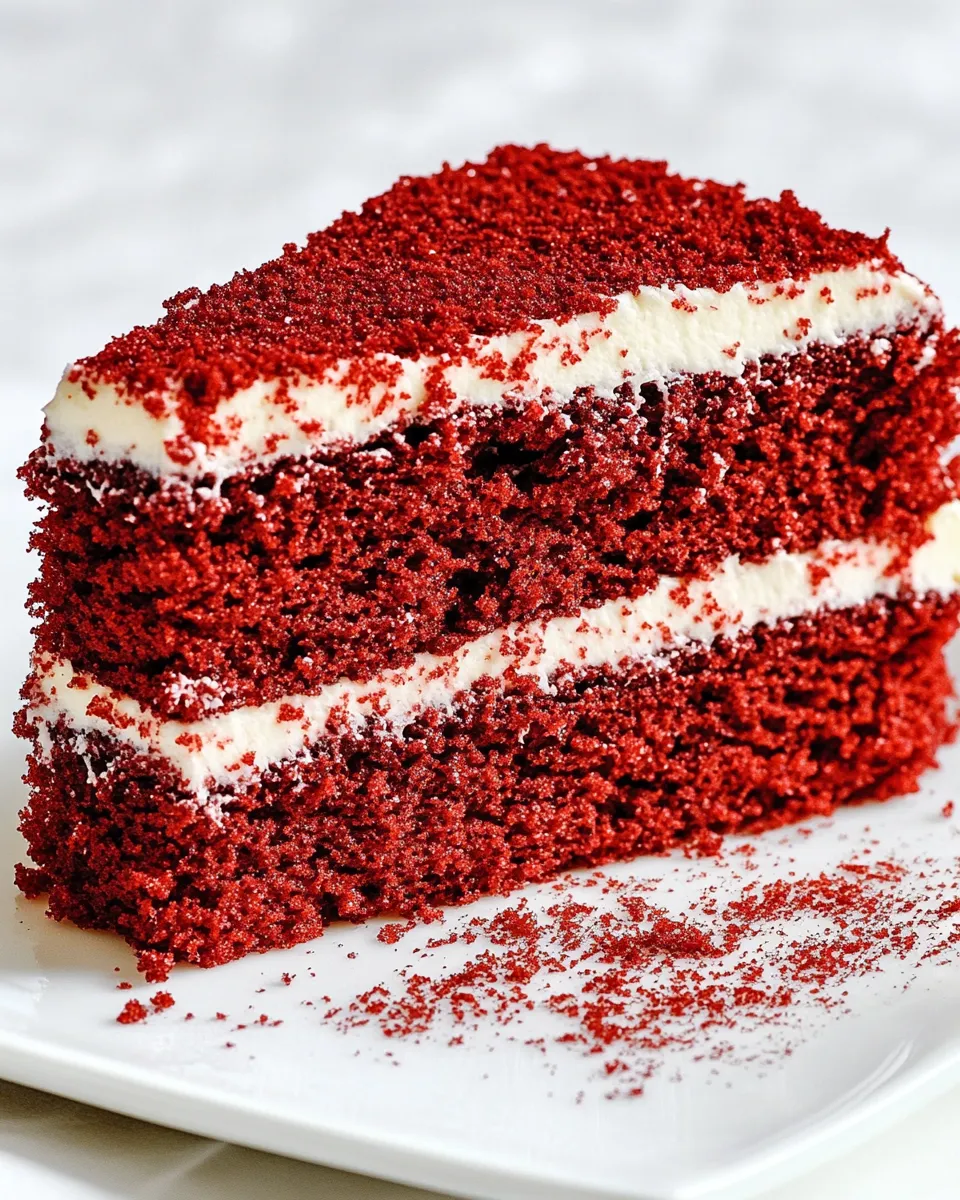
Red Velour Cake is the epitome of a show-stopping dessert. With its deep crimson hue and luscious cream cheese frosting, this cake is not just a treat for the taste buds but a feast for the eyes. Imagine slicing into a moist, tender cake that’s rich yet surprisingly light, leaving your guests clamoring for seconds. Whether it’s for a birthday, anniversary, or simply a cozy gathering, Red Velour Cake will undoubtedly make a lasting impression.
Why It Works Every Time
The secret to a perfect Red Velour Cake lies in the balance of its ingredients. The combination of buttermilk and vinegar creates a slight tang that pairs beautifully with the cocoa powder, while the red gel food coloring gives it that signature look without altering the flavor. When baked, the cake achieves a soft, velvety texture that makes each bite feel indulgent. The key is in the careful measurement and the mixing process, which contributes to the cake’s overall tenderness and moistness.
The Ingredient Lineup
To get started on this delicious adventure, let’s gather our ingredients:
- 2 cups all-purpose flour
- 2 teaspoons baking powder
- 1 teaspoon baking soda
- 1 teaspoon salt
- 2 tablespoons cocoa powder
- 1 tablespoon vinegar
- 2 teaspoons vanilla extract
- 1 tablespoon red gel food coloring
- 1 cup unsalted butter (softened)
- 1 cup sugar
- 2 eggs
- 1 cup buttermilk
- 1 cup unsalted butter (for frosting)
- 2 tablespoons all-purpose flour (for frosting)
- 1 cup milk (I used 3%)
- 1 teaspoon vanilla extract (for frosting)
- 1 teaspoon salt (for frosting)
- 8 ounces cream cheese (softened)
- 1 cup icing sugar (also known as confectioners’ sugar or powdered sugar)
Setup & Equipment
Before diving into the baking process, make sure you have the following equipment ready:
- Two 9-inch round cake pans
- Mixing bowls (one large and one medium)
- Electric mixer or whisk
- Measuring cups and spoons
- Spatula
- Cooling rack
- Offset spatula (for frosting)
Red Velour Cake: From Prep to Plate
Let’s transform those ingredients into a glorious Red Velour Cake in a few simple steps.
Step 1: Preheat the Oven
Start by preheating your oven to 350°F (175°C). This will ensure that the cake bakes evenly.
Step 2: Prepare the Cake Pans
Grease your two 9-inch round cake pans with a little butter or non-stick spray and line the bottoms with parchment paper for easy removal.
Step 3: Mix the Dry Ingredients
In a medium bowl, whisk together the all-purpose flour, baking powder, baking soda, salt, and cocoa powder. This will ensure that all the leavening agents are evenly distributed.
Step 4: Combine the Wet Ingredients
In a large mixing bowl, cream together the softened unsalted butter and sugar until light and fluffy. This should take about 3-5 minutes. Add the eggs one at a time, mixing well after each addition. Then stir in the vanilla extract, red gel food coloring, vinegar, and buttermilk.
Step 5: Combine Wet and Dry Ingredients
Gradually add the dry ingredients to the wet mixture. Mix until just combined; be careful not to overmix, as this can lead to a dense cake.
Step 6: Bake the Cake
Divide the batter evenly between the prepared pans and smooth the tops with a spatula. Bake in the preheated oven for 25-30 minutes, or until a toothpick inserted into the center comes out clean.
Step 7: Cool the Cakes
Once baked, remove the cakes from the oven and let them cool in the pans for about 10 minutes. Then, carefully remove them from the pans and transfer them to a cooling rack to cool completely.
Step 8: Prepare the Cream Cheese Frosting
In a medium bowl, beat the softened cream cheese and unsalted butter until smooth. Gradually add the icing sugar, milk, and a pinch of salt, mixing until creamy and well combined. If the frosting is too thick, add a little more milk until you reach your desired consistency.
Step 9: Frost the Cake
Once the cakes are completely cooled, place one layer on a serving plate. Generously spread a layer of cream cheese frosting on top. Place the second layer on top and frost the top and sides of the cake. Use an offset spatula for a smooth finish or create decorative swirls as desired.
Step 10: Slice and Serve
After frosting, let your cake sit for about 30 minutes to set. Then, slice into this beautiful Red Velour Cake and serve it to your delighted guests!
Ingredient Flex Options
If you’re looking to customize your Red Velour Cake, consider these options:
- For a gluten-free version, substitute all-purpose flour with a gluten-free flour blend.
- Use almond milk or oat milk instead of regular milk for a dairy-free option.
- Try using coconut oil instead of unsalted butter for a different flavor profile.
- For additional flavor, consider adding a teaspoon of espresso powder to enhance the chocolate notes.
Behind the Recipe
The origins of Red Velour Cake can be traced back to the early 20th century, where it became popular in the Southern United States. The cake’s vibrant color and unique taste made it a favorite for special occasions. Over the years, it has evolved, and various recipes have emerged, but the fundamental elements remain the same. The combination of cocoa powder and red food coloring gives the cake its distinct flavor and appearance.
This particular recipe has been crafted to ensure a moist and tender cake while maintaining the traditional characteristics that make Red Velour Cake a cherished dessert. Each bite provides a delightful balance of sweetness and a hint of tang, making it a perfect choice for any celebration.
Save for Later: Storage Tips
To ensure your Red Velour Cake stays delicious:
- Store the cake in an airtight container at room temperature for up to 3 days.
- If you wish to keep it longer, refrigerate it for up to a week; just make sure it’s well covered.
- You can also freeze the layers before frosting. Wrap them tightly in plastic wrap and foil, and they will last for up to 2 months.
- Thaw in the fridge overnight before frosting and serving.
Reader Questions
Can I use regular food coloring instead of gel food coloring?
Yes, you can use regular food coloring, but be aware that you may need to use more to achieve the same vibrant red color. Gel food coloring is more concentrated and provides a more intense hue without adding excess liquid to the batter.
What can I substitute for buttermilk?
If you don’t have buttermilk on hand, you can make a quick substitute by mixing 1 tablespoon of vinegar or lemon juice with 1 cup of milk. Let it sit for a few minutes until it thickens slightly.
How can I make the cake more chocolatey?
To enhance the chocolate flavor of your Red Velour Cake, you can add an extra tablespoon of cocoa powder to the dry ingredients. Alternatively, consider adding mini chocolate chips to the batter for extra richness.
Can I make this cake ahead of time?
Absolutely! You can bake the cake layers a day or two in advance. Just store them properly as mentioned before, and frost them on the day you plan to serve for the best texture and flavor.
Serve & Enjoy
Once your Red Velour Cake is beautifully frosted and ready to go, it’s time to indulge! Serve it at your next gathering or as a special treat for yourself. Pair it with a scoop of vanilla ice cream or a dollop of whipped cream for an extra touch of decadence. This cake is sure to impress and create wonderful memories, one slice at a time.
The Red Velour Cake is more than just a dessert; it’s a celebration of flavor and color that brings joy to any occasion. Enjoy every bite and share the love with those around you!
Red Velour Cake
Ingredients
Equipment
Method
- Step 1: Preheat the Oven. Start by preheating your oven to 350°F (175°C). This will ensure that the cake bakes evenly.
- Step 2: Prepare the Cake Pans. Grease your two 9-inch round cake pans with a little butter or non-stick spray and line the bottoms with parchment paper for easy removal.
- Step 3: Mix the Dry Ingredients. In a medium bowl, whisk together the all-purpose flour, baking powder, baking soda, salt, and cocoa powder. This will ensure that all the leavening agents are evenly distributed.
- Step 4: Combine the Wet Ingredients. In a large mixing bowl, cream together the softened unsalted butter and sugar until light and fluffy. This should take about 3-5 minutes. Add the eggs one at a time, mixing well after each addition. Then stir in the vanilla extract, red gel food coloring, vinegar, and buttermilk.
- Step 5: Combine Wet and Dry Ingredients. Gradually add the dry ingredients to the wet mixture. Mix until just combined; be careful not to overmix, as this can lead to a dense cake.
- Step 6: Bake the Cake. Divide the batter evenly between the prepared pans and smooth the tops with a spatula. Bake in the preheated oven for 25-30 minutes, or until a toothpick inserted into the center comes out clean.
- Step 7: Cool the Cakes. Once baked, remove the cakes from the oven and let them cool in the pans for about 10 minutes. Then, carefully remove them from the pans and transfer them to a cooling rack to cool completely.
- Step 8: Prepare the Cream Cheese Frosting. In a medium bowl, beat the softened cream cheese and unsalted butter until smooth. Gradually add the icing sugar, milk, and a pinch of salt, mixing until creamy and well combined. If the frosting is too thick, add a little more milk until you reach your desired consistency.
- Step 9: Frost the Cake. Once the cakes are completely cooled, place one layer on a serving plate. Generously spread a layer of cream cheese frosting on top. Place the second layer on top and frost the top and sides of the cake. Use an offset spatula for a smooth finish or create decorative swirls as desired.
- Step 10: Slice and Serve. After frosting, let your cake sit for about 30 minutes to set. Then, slice into this beautiful Red Velour Cake and serve it to your delighted guests!
Notes
- For a gluten-free version, substitute all-purpose flour with a gluten-free flour blend.
- Use almond milk or oat milk instead of regular milk for a dairy-free option.
- Try using coconut oil instead of unsalted butter for a different flavor profile.