Rocky Road Brownies
Are you ready to indulge in a dessert that combines the rich decadence of brownies with the playful flavors of rocky road? These Rocky Road Brownies are an irresistible treat that will satisfy your sweet tooth and leave your taste buds dancing. With layers of creamy chocolate, crunchy nuts, and fluffy marshmallows, this recipe is not only easy to make but also a guaranteed crowd-pleaser. Whether you’re hosting a gathering or just craving something sweet at home, these brownies will become your new favorite go-to dessert.
What Sets This Recipe Apart
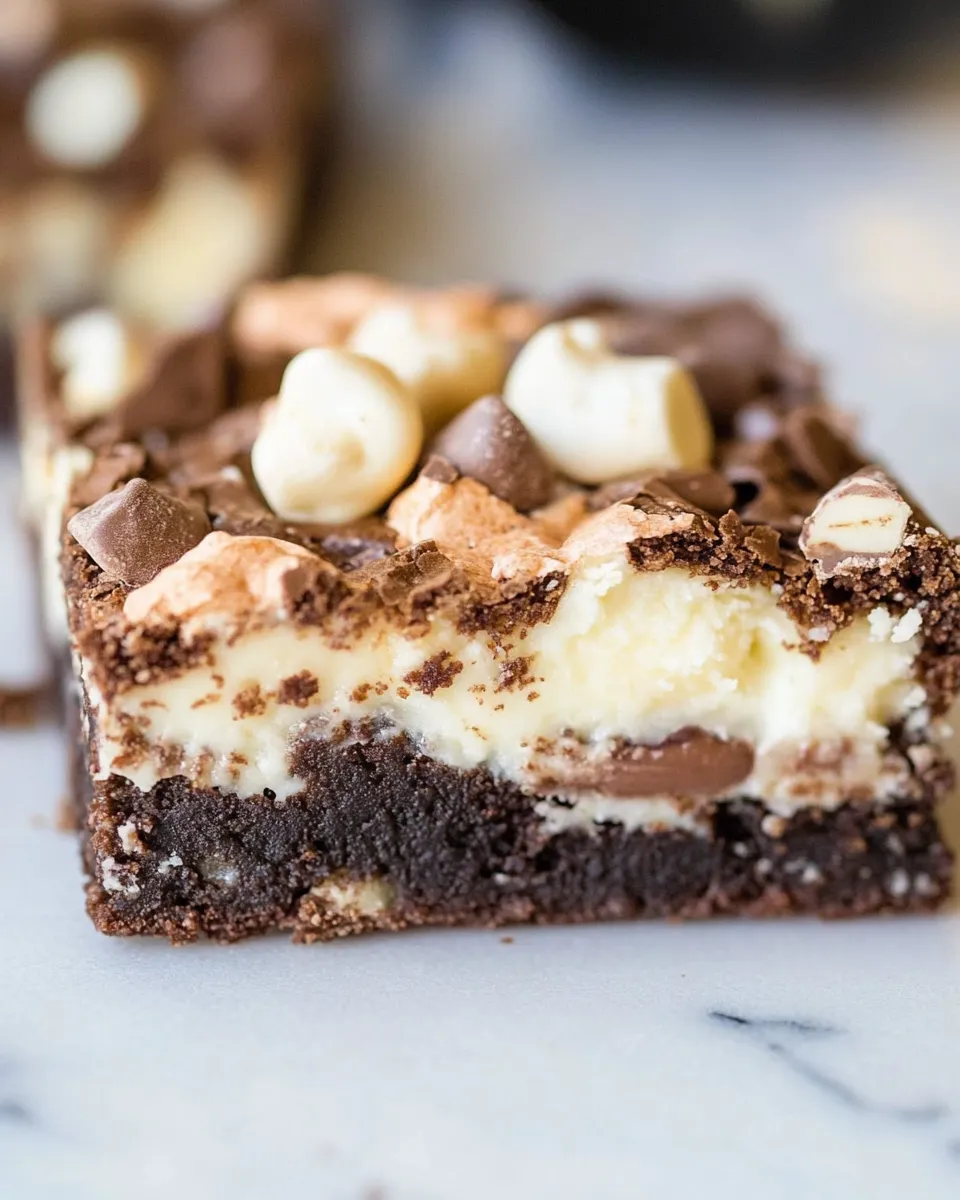
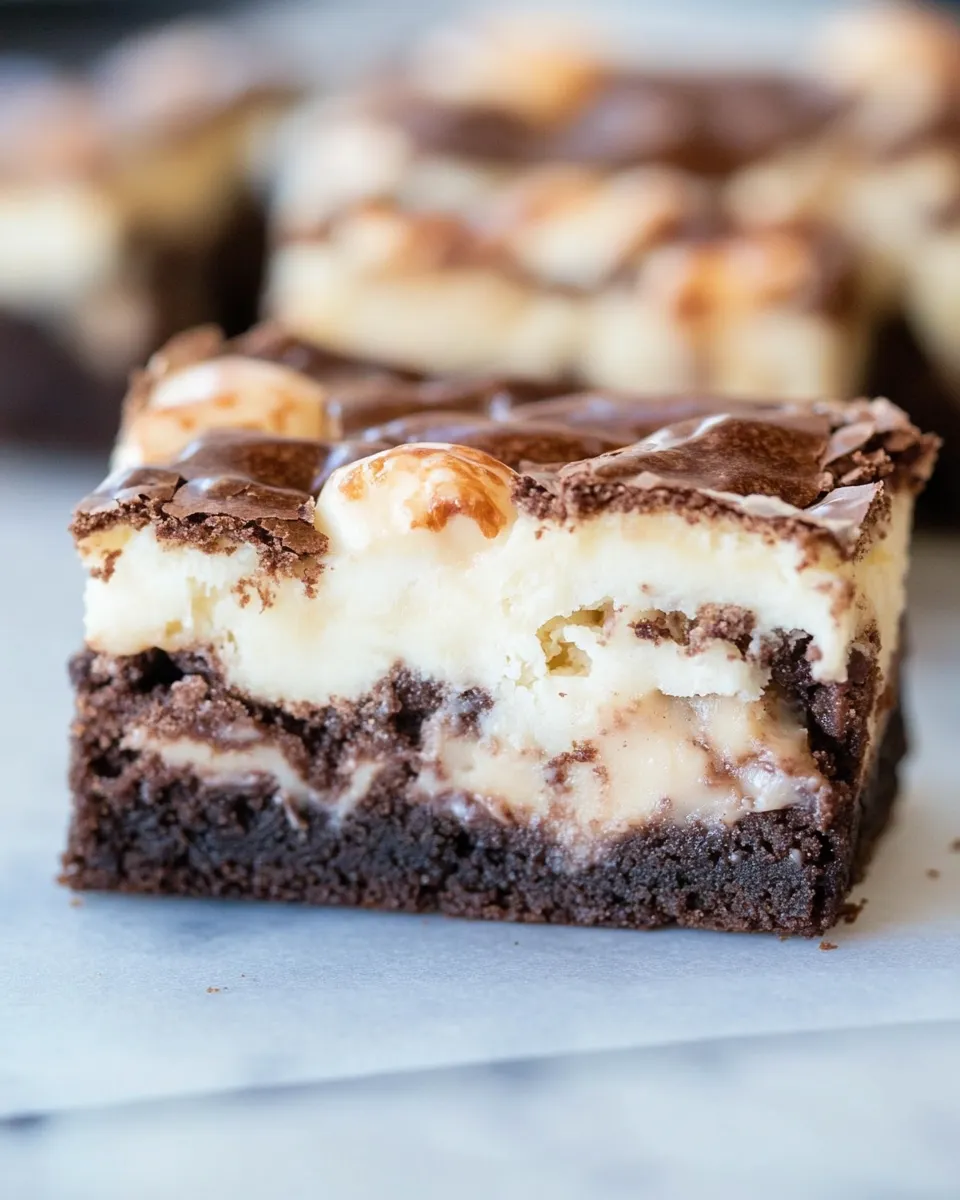
What makes these Rocky Road Brownies truly special is the combination of textures and flavors that come together in each bite. The boxed brownie mix provides a rich chocolate base that’s incredibly simple to prepare, while the addition of cream cheese creates a luscious layer of creamy goodness. Topped with a generous helping of mini marshmallows, milk chocolate chips, and chopped nuts, these brownies offer a delightful contrast of flavors that will keep you coming back for more. Plus, they come together in just a few easy steps, making them perfect for both novice bakers and seasoned pros.
Your Shopping Guide
Before you dive into baking, make sure you have the following ingredients on hand:
- 1 box (18.9 oz) brownie mix
- 1/4 cup water
- 2/3 cup oil
- 2 large eggs
- 6 oz softened cream cheese
- 1 additional egg
- 1/2 cup granulated sugar
- 1/4 cup softened butter
- 2 tablespoons all-purpose flour
- 1 teaspoon vanilla extract
- 1 cup milk chocolate chips
- 1/2 cup chopped pecans or walnuts
- 2 cups mini marshmallows
- 1/4 cup butter (for frosting)
- 1/4 cup milk (for frosting)
- 1 oz unsweetened chocolate (for frosting)
- 2 oz cream cheese (for frosting)
- 3 cups powdered sugar (for frosting)
- 1 teaspoon vanilla extract (for frosting)
Kitchen Gear Checklist
To make your baking experience smooth and enjoyable, gather the following kitchen tools:
- Mixing bowls – for combining the brownie batter and cream cheese mixture.
- Electric mixer – to easily blend the cream cheese frosting.
- Spatula – for spreading the batter and frosting evenly.
- 9×13 inch baking pan – the perfect size for baking your brownies.
- Parchment paper – to line the baking pan for easy removal.
- Measuring cups and spoons – for accurate ingredient measurements.
- Cooling rack – to let your brownies cool before frosting.
Make Rocky Road Brownies: A Simple Method
Now that you have everything ready, let’s get to the fun part—baking! Follow these simple steps to create your own Rocky Road Brownies.
Step 1: Prepare the Brownie Batter
Preheat your oven to 350°F (175°C). Grease your 9×13 inch baking pan or line it with parchment paper for easy removal.
In a large mixing bowl, combine the boxed brownie mix, 1/4 cup of water, 2/3 cup of oil, and 2 large eggs. Mix until well combined and smooth.
Step 2: Make the Cream Cheese Layer
In another bowl, beat together the softened cream cheese, 1 egg, granulated sugar, softened butter, all-purpose flour, and 1 teaspoon of vanilla extract. Mix until the mixture is creamy and smooth, creating a luscious cream cheese layer.
Step 3: Layer the Brownies
Pour half of the brownie batter into the prepared baking pan, spreading it evenly. Then, dollop the cream cheese mixture on top of the brownie layer. Use a spatula to gently spread it out, but don’t worry about making it perfect.
Pour the remaining brownie batter over the cream cheese layer and gently spread it out.
Step 4: Add the Toppings
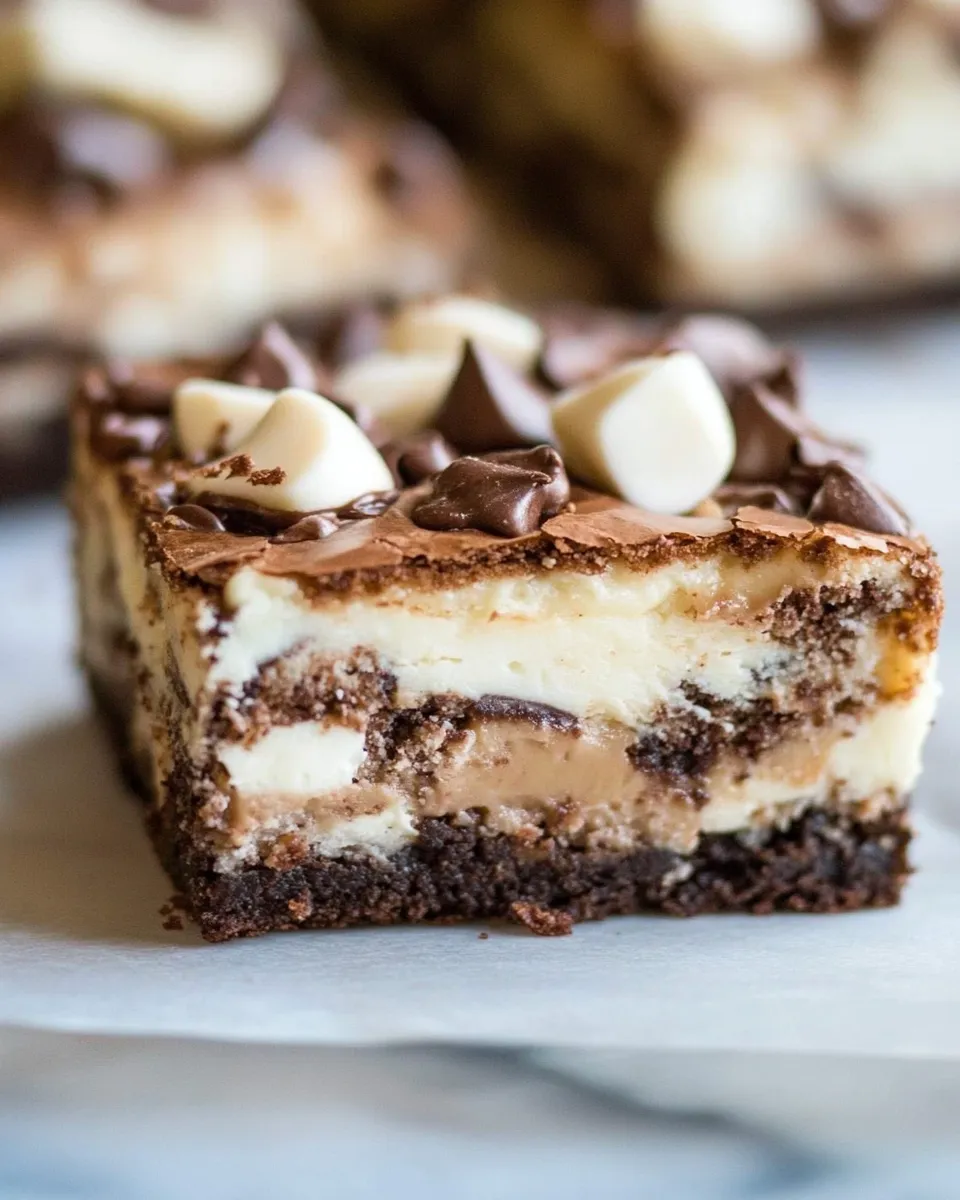
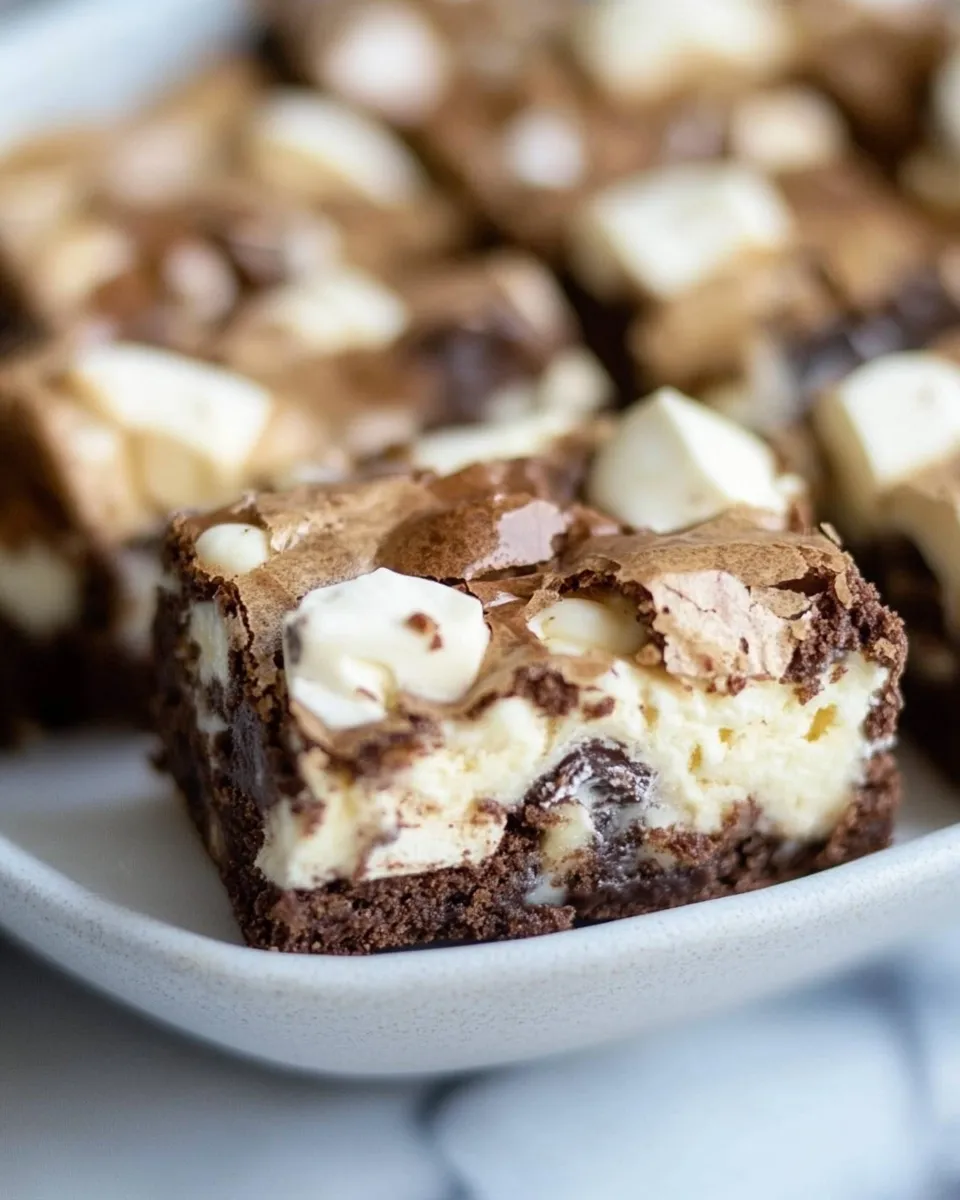
Sprinkle the milk chocolate chips, chopped nuts, and mini marshmallows evenly over the top of the brownies. Press them down gently so they adhere to the batter.
Step 5: Bake
Bake in the preheated oven for 30-35 minutes, or until a toothpick inserted in the center comes out with a few moist crumbs (not wet batter).
Step 6: Prepare the Frosting
While the brownies are baking, you can prepare the frosting. In a small saucepan, melt the 1/4 cup of butter, 1/4 cup of milk, and 1 oz of unsweetened chocolate over low heat, stirring frequently until smooth. Remove from heat and let it cool slightly.
In a mixing bowl, beat together 2 oz of cream cheese, 3 cups of powdered sugar, and 1 teaspoon of vanilla extract. Gradually add the melted chocolate mixture until smooth and creamy.
Step 7: Frost the Brownies
Once the brownies are out of the oven and have cooled for a few minutes, pour the frosting over the top and spread it evenly. Let the brownies cool completely before cutting them into squares.
Quick Replacement Ideas
If you find yourself missing an ingredient or want to make a few swaps, consider these alternatives:
- For a dairy-free option, use dairy-free cream cheese and a non-dairy milk alternative.
- Swap out the nuts for seeds (like sunflower seeds) for a nut-free version.
- If you prefer dark chocolate, substitute milk chocolate chips with dark chocolate chips.
- Use coconut oil instead of regular oil for a hint of coconut flavor.
Slip-Ups to Skip
To ensure your Rocky Road Brownies turn out perfectly, here are a few common mistakes to avoid:
- Don’t overmix the brownie batter; a few lumps are okay!
- Be careful not to overbake; check for doneness a few minutes early.
- Make sure your cream cheese is softened for a smooth mixture.
- Let the brownies cool before frosting to prevent melting.
Meal Prep & Storage Notes
If you plan to make these Rocky Road Brownies ahead of time or have leftovers, here’s how to store them:
- Store brownies in an airtight container at room temperature for up to 3 days.
- For longer storage, refrigerate them for up to a week.
- Brownies can also be frozen for up to 3 months. Just wrap them tightly in plastic wrap and place them in a freezer-safe bag.
- To enjoy frozen brownies, simply thaw in the refrigerator overnight before serving.
FAQ
Can I use a different type of nut in my brownies?
Absolutely! You can swap out pecans or walnuts for your favorite nuts or even use seeds if you’re looking for a nut-free option.
How do I know when my brownies are done baking?
The best way to check is by inserting a toothpick into the center. If it comes out with a few moist crumbs, your brownies are perfect. If it comes out wet, they need more time.
Can I make these brownies gluten-free?
Yes! You can use a gluten-free brownie mix instead of the regular boxed mix and ensure all other ingredients are gluten-free.
What’s the best way to cut brownies for serving?
For clean cuts, use a sharp knife and wipe it clean between cuts. This will help you achieve neat squares without tearing the brownies.
Let’s Eat
Now that you’ve mastered the art of making Rocky Road Brownies, it’s time to dig in and enjoy! Each bite is a celebration of chocolatey goodness, fluffy marshmallows, and crunchy nuts. Perfect for sharing or savoring all on your own, these brownies are sure to become a cherished recipe in your baking repertoire. Happy baking!
Rocky Road Brownies
Ingredients
Equipment
Method
- Preheat your oven to 350°F (175°C). Grease your 9x13 inch baking pan or line it with parchment paper for easy removal.
- In a large mixing bowl, combine the boxed brownie mix, 1/4 cup of water, 2/3 cup of oil, and 2 large eggs. Mix until well combined and smooth.
- In another bowl, beat together the softened cream cheese, 1 egg, granulated sugar, softened butter, all-purpose flour, and 1 teaspoon of vanilla extract. Mix until the mixture is creamy and smooth.
- Pour half of the brownie batter into the prepared baking pan, spreading it evenly. Then, dollop the cream cheese mixture on top and gently spread it out.
- Pour the remaining brownie batter over the cream cheese layer and gently spread it out.
- Sprinkle the milk chocolate chips, chopped nuts, and mini marshmallows evenly over the top. Press them down gently.
- Bake in the preheated oven for 30-35 minutes, or until a toothpick inserted in the center comes out with a few moist crumbs.
- While the brownies are baking, prepare the frosting by melting the butter, milk, and unsweetened chocolate in a saucepan. Let it cool slightly.
- In a mixing bowl, beat together the cream cheese, powdered sugar, and vanilla extract. Gradually add the melted chocolate mixture until smooth.
- Once the brownies are out of the oven, pour the frosting over the top and spread it evenly. Let the brownies cool completely before cutting them into squares.
Notes
- Store brownies in an airtight container at room temperature for up to 3 days.
- For longer storage, refrigerate them for up to a week.
- Brownies can also be frozen for up to 3 months; just wrap them tightly and place in a freezer-safe bag.