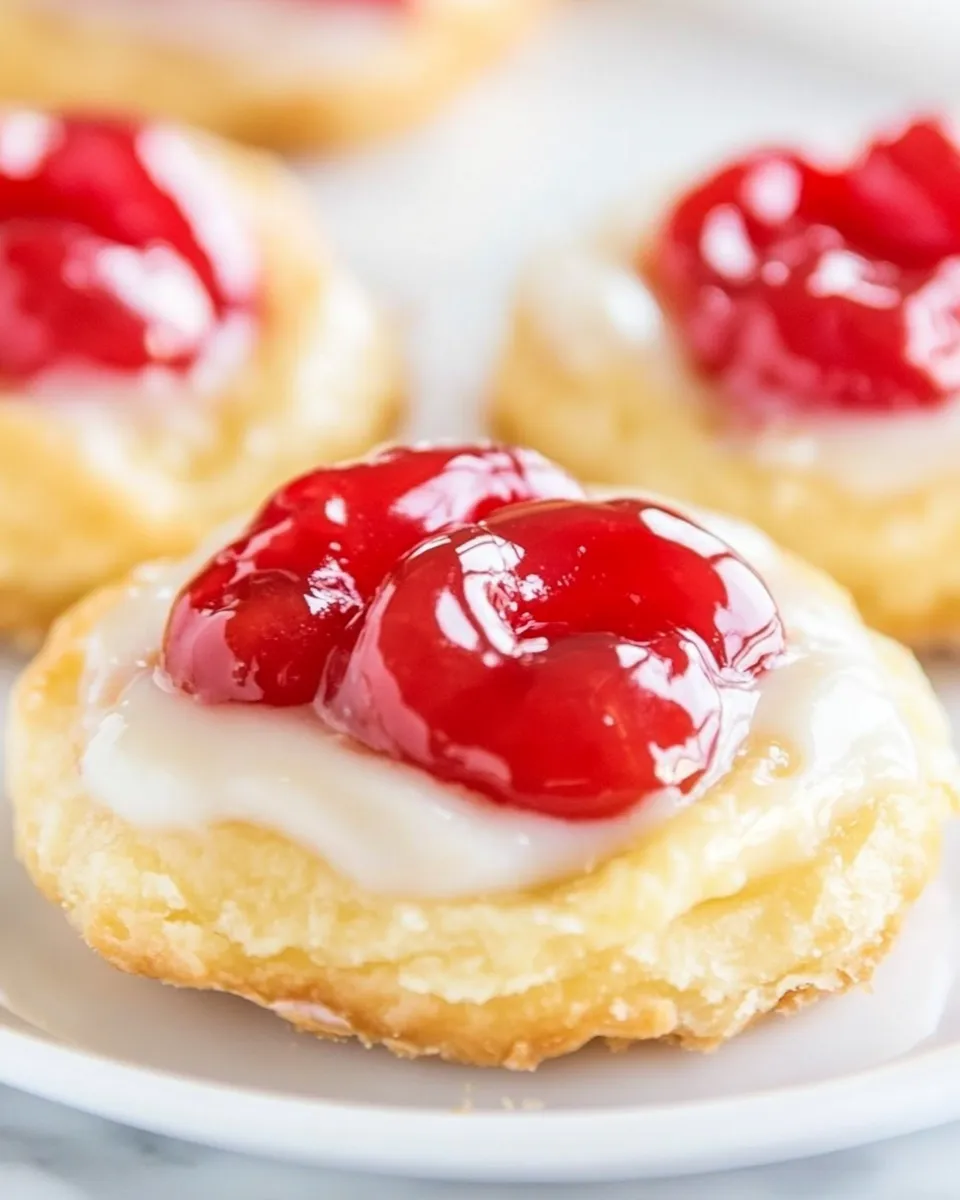
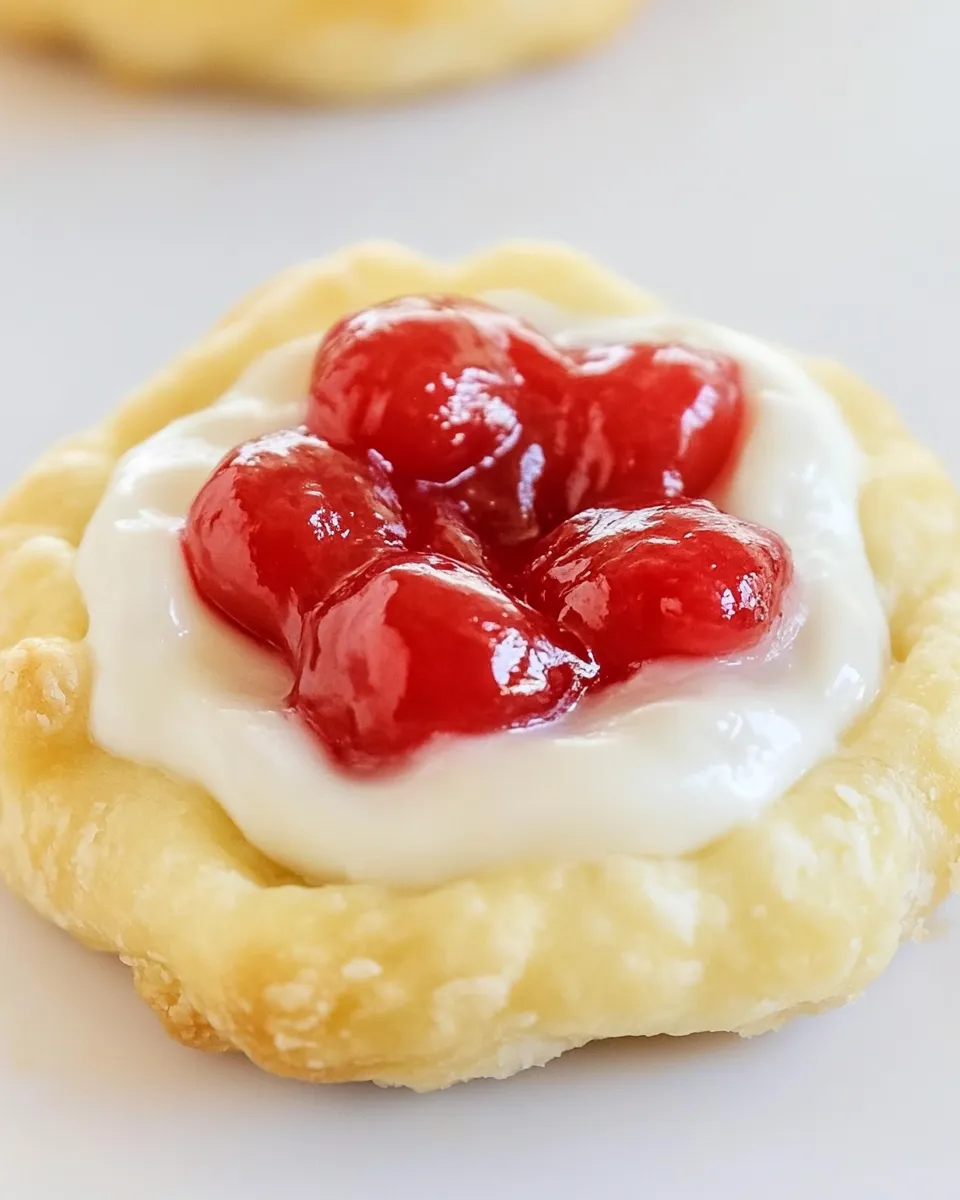
Cherry Danish
If you’re searching for a delightful pastry that combines a flaky exterior with a creamy, fruity filling, look no further than this Cherry Danish recipe. Perfect for brunches, coffee breaks, or an afternoon treat, this pastry brings together the sweet and tart flavors of cherry pie filling and a luscious cream cheese mixture. With easy-to-follow steps and simple ingredients, you’ll find that making your own Cherry Danish at home is not only satisfying but also impressively delicious.
Why It Works Every Time
This Cherry Danish recipe works seamlessly due to the combination of flaky crescent rolls and a creamy filling. The crescent rolls provide that buttery, flaky texture that contrasts beautifully with the rich cream cheese and sweet cherry filling. The almond extract adds a hint of warmth that elevates the overall flavor profile. Plus, the use of ready-made crescent rolls cuts down on preparation time, making this recipe accessible for bakers of all skill levels.
What Goes In
To create this delectable Cherry Danish, you will need the following ingredients:
- 5 ounces cream cheese, softened
- 1 teaspoon almond extract
- 1 cup sugar
- 21 ounces cherry pie filling
- 1 egg
- 1 tablespoon water
- 16 ounces flaky crescent rolls (placed in the freezer for 30 minutes)
- ½ cup slivered almonds (optional)
- 1 cup powdered sugar
- 3 tablespoons whole milk
Tools of the Trade
Before you start baking, gather the necessary tools to ensure a smooth process:
- Mixing bowl – for combining the cream cheese and sugar.
- Whisk – to blend the cream cheese mixture until smooth.
- Baking sheet – lined with parchment paper for easy cleanup.
- Pastry brush – for egg wash to give your Danish a beautiful golden color.
- Measuring cups and spoons – to accurately measure your ingredients.
- Oven – preheated to the right temperature for baking.
Mastering Cherry Danish: How-To
Creating your Cherry Danish is a straightforward process. Follow these steps for a perfect result every time:
Step 1: Prepare the Cream Cheese Filling
In a mixing bowl, combine the softened cream cheese, sugar, and almond extract. Use a whisk to blend until smooth and creamy. This mixture will serve as the rich filling for your Danish.
Step 2: Thaw and Roll Out the Crescent Rolls
Remove the flaky crescent rolls from the freezer and unwrap them. Roll out the dough on a lightly floured surface. You want to stretch it just enough to create a larger rectangle. This will allow for better folding and filling.
Step 3: Cut the Dough
Using a sharp knife or a pizza cutter, slice the dough into triangles. Each triangle should be about 4 inches wide at the base. This size will be perfect for holding the filling.
Step 4: Assemble the Danish
Place a spoonful of the cream cheese mixture at the base of each triangle and top it with a generous dollop of cherry pie filling. Starting from the base, roll up each triangle towards the tip, tucking the ends in slightly to create a crescent shape.
Step 5: Brush with Egg Wash
In a small bowl, whisk together the egg and water to create an egg wash. Use a pastry brush to gently apply this wash over the top of each rolled Danish. This step is essential for achieving that golden, glossy finish.
Step 6: Bake
Preheat your oven to 375°F (190°C). Place the assembled Danish on a baking sheet lined with parchment paper. If desired, sprinkle slivered almonds on top for added crunch and flavor. Bake for 15-20 minutes or until golden brown and puffed.
Step 7: Prepare the Glaze
While the Danish is baking, whisk together the powdered sugar and whole milk in a separate bowl until smooth. Adjust the consistency as needed; it should be thick but pourable.
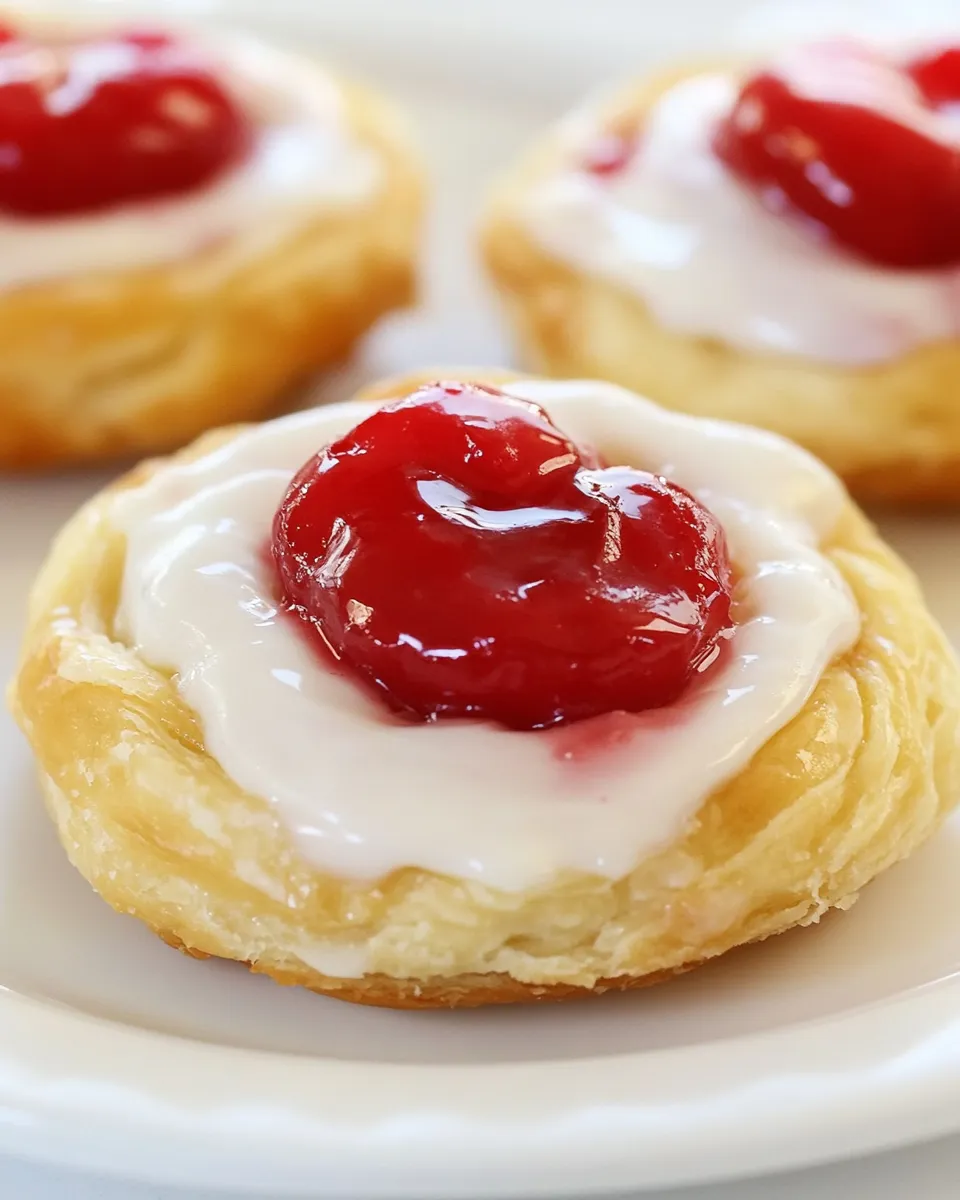
Step 8: Drizzle and Serve
Once the Danish are out of the oven and cooled slightly, drizzle the glaze over the top. Serve warm or at room temperature, and enjoy your homemade Cherry Danish!
Vegan & Vegetarian Swaps
If you’re looking to make vegan or vegetarian versions of this Cherry Danish, here are some alternatives:
- Use vegan cream cheese instead of regular cream cheese.
- Substitute almond extract with vanilla extract if preferred.
- Replace the egg wash with a mixture of plant-based milk and a pinch of turmeric or use aquafaba for a similar effect.
- For the glaze, use powdered sugar combined with almond or soy milk.
Frequent Missteps to Avoid
When making your Cherry Danish, keep these common pitfalls in mind:
- Don’t skip the chilling step for the crescent rolls; it helps maintain flakiness during baking.
- Ensure your cream cheese is softened to avoid lumps in the filling.
- Don’t overfill your Danish; too much filling can cause them to burst open while baking.
- Watch the baking time closely; ovens can vary, and you want that perfect golden brown color.
Keep It Fresh: Storage Guide
To keep your Cherry Danish fresh and delicious, consider the following tips:
You can store leftover Cherry Danish in an airtight container at room temperature for up to 2 days. For longer storage, place them in the refrigerator, where they will stay fresh for about a week. If you want to enjoy them later, consider freezing them. Wrap each Danish tightly in plastic wrap and then place them in a freezer-safe bag. They can be frozen for up to 2 months. To serve, simply thaw at room temperature and reheat in the oven for a few minutes to restore their flaky texture.
Helpful Q&A
Can I use fresh cherries instead of cherry pie filling?
Yes, you can use fresh cherries! Just make sure to pit and chop them, then cook them down with some sugar and a bit of cornstarch to create a thicker filling that mimics pie filling.
What can I substitute for the almond extract?
If you don’t have almond extract on hand or prefer a different flavor, vanilla extract is a great alternative. You could also experiment with other extracts like lemon or orange for a unique twist.
How do I know when my Cherry Danish is done baking?
Your Danish is done when they are golden brown on top and puffed up. You can also insert a toothpick into the center; if it comes out clean, they’re ready!
Can I make the filling ahead of time?
Absolutely! You can prepare the cream cheese filling a day in advance and store it in the refrigerator. Just be sure to bring it back to room temperature before using it in your Danish.
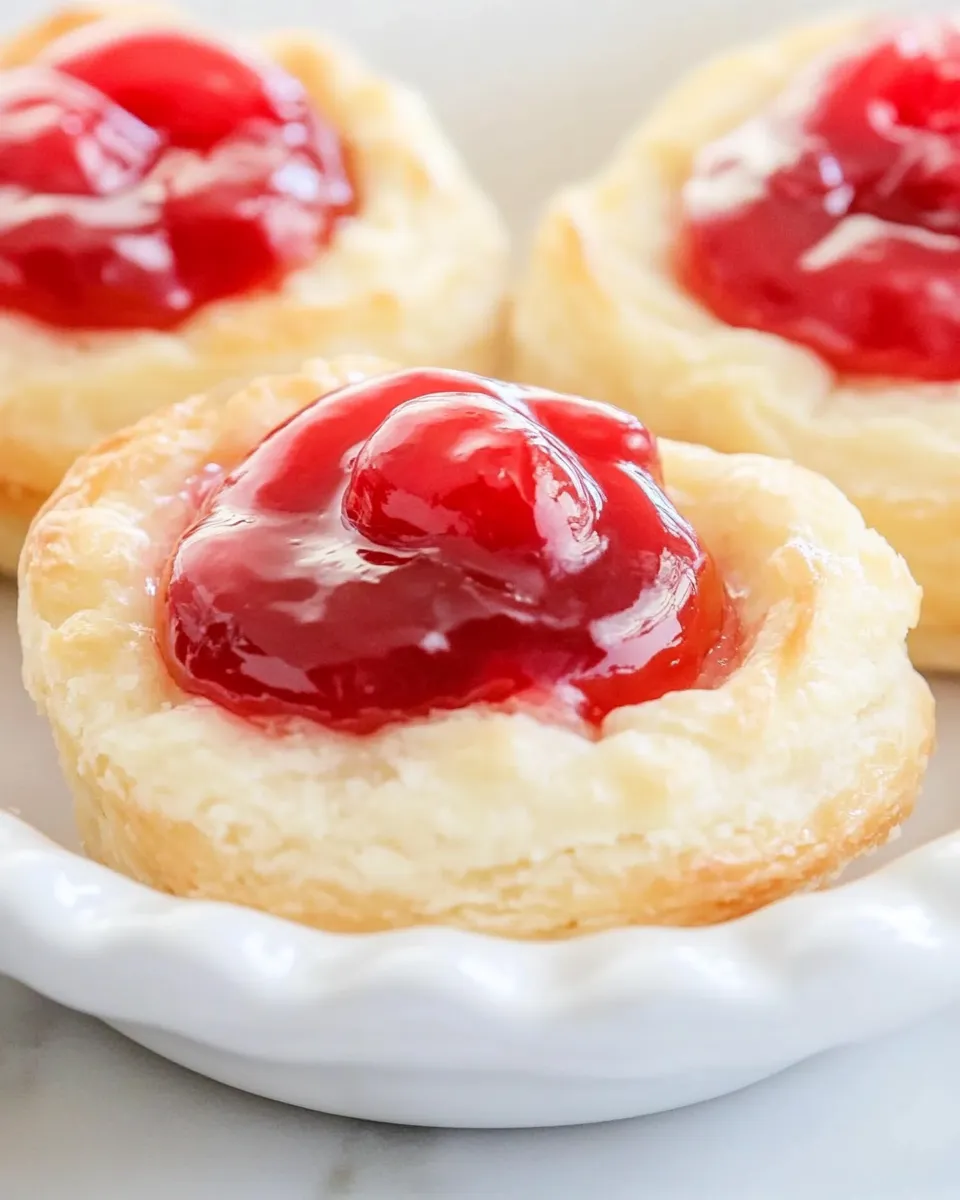
In Closing
This Cherry Danish recipe is not just about creating a delicious treat; it’s about the joy of baking and sharing. With its delightful combination of flavors and textures, it’s sure to be a hit with family and friends. Whether you’re serving it at a brunch gathering, enjoying it with a cup of coffee, or treating yourself to a sweet snack, this recipe will become a cherished favorite. Happy baking!
Cherry Danish
Ingredients
Equipment
Method
- In a mixing bowl, combine the softened cream cheese, sugar, and almond extract. Use a whisk to blend until smooth and creamy.
- Remove the flaky crescent rolls from the freezer and unwrap them. Roll out the dough on a lightly floured surface.
- Using a sharp knife or a pizza cutter, slice the dough into triangles, each about 4 inches wide at the base.
- Place a spoonful of the cream cheese mixture at the base of each triangle and top it with cherry pie filling. Roll up each triangle towards the tip.
- In a small bowl, whisk together the egg and water to create an egg wash. Brush over the top of each rolled Danish.
- Preheat your oven to 375°F (190°C). Place the assembled Danish on a baking sheet lined with parchment paper. Bake for 15-20 minutes until golden brown.
- While the Danish is baking, whisk together the powdered sugar and whole milk in a separate bowl until smooth.
- Once the Danish are out of the oven, drizzle the glaze over the top. Serve warm or at room temperature.
Notes
- Store leftovers in an airtight container at room temperature for up to 2 days.
- For longer storage, refrigerate for about a week.
- You can freeze wrapped Danish for up to 2 months and reheat in the oven.