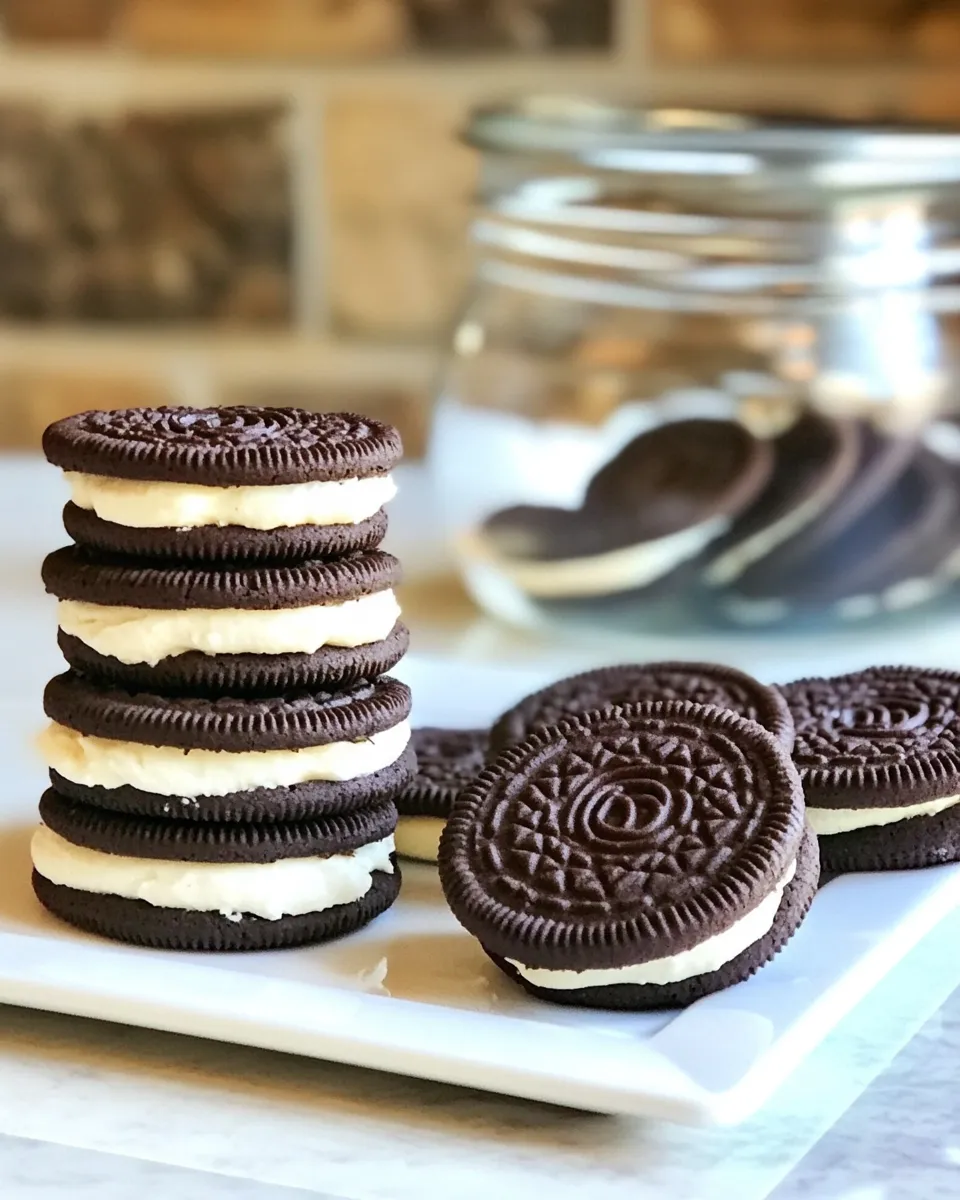
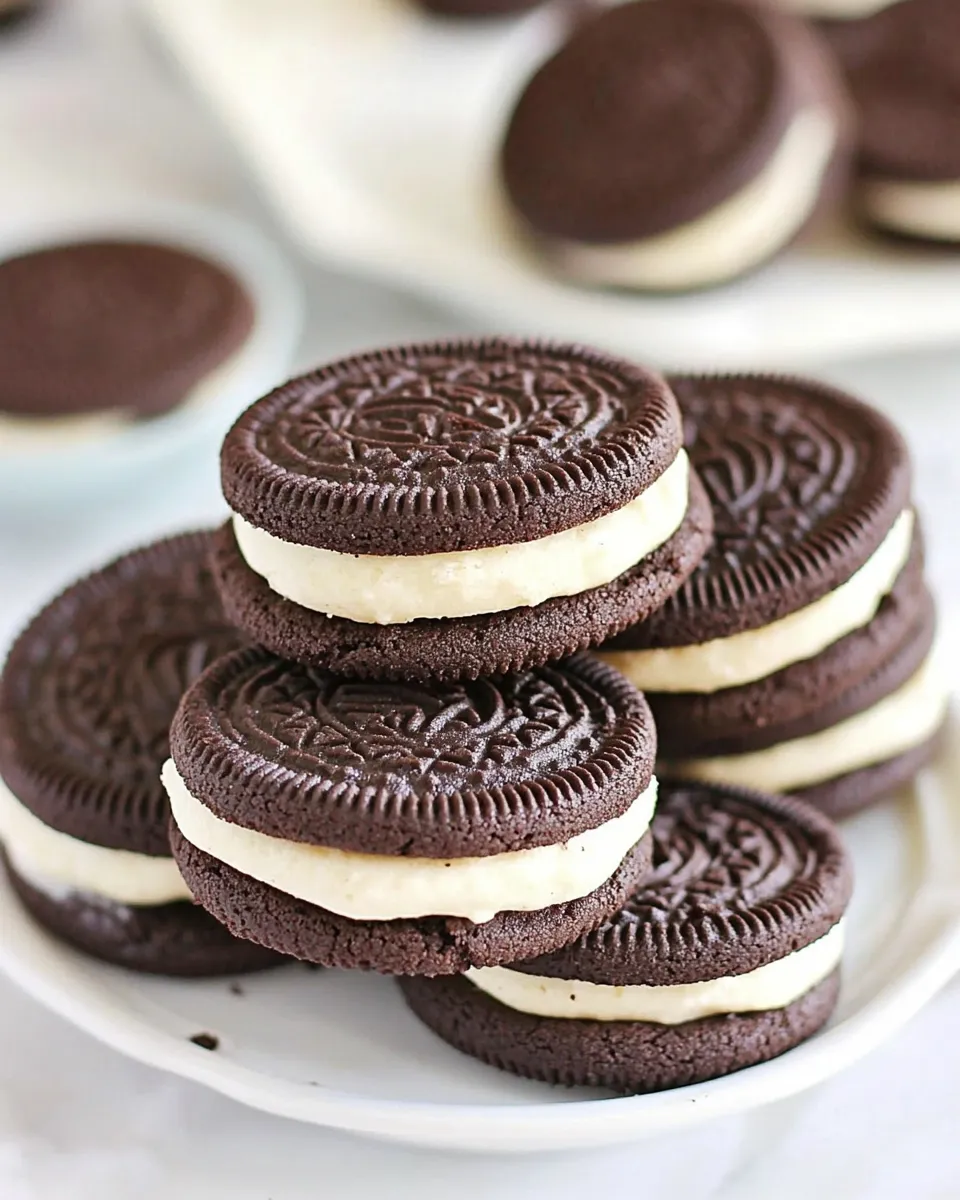
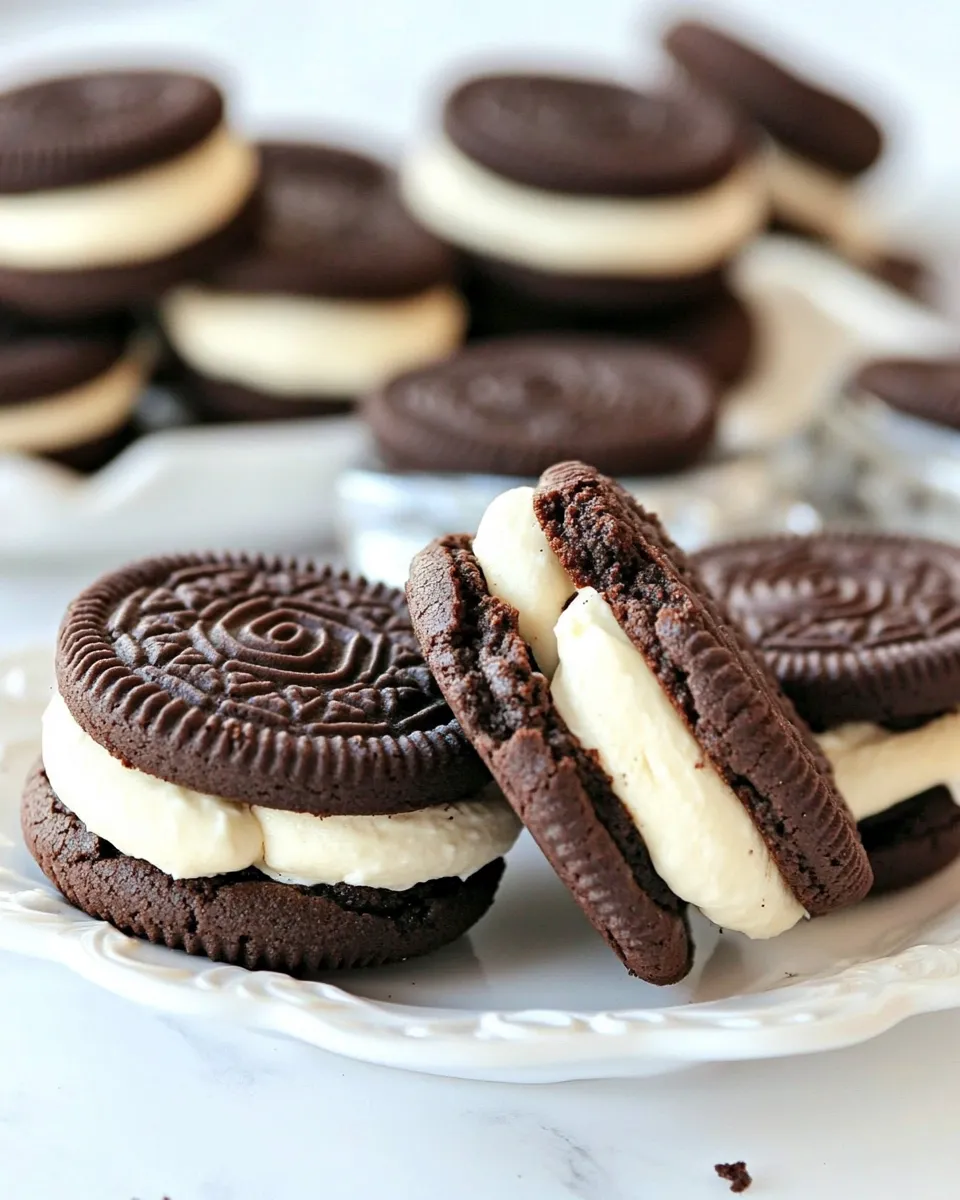
Homemade Oreo Cookies
If you’ve ever craved the rich, chocolatey goodness of an Oreo cookie, then you’re in for a treat! Making your own Homemade Oreo Cookies is not only easier than you might think, but it also allows you to indulge in a fresher, customizable version of this classic favorite. With a few simple ingredients and some love, you can recreate the iconic taste that everyone adores. Let’s dive into the delicious world of Homemade Oreo Cookies!
Why It Works Every Time
The secret to perfect Homemade Oreo Cookies lies in the balance of ingredients and the technique used. By combining all-purpose flour with unsweetened cocoa powder, you get that rich chocolate flavor that’s synonymous with Oreos. The addition of both granulated and brown sugar provides a delightful sweetness while ensuring a chewy texture. The baking soda helps the cookies rise just right, and the butter adds that luscious, melt-in-your-mouth quality that makes these cookies so irresistible.
Your Shopping Guide
Before we get started with the baking, here’s what you’ll need to gather:
- All-purpose flour (1 1/4 cups / 156 g) – This is the base for our cookie dough.
- Unsweetened cocoa powder (1/2 cup / 43 g) – For that deep chocolate flavor.
- Baking soda (1 teaspoon / 5 g) – This will help the cookies rise and become fluffy.
- Salt (1/8 teaspoon) – Just a pinch to enhance all the flavors.
- Butter (1/2 cup / 113 g, room temperature) – Essential for a rich, creamy texture.
- Granulated sugar (3/4 cup / 150 g) – Adds sweetness and helps with the cookie structure.
- Light brown sugar (1/4 cup, packed / 55 g) – Introduces moisture and a hint of caramel flavor.
- Large egg (1) – Binds the ingredients together.
- Vanilla extract (1 teaspoon / 5 ml) – Adds depth to the flavor profile.
- Butter (1/4 cup / 57 g) – For the luscious filling.
- Vegetable shortening (1/4 cup / 57 g) – Keeps the filling stable, or you can use cream cheese for a tangy twist.
- Powdered sugar (1 3/4 cups / 220 g) – Sweetens and thickens the filling.
- Vanilla extract (1 teaspoon / 5 ml) – A must for the filling too!
Toolbox for This Recipe
- Mixing bowls – For combining ingredients smoothly.
- Electric mixer – Makes creaming butter and sugars a breeze.
- Baking sheets – To hold your cookies while they bake.
- Parchment paper – Prevents sticking and makes cleanup easier.
- Cookie scoop – Ensures uniform cookie sizes.
- Cooling rack – For letting your cookies cool down properly.
Cooking Homemade Oreo Cookies: The Process
Step 1: Prepare the Oven
Preheat your oven to 350°F (175°C). Line your baking sheets with parchment paper to ensure your cookies don’t stick.
Step 2: Mix Dry Ingredients
In a medium bowl, whisk together the all-purpose flour, cocoa powder, baking soda, and salt. This ensures that all the dry ingredients are evenly distributed.
Step 3: Cream the Butters and Sugars
In a large mixing bowl, using an electric mixer, cream together the 1/2 cup of room temperature butter, granulated sugar, and brown sugar until the mixture is light and fluffy. This usually takes about 2-3 minutes.
Step 4: Add the Egg and Vanilla
Beat in the large egg and 1 teaspoon of vanilla extract until well combined.
Step 5: Combine Wet and Dry Ingredients
Gradually add the dry mixture to the wet mixture, mixing until just combined. Be careful not to overmix, as this can lead to tough cookies.
Step 6: Scoop the Dough
Using a cookie scoop or a tablespoon, drop dough onto the prepared baking sheets, leaving enough space between each cookie to allow for spreading.
Step 7: Bake
Bake in the preheated oven for 10-12 minutes, or until the edges are set and the centers are slightly soft. They will continue to firm up as they cool.
Step 8: Cool the Cookies
Remove the baking sheets from the oven and let the cookies cool on the sheets for 5 minutes before transferring them to a wire rack to cool completely.
Step 9: Make the Filling
While the cookies are cooling, prepare the filling. In a mixing bowl, beat together the 1/4 cup of butter, 1/4 cup of vegetable shortening (or cream cheese if you prefer), powdered sugar, and 1 teaspoon of vanilla extract until smooth and creamy.
Step 10: Assemble Your Oreos
Once the cookies are completely cool, spread a generous amount of filling on the flat side of one cookie and sandwich it with another cookie. Press gently to secure.
Allergy-Friendly Swaps
If you or someone you know has specific dietary restrictions, here are some easy swaps you can make:
- Gluten-free flour – Substitute all-purpose flour with a 1:1 gluten-free baking blend.
- Dairy-free butter – Use a plant-based butter alternative for the cookie dough and filling.
- Egg substitute – Replace the egg with a flaxseed egg (1 tablespoon ground flaxseed mixed with 2.5 tablespoons water).
- Vegan cream cheese – Use a dairy-free cream cheese for the filling.
Method to the Madness
Creating Homemade Oreo Cookies is not just about following a recipe; it’s about the joy of baking. From the aroma of chocolate wafting through your kitchen to the satisfaction of crafting your own treats, the entire process is rewarding. Plus, you can customize these cookies to your liking, whether you want them to be extra chocolatey or filled with a thicker layer of frosting. The options are endless!
Save It for Later
If you find yourself with extra Homemade Oreo Cookies (if that’s even possible!), store them in an airtight container at room temperature for up to a week. For longer storage, you can freeze them! Just make sure to separate layers with parchment paper to prevent sticking. When you’re ready to enjoy them again, let them thaw at room temperature, and they’ll taste just as fresh as the day you made them.
Helpful Q&A
Can I use cocoa powder instead of Dutch-processed cocoa powder?
Absolutely! Regular unsweetened cocoa powder works perfectly in this recipe and will still yield delicious cookies.
What can I do if my cookies are too hard?
If your cookies turn out too hard, they may have been overbaked. Keep an eye on them during the last few minutes of baking. Remember, they will continue to firm up as they cool!
Can I add mix-ins to the cookie dough?
Of course! Feel free to add chocolate chips, nuts, or even crushed candy for an extra special twist on your Homemade Oreo Cookies.
How do I make my filling extra creamy?
For an extra creamy filling, make sure your butter is at room temperature before mixing. You can also add a tablespoon of milk or cream to achieve your desired consistency.
Time to Try It
Now that you have all the details and tips for making the perfect Homemade Oreo Cookies, it’s time to gather your ingredients and get baking! You’ll find that the process is as enjoyable as the final product. Once you take that first bite, you’ll understand just how rewarding it is to create your very own version of this classic treat.
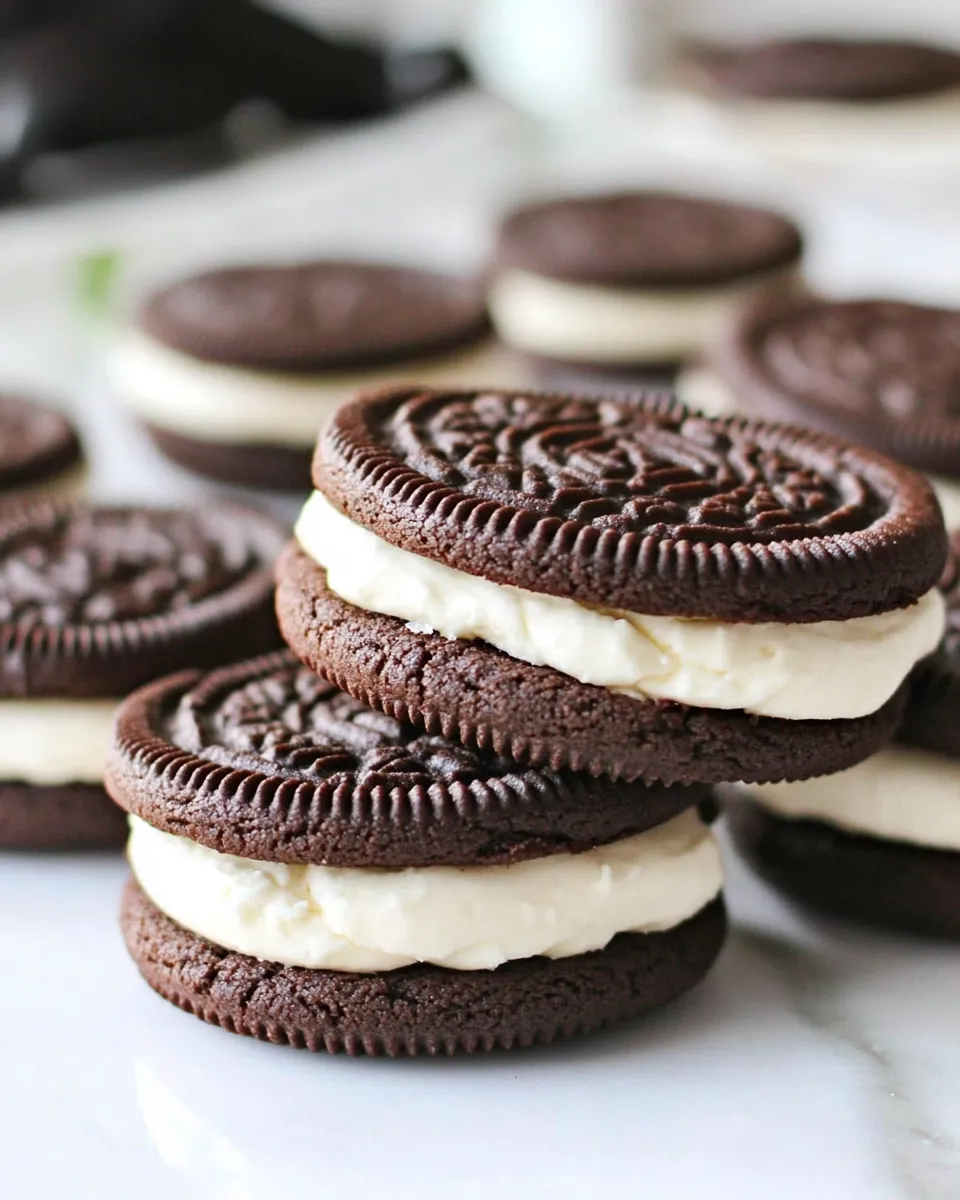
With a chocolatey exterior and a sweet, creamy filling, these Homemade Oreo Cookies are bound to impress your friends and family. Whether you’re enjoying them with a glass of milk or sharing them at a gathering, they’re sure to bring smiles all around. Happy baking!
Homemade Oreo Cookies
Ingredients
Equipment
Method
- Preheat your oven to 350°F (175°C). Line your baking sheets with parchment paper to ensure your cookies don’t stick.
- In a medium bowl, whisk together the all-purpose flour, cocoa powder, baking soda, and salt.
- In a large mixing bowl, cream together the 1/2 cup of room temperature butter, granulated sugar, and brown sugar until light and fluffy.
- Beat in the large egg and 1 teaspoon of vanilla extract until well combined.
- Gradually add the dry mixture to the wet mixture, mixing until just combined.
- Using a cookie scoop or a tablespoon, drop dough onto the prepared baking sheets, leaving enough space between each cookie.
- Bake for 10-12 minutes, or until the edges are set and the centers are slightly soft.
- Let the cookies cool on the sheets for 5 minutes before transferring them to a wire rack to cool completely.
- While the cookies are cooling, prepare the filling by beating together the 1/4 cup of butter, 1/4 cup of vegetable shortening, powdered sugar, and 1 teaspoon of vanilla extract until smooth.
- Once the cookies are completely cool, spread a generous amount of filling on one cookie and sandwich it with another.
Notes
- Store cookies in an airtight container at room temperature for up to a week.
- To freeze, separate layers with parchment paper to prevent sticking.
- Use gluten-free flour for a gluten-free version.