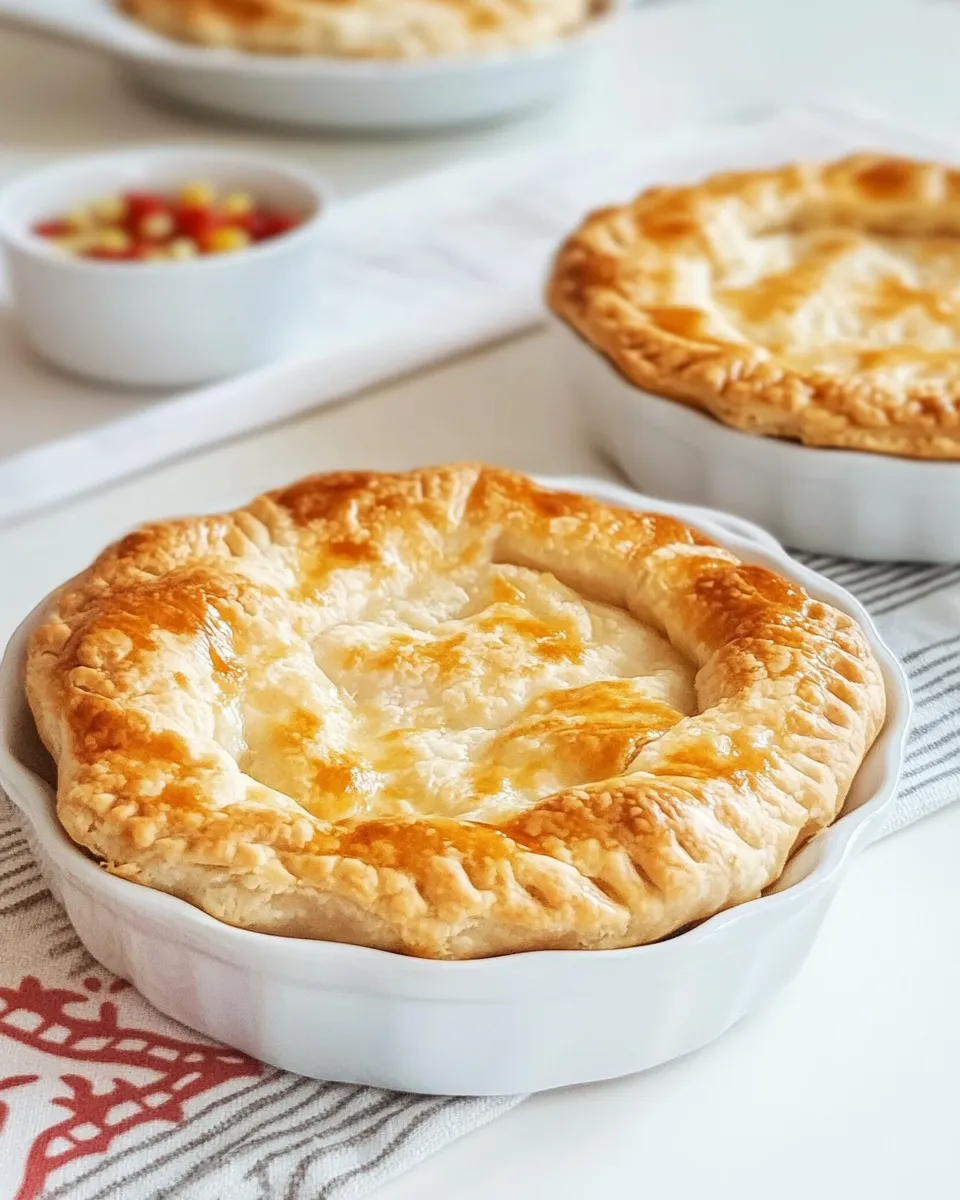
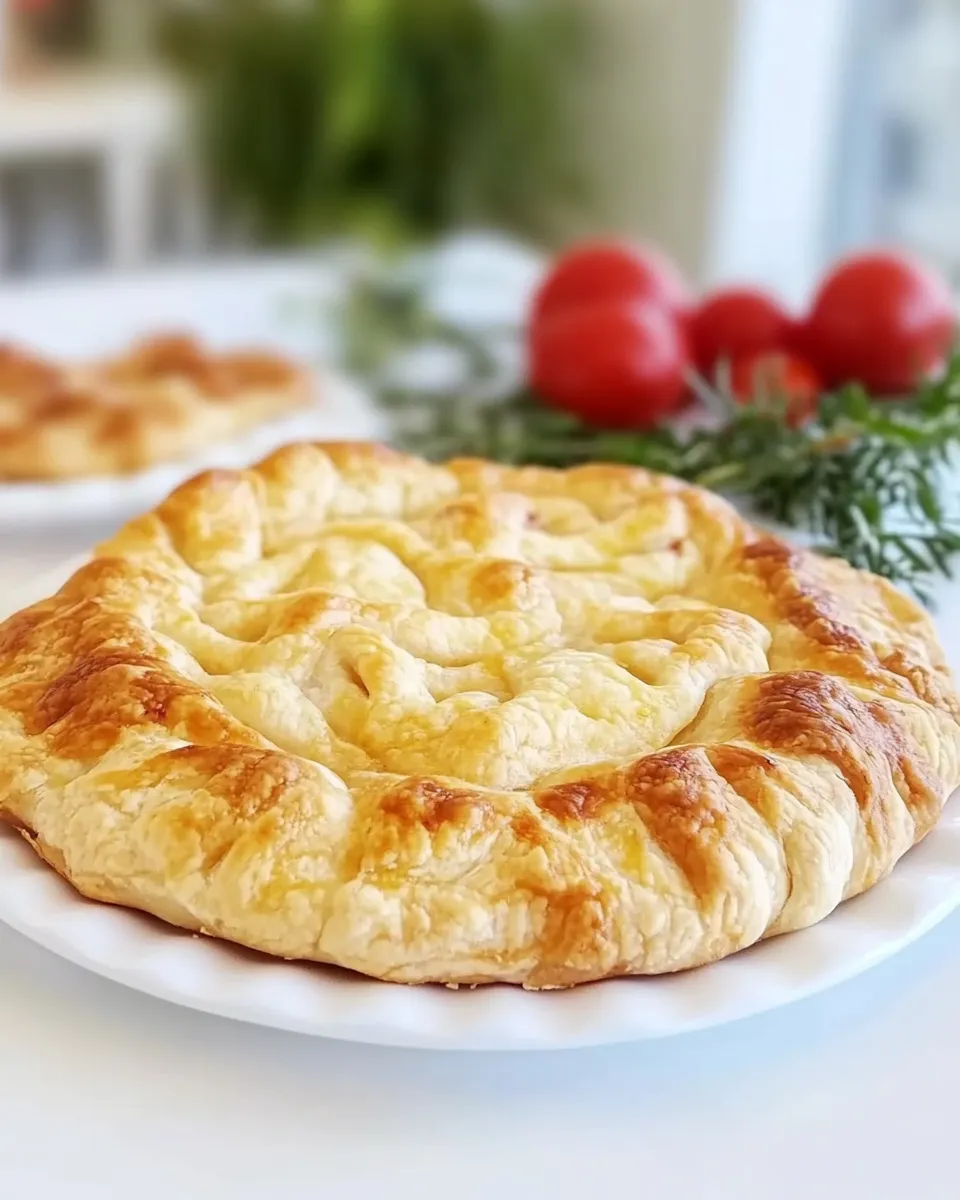
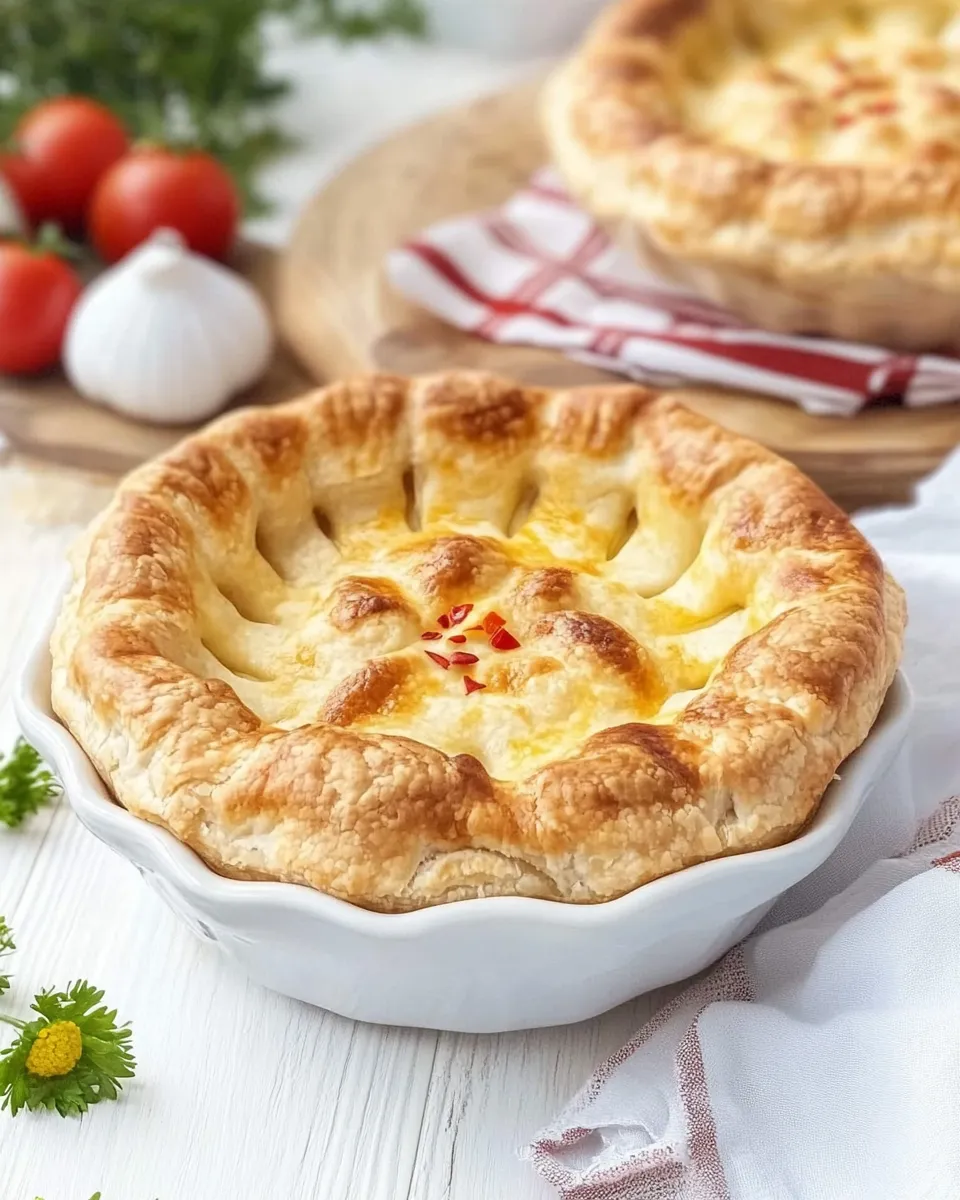
Karelian Pies
Karelian pies, or “Karjalanpiirakka,” are a beloved Finnish delicacy that transports you straight to the heart of Finland with every bite. These hand-held pastries feature a delicate crust filled with creamy rice porridge and are often enjoyed warm with a generous spread of egg butter. This recipe, which incorporates short-grain rice such as Arborio or Calrose, guarantees a satisfying and authentic experience. Perfect for any occasion, Karelian pies are not just a treat for the taste buds but also a feast for the eyes. Let’s dive into this delightful recipe!
Why You’ll Love This Recipe
There are countless reasons to fall in love with Karelian pies. First and foremost, they are incredibly comforting. The combination of creamy rice filling enveloped in a tender rye crust is simply irresistible. They also make for a wonderful appetizer, snack, or even a light meal. Another highlight is their versatility; you can customize the filling with various ingredients, making them suitable for any palate. Plus, they are a fantastic way to impress your friends and family with your baking skills while introducing them to a piece of Finnish culture.
What You’ll Gather
To make these delicious Karelian pies, you will need the following ingredients:
- 4/5 cup short-grain rice (Arborio or Calrose)
- 4/5 cup water
- 4 cups whole milk
- 2 tablespoons butter
- 1 teaspoon salt
- 4/5 cup water (for dough)
- 1 ¼ cup rye flour
- ½ cup all-purpose flour
- 1 teaspoon salt (for dough)
- 2 hard-boiled eggs
- ¼ cup softened butter (for egg butter)
- Salt to taste (for egg butter)
Equipment & Tools
To create your Karelian pies, gather the following kitchen tools:
- Medium saucepan – for cooking the rice and milk mixture.
- Mixing bowls – for preparing the dough and filling.
- Rolling pin – to roll out the dough.
- Baking sheet – to bake the pies in the oven.
- Pastry brush – for applying butter to the baked pies.
- Knife or egg slicer – for chopping the hard-boiled eggs.
How to Prepare Karelian Pies
The process of making Karelian pies is as enjoyable as eating them. Follow these steps for a delicious outcome:
Step 1: Prepare the Rice Filling
In a medium saucepan, combine the short-grain rice and 4/5 cup of water. Bring to a boil, then reduce the heat to low and cover. Cook until the rice absorbs the water, around 10-15 minutes. Stir in the whole milk, 1 teaspoon of salt, and 2 tablespoons of butter. Cook on low, stirring occasionally, until the mixture becomes thick and creamy, about 20-25 minutes. Once done, set the filling aside to cool.
Step 2: Make the Rye Dough
In a large mixing bowl, combine the rye flour, all-purpose flour, and 1 teaspoon of salt. Gradually add 4/5 cup of water and mix until a smooth dough forms. Knead the dough on a floured surface for about 5 minutes until it becomes elastic. Divide the dough into small balls, roughly the size of golf balls, and cover them with a cloth to prevent drying out.
Step 3: Roll Out the Dough
On a floured surface, take one ball of dough and roll it out into a thin oval shape, about 1/8 inch thick. Aim for a rustic look; uneven edges add to the charm of Karelian pies!
Step 4: Fill the Dough
Place a generous tablespoon of the rice filling in the center of the rolled-out dough. Fold the edges over the filling, creating a boat-like shape, and pinch to seal. Don’t worry if they look a little rustic; that’s part of their charm!
Step 5: Bake the Pies
Preheat your oven to 425°F (220°C) and line a baking sheet with parchment paper. Place the filled pies on the baking sheet and bake for about 20-25 minutes, or until the edges are golden brown.
Step 6: Prepare the Egg Butter
While the pies are baking, chop the hard-boiled eggs and mix them with softened butter in a bowl. Add salt to taste. This egg butter is the perfect accompaniment for your Karelian pies.
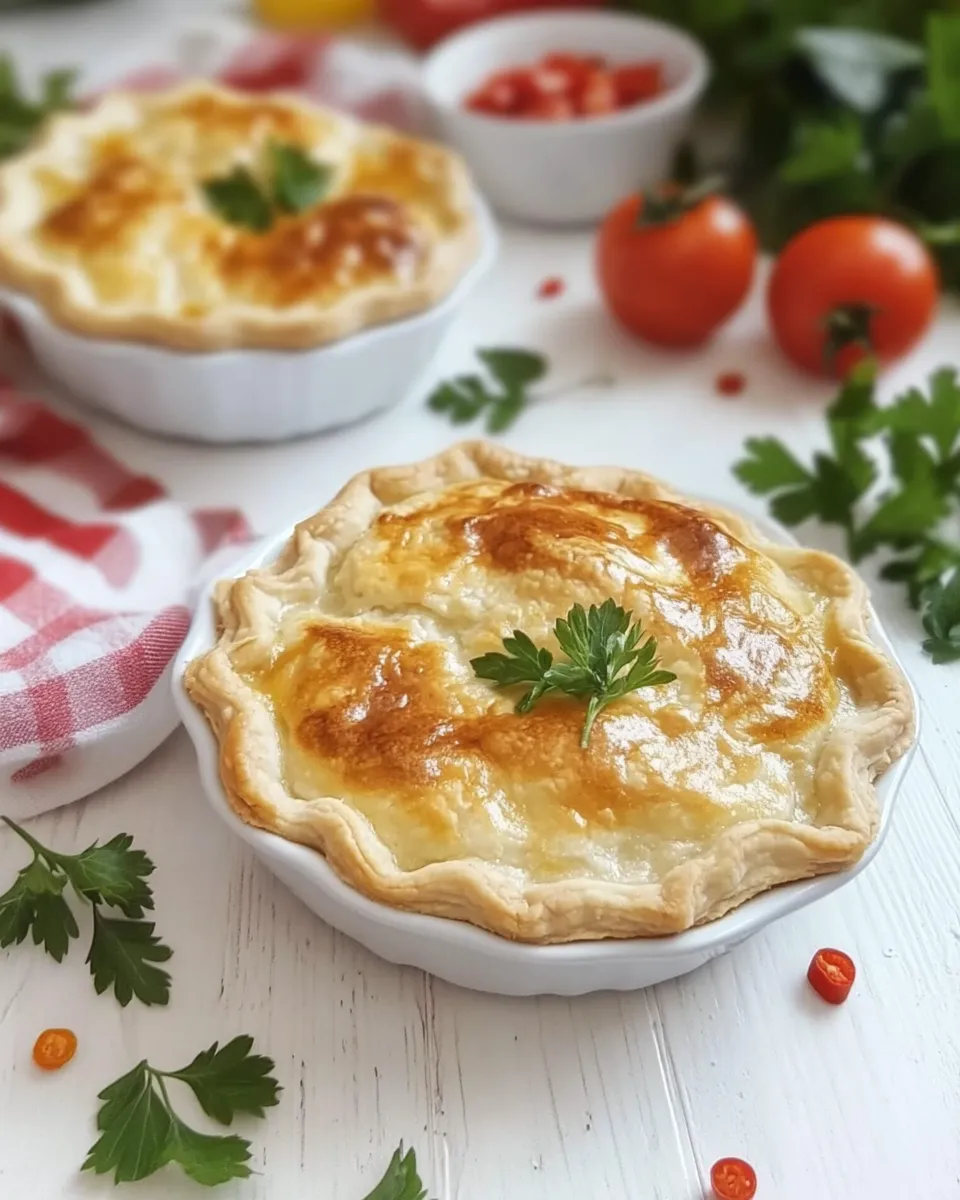
Step 7: Enjoy!
Once the Karelian pies are out of the oven, brush them with melted butter while they are still warm. Serve them hot with your delicious egg butter spread on top. Enjoy your homemade Karelian pies with family and friends!
Nutrition-Minded Tweaks
If you’re looking to make this recipe a bit healthier or to cater to dietary needs, consider these tweaks:
- Substitute brown rice for short-grain rice for added fiber.
- Use low-fat milk instead of whole milk to reduce calories.
- Replace butter with a plant-based alternative for a dairy-free option.
- Add finely chopped vegetables to the rice filling for added nutrients.
Slip-Ups to Skip
When making Karelian pies, there are a few common mistakes to avoid:
- Don’t rush the rice cooking process; it needs to be creamy for the best filling.
- Make sure the dough is not too thick, as it needs to cook through while maintaining a delicate texture.
- Ensure the edges are sealed well; otherwise, the filling may leak during baking.
- Don’t skip the butter brush on the baked pies; it adds flavor and moisture.
Store, Freeze & Reheat
Storing your Karelian pies properly will ensure they stay fresh and delicious:
You can store baked Karelian pies in an airtight container in the refrigerator for up to 3 days. For longer storage, freeze the baked pies. Let them cool completely, then place them in a single layer on a baking sheet and freeze until solid. Transfer to a freezer-safe container or bag for up to 3 months. To reheat, place them in a preheated oven at 350°F (175°C) for about 10-15 minutes until heated through. You can also microwave them for a quick option, but the oven will keep them crisp.
Quick Q&A
Can I use different types of rice for the filling?
While short-grain rice is traditional, you can experiment with other rice varieties, but the texture may differ. Stick to those that become creamy when cooked, like Arborio or Calrose.
What can I serve with Karelian pies besides egg butter?
Karelian pies pair well with various toppings such as cream cheese, smoked salmon, or even a dollop of sour cream. Get creative with your favorite spreads!
How long do Karelian pies take to make from start to finish?
This recipe usually takes about 1.5 to 2 hours from start to finish, including preparation, baking, and cooling time.
Can I make Karelian pies ahead of time?
Absolutely! You can make the pies ahead of time, store them in the fridge, and reheat them when you’re ready to serve. They also freeze well.
Bring It Home
Karelian pies are more than just a pastry; they are a celebration of Finnish heritage. Making them from scratch can be a delightful and rewarding culinary adventure. Whether you enjoy them as a snack, serve them at a gathering, or simply savor them as a personal indulgence, these pies are sure to impress. Their warm, comforting flavors and rustic charm will have everyone asking for seconds. So gather your ingredients, roll up your sleeves, and bring the taste of Finland into your kitchen. Happy baking!
Karelian Pies
Ingredients
Equipment
Method
- Step 1: Prepare the Rice FillingIn a medium saucepan, combine the short-grain rice and 4/5 cup of water. Bring to a boil, then reduce the heat to low and cover. Cook until the rice absorbs the water, around 10-15 minutes. Stir in the whole milk, 1 teaspoon of salt, and 2 tablespoons of butter. Cook on low, stirring occasionally, until the mixture becomes thick and creamy, about 20-25 minutes. Once done, set the filling aside to cool.
- Step 2: Make the Rye DoughIn a large mixing bowl, combine the rye flour, all-purpose flour, and 1 teaspoon of salt. Gradually add 4/5 cup of water and mix until a smooth dough forms. Knead the dough on a floured surface for about 5 minutes until it becomes elastic. Divide the dough into small balls, roughly the size of golf balls, and cover them with a cloth to prevent drying out.
- Step 3: Roll Out the DoughOn a floured surface, take one ball of dough and roll it out into a thin oval shape, about 1/8 inch thick. Aim for a rustic look; uneven edges add to the charm of Karelian pies!
- Step 4: Fill the DoughPlace a generous tablespoon of the rice filling in the center of the rolled-out dough. Fold the edges over the filling, creating a boat-like shape, and pinch to seal. Don’t worry if they look a little rustic; that’s part of their charm!
- Step 5: Bake the PiesPreheat your oven to 425°F (220°C) and line a baking sheet with parchment paper. Place the filled pies on the baking sheet and bake for about 20-25 minutes, or until the edges are golden brown.
- Step 6: Prepare the Egg ButterWhile the pies are baking, chop the hard-boiled eggs and mix them with softened butter in a bowl. Add salt to taste. This egg butter is the perfect accompaniment for your Karelian pies.
- Step 7: Enjoy!Once the Karelian pies are out of the oven, brush them with melted butter while they are still warm. Serve them hot with your delicious egg butter spread on top. Enjoy your homemade Karelian pies with family and friends!
Notes
- For a healthier option, substitute brown rice for short-grain rice.
- Use low-fat milk instead of whole milk to reduce calories.
- Freezing baked pies is a great way to store them for future enjoyment.