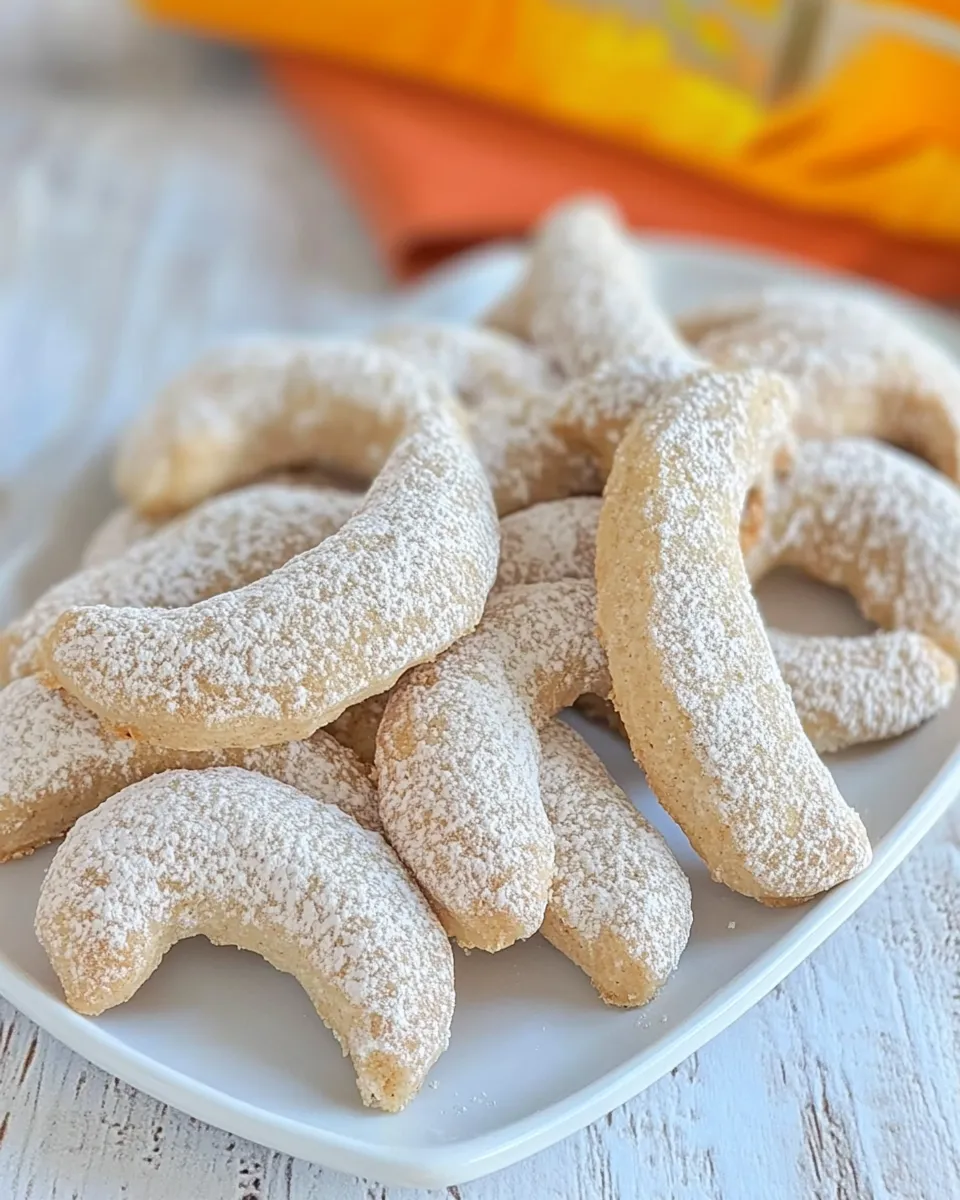
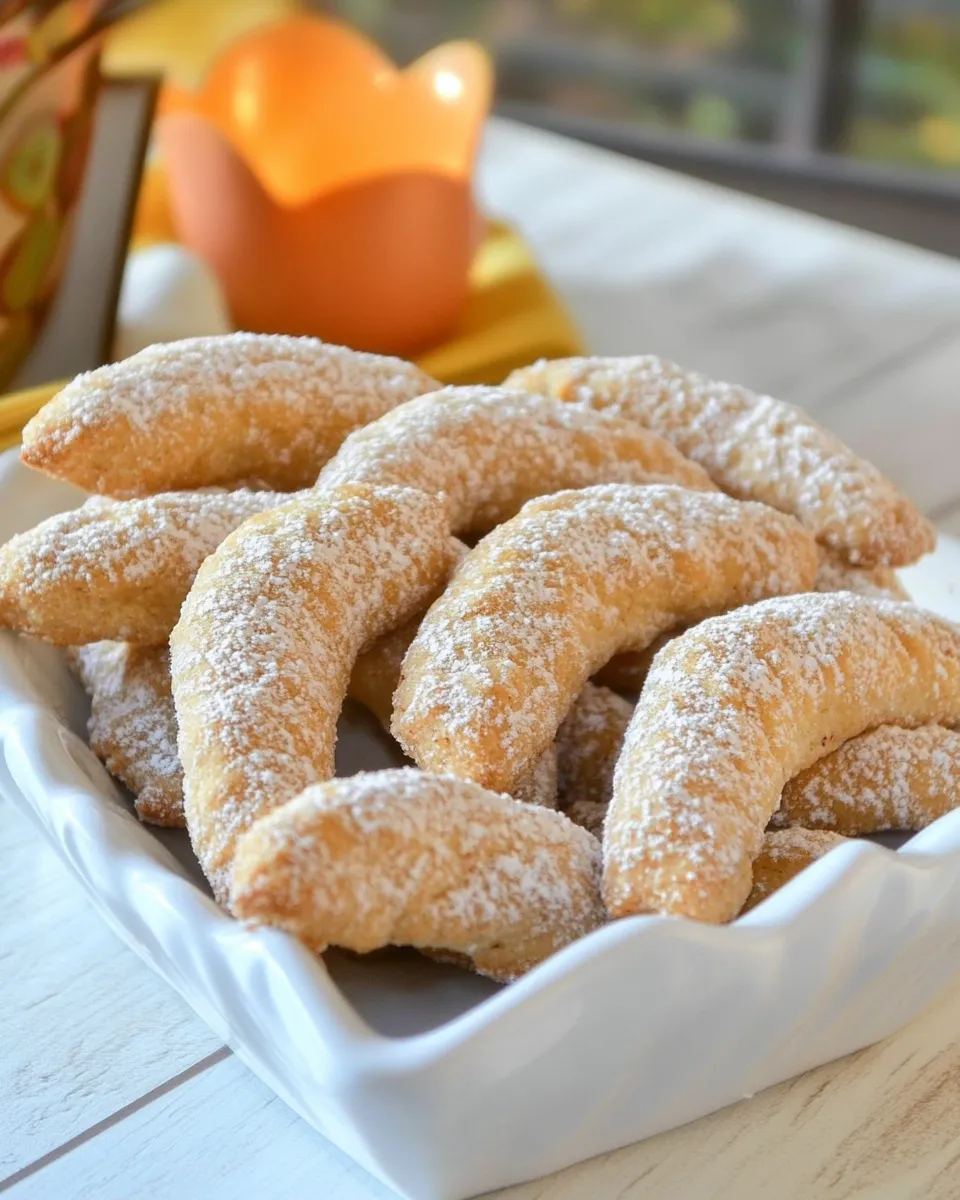
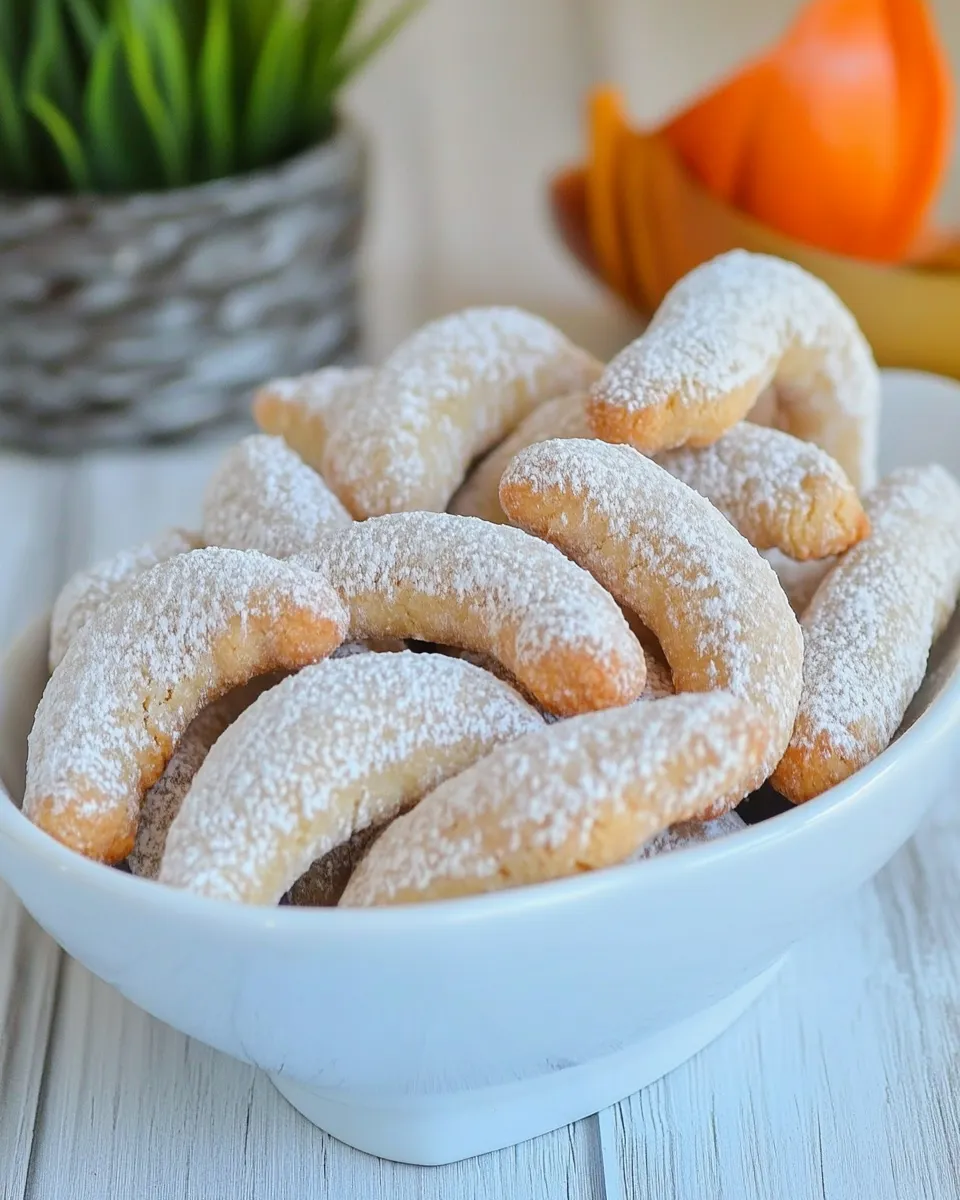
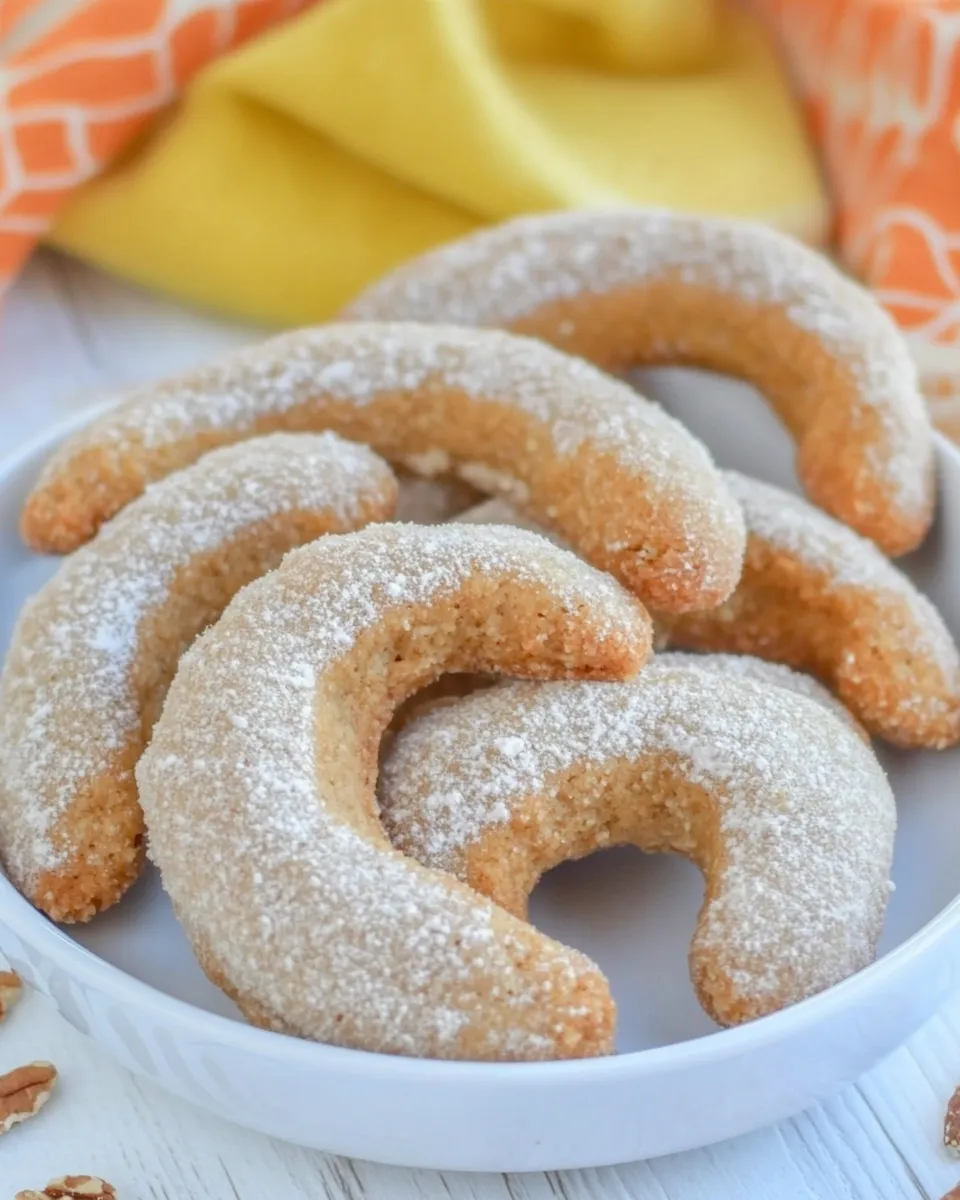
Walnut Crescent Cookies
If you’re looking for a delightful treat that melts in your mouth and is perfect for any occasion, look no further than Walnut Crescent Cookies. With their unique crescent shape and nutty flavor, these cookies are a traditional favorite that will impress family and friends alike. The combination of ground walnuts, rich butter, and a touch of sweetness creates a cookie that is both tender and flavorful. Perfect with a cup of tea or coffee, these cookies are a must-try for any baking enthusiast.
Top Reasons to Make Walnut Crescent Cookies
- Deliciously Unique: The nutty flavor of walnuts paired with the buttery texture offers a one-of-a-kind taste experience.
- Simple Ingredients: With just a few pantry staples, you can whip up these cookies in no time.
- Perfect for Gifting: Their elegant crescent shape makes them a lovely gift for friends and family during holidays or special occasions.
- Kid-Friendly: These cookies are fun to make with kids, allowing them to shape and roll the dough into crescents.
- Versatile Decoration: A dusting of powdered sugar on top makes them look as good as they taste!
Shopping List
- 100g butter, softened
- 100g ground walnuts
- 2 tablespoons powdered sugar (plus extra for decoration)
- 1 teaspoon vanilla paste
- 1 pinch of salt
- 2 egg yolks
- 200-220g all-purpose flour
Equipment Breakdown
- Mixing Bowl: For combining all your ingredients smoothly.
- Electric Mixer or Whisk: To cream the butter and sugar for a light texture.
- Baking Sheet: For placing your cookies while they bake.
- Parchment Paper: To prevent sticking and make cleanup easier.
- Cookie Cutter or Hands: To shape the cookies into crescents.
Cooking Walnut Crescent Cookies: The Process
Step 1: Prepare Your Ingredients
Before you start, make sure all your ingredients are at room temperature. This will help in achieving a smooth and creamy dough. Measure out 100g of butter, 100g of ground walnuts, and the other ingredients listed in your shopping list.
Step 2: Cream the Butter and Sugar
In a mixing bowl, use an electric mixer or a whisk to cream together the softened butter and 2 tablespoons of powdered sugar until light and fluffy. This should take about 3-4 minutes.
Step 3: Add Vanilla and Egg Yolks
Stir in 1 teaspoon of vanilla paste and add the 2 egg yolks one at a time. Mix until well combined. The mixture should be smooth and creamy.
Step 4: Incorporate the Walnuts and Flour
Gradually add the ground walnuts and 200-220g of flour, mixing until a soft dough forms. Be careful not to overmix, as this can lead to dense cookies.
Step 5: Shape the Cookies
Take small portions of dough and roll them into crescent shapes. Place each cookie on a baking sheet lined with parchment paper, leaving some space between each one to allow for spreading.
Step 6: Bake the Cookies
Preheat your oven to 180°C (350°F). Bake the cookies for 12-15 minutes, or until they are lightly golden. Keep an eye on them, as they can brown quickly.
Step 7: Cool and Dust with Sugar
Once baked, remove the cookies from the oven and let them cool on a wire rack. Once they are cool, dust with powdered sugar for an elegant finish.
In-Season Flavor Ideas
- Add a pinch of cinnamon for a warm, spicy flavor.
- Incorporate orange or lemon zest for a fresh citrus twist.
- Substitute some of the flour with cocoa powder for a chocolate variation.
- Mix in some chocolate chips for added sweetness.
Cook’s Notes
- Ensure the walnuts are finely ground for the best texture.
- If you prefer, you can toast the walnuts lightly before grinding for a deeper flavor.
- These cookies can be made ahead of time and stored in an airtight container.
- For a gluten-free version, substitute all-purpose flour with a gluten-free blend.
Refrigerate, Freeze, Reheat
Walnut Crescent Cookies can be refrigerated for up to a week in an airtight container. To freeze, place the cookies in a single layer on a baking sheet until solid, then transfer them to a freezer-safe bag or container. They can be frozen for up to three months. To reheat, simply thaw at room temperature or warm briefly in the oven for a few minutes to regain their original texture.
Quick Questions
Can I use other nuts instead of walnuts?
Absolutely! Pecans or almonds can be great substitutes if you prefer a different flavor.
What’s the best way to store these cookies?
Store them in an airtight container at room temperature for optimal freshness.
Can I make the dough ahead of time?
Yes! You can prepare the dough and refrigerate it for up to 24 hours before baking.
What if I don’t have vanilla paste?
You can substitute with vanilla extract; just use a little less, as it is more concentrated.
That’s a Wrap
Walnut Crescent Cookies are a delightful treat that brings a touch of elegance to any gathering. Their buttery, nutty flavor combined with their delicate crescent shape makes them a standout dessert. Whether you’re enjoying them at home, sharing them with friends, or giving them as gifts, these cookies are sure to become a favorite.
With simple ingredients and an easy process, baking Walnut Crescent Cookies is a fun and rewarding experience. So gather your ingredients, invite a friend or family member to join you, and create these delicious cookies that are sure to impress. Enjoy the delightful aroma as they bake, and don’t forget to savor them with a warm cup of your favorite beverage!
Walnut Crescent Cookies
Ingredients
Equipment
Method
- Before you start, make sure all your ingredients are at room temperature. This will help in achieving a smooth and creamy dough. Measure out 100g of butter, 100g of ground walnuts, and the other ingredients listed in your shopping list.
- In a mixing bowl, use an electric mixer or a whisk to cream together the softened butter and 2 tablespoons of powdered sugar until light and fluffy. This should take about 3-4 minutes.
- Stir in 1 teaspoon of vanilla paste and add the 2 egg yolks one at a time. Mix until well combined. The mixture should be smooth and creamy.
- Gradually add the ground walnuts and 200-220g of flour, mixing until a soft dough forms. Be careful not to overmix, as this can lead to dense cookies.
- Take small portions of dough and roll them into crescent shapes. Place each cookie on a baking sheet lined with parchment paper, leaving some space between each one to allow for spreading.
- Preheat your oven to 180°C (350°F). Bake the cookies for 12-15 minutes, or until they are lightly golden. Keep an eye on them, as they can brown quickly.
- Once baked, remove the cookies from the oven and let them cool on a wire rack. Once they are cool, dust with powdered sugar for an elegant finish.
Notes
- Ensure the walnuts are finely ground for the best texture.
- If you prefer, you can toast the walnuts lightly before grinding for a deeper flavor.
- These cookies can be made ahead of time and stored in an airtight container.
- For a gluten-free version, substitute all-purpose flour with a gluten-free blend.