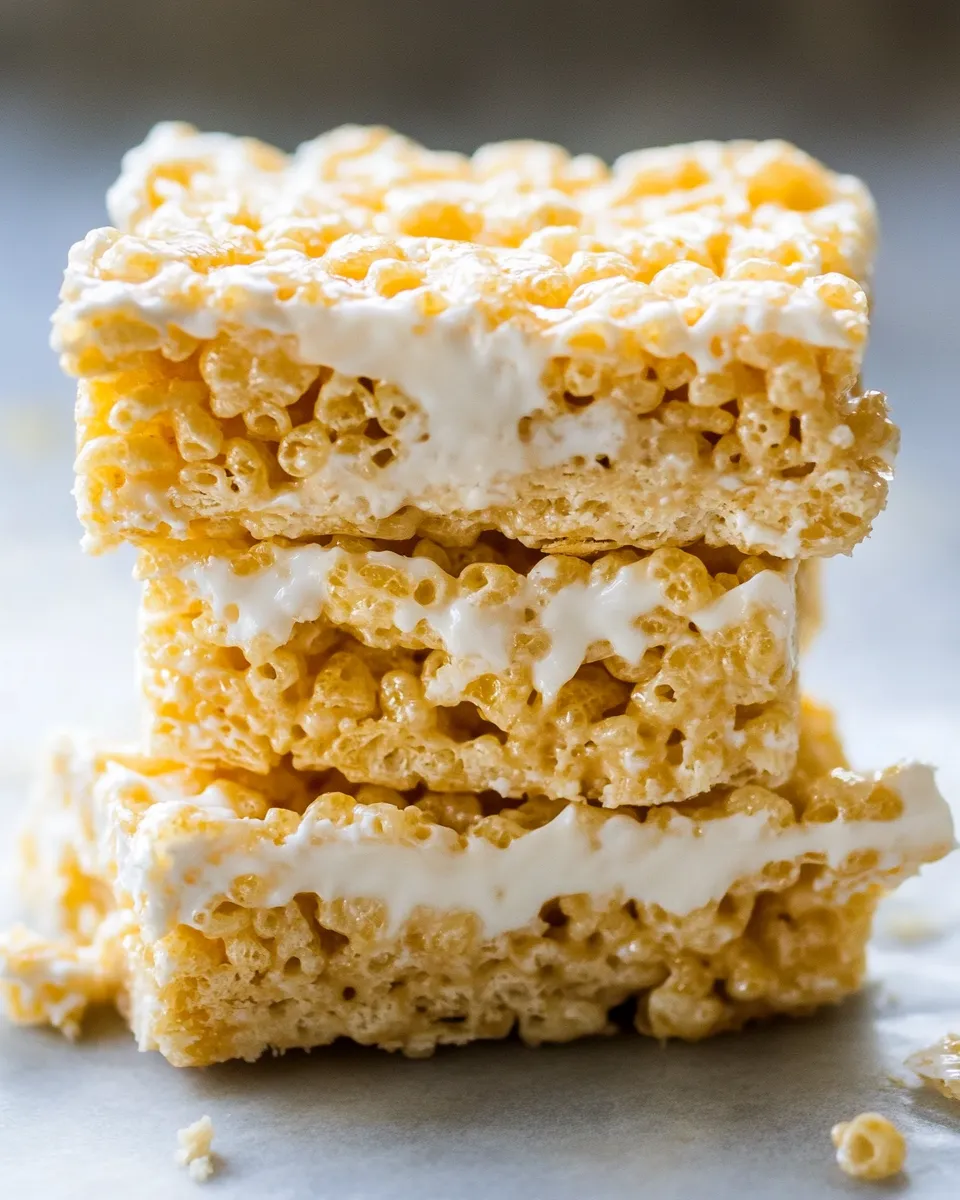
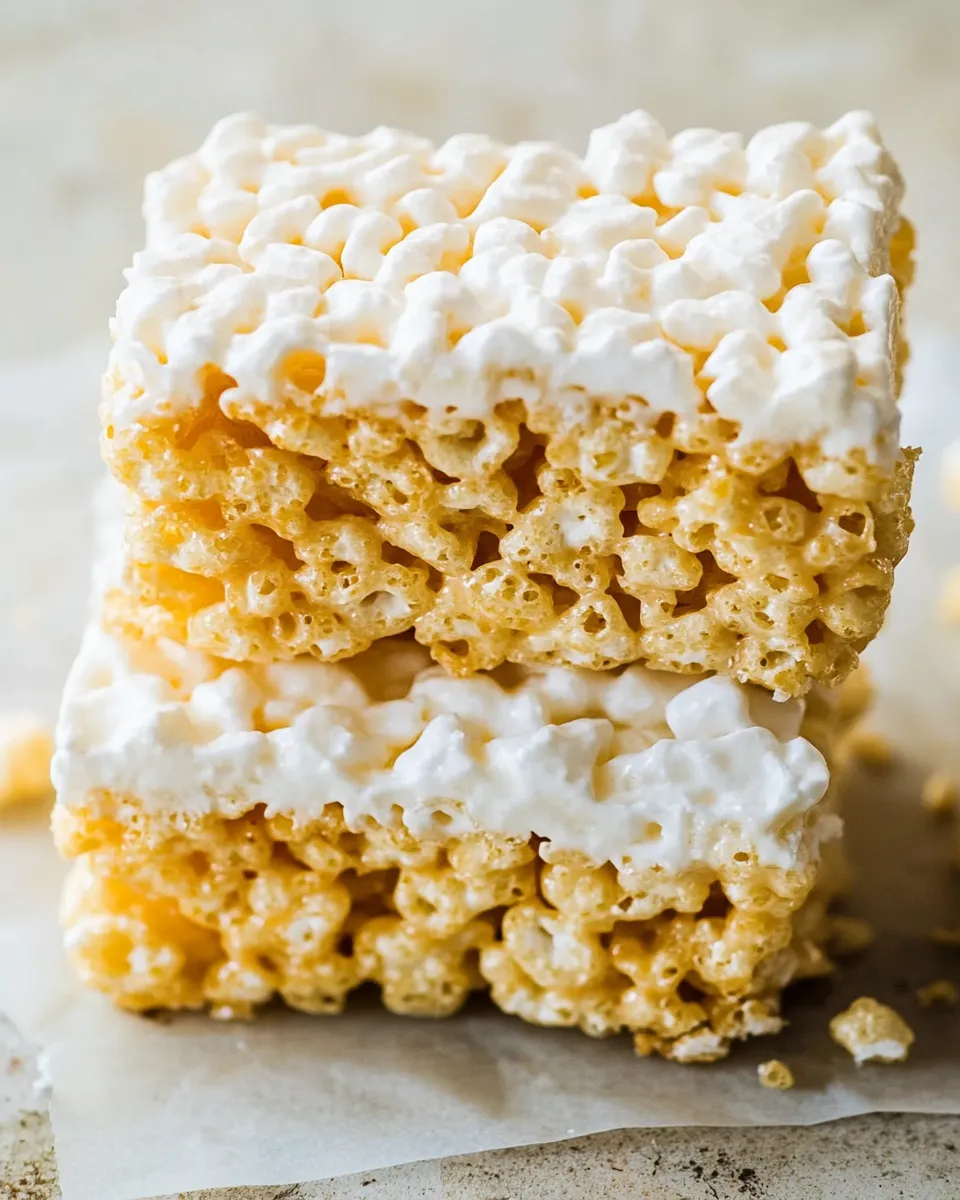
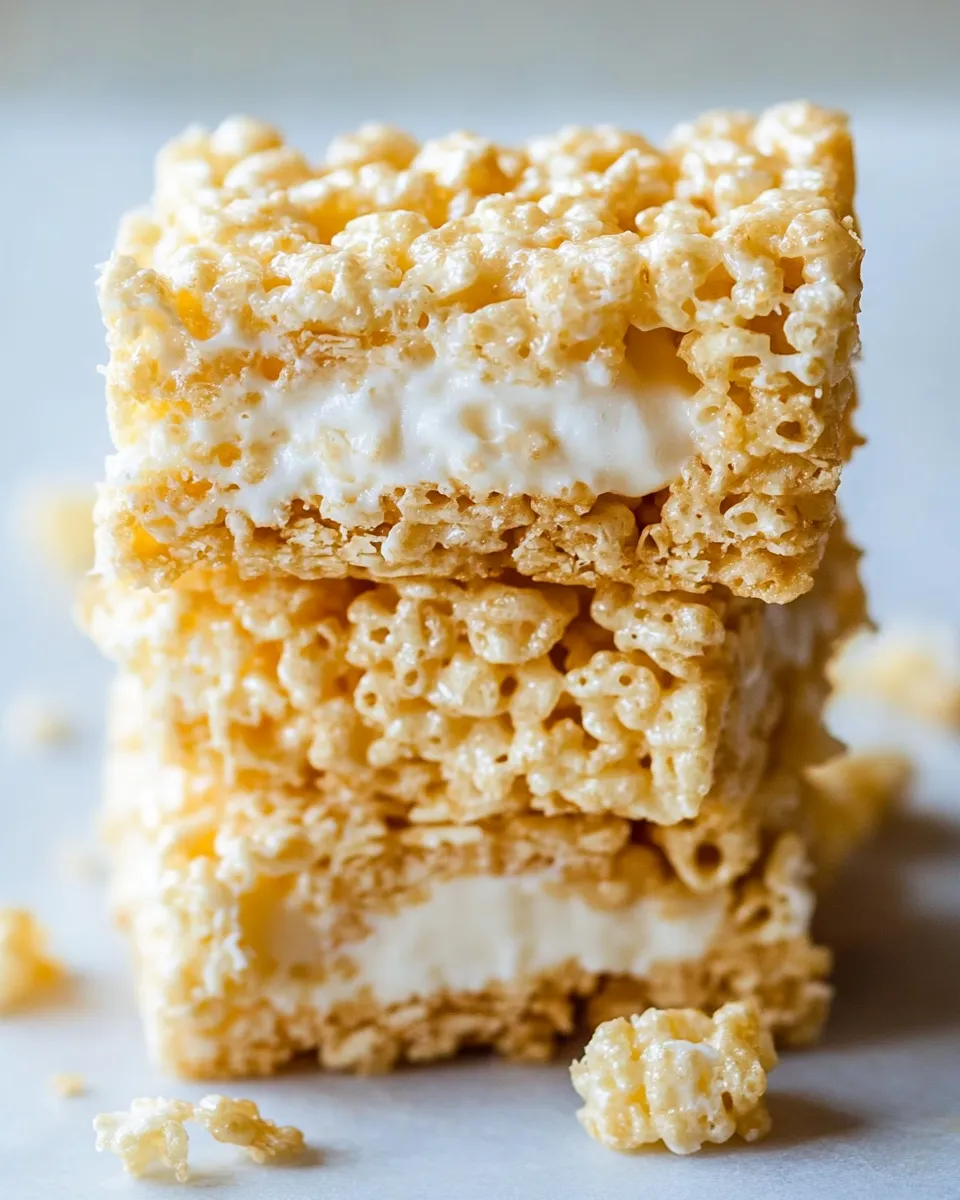
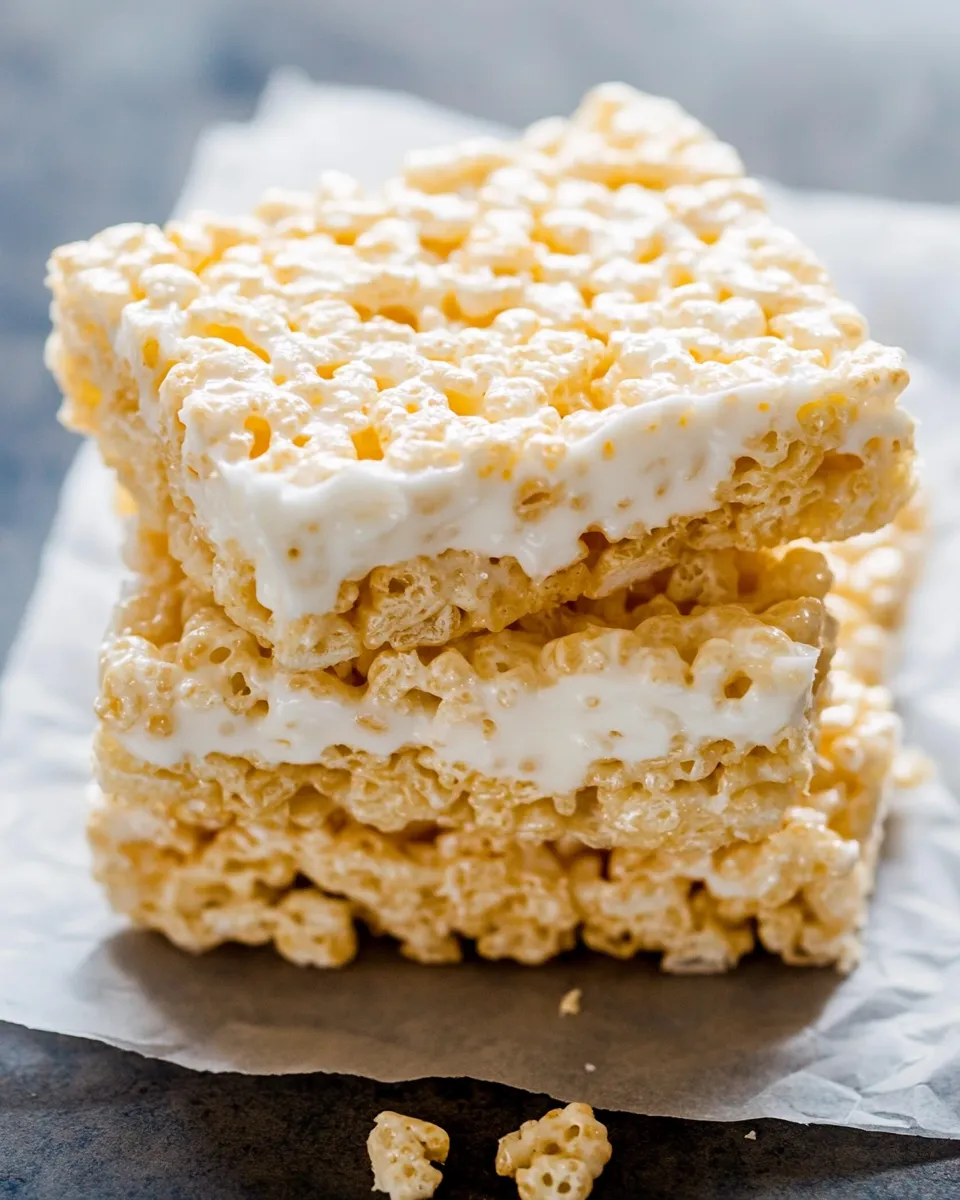
Rice Krispie Treat Recipe
There’s something undeniably nostalgic about a classic Rice Krispie Treat. The delightful combination of gooey marshmallows, crispy rice cereal, and a hint of buttery goodness brings back memories of childhood, school lunches, and cozy family gatherings. This Rice Krispie Treat recipe is not just any ordinary treat; it’s a perfect blend of flavors and textures that will leave you reaching for seconds (or thirds!). Whether you’re making these treats for a party, a bake sale, or just because, they are sure to be a hit!
Why This Rice Krispie Treat Recipe Stands Out
What sets this Rice Krispie Treat recipe apart from the rest? It’s all about the perfect balance of ingredients and a few special touches. By using a generous amount of mini marshmallows, we guarantee a chewy texture that melts in your mouth. The addition of vanilla extract enhances the flavor, while fine sea salt adds a delightful contrast to the sweetness. Plus, with a little extra butter for greasing the pan, these treats will come out beautifully, every single time.
Gather These Ingredients
To create this delicious Rice Krispie Treat recipe, you’ll need the following ingredients:
- 8 tablespoons unsalted butter (plus more for greasing the pan)
- 16 ounces mini marshmallows (divided into 6 cups and 2 cups)
- 1 teaspoon vanilla extract
- 1/2 teaspoon fine sea salt
- 7 cups crispy rice cereal
Make sure to have all your ingredients ready before you start, as this recipe comes together quickly!
Equipment & Tools
Before diving into the cooking process, gather the following tools:
- Large saucepan – for melting the butter and marshmallows.
- Wooden spoon or spatula – for stirring the mixture.
- 9×13 inch baking pan – to shape your treats.
- Parchment paper – optional, for easy removal of the treats.
- Measuring cups and spoons – to ensure precise ingredient measurements.
With your ingredients and tools ready, let’s get started on making these delightful treats!
Rice Krispie Treat Recipe — Do This Next
Step 1: Grease the Pan
Start by greasing your 9×13 inch baking pan with a little unsalted butter. This will prevent the treats from sticking and make it easier to cut them later.
Step 2: Melt the Butter
In a large saucepan over low heat, melt the 8 tablespoons of unsalted butter. Keep stirring until completely melted and bubbly.
Step 3: Add the Marshmallows
Once the butter is melted, add 6 cups of the mini marshmallows to the saucepan. Stir continuously until the marshmallows have melted and the mixture is smooth and creamy.
Step 4: Mix in the Vanilla and Salt
After the marshmallows are melted, remove the pan from heat. Stir in the 1 teaspoon of vanilla extract and 1/2 teaspoon of fine sea salt. This step enhances the overall flavor of your Rice Krispie Treats.
Step 5: Combine with Cereal
Next, add the 7 cups of crispy rice cereal to the marshmallow mixture. Gently fold the cereal into the mixture using your spatula or wooden spoon. Be careful not to crush the cereal; you want to keep that lovely crunch!
Step 6: Add Extra Marshmallows
Once the cereal is coated evenly with the marshmallow mixture, fold in the remaining 2 cups of mini marshmallows. This extra marshmallow will create pockets of gooey goodness throughout the treats.
Step 7: Press into the Pan
Transfer the mixture into the prepared baking pan. Using a greased spatula or your hands (lightly greased), press the mixture evenly into the pan. Make sure to compact it gently so that the treats hold together.
Step 8: Cool and Cut
Allow the Rice Krispie Treats to cool at room temperature for about 30 minutes. Once set, cut them into squares or rectangles, and enjoy!
Dairy-Free/Gluten-Free Swaps
If you need to cater to dietary restrictions, here are some simple swaps you can make:
- Dairy-Free Butter: Use a plant-based butter alternative to replace the unsalted butter.
- Gluten-Free Cereal: Ensure that your crispy rice cereal is marked gluten-free, as some brands may contain gluten.
- Vegan Marshmallows: Look for vegan marshmallow options to make this treat dairy-free.
These adjustments allow everyone to enjoy this classic treat without compromising on taste!
Testing Timeline
When making Rice Krispie Treats, timing is essential for achieving the perfect texture. Here’s a quick timeline to keep in mind:
- Preparation Time: 10 minutes
- Cooking Time: 10 minutes
- Cooling Time: 30 minutes
- Total Time: Approximately 50 minutes
This recipe is quick enough to whip up whenever you’re in the mood for a sweet treat!
Storing, Freezing & Reheating
To keep your Rice Krispie Treats fresh, here are some tips:
- Storing: Store the treats in an airtight container at room temperature for up to 1 week. They are best enjoyed fresh but can still taste great even after a few days.
- Freezing: You can freeze the treats for up to 3 months. Wrap them tightly in plastic wrap and place them in a freezer-safe container.
- Reheating: If you prefer warm treats, you can microwave them for a few seconds until they are slightly warm and gooey again.
These storage tips ensure that you can savor your Rice Krispie Treats long after making them!
Reader Questions
Can I use regular marshmallows instead of mini marshmallows?
Yes, you can use regular marshmallows! Simply add about 10-12 regular marshmallows to replace the 6 cups of mini marshmallows. Just keep in mind that they may take a little longer to melt.
What can I add to make these treats more exciting?
Feel free to add mix-ins like chocolate chips, sprinkles, or nuts after you’ve combined the cereal and marshmallow mixture. Just fold them in gently to avoid crushing the cereal.
Why did my Rice Krispie Treats turn out hard?
If your treats are hard, it’s likely due to overcooking the marshmallows or pressing them too firmly into the pan. Be sure to melt the marshmallows just until smooth and press the mixture gently into the pan.
Can I make these treats ahead of time for a party?
Absolutely! You can make Rice Krispie Treats a day or two in advance. Just store them in an airtight container at room temperature to keep them fresh.
In Closing
This Rice Krispie Treat recipe is a timeless favorite that never fails to impress. Whether you’re making them for a special occasion or simply craving a sweet snack, these treats will bring joy to anyone who takes a bite. With simple ingredients and an easy-to-follow process, you’ll be whipping up batches of these delightful snacks in no time. So gather your ingredients, grab your favorite mixing bowl, and let the nostalgia of Rice Krispie Treats fill your kitchen!
Rice Krispie Treat Recipe
Ingredients
Equipment
Method
- Step 1: Grease the Pan - Start by greasing your 9x13 inch baking pan with a little unsalted butter.
- Step 2: Melt the Butter - In a large saucepan over low heat, melt the 8 tablespoons of unsalted butter.
- Step 3: Add the Marshmallows - Add 6 cups of the mini marshmallows to the saucepan and stir continuously until melted.
- Step 4: Mix in the Vanilla and Salt - Remove from heat and stir in the vanilla extract and fine sea salt.
- Step 5: Combine with Cereal - Add the crispy rice cereal to the marshmallow mixture and fold gently.
- Step 6: Add Extra Marshmallows - Fold in the remaining 2 cups of mini marshmallows.
- Step 7: Press into the Pan - Transfer the mixture into the prepared baking pan and press evenly.
- Step 8: Cool and Cut - Allow to cool for about 30 minutes, then cut into squares.
Notes
- Store treats in an airtight container at room temperature for up to 1 week.
- Freeze for up to 3 months wrapped tightly in plastic wrap.
- Microwave for a few seconds to enjoy warm treats again.