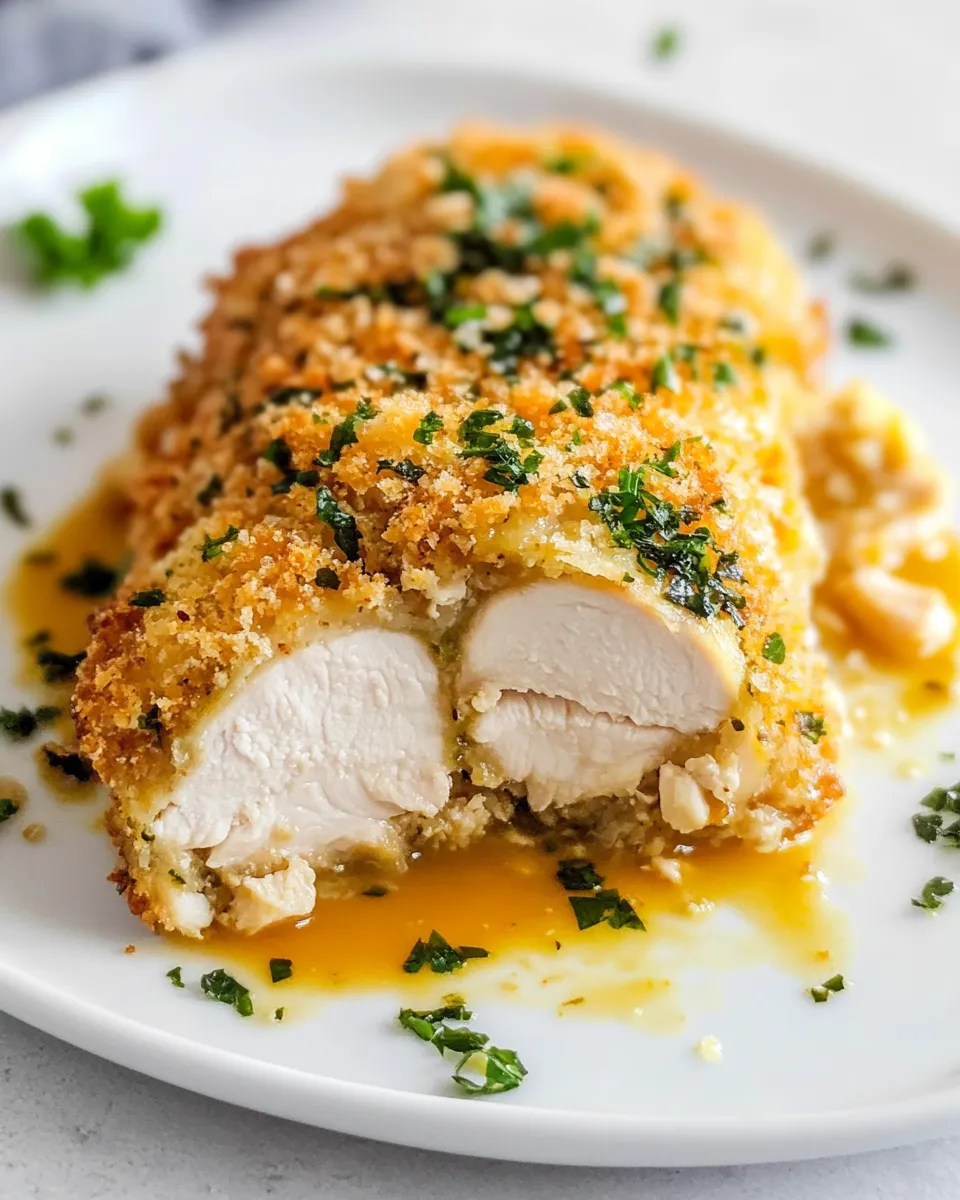
Baked Chicken Kiev
If you’re in search of a show-stopping dish that’s both elegant and comforting, look no further than Baked Chicken Kiev. This classic dish features juicy chicken breasts filled with a luscious garlic and herb butter that oozes out with every bite. Unlike its fried counterpart, this baked version is lighter, making it perfect for a weeknight dinner or a special occasion. With a crispy Panko coating and a flavorful filling, Baked Chicken Kiev is sure to impress both family and guests alike. Let’s dive into the details to create this delectable dish!
What You’ll Love About This Recipe
– Flavorful Filling: A blend of garlic, parsley, and green onions adds a burst of flavor to the chicken.
– Crispy Texture: The Panko breadcrumbs create an irresistible crunchy coating.
– Simple Preparation: This recipe is straightforward and perfect for cooks of all skill levels.
– Make-Ahead Option: You can prepare the chicken ahead of time and bake it just before serving.
Gather These Ingredients
- 1 cup unsalted butter (1 stick, room temp)
- 3 tablespoons minced parsley (divided)
- 1 tablespoon minced green onion
- 1 tablespoon minced garlic (from 2 cloves)
- 4 boneless, skinless chicken breasts (6-8 ounces each)
- Salt and pepper (to taste)
- 1 cup Panko breadcrumbs
- 1 teaspoon ground paprika
- 1 teaspoon ground cayenne pepper
- 1 cup buttermilk
What’s in the Gear List
- Baking Sheet: For baking the chicken to a perfect golden brown.
- Mixing Bowls: To prepare the butter mixture and coat the chicken.
- Meat Mallet or Rolling Pin: To flatten the chicken breasts for even cooking.
- Plastic Wrap: Useful for wrapping the chicken once filled.
- Whisk: For mixing ingredients smoothly.
Build Baked Chicken Kiev Step by Step
Step 1: Prepare the Herb Butter
In a medium mixing bowl, combine the room-temperature unsalted butter, 2 tablespoons of minced parsley, minced green onion, and minced garlic. Season with a pinch of salt and pepper. Mix well until all ingredients are incorporated.
Step 2: Shape the Chicken
Place the chicken breasts between two sheets of plastic wrap. Using a meat mallet or rolling pin, gently pound the chicken to about ½ inch thick. This ensures even cooking and allows the chicken to better hold the filling.
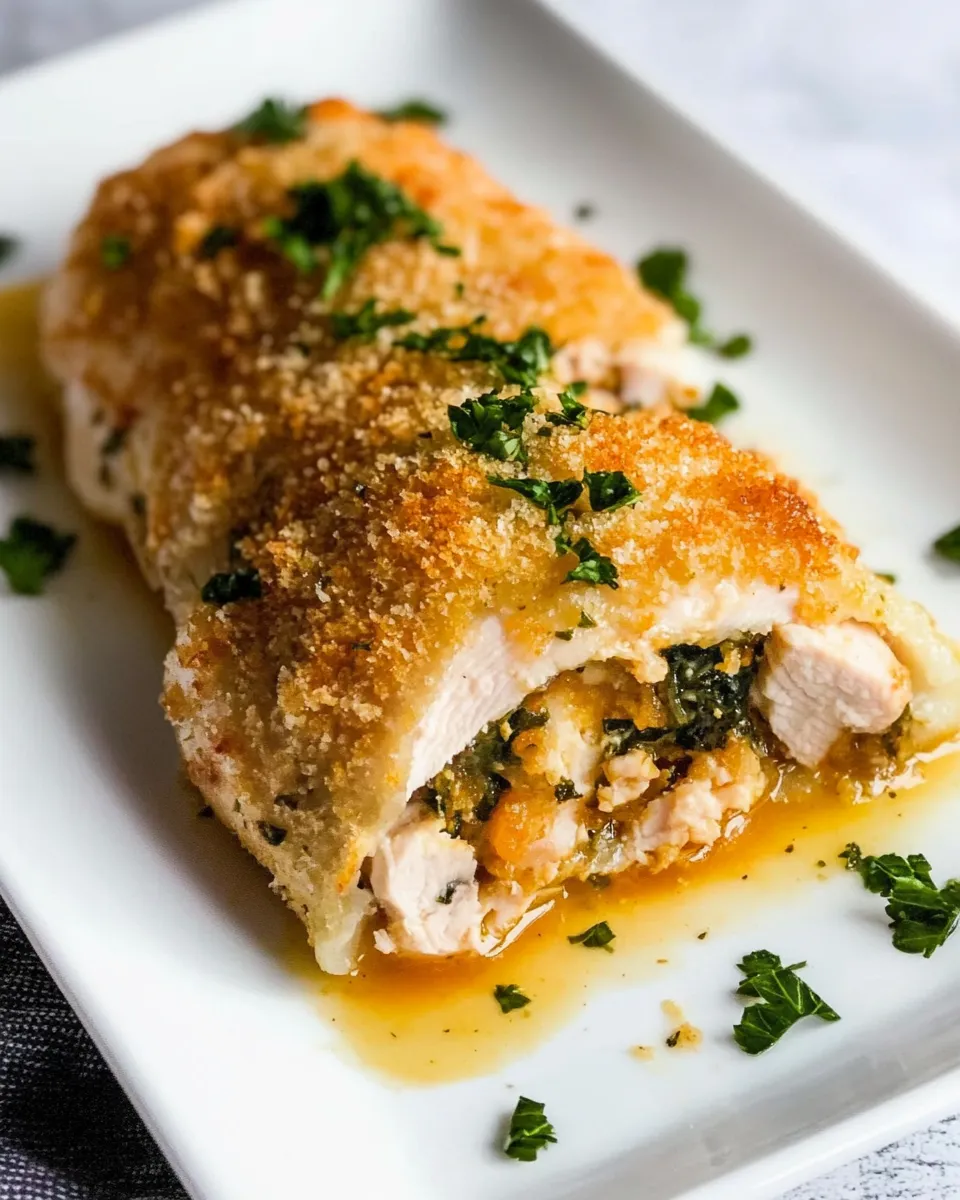
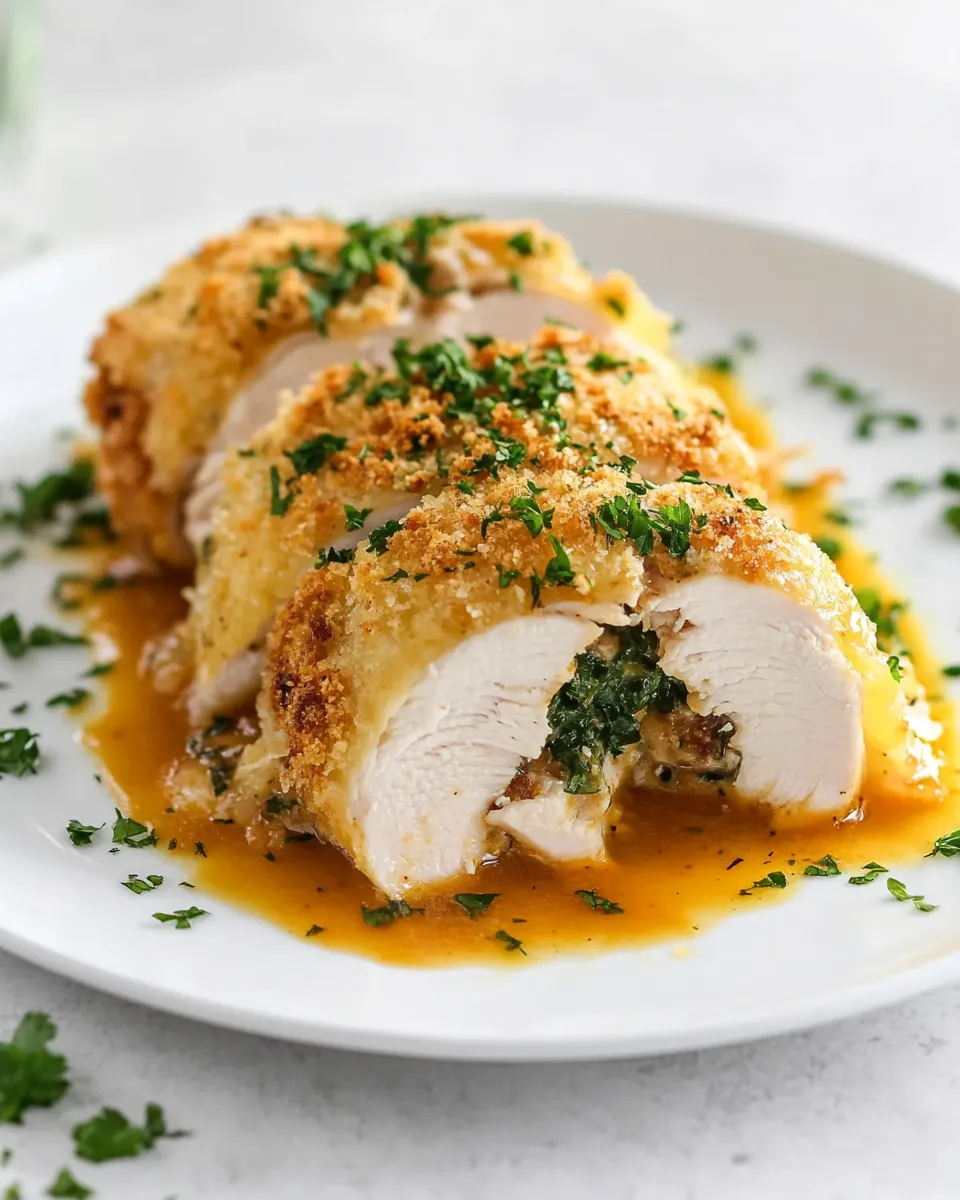
Step 3: Fill the Chicken
Remove the plastic wrap and place a generous tablespoon of the herb butter mixture in the center of each chicken breast. Fold the sides over the filling and then roll it up tightly, securing the ends with toothpicks if necessary.
Step 4: Prepare for Baking
In one bowl, pour the buttermilk. In another bowl, combine Panko breadcrumbs, paprika, cayenne pepper, and a bit of salt and pepper. Dip each chicken roll into the buttermilk, allowing excess to drip off, then coat it with the breadcrumb mixture, pressing gently to adhere.
Step 5: Bake the Chicken
Preheat your oven to 400°F (200°C). Arrange the coated chicken on a baking sheet lined with parchment paper. Bake for 25-30 minutes or until the chicken is cooked through and the coating is golden brown.
Step 6: Serve and Enjoy
Once the chicken is done, remove it from the oven and let it rest for a few minutes. Carefully slice each roll to reveal the melted herb butter inside. Serve with your favorite sides and enjoy the burst of flavor!
Customize for Your Needs
- Herbs: Experiment with different herbs like dill, thyme, or basil for a unique twist.
- Spice Level: Add more cayenne pepper or even a dash of hot sauce to the herb butter for extra heat.
- Cheese: Incorporate a bit of grated cheese like Parmesan or mozzarella in the filling for added richness.
- Gluten-Free: Substitute Panko breadcrumbs with gluten-free breadcrumbs to make it suitable for gluten-sensitive diets.
Chef’s Notes
- Make sure the butter is at room temperature for easy mixing, and to ensure it spreads well inside the chicken.
- Do not skip the resting time after baking; this allows the juices to redistribute, keeping the chicken moist.
- Leftover herb butter can be frozen in small portions for future use in other dishes.
- For a more pronounced garlic flavor, feel free to add an extra clove or two to the butter mixture.
Refrigerate, Freeze, Reheat
If you have leftovers, you can refrigerate them in an airtight container for up to 3 days. To freeze, wrap each chicken Kiev tightly in plastic wrap and then in aluminum foil. They can be frozen for up to 3 months. To reheat, bake from frozen at 375°F (190°C) for about 30-35 minutes, or until heated through. Always ensure the internal temperature reaches 165°F (75°C) for food safety.
Baked Chicken Kiev FAQs
Can I make Baked Chicken Kiev ahead of time?
Yes! You can prepare the chicken up to the baking stage, then cover and refrigerate it for several hours or overnight. Bake it just before serving for the best results.
What can I serve with Baked Chicken Kiev?
Baked Chicken Kiev pairs wonderfully with a variety of sides such as mashed potatoes, roasted vegetables, or a fresh salad. You can also serve it with a side of creamy sauce or gravy.
Can I use chicken thighs instead of breasts?
Absolutely! Chicken thighs will give you a richer flavor and are just as delicious. Just ensure you adjust the cooking time accordingly, as they may take a bit longer to cook through.
Is Baked Chicken Kiev healthy?
This baked version is significantly healthier than the traditional fried version, as it uses less oil and adds more wholesome ingredients. You can further enhance the health aspect by using lean chicken and incorporating more vegetables into your sides.
Bring It to the Table
Baked Chicken Kiev is not just a meal; it’s an experience. The moment you slice into the crispy outer layer and reveal the flavorful herb-infused butter, your guests will know they are in for a treat. Whether you’re hosting a dinner party or enjoying a cozy family meal, this dish is sure to become a favorite in your recipe repertoire. Serve it hot, alongside your favorite sides, and watch as everyone savors each delicious bite.
With its delightful combination of flavors, textures, and presentation, Baked Chicken Kiev is truly a dish that brings joy to the table. So gather your ingredients, follow the steps, and enjoy a homemade meal that’s both comforting and sophisticated!

Baked Chicken Kiev
Ingredients
Equipment
Method
- In a medium mixing bowl, combine the room-temperature unsalted butter, 2 tablespoons of minced parsley, minced green onion, and minced garlic. Season with a pinch of salt and pepper. Mix well until all ingredients are incorporated.
- Place the chicken breasts between two sheets of plastic wrap. Using a meat mallet or rolling pin, gently pound the chicken to about ½ inch thick.
- Remove the plastic wrap and place a generous tablespoon of the herb butter mixture in the center of each chicken breast. Fold the sides over the filling and then roll it up tightly, securing the ends with toothpicks if necessary.
- In one bowl, pour the buttermilk. In another bowl, combine Panko breadcrumbs, paprika, cayenne pepper, and a bit of salt and pepper. Dip each chicken roll into the buttermilk, allowing excess to drip off, then coat it with the breadcrumb mixture.
- Preheat your oven to 400°F (200°C). Arrange the coated chicken on a baking sheet lined with parchment paper. Bake for 25-30 minutes or until the chicken is cooked through and the coating is golden brown.
- Once the chicken is done, remove it from the oven and let it rest for a few minutes. Carefully slice each roll to reveal the melted herb butter inside. Serve with your favorite sides.
Notes
- Ensure the butter is at room temperature for easy mixing.
- Let the chicken rest after baking to keep it moist.
- Freeze leftover herb butter in small portions for future use.