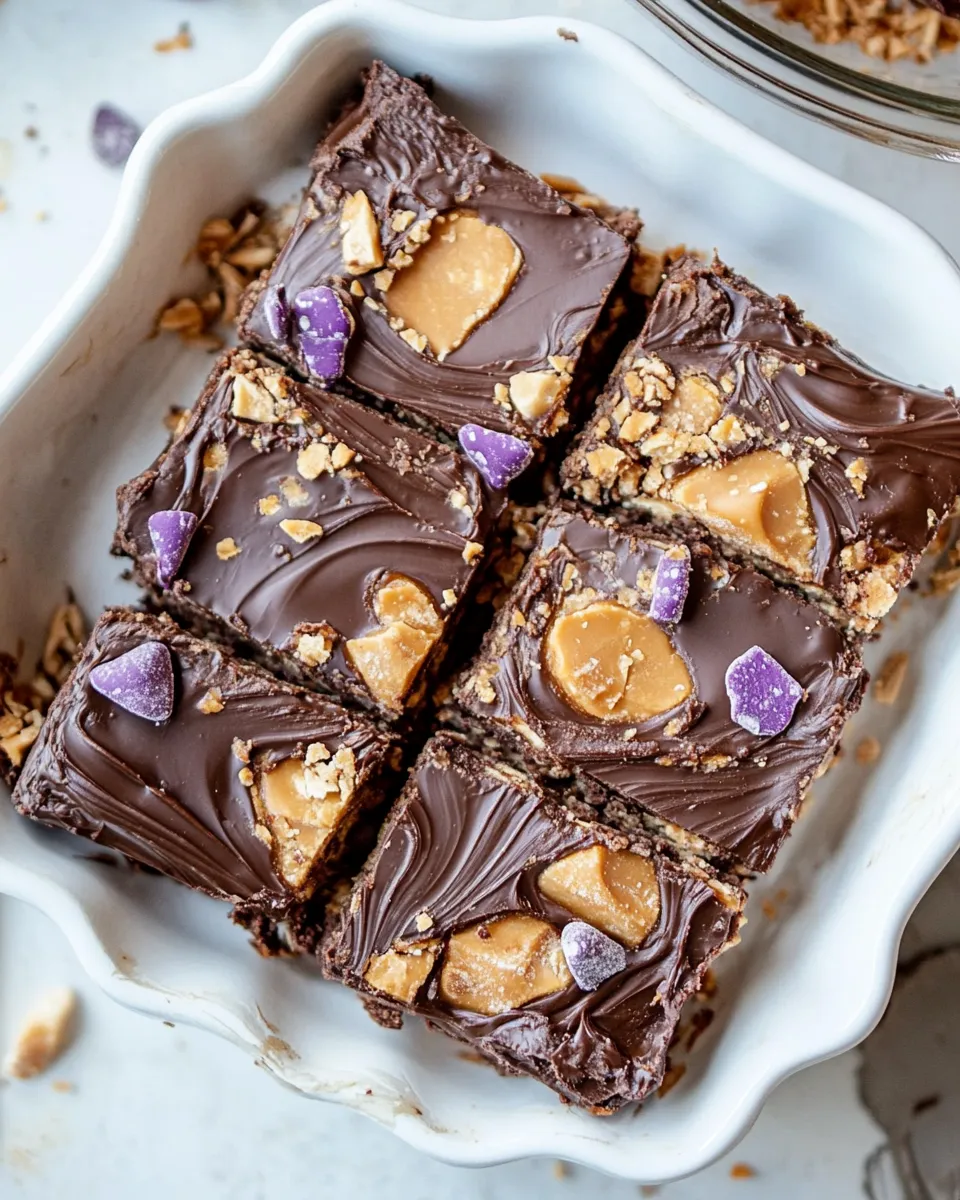
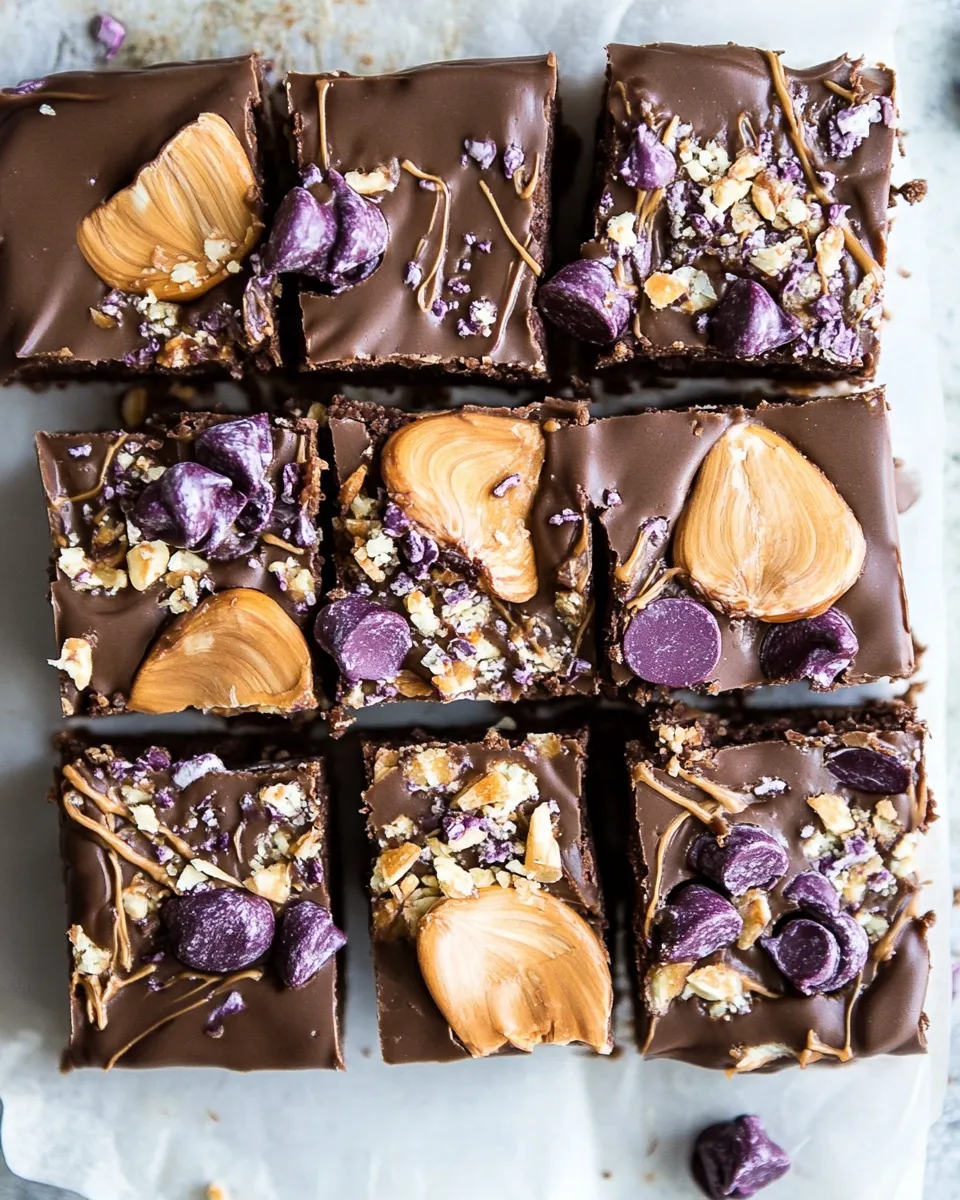
Buckeye Crunch Bars.
If you’re searching for a sweet treat that perfectly balances the salty and sweet, look no further than these Buckeye Crunch Bars. Imagine a luscious layer of creamy peanut butter, perfectly paired with a chocolate coating and a delightful crunch from pretzel twists. These bars are the ultimate indulgence, perfect for dessert or a snack. They’re quick to whip up and will leave everyone asking for the recipe. Let’s dive into the deliciousness!
Why It Deserves a Spot
These Buckeye Crunch Bars are not just any dessert; they are a glorious creation that transcends the typical sweet snack. With the rich flavor of peanut butter and the satisfying crunch of pretzels, they create a harmony of textures and tastes that is simply irresistible. Whether you’re hosting a gathering or just craving something sweet at home, these bars are sure to impress. Plus, they are no-bake, which means you can save time and still enjoy a gourmet treat!
What’s in the Bowl
To make these Buckeye Crunch Bars, you will need the following ingredients:
- 1 stick (8 tablespoons) salted butter, at room temperature
- 1 3/4 cups + 3 tablespoons creamy peanut butter
- 2 teaspoons vanilla extract
- 2 1/2 – 3 cups confectioners sugar, using more or less to your taste
- 12 ounces milk or semi-sweet chocolate, chopped
- 20-24 pretzel twists
These ingredients come together to create a dessert that is rich, creamy, and oh-so satisfying!
Equipment at a Glance
Before you start whipping up your Buckeye Crunch Bars, here’s what you’ll need:
- Mixing bowl – For combining the peanut butter mixture.
- Spatula – To mix and spread the mixture evenly.
- 8×8-inch baking dish – For setting the bars.
- Double boiler or microwave-safe bowl – For melting the chocolate.
- Parchment paper – To line the baking dish for easy removal.
Having the right tools on hand will make the process smoother and more enjoyable!
Directions: Buckeye Crunch Bars.

Step 1: Prepare Your Dish
Start by lining an 8×8-inch baking dish with parchment paper. This will help you easily lift the bars out once they’re set.
Step 2: Make the Peanut Butter Mixture
In a mixing bowl, combine the room temperature salted butter and creamy peanut butter. Mix well using a spatula until smooth and creamy.
Step 3: Add Vanilla and Sugar
Stir in the vanilla extract. Gradually add the confectioners sugar, starting with 2 1/2 cups. Mix until the mixture is thick and holds together, adjusting the sugar to your taste and desired consistency.
Step 4: Press into the Dish
Once your peanut butter mixture is ready, transfer it to the prepared baking dish. Use the spatula to spread it evenly across the bottom and press it down firmly.
Step 5: Arrange the Pretzels
Place the pretzel twists on top of the peanut butter layer, ensuring they are evenly distributed for that perfect crunch in every bite.
Step 6: Melt the Chocolate
In a double boiler or microwave-safe bowl, melt the chopped chocolate. If using a microwave, heat in 30-second intervals, stirring between each until smooth and fully melted.
Step 7: Coat the Bars
Once the chocolate is melted, pour it over the pretzel layer, spreading it evenly with a spatula to cover all the pretzels and create a beautiful chocolate layer on top.
Step 8: Chill and Set
Place the baking dish in the refrigerator for at least 1-2 hours or until the chocolate is set and the bars are firm.
Step 9: Cut and Serve
Once set, lift the bars out of the dish using the parchment paper. Cut them into squares or rectangles, and they are ready to serve!
What to Use Instead
If you’re looking for alternatives or substitutions, consider the following:
- Nut Butters: You can substitute creamy peanut butter with almond butter or any nut butter of your choice for a different flavor.
- Dairy-Free Option: Use dairy-free chocolate to make the bars completely dairy-free.
- Gluten-Free Option: Ensure that the pretzels you choose are gluten-free if you have dietary restrictions.
- Sugar Alternatives: You can use powdered erythritol or another sugar substitute if you want a lower-sugar option.
These substitutions will help you tailor the recipe to your preferences and dietary needs!
Things That Go Wrong
When making Buckeye Crunch Bars, a few common mishaps can occur:
- Too Soft: If the peanut butter mixture is too soft, it may not hold together well. Make sure to add enough confectioners sugar for the right consistency.
- Chocolate Seizing: If your chocolate seizes while melting, it may be due to moisture. Ensure your bowl and utensils are completely dry.
- Uneven Layers: If you don’t press the peanut butter mixture down firmly, the layers may separate. Be sure to pack it down evenly!
- Over-Melting Chocolate: Chocolate can burn if overheated. Always melt slowly and stir frequently for the best results.
By being aware of these potential pitfalls, you can ensure a smooth baking experience!
How to Store & Reheat
To keep your Buckeye Crunch Bars fresh and delicious, follow these storage tips:
- Store in an Airtight Container: Keep the bars in an airtight container at room temperature for up to a week, or in the refrigerator for longer freshness.
- Freezing: You can freeze the bars for up to 3 months. Wrap them individually in plastic wrap and place them in a freezer-safe container.
- Reheating: If you prefer them warm, you can microwave individual bars for about 10-15 seconds to enjoy their melty goodness.
These storage methods will help maintain their flavor and texture!
Frequently Asked Questions
Can I use crunchy peanut butter instead of creamy?
Absolutely! Crunchy peanut butter will add an extra layer of texture to your Buckeye Crunch Bars, making them even more delightful.
How do I know when the bars are set?
The bars are set when the chocolate layer is firm to the touch and the entire dish feels solid. It usually takes 1-2 hours in the fridge.
Can I add toppings to the bars?
Yes! Feel free to sprinkle some sea salt, chopped nuts, or even drizzles of white chocolate on top before chilling for extra flair.
What can I serve with Buckeye Crunch Bars?
These bars pair well with a glass of cold milk, a scoop of ice cream, or even a cup of coffee for a delightful afternoon treat!
Time to Try It
Now that you have all the details and tips, it’s time to roll up your sleeves and create your own batch of Buckeye Crunch Bars. The combination of sweet, salty, and crunchy is a crowd-pleaser, and you’ll love how simple it is to make them from scratch. So gather your ingredients, follow the steps, and treat yourself to these delicious bars. Happy baking!
Buckeye Crunch Bars.
Ingredients
Equipment
Method
- Start by lining an 8x8-inch baking dish with parchment paper. This will help you easily lift the bars out once they're set.
- In a mixing bowl, combine the room temperature salted butter and creamy peanut butter. Mix well using a spatula until smooth and creamy.
- Stir in the vanilla extract. Gradually add the confectioners sugar, starting with 2 1/2 cups. Mix until the mixture is thick and holds together, adjusting the sugar to your taste and desired consistency.
- Once your peanut butter mixture is ready, transfer it to the prepared baking dish. Use the spatula to spread it evenly across the bottom and press it down firmly.
- Place the pretzel twists on top of the peanut butter layer, ensuring they are evenly distributed for that perfect crunch in every bite.
- In a double boiler or microwave-safe bowl, melt the chopped chocolate. If using a microwave, heat in 30-second intervals, stirring between each until smooth and fully melted.
- Once the chocolate is melted, pour it over the pretzel layer, spreading it evenly with a spatula to cover all the pretzels and create a beautiful chocolate layer on top.
- Place the baking dish in the refrigerator for at least 1-2 hours or until the chocolate is set and the bars are firm.
- Once set, lift the bars out of the dish using the parchment paper. Cut them into squares or rectangles, and they are ready to serve!
Notes
- Store in an airtight container at room temperature for up to a week or in the refrigerator for longer freshness.
- You can freeze the bars for up to 3 months wrapped individually in plastic wrap.
- Microwave individual bars for about 10-15 seconds if you prefer them warm.