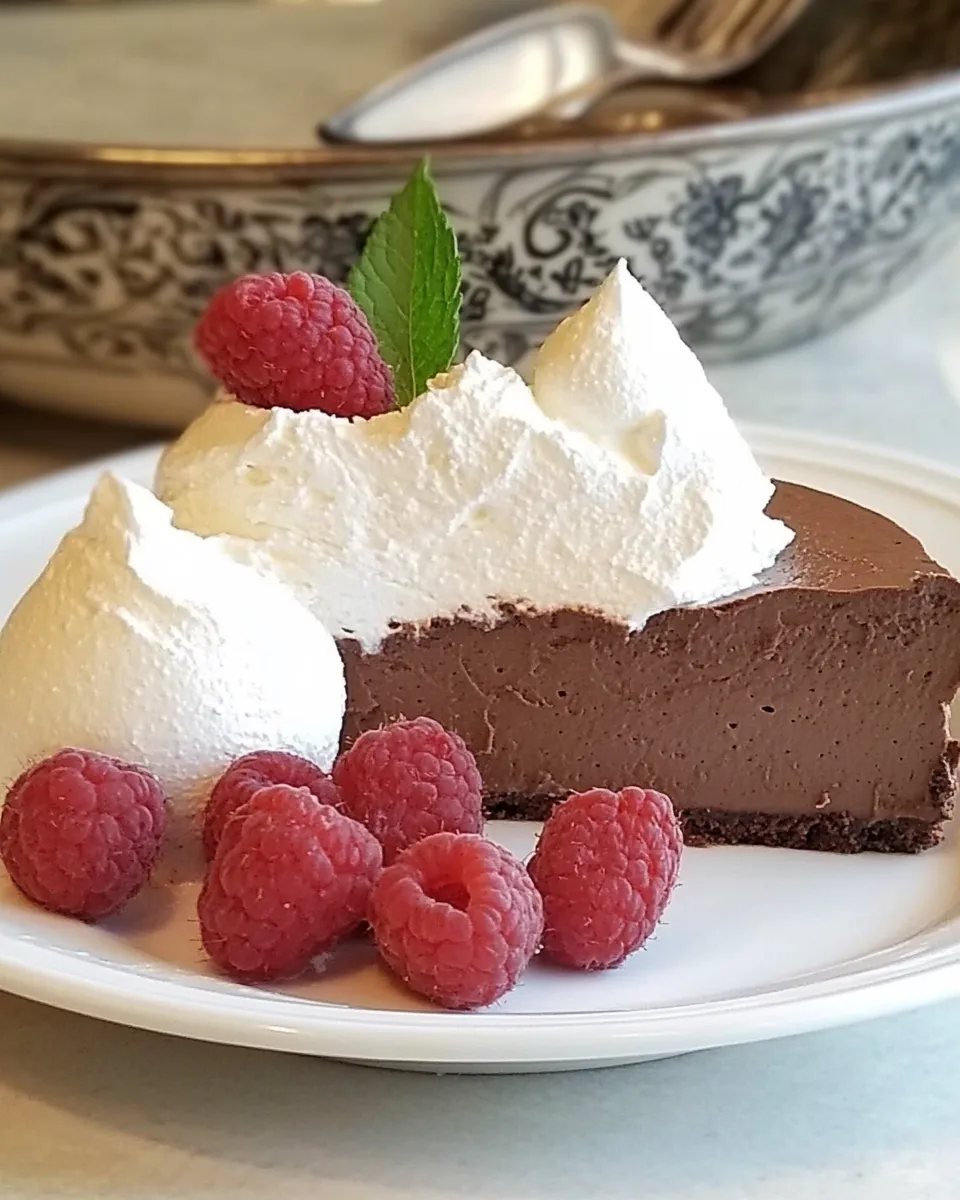
Chocolate Mousse Torte
If you’re a chocolate lover, you probably know that the true essence of indulgence lies in the velvety, airy depths of a well-made chocolate mousse. Now, imagine that luxurious mousse transformed into a rich Chocolate Mousse Torte, perfect for impressing guests or treating yourself after a long day. This dessert combines the smoothness of semi-sweet chocolate and the lightness of whipped cream, bringing a touch of elegance to any occasion. As you dive into the world of this delightful treat, you’ll find that it’s not just a dessert; it’s an experience worth savoring.
Why Chocolate Mousse Torte is Worth Your Time
The Chocolate Mousse Torte is a showstopper, both in flavor and presentation. With its multiple layers and luscious texture, it’s an unforgettable dessert that can elevate any gathering. This torte is not only delicious but also surprisingly simple to prepare, requiring just a few ingredients that create a symphony of flavors. Each bite melts in your mouth, making it the perfect balance of decadent chocolate and airy mousse. Whether you’re celebrating a special occasion or just treating yourself, this torte will surely impress.
Ingredient List
- 12 ounces semi-sweet chocolate, chopped – The star ingredient that gives the torte its rich flavor.
- 1 cup heavy cream – Adds creaminess and helps create the fluffy texture of the mousse.
Tools of the Trade
- Mixing bowls – A couple of medium-sized bowls for melting and mixing.
- Double boiler or microwave – For melting the chocolate gently.
- Whisk – Essential for whipping the cream and combining ingredients.
- Rubber spatula – Great for folding the whipped cream into the chocolate mixture.
- Springform pan – Ideal for shaping the torte and ensuring easy removal.
Chocolate Mousse Torte Cooking Guide
Step 1: Prepare the Chocolate
Begin by chopping the semi-sweet chocolate into small pieces. This ensures it melts evenly and smoothly. Place the chopped chocolate in a heatproof bowl.
Step 2: Melt the Chocolate
Set up a double boiler by placing the bowl over a pot of simmering water. Stir the chocolate gently until it’s completely melted and smooth. Alternatively, you can melt the chocolate in the microwave in 30-second intervals, stirring in between until fully melted. Once melted, let it cool slightly.
Step 3: Whip the Cream
In a separate mixing bowl, pour in the heavy cream. Using a whisk, beat the cream on medium-high speed until stiff peaks form. This process will take about 3-5 minutes. Be careful not to overwhip, as you want the cream to be fluffy and light.
Step 4: Combine Chocolate and Cream
Once the chocolate has cooled to room temperature, gently fold in one-third of the whipped cream with a rubber spatula. This helps lighten the chocolate before combining with the rest. Next, carefully fold in the remaining whipped cream until no streaks remain. Be gentle to maintain the airy texture.
Step 5: Assemble the Torte
Transfer the mousse mixture into the prepared springform pan. Smooth the top with a spatula, and refrigerate for at least 4 hours or overnight for the best results. This chilling time allows the mousse to set perfectly.
Step 6: Serve and Enjoy
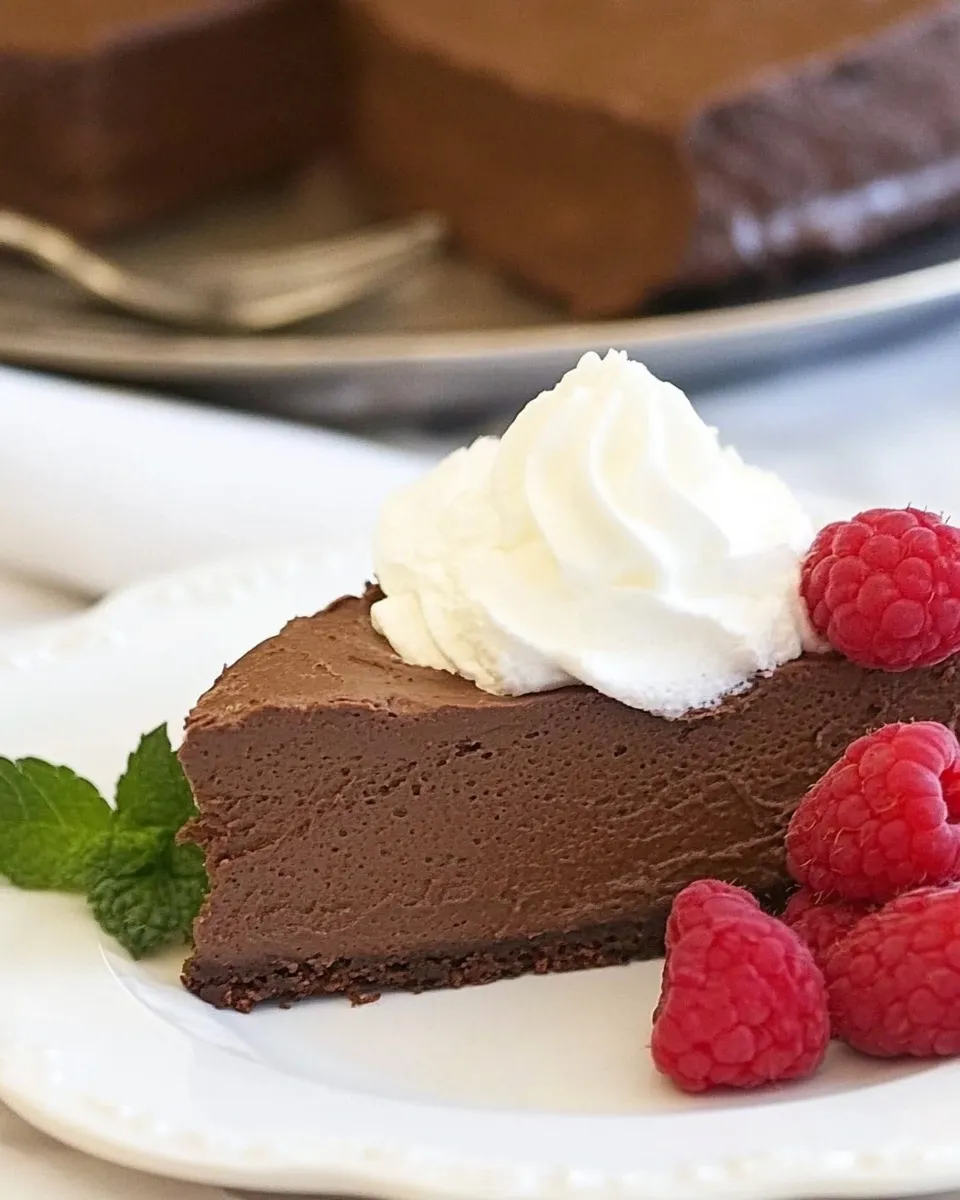
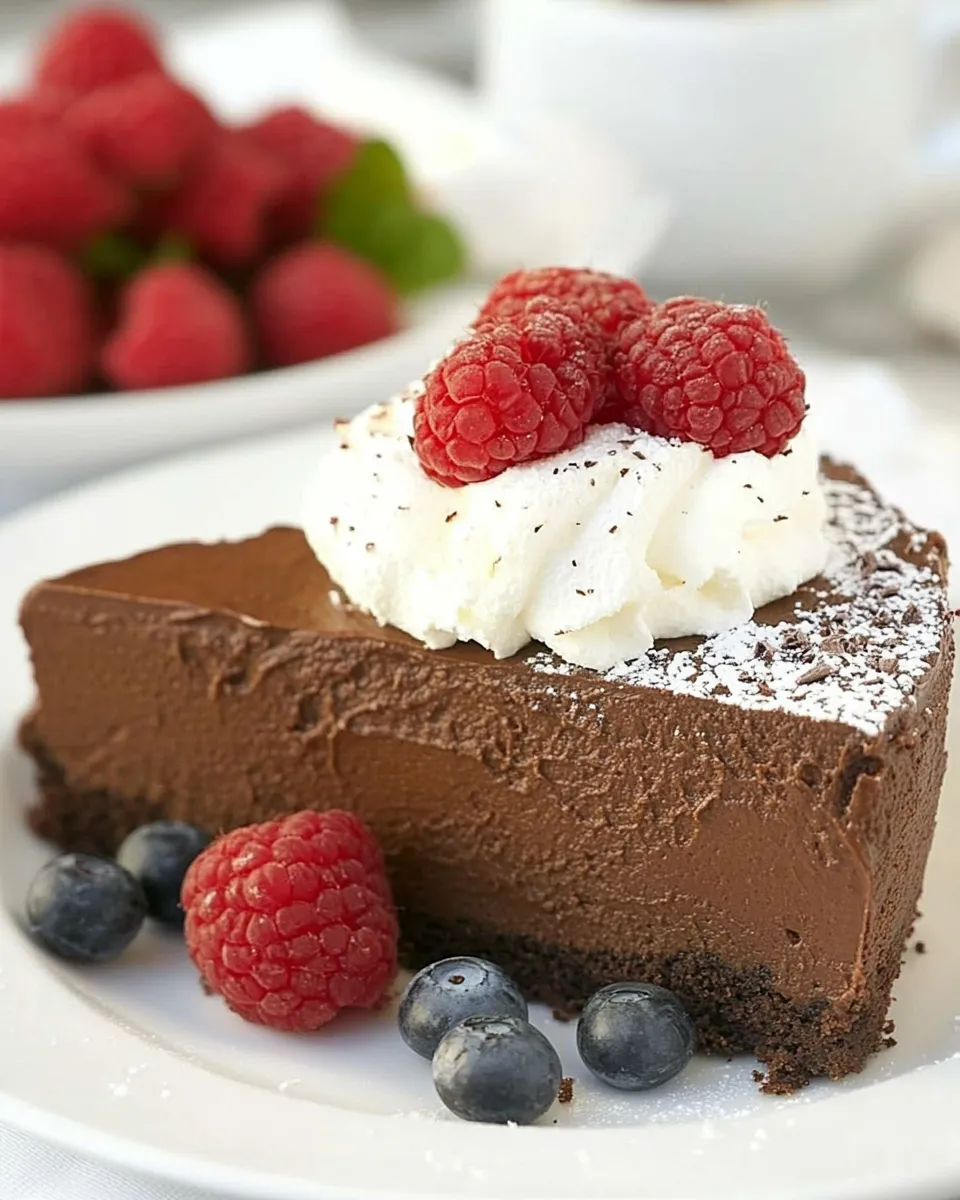
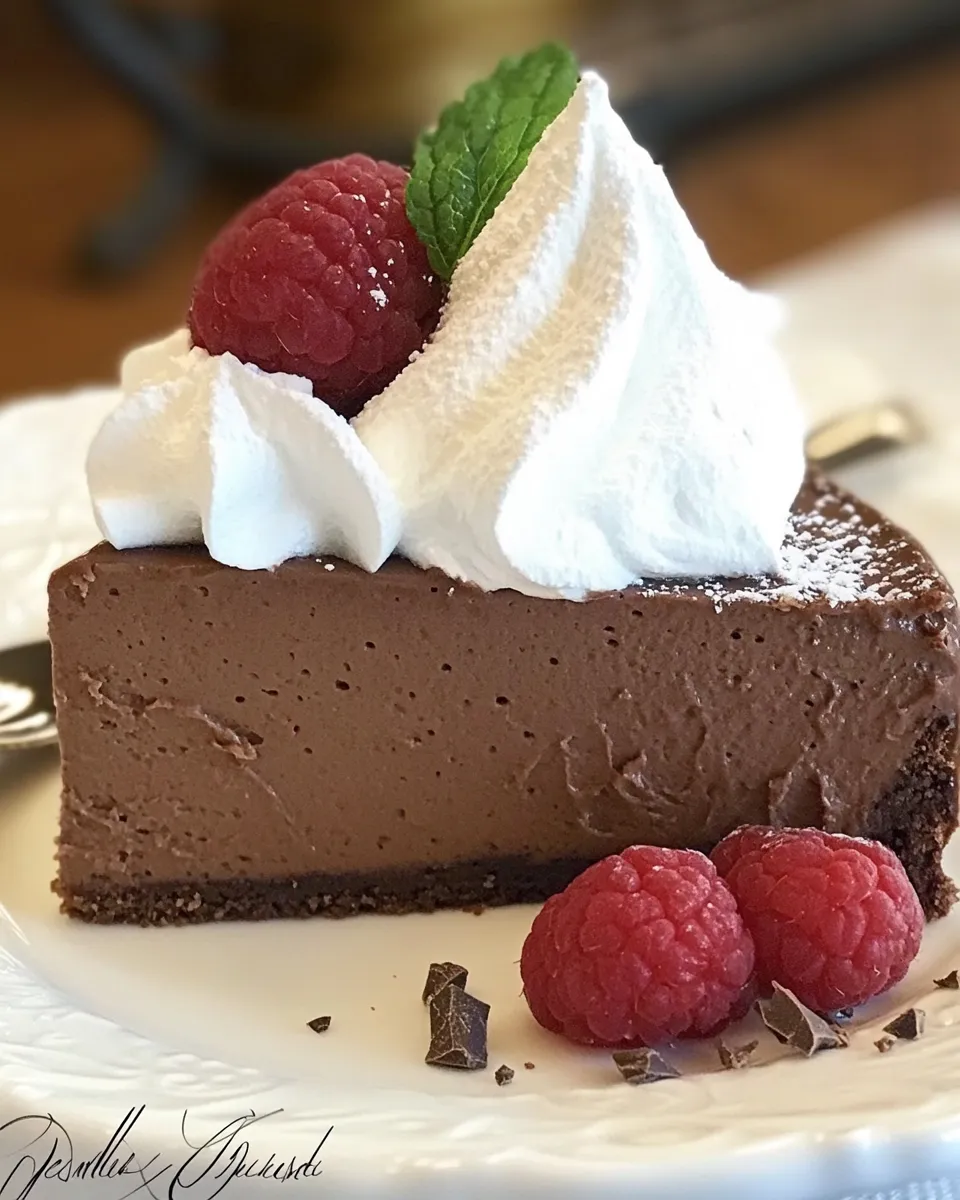
Once set, carefully remove the sides of the springform pan. You can garnish your Chocolate Mousse Torte with chocolate shavings, fresh berries, or a drizzle of chocolate sauce for an extra touch of elegance. Slice and serve chilled.
Make It Fit Your Plan
- Gluten-Free – This recipe is naturally gluten-free, making it suitable for those with gluten sensitivities.
- Dairy-Free Option – Substitute heavy cream with coconut cream for a dairy-free version.
- Vegan Adaptation – Use vegan chocolate and coconut cream, and consider incorporating aquafaba for a fluffier texture.
Learn from These Mistakes
- Overheating the chocolate can lead to a grainy texture. Always melt gently.
- Be cautious when whipping the cream; overwhipping can create butter instead of a light mousse.
- Not allowing enough chilling time will result in a soft torte. Patience is key!
Storage & Reheat Guide
The Chocolate Mousse Torte can be stored in the refrigerator for up to 5 days. Keep it covered with plastic wrap or in an airtight container to maintain its freshness. If you need to freeze it, wrap it tightly and store it in the freezer for up to a month. To enjoy, simply thaw it in the refrigerator overnight before serving. Reheating is not necessary, as this dessert is best served chilled.
Quick Q&A
Can I use milk chocolate instead of semi-sweet chocolate?
Yes, you can use milk chocolate, but keep in mind that it will result in a sweeter torte. Adjust the sweetness to your preference.
What can I use instead of heavy cream?
You can substitute heavy cream with coconut cream or a dairy-free whipped topping for a lighter option.
How do I know when the mousse is set?
The mousse is set when it has a firm consistency and holds its shape when sliced. The chilling time is crucial for achieving this texture.
Can I make this ahead of time?
Absolutely! The Chocolate Mousse Torte can be made a day in advance, allowing the flavors to meld beautifully.
Before You Go
Chocolate Mousse Torte is not just a dessert; it’s a celebration of flavors and textures that brings joy to any occasion. With just a few simple ingredients, you can create a masterpiece that is sure to impress. Whether you are a seasoned baker or a novice in the kitchen, this recipe is approachable and forgiving, allowing for creativity in presentation and flavor.
Take the time to savor each layer, from the rich chocolate to the airy mousse, and share the experience with others. Now that you have the knowledge and the guide to make your own Chocolate Mousse Torte, it’s time to roll up your sleeves and indulge in a little chocolate magic. Enjoy every bite!
Chocolate Mousse Torte
Ingredients
Equipment
Method
- Begin by chopping the semi-sweet chocolate into small pieces. This ensures it melts evenly and smoothly. Place the chopped chocolate in a heatproof bowl.
- Set up a double boiler by placing the bowl over a pot of simmering water. Stir the chocolate gently until it's completely melted and smooth. Alternatively, you can melt the chocolate in the microwave in 30-second intervals, stirring in between until fully melted. Once melted, let it cool slightly.
- In a separate mixing bowl, pour in the heavy cream. Using a whisk, beat the cream on medium-high speed until stiff peaks form. This process will take about 3-5 minutes. Be careful not to overwhip, as you want the cream to be fluffy and light.
- Once the chocolate has cooled to room temperature, gently fold in one-third of the whipped cream with a rubber spatula. This helps lighten the chocolate before combining with the rest. Next, carefully fold in the remaining whipped cream until no streaks remain. Be gentle to maintain the airy texture.
- Transfer the mousse mixture into the prepared springform pan. Smooth the top with a spatula, and refrigerate for at least 4 hours or overnight for the best results. This chilling time allows the mousse to set perfectly.
- Once set, carefully remove the sides of the springform pan. You can garnish your Chocolate Mousse Torte with chocolate shavings, fresh berries, or a drizzle of chocolate sauce for an extra touch of elegance. Slice and serve chilled.
Notes
- Store leftovers in the refrigerator for up to 5 days.
- For a dairy-free version, substitute heavy cream with coconut cream.
- Make ahead a day for better flavor melding.