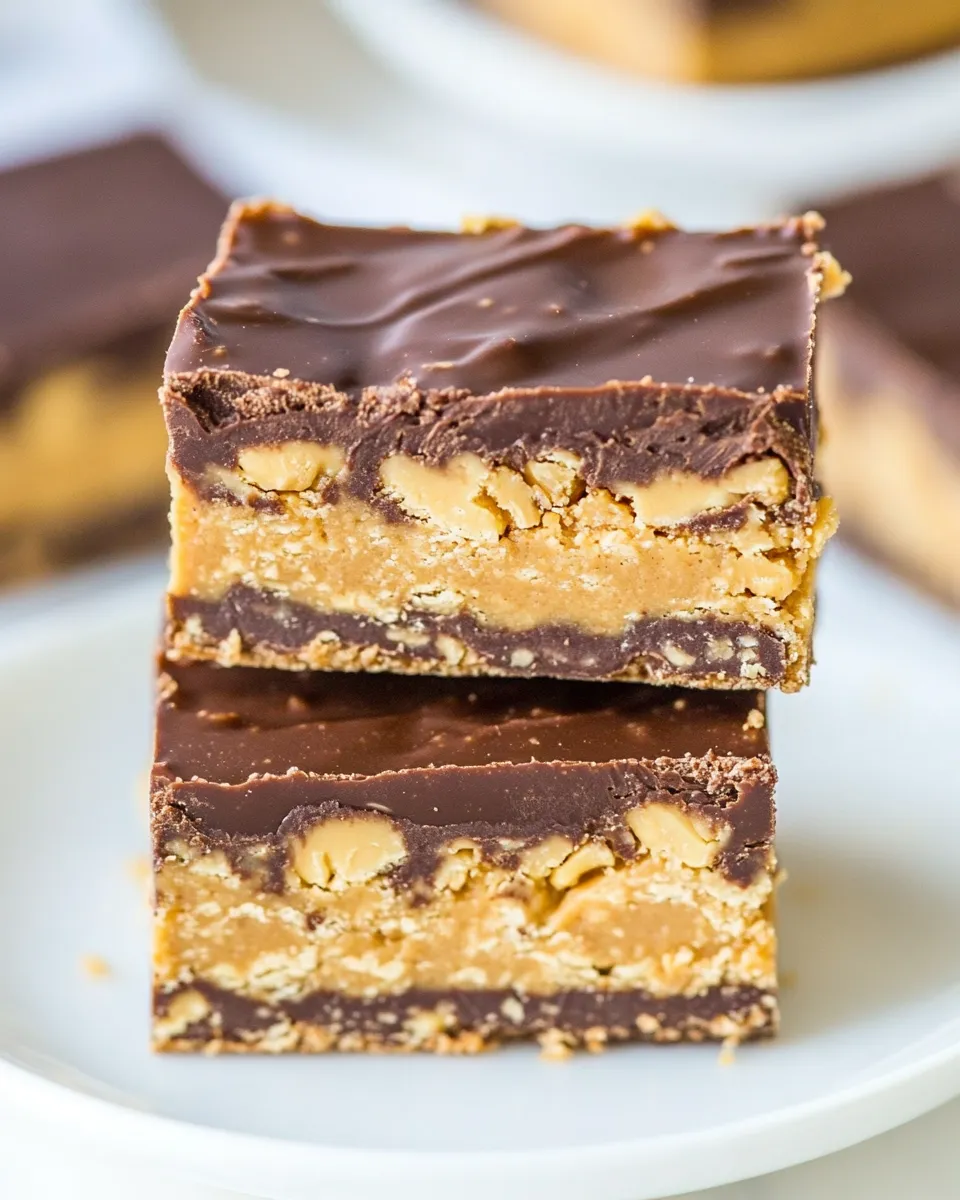
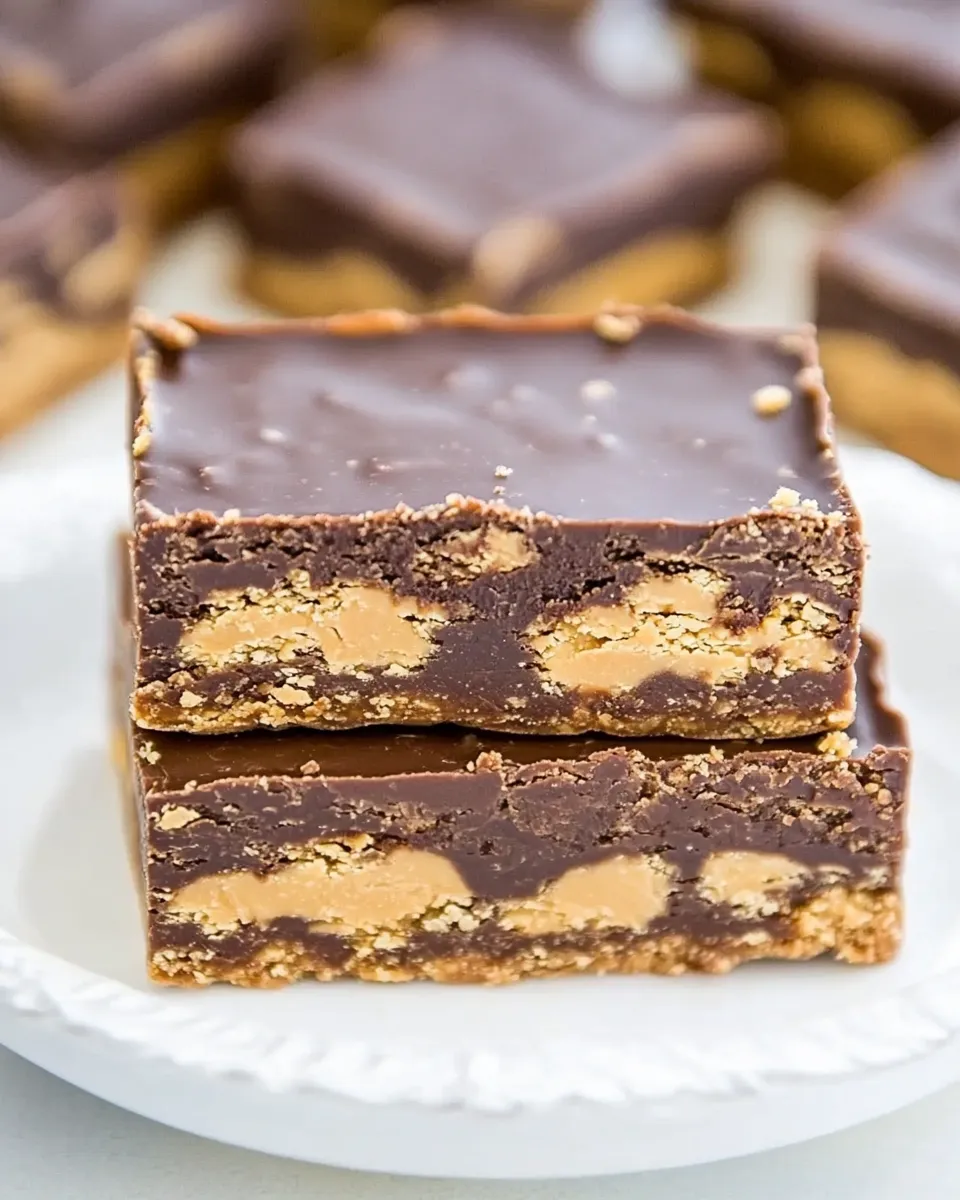
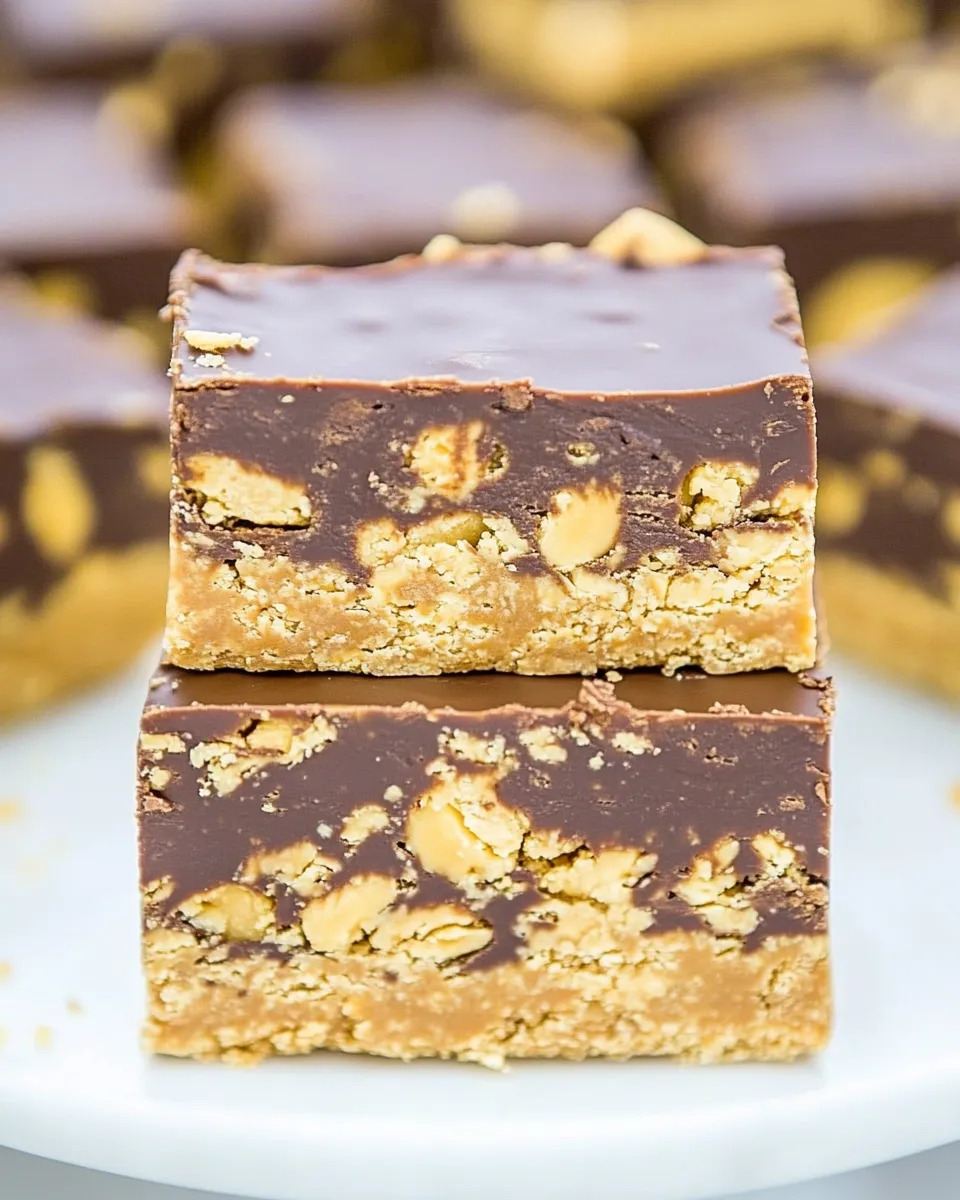
Chocolate Peanut Butter Fudge Bars
Indulging in a rich, creamy treat that combines the beloved flavors of chocolate and peanut butter is a joy that few can resist. Chocolate Peanut Butter Fudge Bars are a delightful blend of creamy textures and crunchy surprises, making them the perfect dessert for any occasion. Not only are these bars easy to make, but they also pack a serious flavor punch that will leave everyone asking for seconds.
Whether you’re serving them at a party, packing them in lunchboxes, or simply treating yourself to a sweet snack, these bars are sure to satisfy your cravings. So let’s dive right in and create these decadent delights!
Why It Works Every Time

The magic of Chocolate Peanut Butter Fudge Bars lies in the balance of flavors and textures. The creamy peanut butter pairs beautifully with the sweetness of white chocolate, while the crispy rice cereal adds a delightful crunch. The semi-sweet chocolate layer on top not only enhances the flavor but also gives the bars a striking contrast that makes them visually appealing. Each bite is a harmonious blend of sweetness, nuttiness, and a satisfying crunch, making them a perfect treat for all chocolate and peanut butter lovers.
Your Shopping Guide
Before you start whipping up these delicious bars, make sure you have the following ingredients on hand:
- 2 cups white chocolate chips (one 10.5 to 11.5-ounce bag)
- 1 cup creamy peanut butter (not natural; use brands like Jif or Skippy)
- 1 cup crispy rice cereal (gluten-free option available for those who need it)
- 1 cup semi-sweet chocolate chips
- 1 cup creamy peanut butter
- 1 tablespoon unsalted butter
- 1 cup crispy rice cereal
With these ingredients, you’ll be on your way to creating a dessert that is both simple and scrumptious!
Setup & Equipment
Gather the following kitchen tools to make your baking experience smooth and enjoyable:
- Mixing bowls – for combining ingredients.
- Spatula – for mixing and spreading the ingredients.
- Measuring cups and spoons – for precise measurements.
- 9×9-inch baking pan – to hold the fudge bars while they set.
- Parchment paper – to line the baking pan for easy removal.
- Microwave-safe bowl – for melting chocolate and peanut butter.
Having everything ready will help you focus on creating these delicious Chocolate Peanut Butter Fudge Bars without any interruptions!
Chocolate Peanut Butter Fudge Bars: From Prep to Plate
Creating these bars is a straightforward process that yields delicious results. Follow these steps for a perfect treat:
Step 1: Prepare the Baking Pan
Start by lining your 9×9-inch baking pan with parchment paper. This will make it much easier to lift the bars out once they have set.
Step 2: Melt the White Chocolate and Peanut Butter
In a microwave-safe bowl, combine the 2 cups of white chocolate chips and 1 cup of creamy peanut butter. Microwave in 30-second intervals, stirring after each interval, until smooth and fully melted. Be careful not to overheat.
Step 3: Add the Crispy Rice Cereal
Once the white chocolate and peanut butter mixture is melted and smooth, fold in 1 cup of crispy rice cereal. Ensure that the cereal is well-coated with the mixture.
Step 4: Pour into the Pan
Pour the mixture into the prepared baking pan and spread it evenly. Use a spatula to press it down firmly, creating an even layer.
Step 5: Prepare the Semi-Sweet Chocolate Layer
In another microwave-safe bowl, melt 1 cup of semi-sweet chocolate chips along with 1 tablespoon of unsalted butter. Heat in 30-second intervals, stirring until smooth.
Step 6: Pour the Chocolate Over the Base
Once melted, pour the chocolate mixture over the white chocolate peanut butter layer, spreading it evenly to cover the entire surface.
Step 7: Add More Crispy Rice Cereal
Sprinkle the remaining 1 cup of crispy rice cereal over the top of the semi-sweet chocolate layer. Gently press down to ensure it adheres.
Step 8: Chill to Set
Refrigerate the bars for at least 2 hours, or until they are firm enough to cut into squares.
Step 9: Slice and Serve
Once set, lift the bars out of the pan using the parchment paper. Cut into squares and serve!
Your Chocolate Peanut Butter Fudge Bars are now ready to be enjoyed!
Swap Guide
If you want to customize your Chocolate Peanut Butter Fudge Bars, here are a few substitutions you might consider:
- Nut Butters: Swap creamy peanut butter for almond butter or cashew butter for a different flavor profile.
- Chocolate Types: Use dark chocolate instead of semi-sweet for a richer taste.
- Rice Cereal: Substitute with crushed graham crackers or nuts for a different texture.
- Sweeteners: If you prefer a less sweet treat, reduce the amount of chocolate or use unsweetened chocolate.
Feel free to experiment and make these bars your own!
Insider Tips
- To keep the white chocolate from seizing, make sure your bowl and utensils are completely dry.
- For a marbled effect, swirl the semi-sweet chocolate into the white chocolate mixture before chilling.
- Store the bars in an airtight container in the refrigerator to keep them fresh for up to a week.
- For a festive touch, add a sprinkle of sea salt on top before chilling!
These tips will ensure your bars turn out perfectly every time!
Save It for Later
Chocolate Peanut Butter Fudge Bars can be stored in several ways to keep them fresh:
Place the sliced bars in an airtight container and store them in the refrigerator for up to one week. If you want to keep them longer, you can freeze them. Just wrap each bar individually in plastic wrap and place them in a freezer-safe bag. They can be frozen for up to three months. When you’re ready to enjoy, simply let them thaw in the refrigerator.
Chocolate Peanut Butter Fudge Bars Q&A
Can I use natural peanut butter for this recipe?
While you can use natural peanut butter, it may alter the texture and make the bars less creamy. For best results, stick to traditional creamy peanut butter like Jif or Skippy.
How do I know when the bars are set?
The bars are set when they feel firm to the touch. They should hold their shape when you lift them out of the pan, and the top layer of chocolate should be solid but not hard.
Can I make these bars vegan?
Yes! To make these fudge bars vegan, use dairy-free chocolate chips and a plant-based butter substitute. Ensure your crispy rice cereal is also vegan-friendly.
What can I serve with Chocolate Peanut Butter Fudge Bars?
These bars pair wonderfully with a glass of cold milk, coffee, or even a scoop of vanilla ice cream for a decadent dessert experience!
Bring It to the Table
Now that you’ve mastered the art of making Chocolate Peanut Butter Fudge Bars, it’s time to share your creation with friends and family. These bars are perfect for gatherings, potlucks, or even a cozy night in. Their combination of rich chocolate and creamy peanut butter is sure to impress, making them a favorite for all who try them.
So gather your ingredients, follow the steps, and enjoy the sweet rewards of your hard work. Happy baking!
Chocolate Peanut Butter Fudge Bars
Ingredients
Equipment
Method
- Step 1: Prepare the Baking Pan. Line your 9x9-inch baking pan with parchment paper.
- Step 2: Melt the White Chocolate and Peanut Butter. In a microwave-safe bowl, combine the white chocolate chips and creamy peanut butter. Microwave in 30-second intervals, stirring after each, until smooth.
- Step 3: Add the Crispy Rice Cereal. Fold in the crispy rice cereal until well-coated.
- Step 4: Pour into the Pan. Pour the mixture into the prepared pan and spread evenly.
- Step 5: Prepare the Semi-Sweet Chocolate Layer. Melt the semi-sweet chocolate chips and unsalted butter in a microwave-safe bowl.
- Step 6: Pour the Chocolate Over the Base. Spread the melted chocolate over the fudge base.
- Step 7: Add More Crispy Rice Cereal. Sprinkle the remaining crispy rice cereal on top and gently press down.
- Step 8: Chill to Set. Refrigerate for at least 2 hours until firm.
- Step 9: Slice and Serve. Lift the bars out using the parchment paper, cut into squares, and enjoy!
Notes
- Ensure your bowl and utensils are completely dry to prevent white chocolate from seizing.
- For a marbled effect, swirl the semi-sweet chocolate into the white mixture before chilling.
- Store bars in an airtight container in the refrigerator for up to a week.
- For a festive touch, sprinkle sea salt on top before chilling!