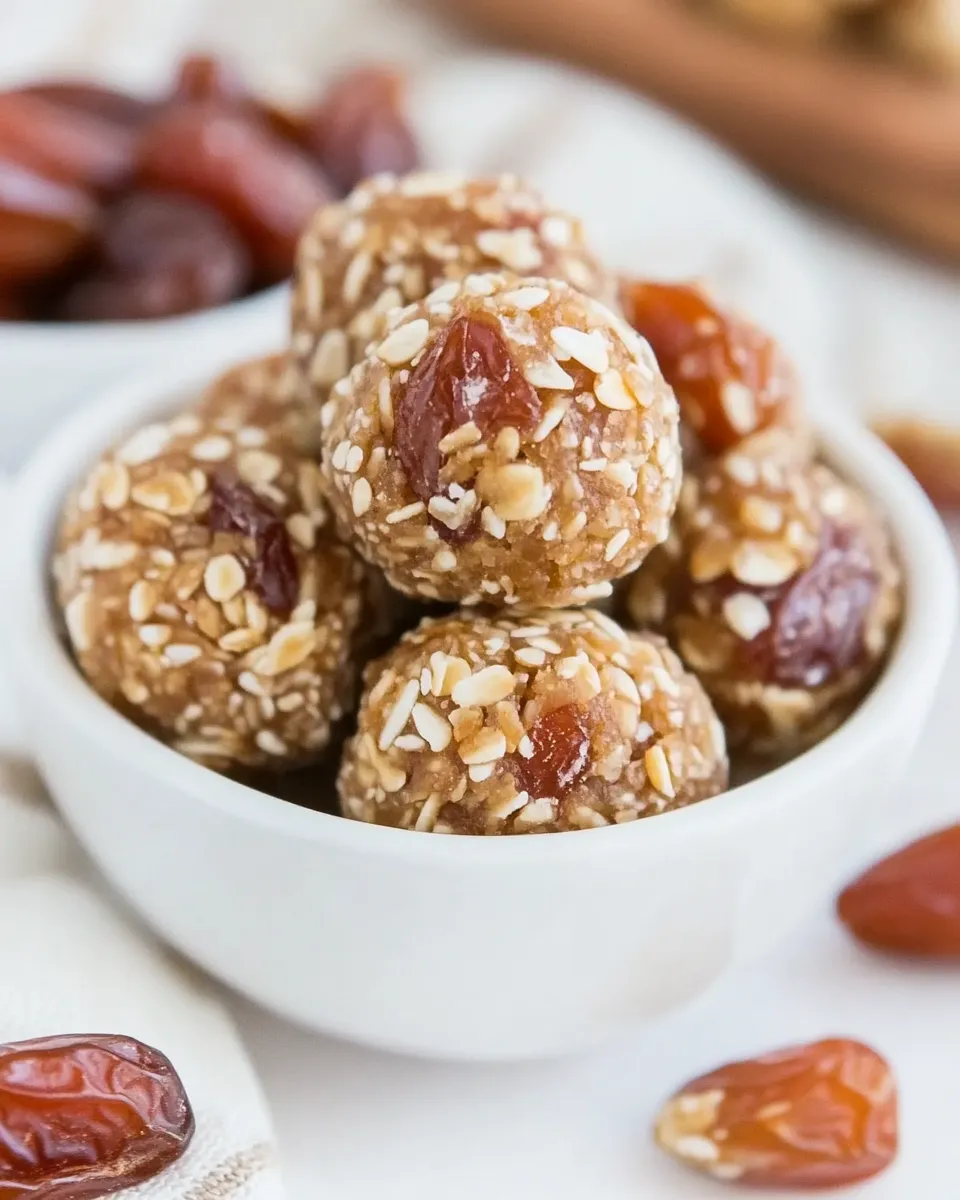
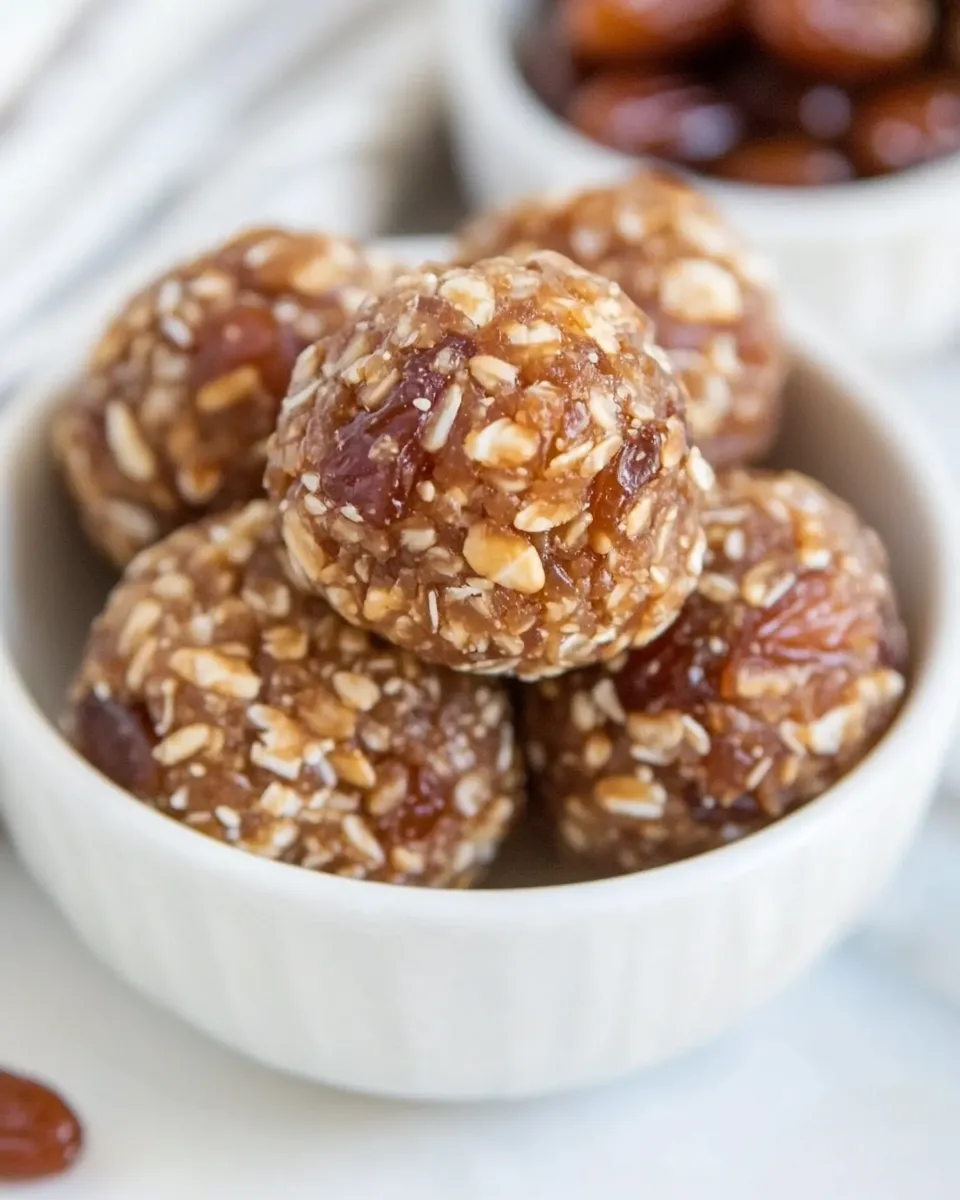
Date Balls
Are you on the lookout for a quick, nutritious snack that satisfies your sweet cravings without the guilt? Look no further than these delightful Date Balls! Packed with wholesome ingredients and bursting with natural sweetness, they are the perfect treat for busy days or a post-workout pick-me-up. The best part? They come together in just a few simple steps. Let’s dive into the wonderful world of Date Balls, where health meets indulgence!
The Upside of Date Balls
Date Balls are not only delicious but also incredibly versatile. These little bites are a fantastic source of energy, thanks to the natural sugars found in Medjool dates, which provide a quick energy boost. They are also loaded with fiber, vitamins, and minerals from the pecans and coconut, making them a nutritious snack option. Plus, they are naturally sweetened, which means you can enjoy a treat without any added sugars or artificial ingredients. Whether you need a midday snack, a quick breakfast on the go, or a sweet treat after dinner, Date Balls have got you covered!
What Goes Into Date Balls
Creating Date Balls is simple and requires just a few wholesome ingredients. Here’s what you’ll need:
- 2 cups pecans: These provide a crunchy texture and are rich in healthy fats.
- 1 cup sweetened coconut: Adds a delightful sweetness and chewy texture.
- 2 cups Medjool dates, pitted: The star of the show! These dates offer natural sweetness and bind the ingredients together.
- 1 teaspoon vanilla extract: Enhances the overall flavor and aroma of the Date Balls.
Each ingredient plays a vital role in achieving that perfect balance of taste and texture, ensuring your Date Balls are as delightful as they are nutritious.
Gear Up: What to Grab
Before you get started, make sure you have the following gear on hand:
- Food processor: This is essential for blending the ingredients into a smooth mixture.
- Mixing bowl: For combining ingredients before rolling them into balls.
- Baking sheet or plate: To place the rolled Date Balls as they set.
- Measuring cups and spoons: For accurate ingredient measurements.
- Plastic wrap or airtight container: To store your Date Balls for later enjoyment.
Having the right tools will make your preparation process smooth and enjoyable!
The Method for Date Balls
Now that you have your ingredients and gear ready, let’s get to the fun part—making Date Balls! Follow these simple steps:
Step 1: Prepare the Pecans
Begin by placing the pecans into your food processor. Pulse them until they reach a fine crumble, being careful not to over-process them into a paste.
Step 2: Add Dates
Next, add the pitted Medjool dates to the food processor with the crushed pecans. Pulse until the mixture starts to cling together. You want a sticky consistency that holds its shape when pressed.
Step 3: Mix in Coconut and Vanilla
Add the sweetened coconut and vanilla extract to the date-pecan mixture. Pulse again until everything is well combined and the mixture is sticky yet manageable.
Step 4: Roll into Balls
Using your hands, scoop out small portions of the mixture and roll them into bite-sized balls (about 1 inch in diameter). Place them on a baking sheet or plate.
Step 5: Chill and Set
Once you have rolled all the mixture into balls, place them in the refrigerator for at least 30 minutes. This helps them firm up and makes them easier to handle.
Step 6: Enjoy!
After chilling, your Date Balls are ready to enjoy! Grab one (or two) whenever you need a quick and nutritious snack.
Dairy-Free/Gluten-Free Swaps
If you’re looking to make your Date Balls even more inclusive, here are some easy swaps:
- Use unsweetened coconut: If you prefer a less sweet version, opt for unsweetened coconut flakes.
- Nut alternatives: Swap pecans for almonds or walnuts if you have nut allergies or simply want to try something different.
- Omit sweetened coconut: For a lower-sugar option, you can reduce or omit the coconut entirely.
- Raw cacao powder: Add a tablespoon of raw cacao powder for a chocolatey twist without any dairy.
These adjustments make it easy to customize your Date Balls to suit your dietary preferences!
Mistakes Even Pros Make
Even the most seasoned bakers can make mistakes! Here are a few common pitfalls to avoid when making Date Balls:
- Using dried dates: Always opt for Medjool dates, as they are softer and stickier, making your Date Balls hold together better.
- Over-processing the nuts: It’s easy to turn pecans into nut butter if you process them too long. Aim for a fine crumble instead.
- Not chilling the mixture: Skipping the chilling step can result in Date Balls that fall apart. Give them time to set!
- Not measuring accurately: Use measuring cups and spoons for precise measurements to ensure the right texture.
By keeping these tips in mind, you’ll enhance your Date Balls-making skills in no time!
Save It for Later
One of the best things about Date Balls is their ability to be made in advance. Here are some storage tips to keep them fresh:
- Refrigeration: Store your Date Balls in an airtight container in the refrigerator for up to two weeks.
- Freezing: For longer storage, freeze them for up to three months. Just make sure to separate layers with parchment paper.
- Thawing: When you’re ready to enjoy them, simply let them thaw in the refrigerator overnight or at room temperature for about an hour.
This way, you can always have a healthy snack on hand!
Common Qs About Date Balls
Can I use other types of nuts in my Date Balls?
Absolutely! While pecans are delicious, you can substitute them with almonds, walnuts, or even cashews for a different flavor profile.
Is there a way to make Date Balls without a food processor?
Yes! You can finely chop the pecans and dates by hand and mix them in a bowl, but it may require more effort to achieve the right consistency.
How can I make my Date Balls taste different each time?
Experiment with various add-ins like spices (cinnamon or nutmeg), seeds (chia or flax), or different flavored extracts (like almond or coconut) to create unique variations.
Are Date Balls suitable for kids?
Yes! Date Balls are a healthy snack option for kids, providing energy and nutrition without processed sugars. Just be mindful of any nut allergies.
Wrap-Up
Making Date Balls is not just a fun activity; it’s a way to create a nutritious snack that can support your healthy lifestyle. With minimal ingredients and effort, you can whip up a batch that keeps you energized throughout the day. Whether you enjoy them right away or save them for later, these little bites of goodness are sure to become a staple in your kitchen.
The journey of crafting these Date Balls is simple and rewarding. You’ll find that they not only satisfy your sweet tooth but also offer a wealth of nutritional benefits. So, gather your ingredients, roll up your sleeves, and start creating these delightful treats today! Your taste buds—and your body—will thank you. Enjoy every bite of your Date Balls!
Date Balls
Ingredients
Equipment
Method
- Step 1: Prepare the Pecans. Begin by placing the pecans into your food processor. Pulse them until they reach a fine crumble, being careful not to over-process them into a paste.
- Step 2: Add Dates. Next, add the pitted Medjool dates to the food processor with the crushed pecans. Pulse until the mixture starts to cling together. You want a sticky consistency that holds its shape when pressed.
- Step 3: Mix in Coconut and Vanilla. Add the sweetened coconut and vanilla extract to the date-pecan mixture. Pulse again until everything is well combined and the mixture is sticky yet manageable.
- Step 4: Roll into Balls. Using your hands, scoop out small portions of the mixture and roll them into bite-sized balls (about 1 inch in diameter). Place them on a baking sheet or plate.
- Step 5: Chill and Set. Once you have rolled all the mixture into balls, place them in the refrigerator for at least 30 minutes. This helps them firm up and makes them easier to handle.
- Step 6: Enjoy! After chilling, your Date Balls are ready to enjoy! Grab one (or two) whenever you need a quick and nutritious snack.
Notes
- Store in an airtight container in the refrigerator for up to two weeks.
- Freeze for up to three months, separating layers with parchment paper.
- Thaw in the refrigerator overnight or at room temperature for about an hour.