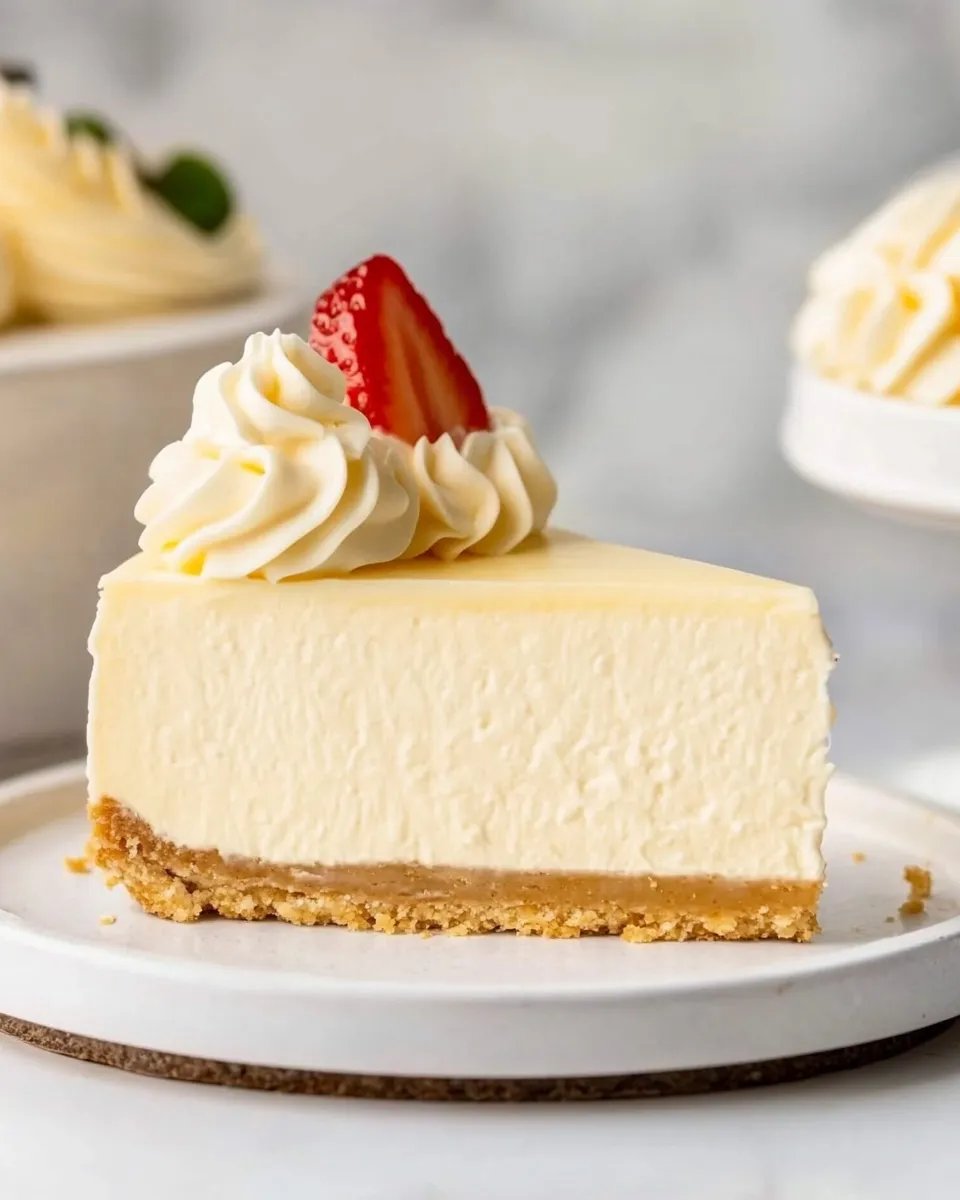
Healthy Cheesecake
If you’re looking for a dessert that satisfies your sweet tooth while keeping health in mind, look no further than this delectable Healthy Cheesecake. Creamy, rich, and perfectly sweetened with no added sugars, this cheesecake is a guilt-free delight that you can enjoy any time. With a luscious texture thanks to the combination of cream cheese and Greek yogurt, it’s a dessert that not only tastes divine but is also packed with protein. Let’s dive into the reasons you should whip up this healthy version of a classic favorite!
Top Reasons to Make Healthy Cheesecake
- Guilt-Free Indulgence: Satisfy your cravings without the added sugars and calories.
- High in Protein: The combination of Greek yogurt and cream cheese offers a protein boost.
- Customizable: Tailor the flavors and toppings to suit your taste preferences.
- Easy to Make: With simple ingredients and straightforward steps, anyone can master this recipe.
- Perfect for Any Occasion: Whether it’s a family gathering or a quiet night in, this cheesecake fits the bill.
Ingredients at a Glance
- 1 cup sugar-free cookies, crushed
- 1/2 cup granulated sweetener of choice (I used erythritol)
- 1/3 cup butter (vegan or standard)
- 1 cup non-fat cream cheese
- 2 cups non-fat Greek yogurt
- 2 large eggs
- 2/3 cup granulated sweetener of choice (I used erythritol)
- 1/4 cup all-purpose flour
- 1/4 teaspoon salt
- 1 teaspoon vanilla extract
Gear Up: What to Grab
- Mixing Bowls: For combining ingredients smoothly.
- Springform Pan: Ideal for baking and serving the cheesecake.
- Measuring Cups & Spoons: Precision is key in baking!
- Electric Mixer: Ensures a smooth and creamy filling.
- Spatula: For scraping down the sides of the bowl and serving.
Mastering Healthy Cheesecake: How-To
Step 1: Prepare the Crust
Start by preheating your oven to 350°F (175°C). In a mixing bowl, combine the crushed sugar-free cookies, 1/2 cup of granulated sweetener, and melted butter. Mix until the crumbs are evenly coated. Press this mixture firmly into the bottom of a springform pan to create an even layer for the crust. Bake for about 10 minutes, then let it cool while you prepare the filling.
Step 2: Make the Filling
In a large mixing bowl, beat together the non-fat cream cheese and Greek yogurt until smooth. Add in the 2/3 cup of granulated sweetener, eggs, all-purpose flour, salt, and vanilla extract. Mix until everything is well incorporated and the mixture is creamy.
Step 3: Combine & Bake
Pour the cheesecake filling over the cooled crust, spreading it evenly. Bake in the preheated oven for 45-50 minutes, or until the edges are set but the center still slightly jiggles. This will ensure a creamy texture without being overly firm.
Step 4: Cool & Chill
Once baked, turn off the oven and leave the cheesecake inside for an additional hour. This gradual cooling helps prevent cracks. After an hour, remove it from the oven and let it cool to room temperature. Once cool, refrigerate for at least 4 hours, preferably overnight, to let the flavors meld and the cheesecake firm up.
Make It Diet-Friendly
- Gluten-Free: Substitute the all-purpose flour with a gluten-free blend.
- Dairy-Free: Use non-dairy cream cheese and yogurt alternatives.
- Vegan: Replace the eggs with flax eggs (1 tablespoon ground flaxseed mixed with 3 tablespoons water for each egg).
- Flavor Variations: Add lemon zest for a citrusy twist or cocoa powder for a chocolate cheesecake.
Avoid These Mistakes
Creating the perfect Healthy Cheesecake can be easy, but there are a few pitfalls to avoid:
- Overmixing the filling can lead to a dense texture. Mix just until combined.
- Not allowing the cheesecake to cool gradually can cause cracks. Be patient!
- Skipping the chilling time will result in a less firm cheesecake. Always refrigerate before serving.
- Using too much sweetener can overwhelm the natural flavors. Stick to the recommended amounts.
Prep Ahead & Store
This Healthy Cheesecake is perfect for meal prep! Here’s how to store it:
- Refrigeration: Once cooled, cover the cheesecake with plastic wrap and store it in the fridge for up to 5 days.
- Freezing: You can freeze slices wrapped tightly in plastic wrap for up to 2 months. Thaw in the refrigerator before serving.
- Make Ahead: Bake and chill the cheesecake a day or two in advance for an even more flavorful treat.
Ask & Learn
Can I use a different sweetener?
Absolutely! You can use any granulated sweetener of your choice, such as stevia or monk fruit, just keep in mind that the sweetness level may vary.
How do I know when the cheesecake is done?
The cheesecake is done when the edges are set, and the center has a slight jiggle. It will firm up as it cools.
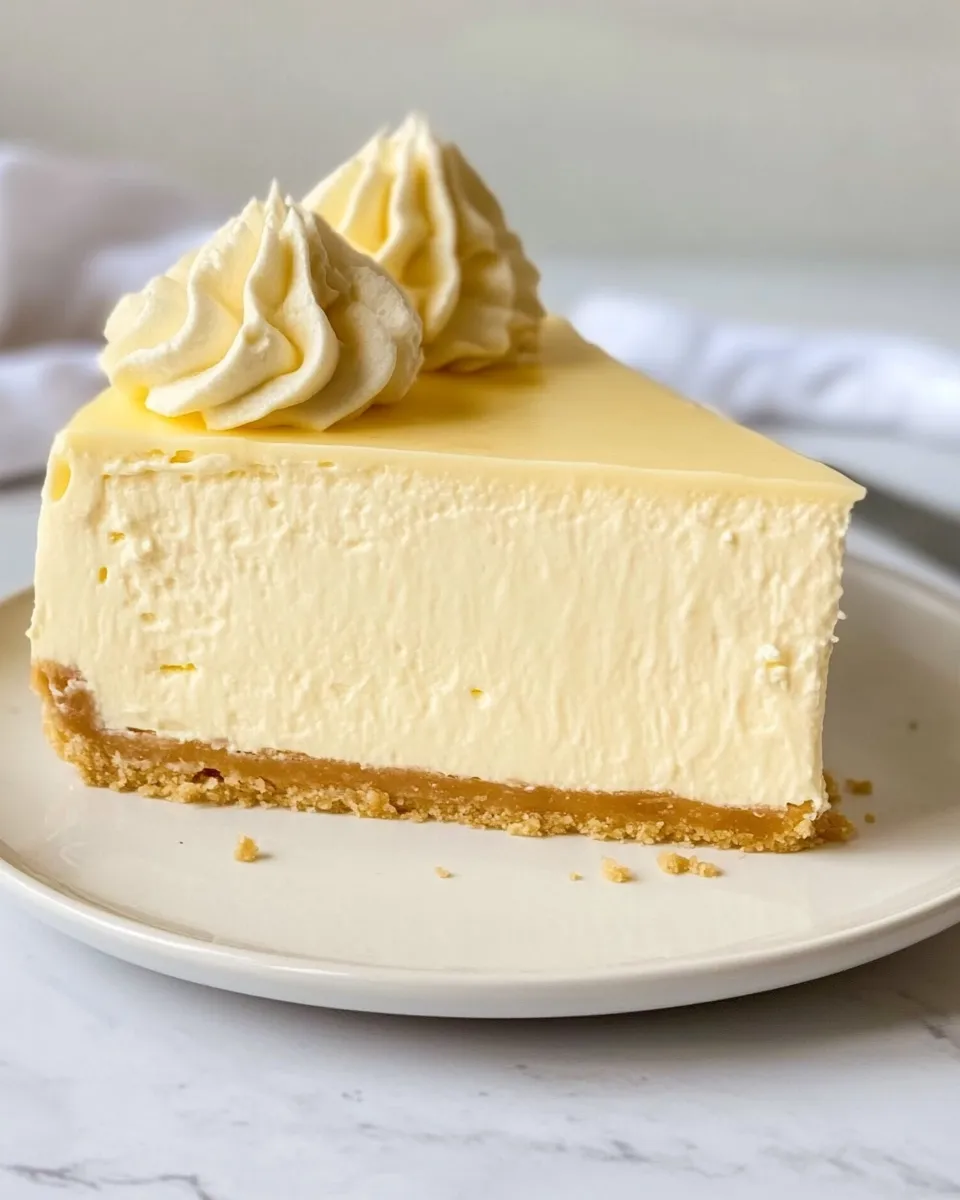
What should I serve with my Healthy Cheesecake?
Fresh berries, a drizzle of sugar-free chocolate sauce, or a dollop of Greek yogurt make excellent toppings.
Can I make this cheesecake without a springform pan?
Yes, you can use any baking dish, but removing the cheesecake from non-springform pans may be trickier. Just make sure to line the bottom with parchment paper for easy removal.
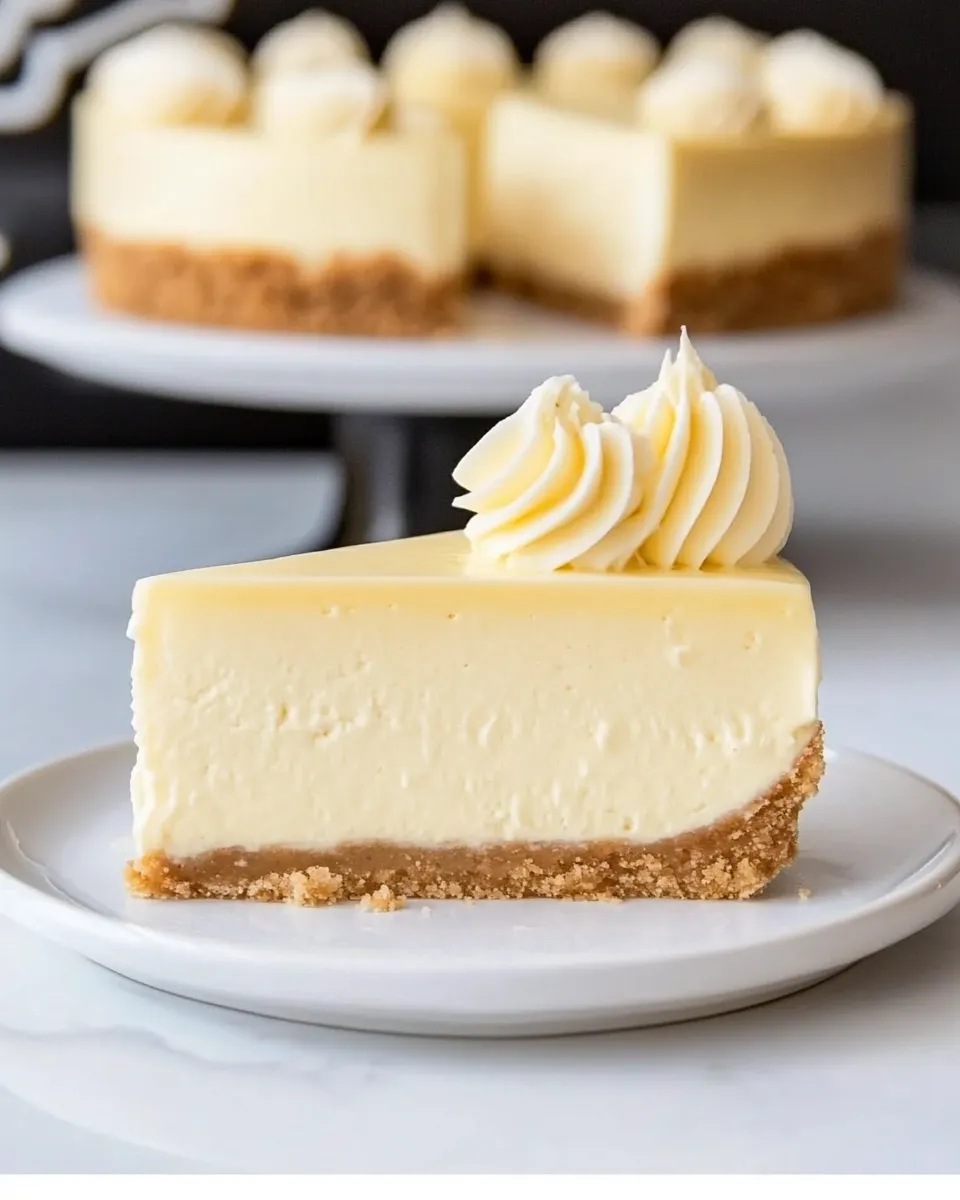
Time to Try It
Now that you’ve got all the details, it’s time to grab your ingredients and start baking your very own Healthy Cheesecake. This delightful dessert will not only impress your family and friends but will also make you feel good about indulging. Whether it’s for a special occasion or a simple weeknight treat, this cheesecake is sure to become a favorite in your recipe collection. Enjoy every creamy, delicious bite!

Healthy Cheesecake
Ingredients
Equipment
Method
- Step 1: Prepare the Crust - Preheat your oven to 350°F (175°C). In a mixing bowl, combine the crushed sugar-free cookies, 1/2 cup of granulated sweetener, and melted butter. Mix until the crumbs are evenly coated. Press this mixture firmly into the bottom of a springform pan. Bake for about 10 minutes, then let it cool.
- Step 2: Make the Filling - In a large mixing bowl, beat together the non-fat cream cheese and Greek yogurt until smooth. Add in the 2/3 cup of granulated sweetener, eggs, all-purpose flour, salt, and vanilla extract. Mix until everything is well incorporated.
- Step 3: Combine & Bake - Pour the cheesecake filling over the cooled crust. Bake in the preheated oven for 45-50 minutes, until the edges are set but the center slightly jiggles.
- Step 4: Cool & Chill - Turn off the oven and leave the cheesecake inside for an additional hour. Once cooled, refrigerate for at least 4 hours, preferably overnight.
Notes
- For a gluten-free version, substitute the all-purpose flour with a gluten-free blend.
- Use non-dairy cream cheese and yogurt for a dairy-free option.
- For a vegan option, replace the eggs with flax eggs.
- Add lemon zest or cocoa powder for flavor variations.
- Store covered in the fridge for up to 5 days.