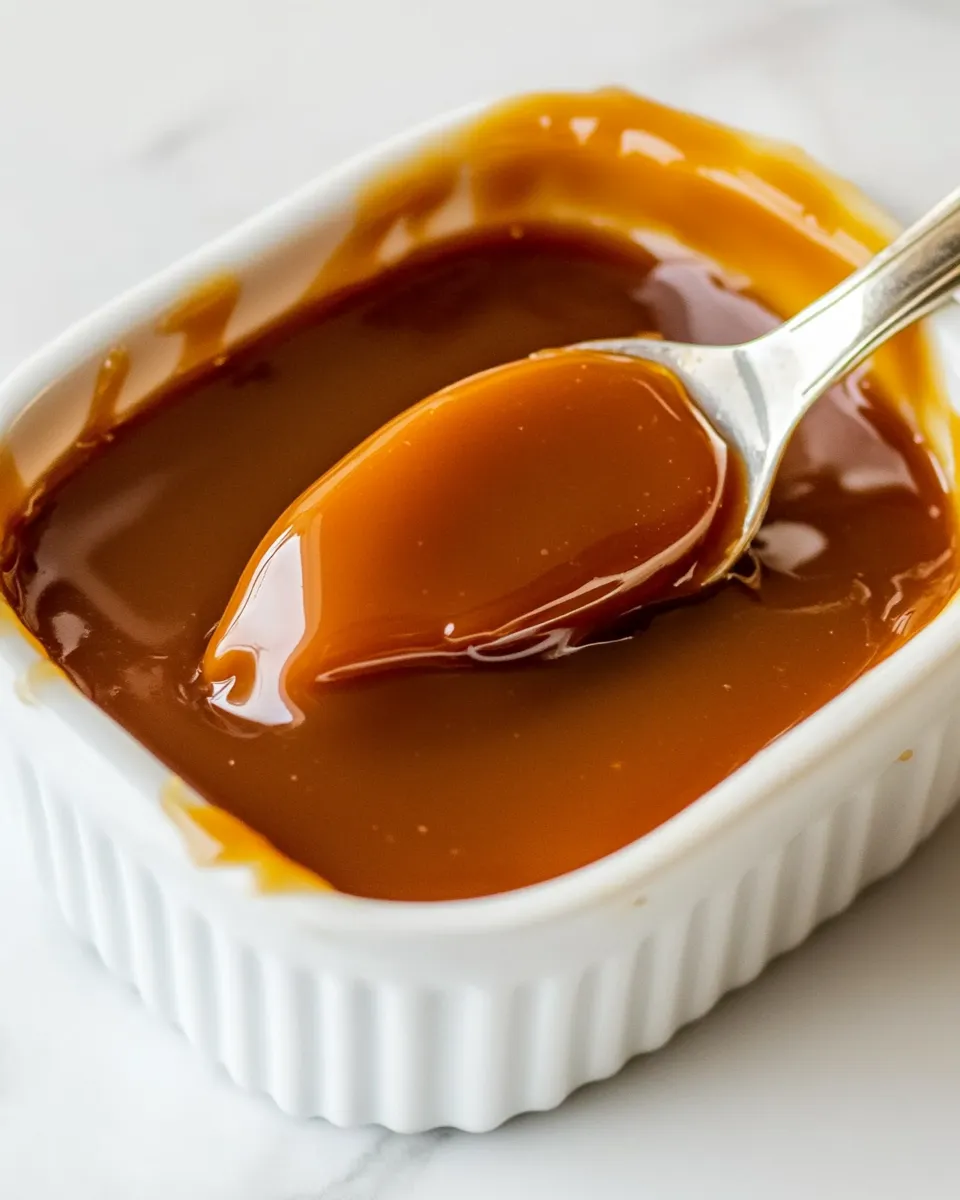
Homemade Caramel
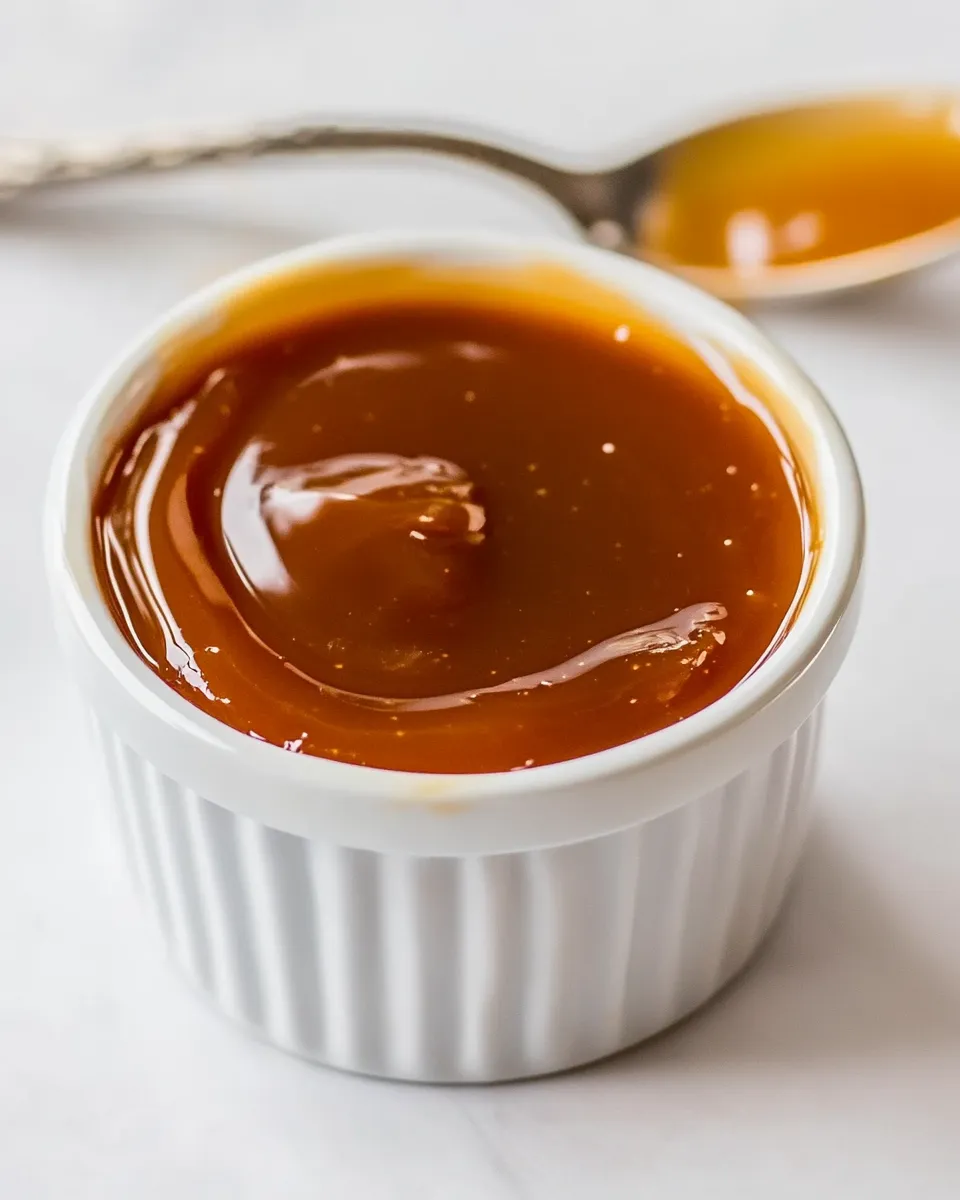
There’s something truly magical about a rich, golden drizzle of homemade caramel. Whether you’re topping your favorite desserts, adding a sweet touch to your morning coffee, or simply enjoying it by the spoonful, homemade caramel is a treat that elevates everything it touches. Today, I’m sharing a simple yet foolproof recipe that will have you crafting your own luscious caramel right in your kitchen. With just a handful of ingredients and a little bit of patience, you can achieve that perfect balance of sweetness and buttery richness that makes caramel so irresistible.
What Sets This Recipe Apart
This homemade caramel recipe is straightforward and does not require any fancy equipment. It uses just four ingredients that you likely already have in your pantry. What makes this recipe special is its versatility; you can easily customize it to create a salted caramel or even a flavored version. Additionally, the step-by-step instructions ensure that even beginners can achieve that perfect texture and flavor without any fuss.
Gather These Ingredients
To make your own delicious homemade caramel, you will need the following ingredients:
- 1 cup (200g) granulated sugar – This is the base of your caramel, providing sweetness and that characteristic golden color.
- 5 tablespoons (71g) unsalted butter, sliced into tablespoons – Adds richness and a creamy texture to your caramel.
- ½ cup (158ml) heavy whipping cream – This gives your caramel its smooth and silky consistency.
- 1 teaspoon vanilla extract – Enhances the flavor, giving your caramel that delicious depth.
- ½ teaspoon salt (or more for salted caramel) – Balances the sweetness and adds a delightful contrast if you choose to make it salted.
Setup & Equipment
Before diving into the cooking process, gather the following equipment:
- Heavy-bottomed saucepan – This helps distribute heat evenly and prevents the sugar from burning.
- Wooden spoon or silicone spatula – For stirring your caramel as it cooks.
- Measuring cups and spoons – To measure your ingredients accurately.
- Heat-resistant container – For storing your finished caramel, such as a glass jar or an airtight container.
- Thermometer (optional) – To check the temperature of the caramel if you want precision.
Homemade Caramel: How It’s Done
Creating your own homemade caramel is easier than you might think. Follow these step-by-step instructions to achieve that perfect caramel:
Step 1: Prepare Your Ingredients
Gather all your ingredients and equipment. Make sure your butter is sliced and your cream is measured out. This will make the process smoother since caramel can cook quickly.
Step 2: Melt the Sugar
In a heavy-bottomed saucepan, add the granulated sugar. Heat over medium heat, stirring constantly with a wooden spoon or silicone spatula. The sugar will start to clump together and then gradually melt into a clear, amber liquid. Be patient and keep stirring to prevent burning.
Step 3: Add the Butter
Once the sugar is fully melted and has reached a beautiful amber color, carefully add the sliced butter. The mixture will bubble up, so be cautious. Stir until the butter is completely melted and incorporated.
Step 4: Incorporate the Cream
Remove the saucepan from the heat and slowly pour in the heavy whipping cream while stirring continuously. The mixture will bubble vigorously again, so take care. Stir until the cream is fully combined and the caramel is smooth.
Step 5: Add Vanilla and Salt
Stir in the vanilla extract and salt. If you’re making salted caramel, feel free to add a bit more salt to taste. Mix well until everything is fully blended.
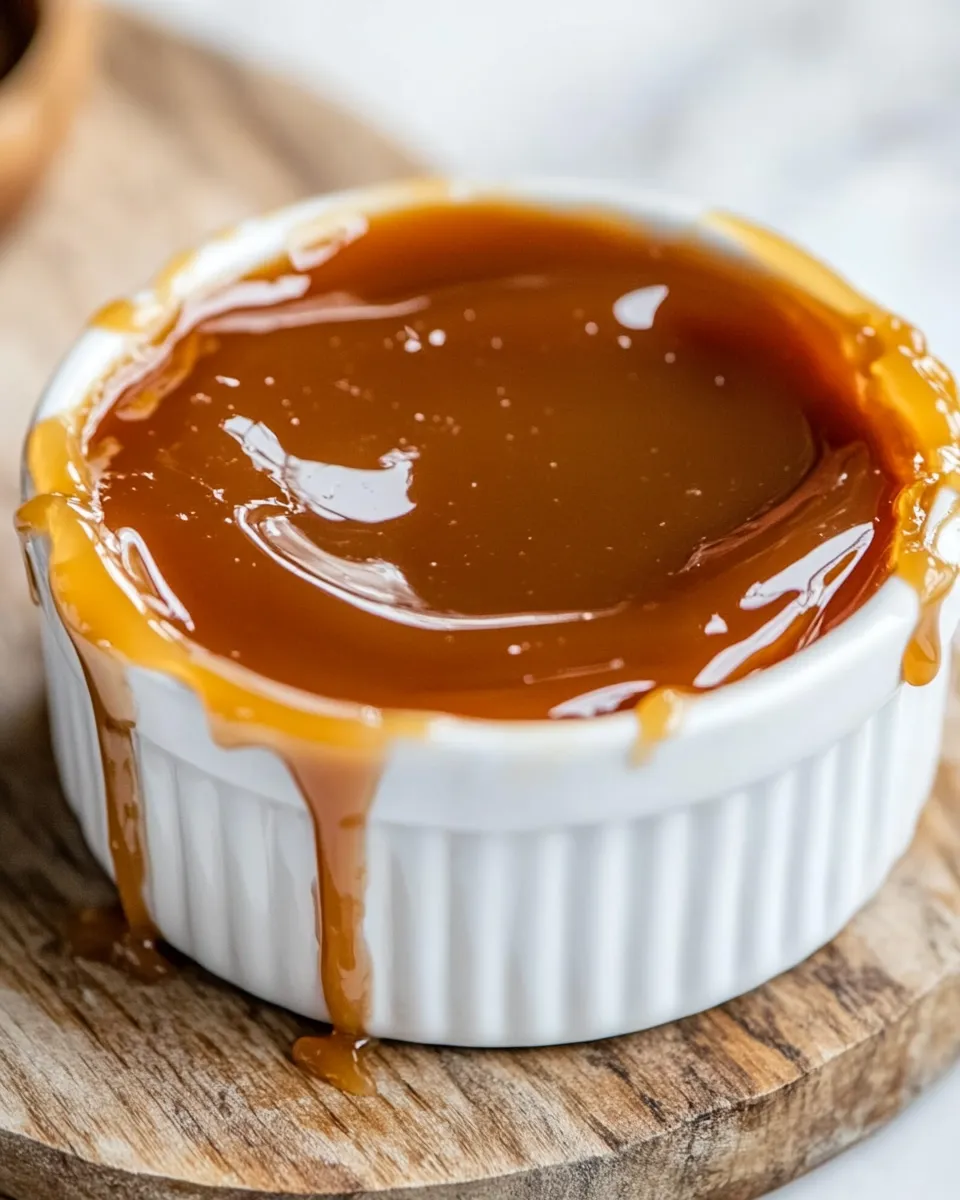
Step 6: Cool Your Caramel
Allow the caramel to cool in the saucepan for a few minutes before transferring it to your heat-resistant container. The caramel will thicken as it cools, so don’t worry if it seems a bit runny at first.
Tailor It to Your Diet
If you’re looking to customize your homemade caramel, consider these options:
- Dairy-Free Caramel: Substitute the butter with a dairy-free alternative, such as coconut oil or a plant-based butter, and use coconut cream instead of heavy cream.
- Vegan Caramel: Use the dairy-free options and ensure your sugar is vegan (some sugars are processed with bone char).
- Flavored Caramel: Add spices like cinnamon or nutmeg, or infuse with flavors like espresso or chocolate for a unique twist.
Mistakes Even Pros Make
Even seasoned cooks can run into trouble when making homemade caramel. Here are some common pitfalls to avoid:
- Not Stirring Enough: Failing to stir the sugar while it melts can lead to uneven cooking and burning.
- Using Too High Heat: Cooking sugar on high heat can cause it to burn quickly. Always use medium heat for better control.
- Not Having Ingredients Ready: Caramel can cook quickly, so it’s crucial to have everything prepped and within reach before starting.
- Not Monitoring the Color: Keep an eye on the sugar as it melts; the color is key to achieving the right flavor. Aim for a deep amber color, but be careful not to let it get too dark.
Storage & Reheat Guide
To keep your homemade caramel fresh and delicious, follow these storage and reheating tips:
- Storage: Allow the caramel to cool completely, then transfer it to an airtight container. It can be stored in the refrigerator for up to two weeks.
- Reheating: If your caramel thickens in the fridge, you can gently reheat it in the microwave or on the stovetop. If using the microwave, heat in short intervals (15-20 seconds) and stir in between to prevent overheating.
- Freezing: Homemade caramel can be frozen for up to three months. Just make sure to store it in a freezer-safe container.
Reader Q&A
Can I use brown sugar instead of granulated sugar?
Yes, you can use brown sugar for a deeper flavor, but keep in mind that the caramel will have a different color and taste profile. It will also behave slightly differently during the cooking process.
How do I know when the caramel is done cooking?
The caramel is done when it reaches a deep amber color and has a rich, nutty aroma. If you’re using a thermometer, the ideal temperature is around 350°F (175°C).
Can I adjust the salt level in the caramel?
Absolutely! If you prefer a sweeter caramel, you can reduce the amount of salt. For a more pronounced salted flavor, feel free to add more salt to taste after incorporating the vanilla.
What should I do if my caramel hardens when it cools?
If your caramel hardens too much, you can gently reheat it with a little bit of cream or water to loosen it back to your desired consistency.
See You at the Table
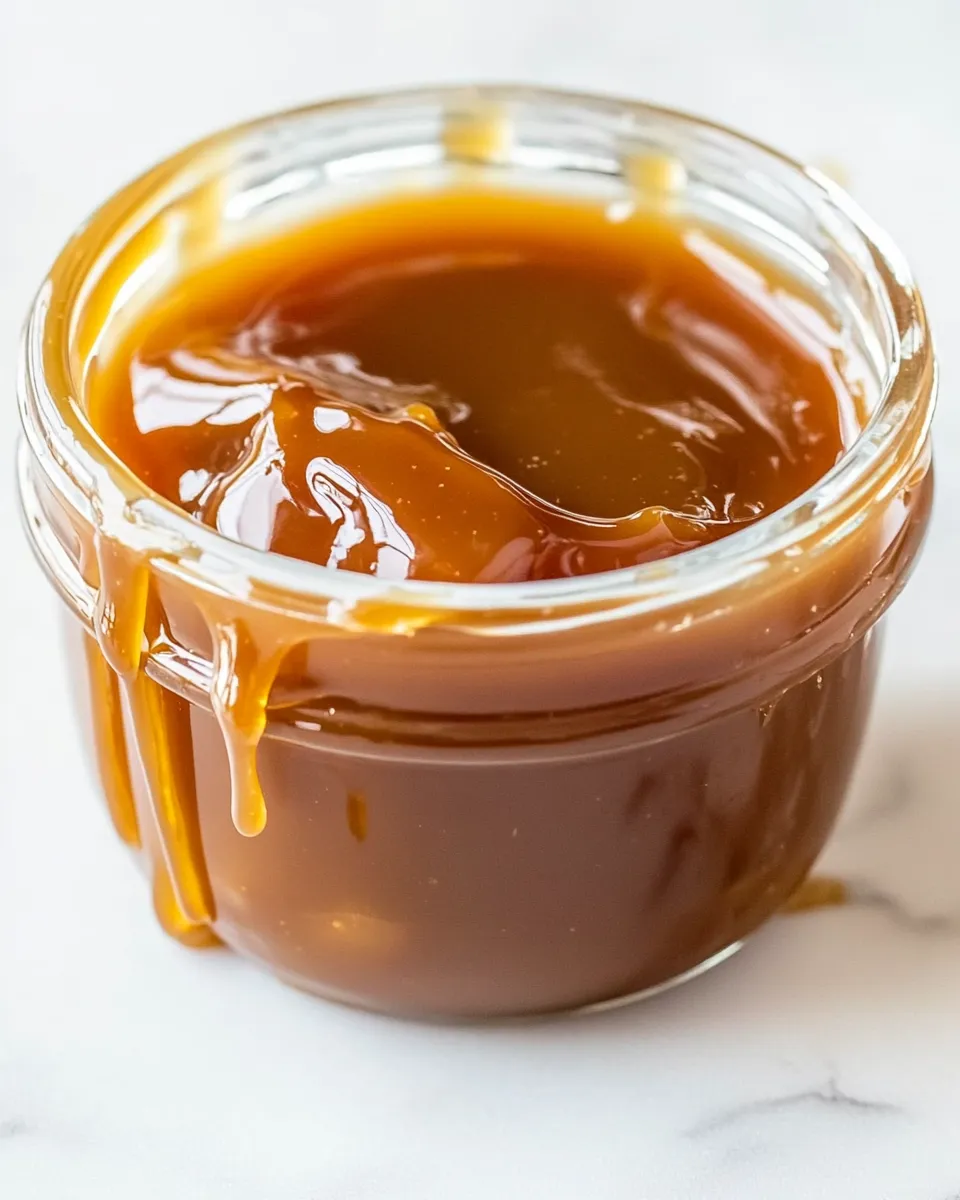
Now that you have mastered the art of making homemade caramel, it’s time to get creative! Drizzle it over ice cream, use it as a dip for apples, or swirl it into your morning coffee for a sweet treat. The possibilities are endless when you have a jar of homemade caramel on hand.
The joy of making homemade caramel lies not just in the final product, but in the process itself. It’s a wonderful way to spend time in the kitchen, experimenting and creating something delicious. So gather your ingredients, follow the steps, and enjoy the sweet rewards of your labor. Happy caramel-making!
Homemade Caramel
Ingredients
Equipment
Method
- Gather all your ingredients and equipment. Make sure your butter is sliced and your cream is measured out. This will make the process smoother since caramel can cook quickly.
- In a heavy-bottomed saucepan, add the granulated sugar. Heat over medium heat, stirring constantly with a wooden spoon or silicone spatula. The sugar will start to clump together and then gradually melt into a clear, amber liquid. Be patient and keep stirring to prevent burning.
- Once the sugar is fully melted and has reached a beautiful amber color, carefully add the sliced butter. The mixture will bubble up, so be cautious. Stir until the butter is completely melted and incorporated.
- Remove the saucepan from the heat and slowly pour in the heavy whipping cream while stirring continuously. The mixture will bubble vigorously again, so take care. Stir until the cream is fully combined and the caramel is smooth.
- Stir in the vanilla extract and salt. If you’re making salted caramel, feel free to add a bit more salt to taste. Mix well until everything is fully blended.
- Allow the caramel to cool in the saucepan for a few minutes before transferring it to your heat-resistant container. The caramel will thicken as it cools, so don’t worry if it seems a bit runny at first.
Notes
- Store caramel in an airtight container in the refrigerator for up to two weeks.
- If caramel thickens, reheat gently in the microwave or on the stovetop.
- For a flavored twist, try adding spices like cinnamon or nutmeg.