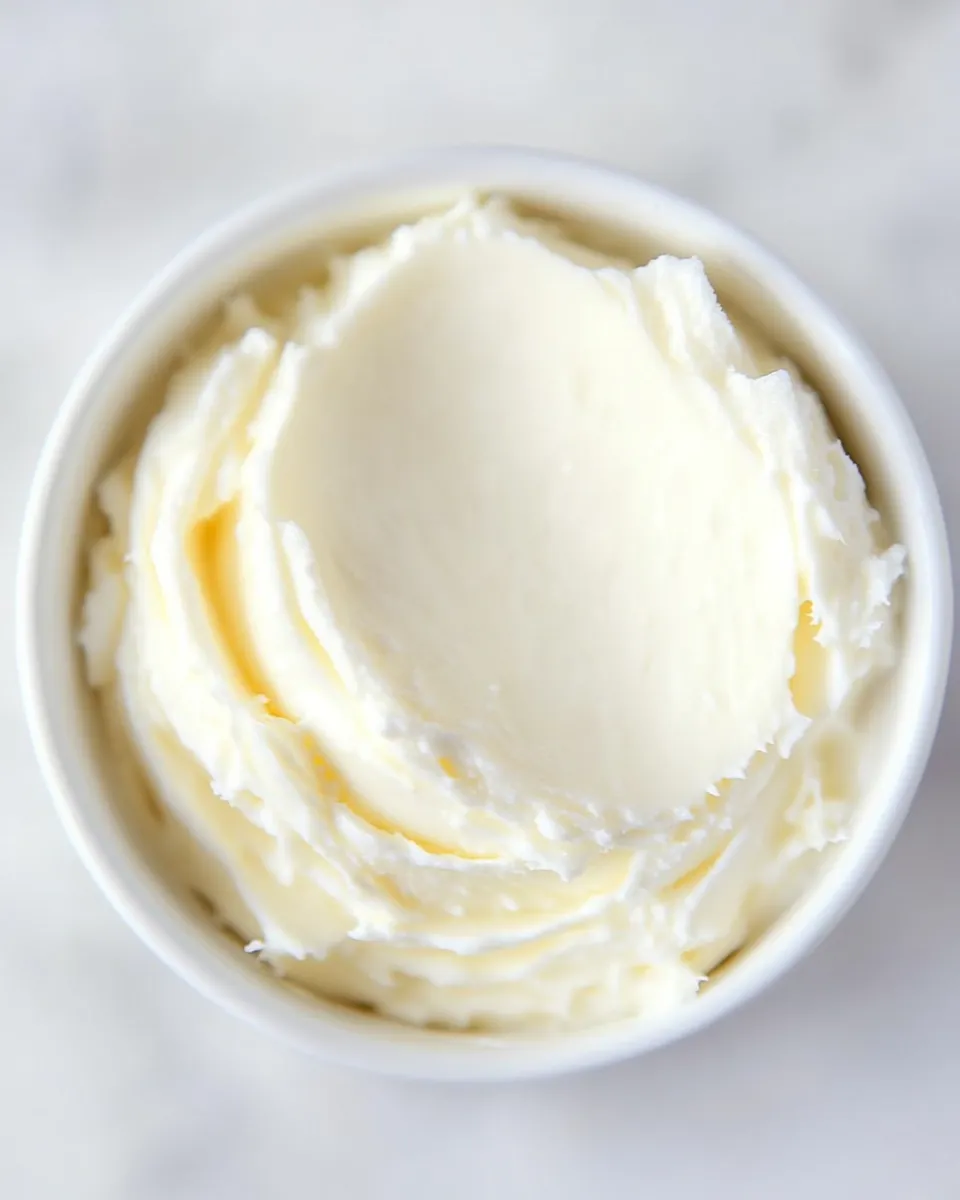
Homemade European-Style Cultured Butter
There’s something magical about homemade butter that store-bought varieties simply can’t replicate. The creamy texture, the rich flavor, and the delightful tang of cultured butter make it a treat worth savoring. Making your own European-style cultured butter at home is not only a rewarding experience but also a delicious way to elevate your culinary creations. With just a few simple ingredients and a little patience, you can produce a batch of butter that rivals any artisanal product available in stores. Let’s dive into the world of butter-making, where you can create a spread that’s as indulgent as it is satisfying.
Why I Love This Recipe
The beauty of this Homemade European-Style Cultured Butter lies in its simplicity. It’s an incredibly straightforward process that requires minimal ingredients, yet the results are astonishingly good. The flavor is rich and deeply satisfying, and you can customize it to your liking. Whether you prefer it plain or with added salt, this butter can elevate a simple piece of toast to a gourmet experience. Plus, the satisfaction of creating something so delightful from scratch is unmatched.
What You’ll Need
- 2 cups heavy cream, room temperature (65-68°F)
- 1/8 teaspoon mesophilic culture (optional, for cultured butter; can be purchased where cheese-making supplies are sold)
- 1/4 teaspoon fine sea salt or butter salt (optional, for salted butter)
Gear Checklist
- Mixing Bowl: A large bowl to hold the cream.
- Whisk or Electric Mixer: For whipping the cream into butter.
- Fine Mesh Strainer: To separate the buttermilk from the butter.
- Spatula: For mixing in salt if desired.
- Storage Container: A clean jar or butter dish for keeping your butter.
Cooking Homemade European-Style Cultured Butter: The Process
Step 1: Prepare Your Ingredients
Start by measuring out your heavy cream. If you’re using mesophilic culture, sprinkle it over the cream and let it sit for about 5 minutes. This allows the culture to rehydrate and get ready to work its magic.
Step 2: Whip the Cream
Using a whisk or electric mixer, begin whipping the cream. Start on a low speed to avoid splatter, gradually increasing the speed. Continue whipping until the cream thickens and transitions into soft peaks. This stage is where the magic begins, and your kitchen will start to feel like a dairy wonderland!
Step 3: Continue Whipping Until Butter Forms
Keep whipping past the soft peaks stage. Soon, you’ll notice the cream turning grainy, and eventually, the butter will begin to separate from the buttermilk. This process can take anywhere from 10 to 15 minutes, so be patient and keep an eye on it.
Step 4: Strain the Buttermilk
Once you have formed a solid mass of butter, place a fine mesh strainer over a bowl. Pour the contents of your mixing bowl into the strainer, allowing the buttermilk to drain out. You can save this buttermilk for baking or pancakes!
Step 5: Rinse the Butter
To remove any remaining buttermilk, rinse the butter under cold water. Use your hands to knead the butter gently, ensuring all the buttermilk is washed away. This step is crucial as it helps the butter stay fresh longer.
Step 6: Season the Butter (Optional)
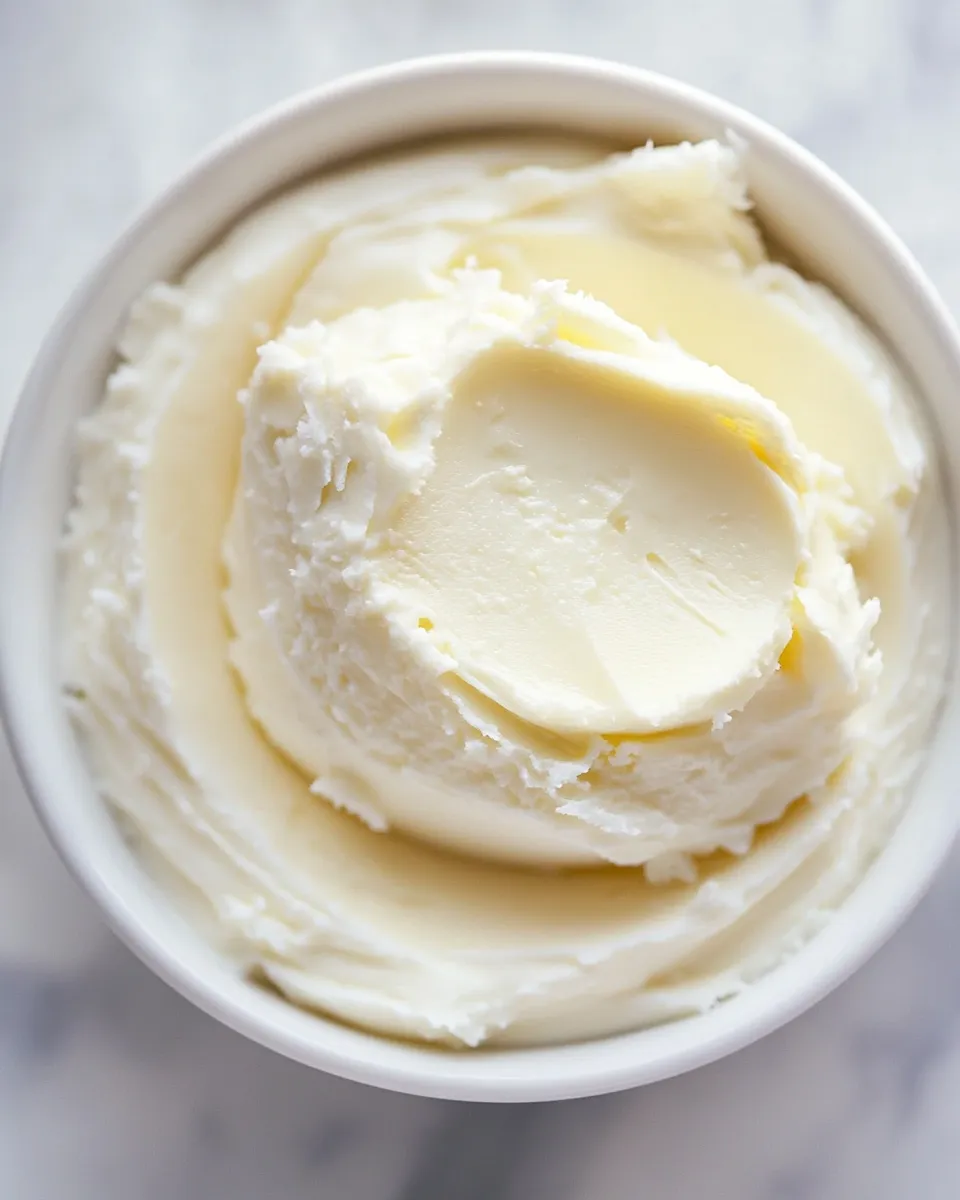
If you prefer salted butter, this is the time to mix in your fine sea salt. Start with 1/4 teaspoon, taste, and adjust as necessary. If you’re opting for plain cultured butter, skip this step and move on to the next.
Step 7: Store Your Butter
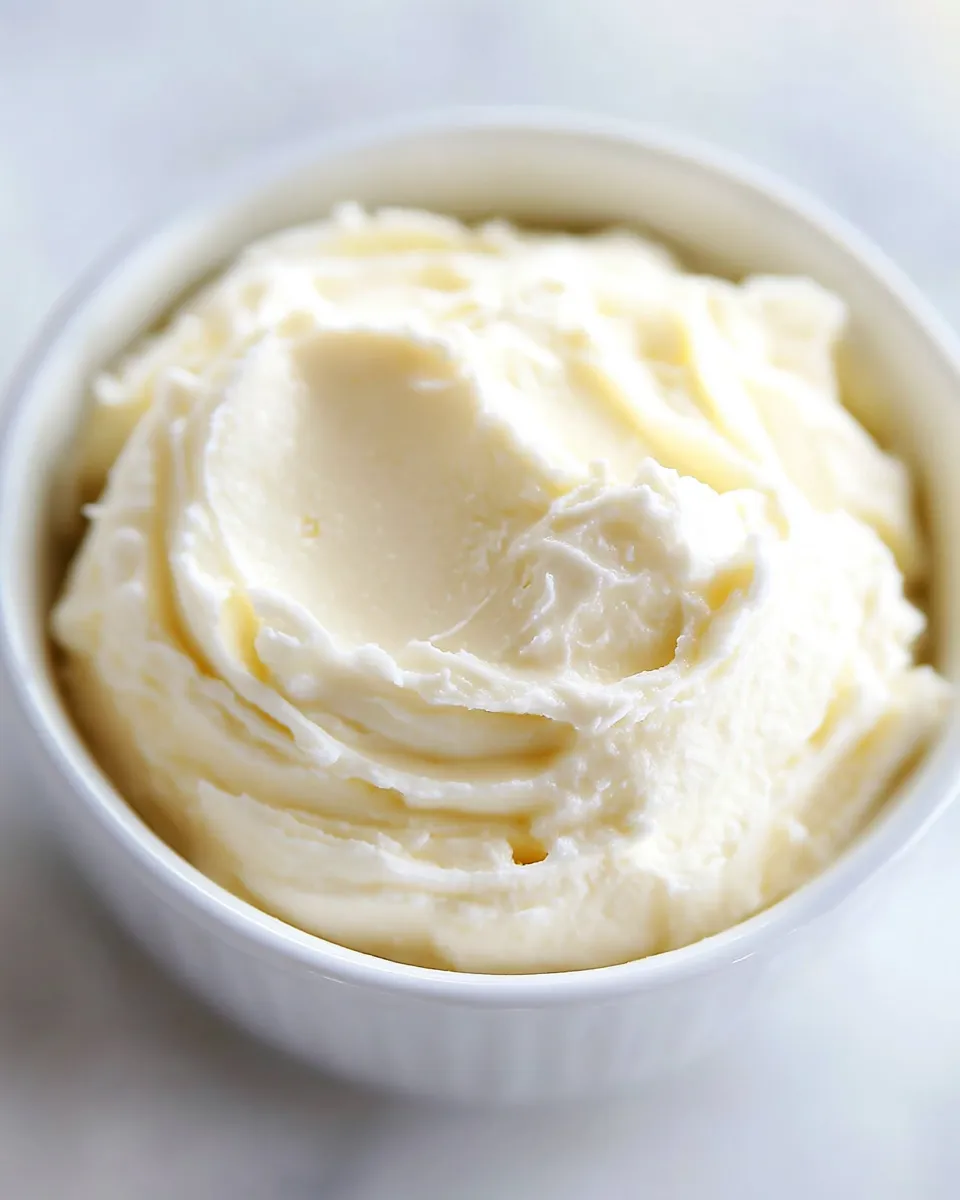
Transfer your homemade European-style cultured butter to a storage container. You can shape it into a log or simply pack it into a jar. Cover it tightly and store it in the refrigerator. Your butter will keep fresh for about 1-2 weeks.
Seasonal Adaptations
- Herb-Infused Butter: Mix in fresh herbs like rosemary or thyme for a fragrant twist.
- Citrus Zest Butter: Add lemon or orange zest for a refreshing flavor.
- Spiced Butter: Incorporate spices like cinnamon or nutmeg for a cozy touch in the fall and winter.
- Garlic Butter: Blend in roasted garlic for a savory spread perfect for bread or vegetables.
Steer Clear of These
While making homemade European-style cultured butter is simple, there are a few pitfalls to avoid:
- Using cold cream: Ensure your cream is at room temperature for the best results.
- Over-whipping: Once the butter forms, stop whipping to avoid turning it into butter oil.
- Skipping the rinse: Rinsing the butter is essential to prolong its shelf life.
- Not tasting: Always taste your butter after adding salt to achieve your desired flavor.
How to Store & Reheat
Store your homemade European-style cultured butter in an airtight container in the refrigerator. It can last for about 1-2 weeks. If you want to keep it longer, consider freezing it. Wrap the butter tightly in plastic wrap or parchment paper, then place it in a freezer-safe container. When you’re ready to use it, simply thaw it in the refrigerator overnight.
Ask & Learn
Can I use low-fat cream to make butter?
While you can technically make butter from low-fat cream, it won’t yield the same rich texture and flavor as using heavy cream. For the best results, stick to heavy cream.
What does mesophilic culture do to the butter?
Mesophilic culture introduces beneficial bacteria that help to ferment the cream, creating a more complex flavor and a slight tang that is characteristic of cultured butter.
Can I add flavors to my butter?
Absolutely! You can customize your butter with a variety of flavors. Consider adding herbs, spices, or even sweeteners like honey or maple syrup to create unique variations.
What if I don’t have a mixer?
If you don’t have an electric mixer, you can use a whisk. It will take longer, but it’s definitely doable. Just be prepared for a good workout!
Let’s Eat
Now that you’ve mastered the art of making Homemade European-Style Cultured Butter, it’s time to enjoy the fruits of your labor. Spread it on warm, crusty bread, melt it over freshly popped popcorn, or use it in your favorite baking recipes. The possibilities are endless with this delightful addition to your kitchen. Embrace the richness and flavor of your homemade butter, and savor every bite knowing you created something truly special. Enjoy your culinary adventure!
Homemade European-Style Cultured Butter
Ingredients
Equipment
Method
- Start by measuring out your heavy cream. If you’re using mesophilic culture, sprinkle it over the cream and let it sit for about 5 minutes.
- Using a whisk or electric mixer, begin whipping the cream. Start on a low speed, gradually increasing the speed until the cream thickens.
- Continue whipping past the soft peaks stage until the butter separates from the buttermilk, about 10 to 15 minutes.
- Place a fine mesh strainer over a bowl and pour the contents of your mixing bowl into it, allowing the buttermilk to drain out.
- Rinse the butter under cold water and knead gently to remove any remaining buttermilk.
- If you prefer salted butter, mix in your fine sea salt to taste.
- Transfer your homemade butter to a storage container, shape it if desired, and store in the refrigerator.
Notes
- Ensure your cream is at room temperature for best results.
- Stop whipping once the butter forms to avoid butter oil.
- Rinse the butter thoroughly to prolong its shelf life.