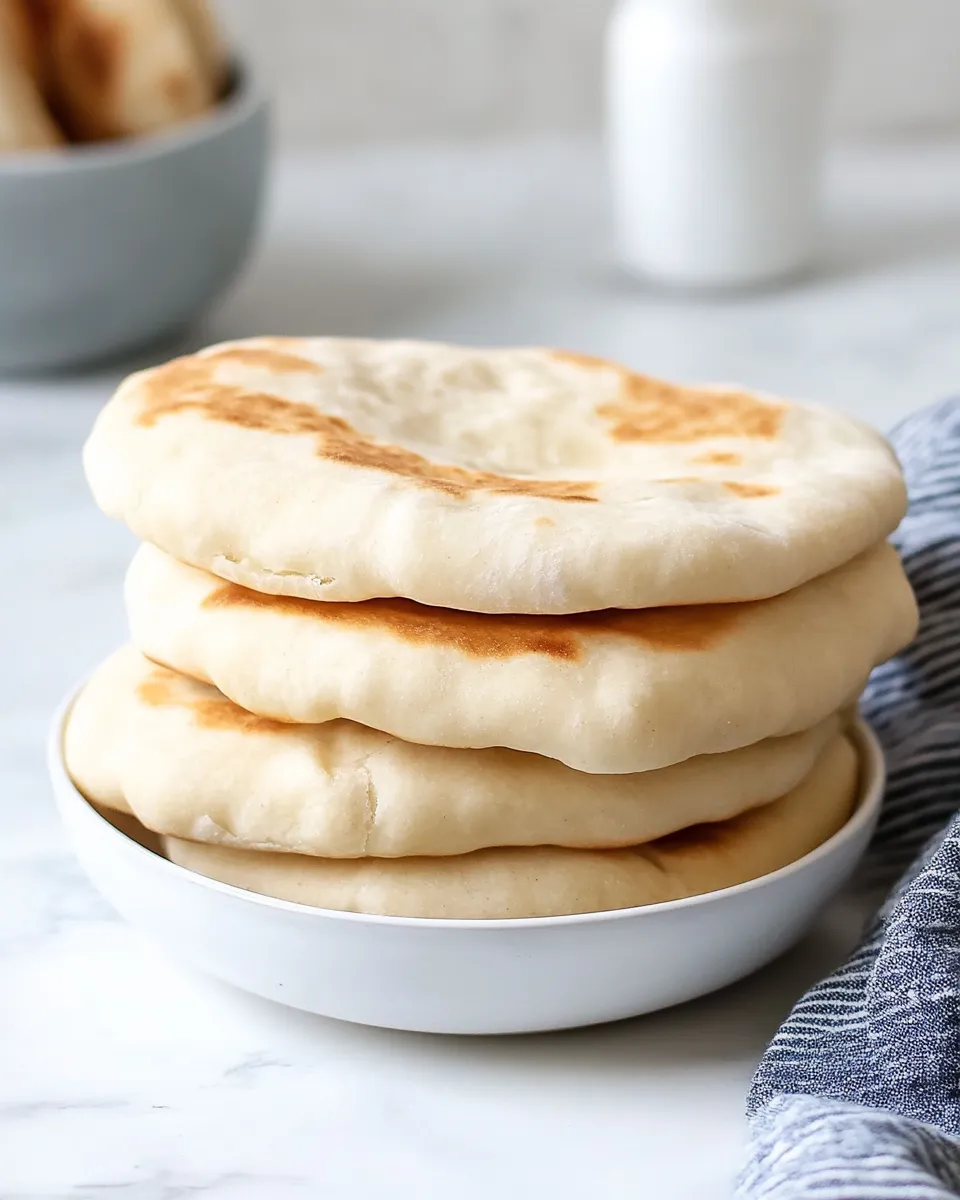
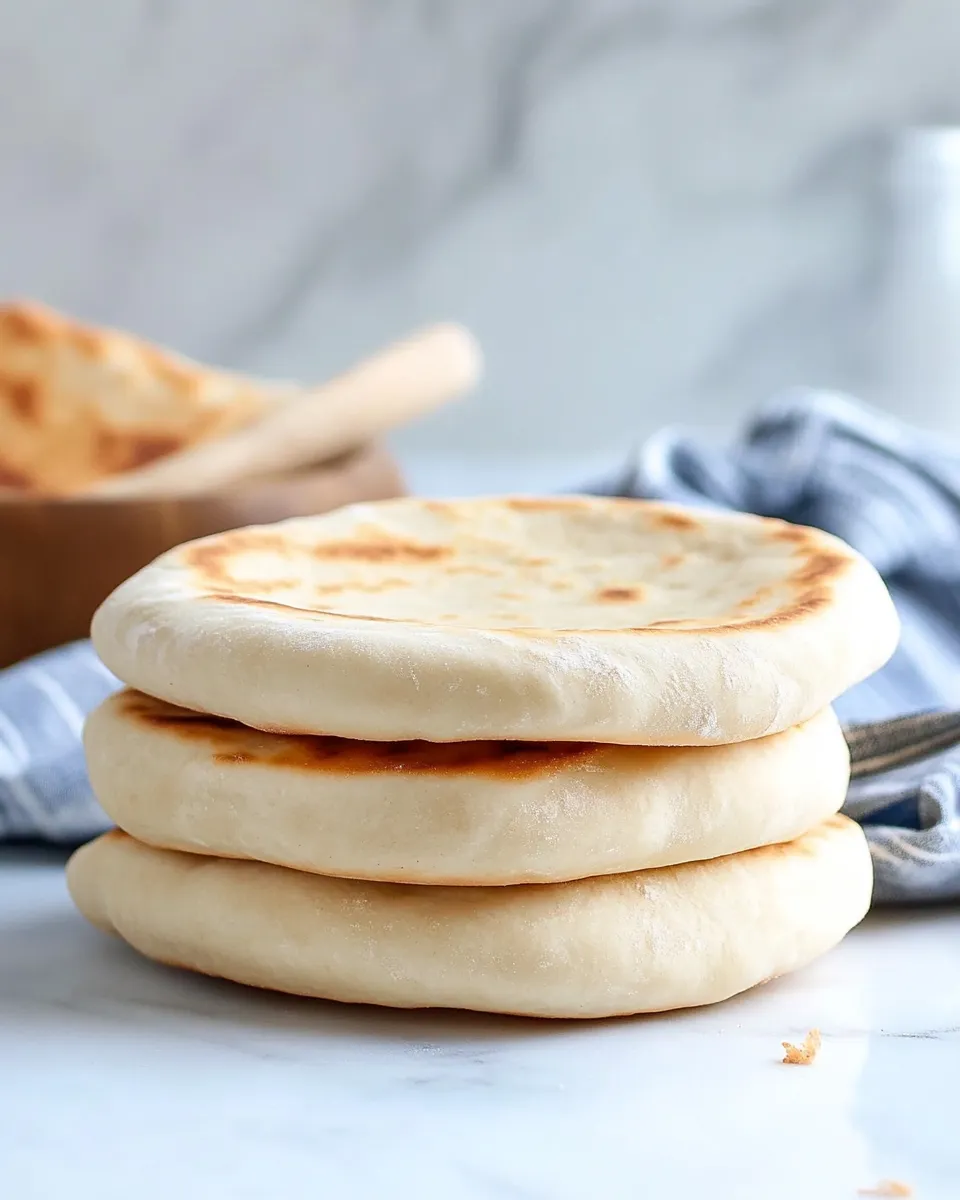
Homemade Pita Bread
There’s something incredibly satisfying about making your own bread, and homemade pita bread is no exception. Soft, fluffy, and perfect for stuffing or dipping, homemade pita has a richness that store-bought varieties simply can’t match. Whether you’re pairing it with hummus, using it for gyros, or simply enjoying it warm with olive oil, this recipe will become a staple in your kitchen. Let’s dive into the art of making the perfect pita bread at home!
Why I Love This Recipe

This homemade pita bread recipe is not only straightforward but also incredibly rewarding. The dough comes together quickly, and the baking process is a magical transformation that fills your kitchen with the warm aroma of freshly baked bread. The best part? You can customize your pita to suit your taste, whether you prefer thicker or thinner pockets. Plus, it’s a fantastic way to impress family and friends with your baking skills!
Ingredient Breakdown
To make the best homemade pita bread, you’ll need the following ingredients:
- 1 cup warm water – This is essential for activating the yeast.
- 1 package active dry yeast – This helps the dough rise and become fluffy.
- 2 teaspoons sugar – A little sweetness helps feed the yeast.
- 1 teaspoon plus 1 tablespoon sugar – Used to activate the yeast.
- 3 cups bread flour (469 grams) – The foundation of your pita, giving it structure.
- 1 teaspoon sea salt – Enhances the flavor of the bread.
- 3 tablespoons extra-virgin olive oil – Adds richness and helps keep the bread soft.
- ½ cup whole-milk Greek yogurt – This makes the pita tender and adds a slight tang.
Gear Checklist
Before you start baking, gather the following tools:
- Mixing bowl – For combining your ingredients.
- Whisk – To mix the yeast and sugar effectively.
- Rolling pin – For rolling out the dough into rounds.
- Baking sheet or pizza stone – For baking your pita.
- Clean kitchen towel – To cover the dough while it rises.
- Oven mitts – Safety first when handling hot items!
Cook Homemade Pita Bread Like This

Now, let’s get to the step-by-step process of making your delicious homemade pita bread.
Step 1: Activate the Yeast
In a small bowl, combine the warm water, 2 teaspoons of sugar, and the active dry yeast. Stir gently and let it sit for about 5-10 minutes until it becomes frothy. This indicates that your yeast is active and ready to use.
Step 2: Mix the Dry Ingredients
In a large mixing bowl, whisk together the bread flour, remaining sugar (1 tablespoon), and sea salt.
Step 3: Combine Wet Ingredients
Once your yeast mixture is frothy, add it to the bowl with the dry ingredients. Then, add the olive oil and Greek yogurt. Mix with a wooden spoon or your hands until a shaggy dough forms.
Step 4: Knead the Dough
Transfer the dough to a floured surface and knead it for about 8-10 minutes until it is smooth and elastic. If the dough is too sticky, sprinkle a little more flour as needed.
Step 5: Let the Dough Rise
Form the dough into a ball and place it in a greased bowl, turning it to coat with oil. Cover it with a clean kitchen towel and let it rise in a warm place for 1-2 hours, or until it has doubled in size.
Step 6: Preheat the Oven
About 30 minutes before baking, preheat your oven to 475°F (245°C). If you’re using a pizza stone, place it in the oven to heat up as well.
Step 7: Shape the Pitas
Once the dough has risen, punch it down and turn it out onto a floured surface. Divide it into 8 equal pieces and shape each piece into a ball. Roll each ball into a circle about ¼ inch thick.
Step 8: Bake the Pitas
Carefully place the rolled-out pitas onto the hot baking sheet or pizza stone. Bake for 3-5 minutes, or until they puff up and are lightly golden. Keep an eye on them to prevent over-baking.
Step 9: Cool and Enjoy
Remove the pita bread from the oven and cover them with a clean kitchen towel to keep them warm and soft. Serve immediately or allow them to cool on a wire rack.
Spring–Summer–Fall–Winter Ideas
Homemade pita bread is versatile and can be enjoyed in various ways throughout the year:
- Spring: Serve with fresh tabbouleh salad and grilled vegetables.
- Summer: Use as a wrap for grilled chicken or falafel with tzatziki sauce.
- Fall: Pair with roasted pumpkins and a spicy hummus dip.
- Winter: Enjoy warm with soups and stews for a cozy meal.
Insider Tips
- For the best results, ensure your water is warm but not hot—about 110°F (43°C) is ideal for activating yeast.
- Don’t skip the resting time; allowing the dough to rise is what gives your pita that perfect puff.
- Experiment with whole wheat flour for a slightly different flavor and texture.
- If you want to make larger batches, this recipe can easily be doubled or halved.
Storage & Reheat Guide
Homemade pita bread is best enjoyed fresh, but you can store it for later use. Here’s how:
- To store: Place the cooled pita in an airtight container or a resealable plastic bag. They can be kept at room temperature for up to 2 days.
- To freeze: Wrap the pitas tightly in plastic wrap and place them in a freezer bag. They will last for up to 3 months.
- To reheat: Warm pitas in a toaster, oven, or skillet for a few minutes until heated through.
Frequently Asked Questions
Can I use all-purpose flour instead of bread flour?
Yes, you can use all-purpose flour, but the texture may be slightly different. Bread flour has a higher protein content, which contributes to a chewier texture and better rise.
What should I do if my dough doesn’t rise?
If your dough doesn’t rise, it could be due to inactive yeast. Ensure your yeast is fresh and the water temperature is warm enough. You can also try placing the dough in a warmer spot to help it rise.
Can I add herbs or spices to the dough?
Absolutely! Feel free to mix in dried herbs like oregano or garlic powder for added flavor. Just be cautious not to add too much, as it might affect the dough’s texture.
How can I make my pita bread thinner or thicker?
To make thinner pita, roll the dough out more extensively. For thicker pita, roll it to about ½ inch. Adjusting the thickness will change the final texture and how it puffs while baking.
Time to Try It
Now that you have all the knowledge and tips you need to make homemade pita bread, it’s time to roll up your sleeves and get baking! There’s nothing quite as enjoyable as the process of creating something delicious from scratch. Whether you’re preparing for a gathering, a family dinner, or simply treating yourself, homemade pita bread is sure to be a hit. Enjoy the delightful flavor and texture, and don’t forget to share your creations with loved ones. Happy baking!
Homemade Pita Bread
Ingredients
Equipment
Method
- In a small bowl, combine the warm water, 2 teaspoons of sugar, and the active dry yeast. Stir gently and let it sit for about 5-10 minutes until it becomes frothy.
- In a large mixing bowl, whisk together the bread flour, remaining sugar (1 tablespoon), and sea salt.
- Once your yeast mixture is frothy, add it to the bowl with the dry ingredients. Then, add the olive oil and Greek yogurt. Mix with a wooden spoon or your hands until a shaggy dough forms.
- Transfer the dough to a floured surface and knead it for about 8-10 minutes until it is smooth and elastic.
- Form the dough into a ball and place it in a greased bowl, turning it to coat with oil. Cover it with a clean kitchen towel and let it rise in a warm place for 1-2 hours, or until it has doubled in size.
- About 30 minutes before baking, preheat your oven to 475°F (245°C). If you’re using a pizza stone, place it in the oven to heat up as well.
- Once the dough has risen, punch it down and turn it out onto a floured surface. Divide it into 8 equal pieces and shape each piece into a ball. Roll each ball into a circle about ¼ inch thick.
- Carefully place the rolled-out pitas onto the hot baking sheet or pizza stone. Bake for 3-5 minutes, or until they puff up and are lightly golden.
- Remove the pita bread from the oven and cover them with a clean kitchen towel to keep them warm and soft. Serve immediately or allow them to cool on a wire rack.
Notes
- Ensure your water is warm but not hot—about 110°F (43°C) is ideal for activating yeast.
- Allow the dough to rise for perfect puff.
- Experiment with whole wheat flour for a different flavor.