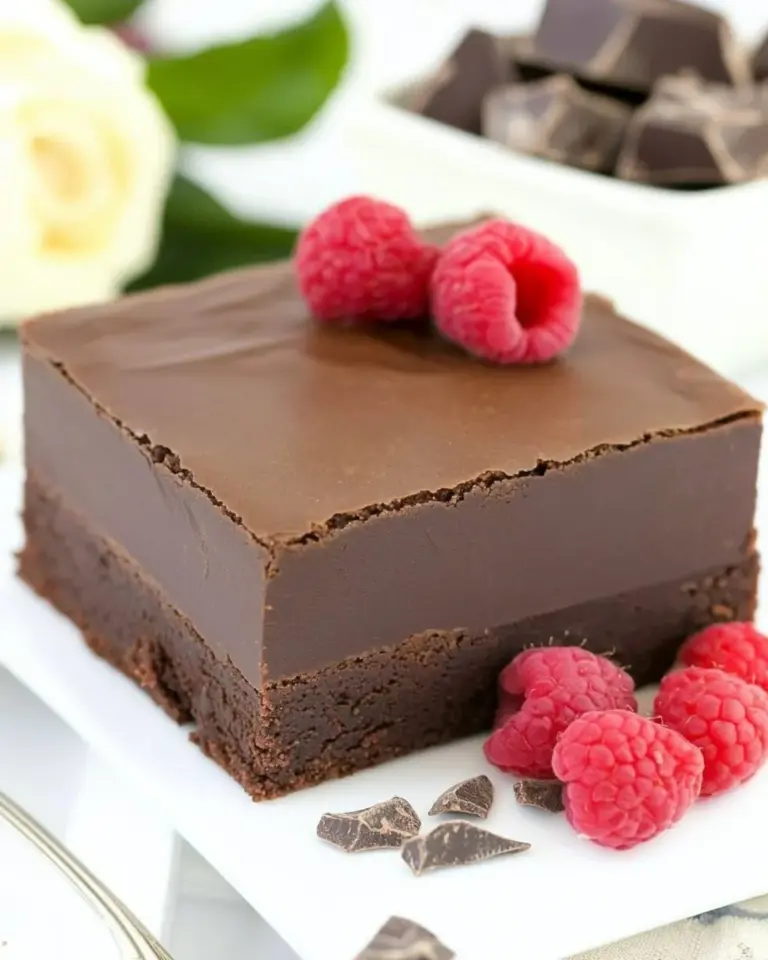
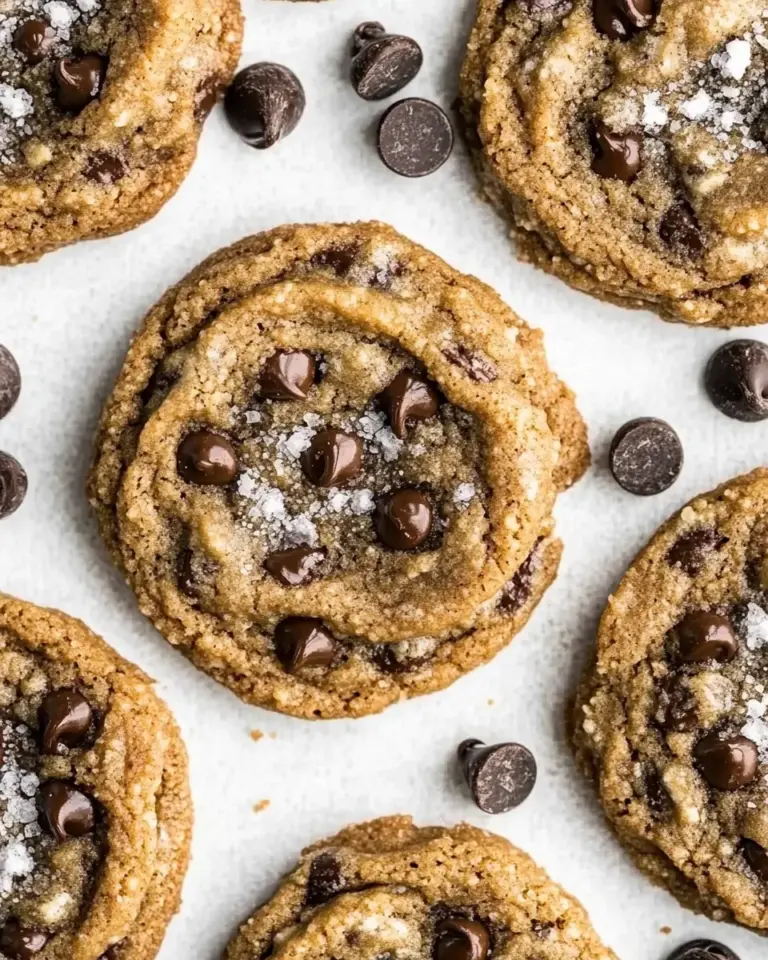
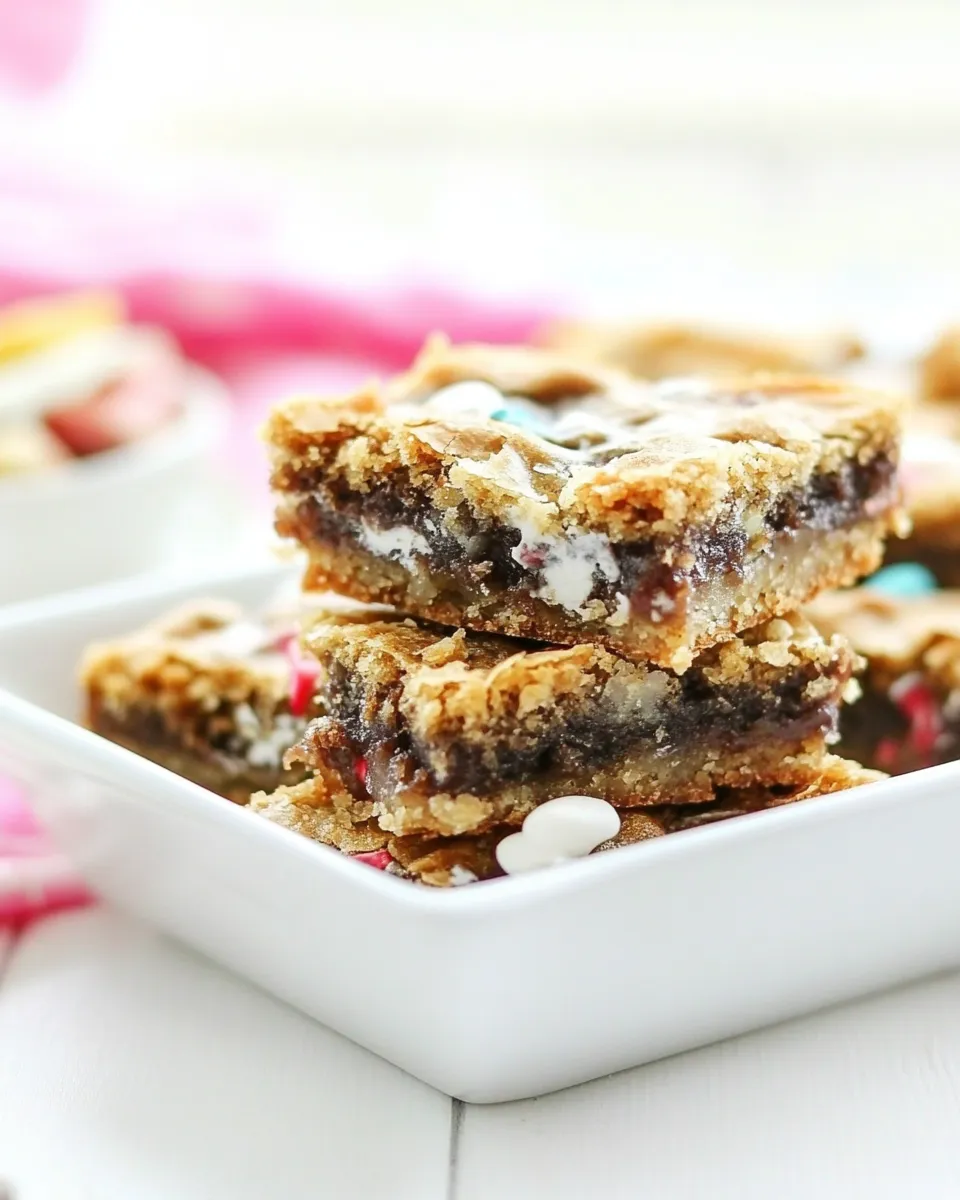
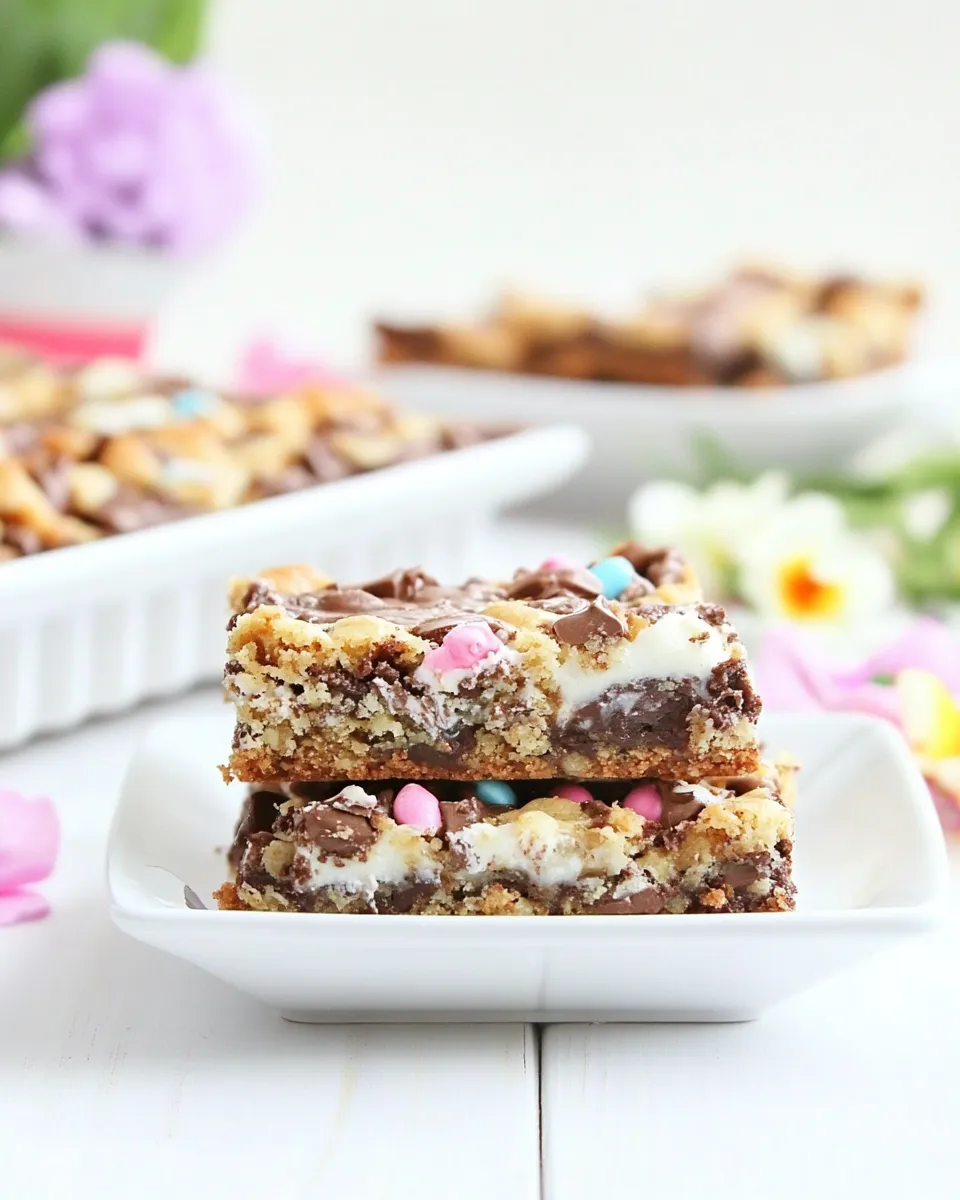
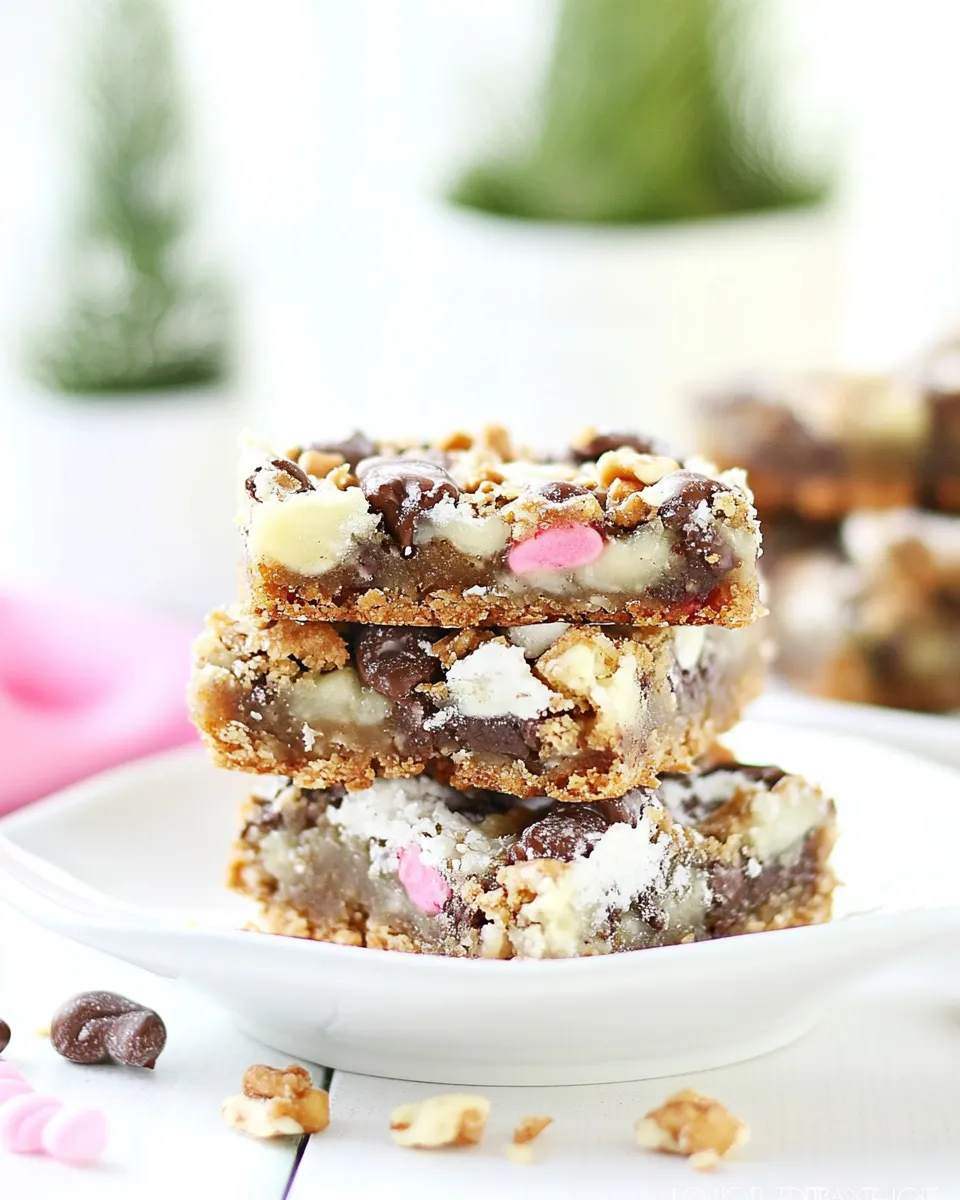
Low Sugar Magic Cookie Bars
If you’re searching for a dessert that satisfies your sweet tooth while keeping sugar levels in check, look no further than these incredible Low Sugar Magic Cookie Bars. With their rich layers of chocolate, crunchy nuts, and a delightful coconut topping, these bars are a fantastic treat for any occasion. Not only are they easy to make, but they also come together with just a handful of wholesome ingredients. Say goodbye to overly sweet desserts and hello to a balanced indulgence that everyone will love!
Why It Deserves a Spot
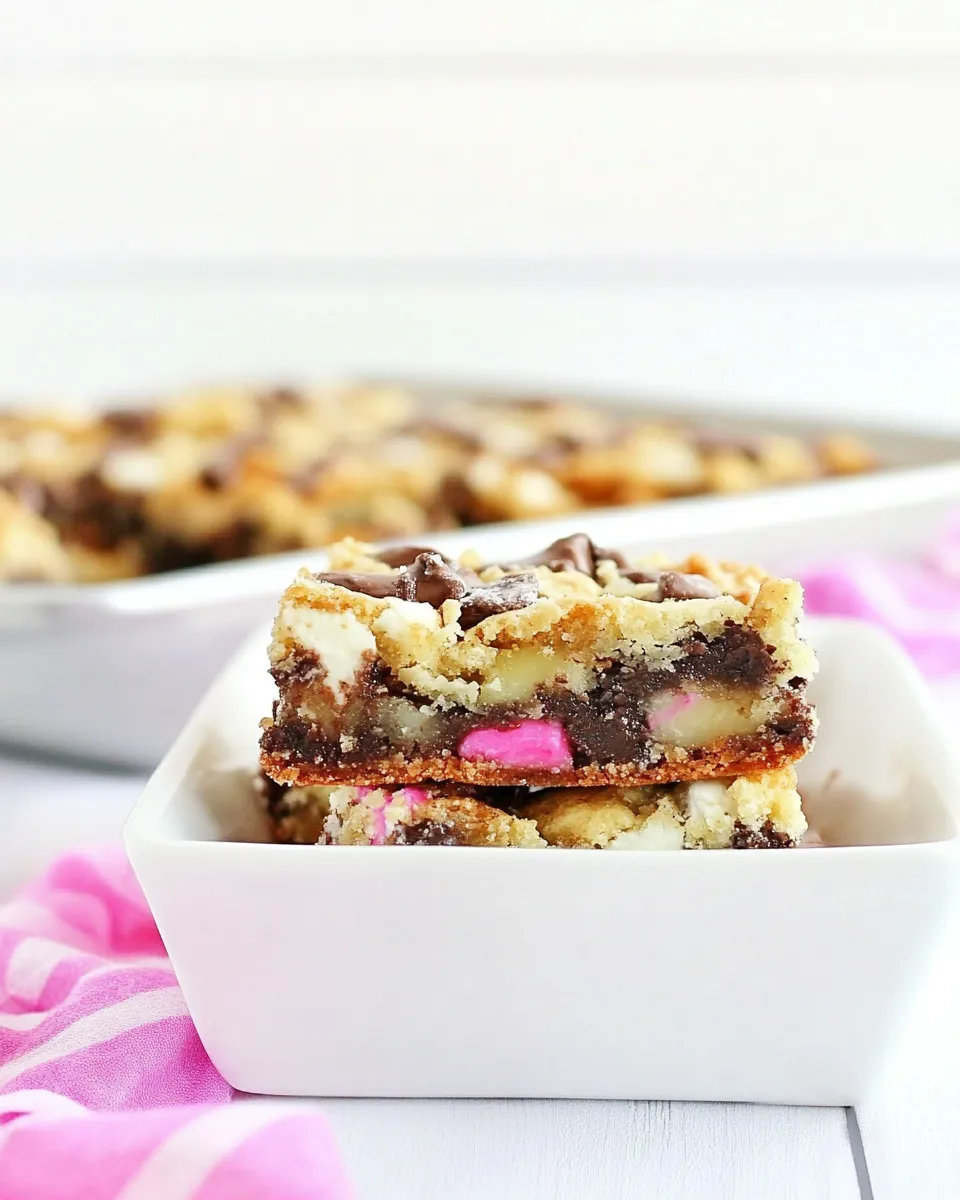
Low Sugar Magic Cookie Bars are not only delicious but also incredibly versatile. They are perfect for parties, potlucks, or simply as a sweet snack during the week. The use of sugar-free condensed milk and chocolate chips means you can enjoy a classic treat without the guilt. Plus, the combination of graham cracker crumbs and walnuts adds a satisfying crunch that pairs beautifully with the sweetness of the coconut and chocolate. These bars are a delightful way to satisfy your craving for something sweet while keeping your sugar intake low.
What You’ll Gather
To whip up these Low Sugar Magic Cookie Bars, gather the following ingredients:
- 1 1/4 cups graham cracker crumbs
- 1/3 cup butter, melted
- 5 ounces sugar-free condensed milk
- 1 cup sugar-free chocolate baking chips (like Lily’s)
- 1 cup unsweetened coconut flakes
- 1/2 cup chopped walnuts
Make sure to check the labels on your ingredients to ensure they are truly sugar-free and meet your dietary preferences.
Essential Tools for Success
Before you begin, gather the following tools to make your baking experience seamless:
- 9×13-inch baking dish: This is the perfect size for your magic cookie bars.
- Mixing bowls: For combining your ingredients easily.
- Spatula: To spread the mixture evenly in the baking dish.
- Measuring cups and spoons: Accurate measurements are key to the recipe’s success.
- Oven mitts: Always handle hot pans with care!
Having the right tools will make your baking process enjoyable and efficient.
Step-by-Step: Low Sugar Magic Cookie Bars
Step 1: Preheat the Oven
Begin by preheating your oven to 350°F (175°C). This ensures that your bars will bake evenly and come out perfectly golden.
Step 2: Prepare the Baking Dish
Grease your 9×13-inch baking dish with a little butter or cooking spray to prevent sticking. You can also line it with parchment paper for easier removal of the bars later.
Step 3: Combine Graham Cracker Crumbs and Butter
In a mixing bowl, combine the graham cracker crumbs and melted butter. Stir until the crumbs are evenly coated and the mixture resembles wet sand.
Step 4: Press the Mixture into the Dish
Using your spatula or your hands, press the graham cracker mixture firmly into the bottom of the prepared baking dish. Make sure it’s evenly distributed for a uniform crust.
Step 5: Layer the Ingredients
Pour the sugar-free condensed milk over the graham cracker crust, spreading it evenly. Then, sprinkle the sugar-free chocolate chips, unsweetened coconut flakes, and chopped walnuts over the top. Feel free to adjust the layers according to your preference!
Step 6: Bake the Bars
Place the baking dish in the preheated oven and bake for about 25-30 minutes, or until the edges are golden brown and the center is bubbly.
Step 7: Cool and Cut
Once baked, remove the dish from the oven and allow it to cool completely in the pan. Once cooled, cut into squares or bars and serve. Enjoy the delightful blend of flavors!
Fit It to Your Goals
These Low Sugar Magic Cookie Bars can be easily customized to fit various dietary goals:
- Add protein: Consider mixing in some protein powder or using nut butter in the crust for an extra boost.
- Make it nut-free: Substitute the walnuts with seeds like sunflower or pumpkin seeds if you have nut allergies.
- Vegan option: Use a plant-based butter substitute and ensure your chocolate chips are dairy-free.
- Lower calories: Reduce the amount of chocolate chips or coconut for a lighter version.
Feel free to get creative and make these bars your own!
Avoid These Traps
While making Low Sugar Magic Cookie Bars is straightforward, here are a few common pitfalls to avoid:
- Overbaking: Keep an eye on your bars while baking. Overbaking can lead to a dry texture.
- Skipping the cooling step: Allow the bars to cool completely before cutting; this helps them firm up and makes slicing easier.
- Using sweetened ingredients: Ensure all ingredients are sugar-free to maintain the low sugar profile of the recipe.
- Not pressing the crust firmly: A well-pressed crust will hold together better once baked.
Being mindful of these tips will ensure your cookie bars turn out perfectly every time.
Store, Freeze & Reheat
If you happen to have leftovers (which is unlikely!), here’s how to store and enjoy them later:
Store your Low Sugar Magic Cookie Bars in an airtight container at room temperature for up to 3 days. For longer storage, place them in the fridge for up to a week. You can also freeze the bars in a single layer on a baking sheet, then transfer them to a freezer-safe container for up to 3 months. To reheat, simply thaw and warm in the oven for a few minutes for that fresh-baked taste!
Helpful Q&A
Can I substitute the graham cracker crumbs?
Absolutely! You can use almond flour or a gluten-free graham cracker alternative if you are looking for a gluten-free option.
What can I use instead of sugar-free condensed milk?
If you don’t have sugar-free condensed milk, you can make a homemade version using unsweetened coconut milk and a sugar substitute, or use a low-sugar alternative available in stores.
Can I add other mix-ins?
Yes! Feel free to add dried fruits, seeds, or even a sprinkle of sea salt for extra flavor. Just be mindful of the overall sugar content from any added ingredients.
How do I know when the bars are done baking?
The edges should be golden brown, and the center should be bubbly. A toothpick inserted into the center should come out mostly clean, with a few moist crumbs attached.
The Last Word
These Low Sugar Magic Cookie Bars are the perfect blend of taste and nutrition, allowing you to indulge without the guilt. They are simple to make and can fit into various dietary preferences, making them suitable for everyone. Whether enjoyed as an afternoon snack or a sweet treat after dinner, these bars are sure to impress.
So, gather your ingredients and tools, and get ready to bake a dessert that is as delightful as it is healthy. Your taste buds will thank you!
Low Sugar Magic Cookie Bars
Ingredients
Equipment
Method
- Preheat your oven to 350°F (175°C).
- Grease your 9x13-inch baking dish with butter or cooking spray.
- In a mixing bowl, combine the graham cracker crumbs and melted butter until evenly coated.
- Press the graham cracker mixture evenly into the bottom of the prepared baking dish.
- Pour the sugar-free condensed milk over the crust, then sprinkle chocolate chips, coconut flakes, and walnuts on top.
- Bake in the preheated oven for 25-30 minutes until the edges are golden brown.
- Let the bars cool completely in the pan before cutting into squares or bars.
Notes
- Store bars in an airtight container at room temperature for up to 3 days.
- For longer storage, refrigerate for up to a week.
- Freeze bars in a single layer for up to 3 months.