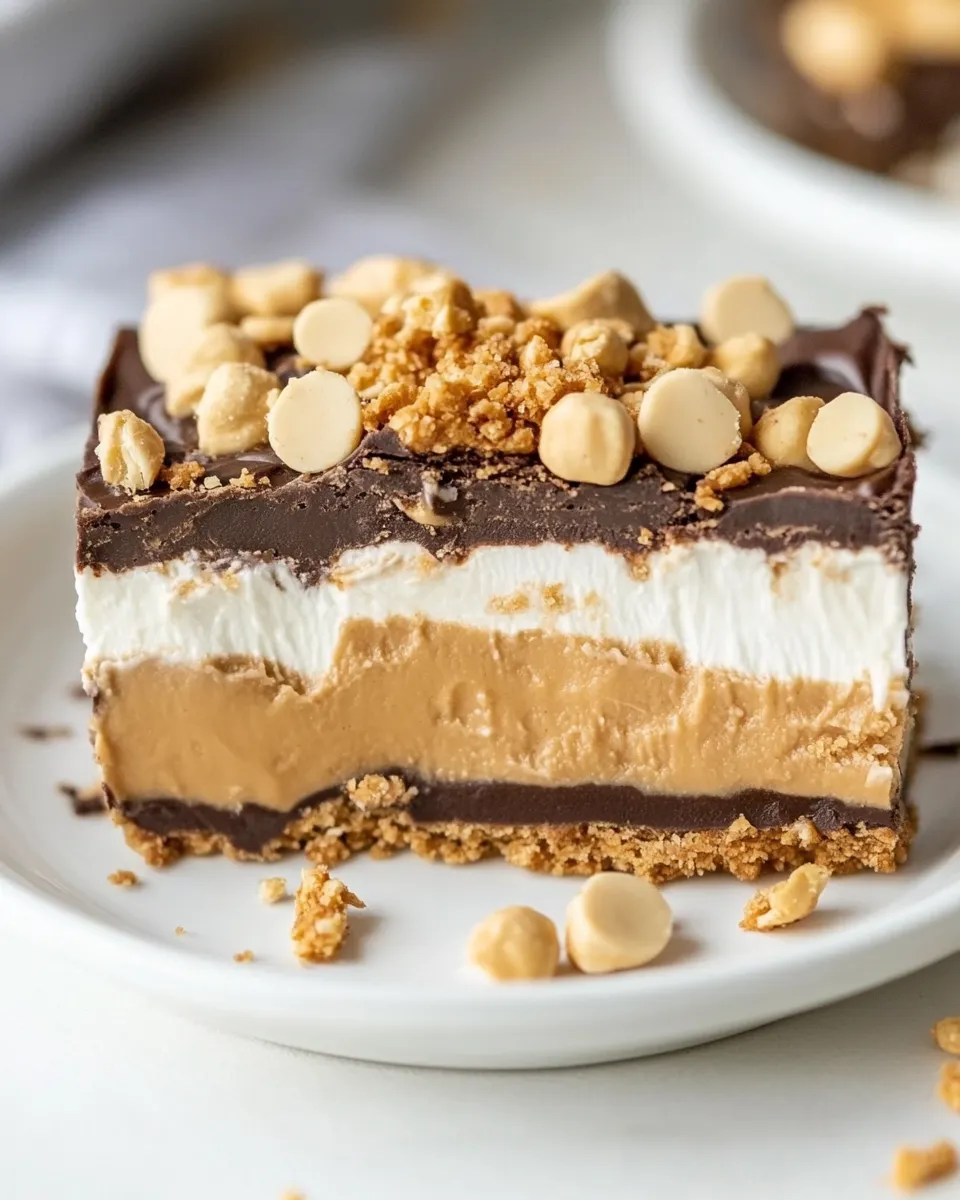
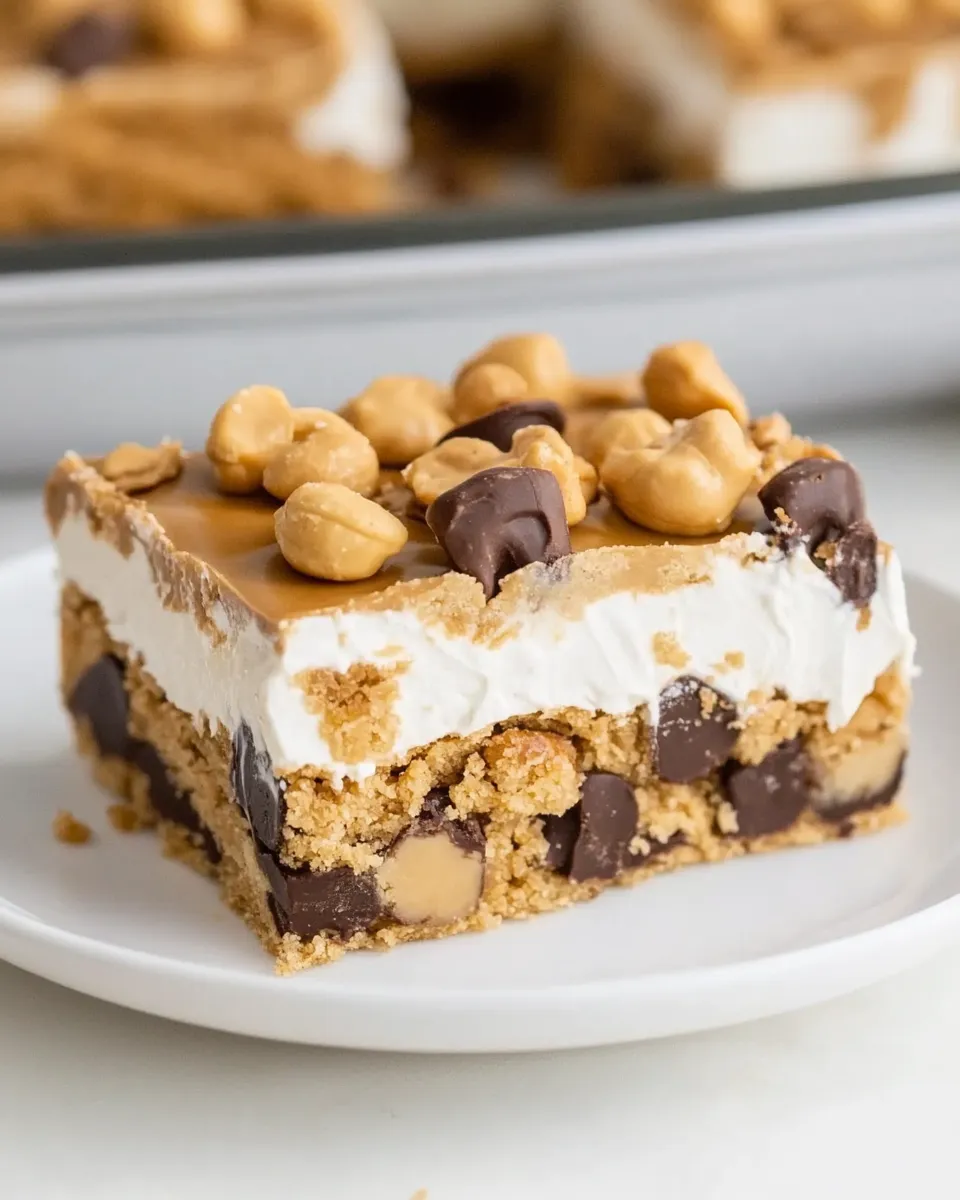
Peanut Butter Dream Bars
If you’re a fan of desserts that combine the rich, creamy taste of peanut butter with the delightful crunch of cookies, then these Peanut Butter Dream Bars are about to become your new obsession. They are an indulgent treat that brings together layers of flavor and texture, making them a perfect addition to any gathering or a sweet reward after a long day. Each bite is a dream come true, with a crunchy cookie base, a creamy filling, and a luscious topping that will have you reaching for seconds (and thirds!).
Why This Recipe Belongs in Your Rotation
Peanut Butter Dream Bars are incredibly versatile and easy to make, making them an excellent choice for both novice bakers and seasoned pros. The balance of peanut butter and chocolate in these bars is simply divine. They are perfect for potlucks, birthdays, or even a cozy movie night at home. Plus, you can customize them to suit your taste preferences, whether you want to amp up the chocolate or add a touch of saltiness for contrast. Once you make these bars, you’ll find yourself craving them time and time again.
Ingredients at a Glance
- 16-ounce package of peanut butter sandwich cookies (crushed, reserve 8-9 cookies for topping)
- 8 tablespoons unsalted butter (melted)
- 1 cup milk
- 3.9-ounce box instant chocolate pudding
- 4 ounces cream cheese (softened)
- 1 cup powdered sugar
- 1 cup creamy peanut butter
- 8-ounce tub Cool Whip
- 1/2 cup milk chocolate chips
- 1/2 cup peanut butter chips
Kitchen Gear Checklist
- 9×13 inch baking dish – This is the perfect size for assembling your bars.
- Mixing bowls – You’ll need a few different sizes for mixing various components.
- Electric mixer – For creamy fillings, an electric mixer makes it easy and quick.
- Measuring cups and spoons – Accurate measurements ensure your bars turn out perfectly.
- Spatula – A versatile tool for spreading and mixing your ingredients smoothly.
Method: Peanut Butter Dream Bars
Step 1: Prepare the Cookie Crust
Begin by preheating your oven to 350°F (175°C). In a large mixing bowl, combine the crushed peanut butter sandwich cookies with the melted butter. Mix until the crumbs are fully coated. Press this mixture into the bottom of a greased 9×13 inch baking dish, creating an even layer. Bake in the preheated oven for about 10 minutes until set. Remove from the oven and let it cool.
Step 2: Make the Chocolate Pudding Layer
In another mixing bowl, whisk together the milk and the instant chocolate pudding mix until it thickens, about 2 minutes. Set aside.
Step 3: Prepare the Cream Cheese Mixture
In a separate bowl, beat the softened cream cheese with an electric mixer until smooth. Gradually add the powdered sugar and continue to mix until well combined. Then, add the creamy peanut butter and mix until fully incorporated.
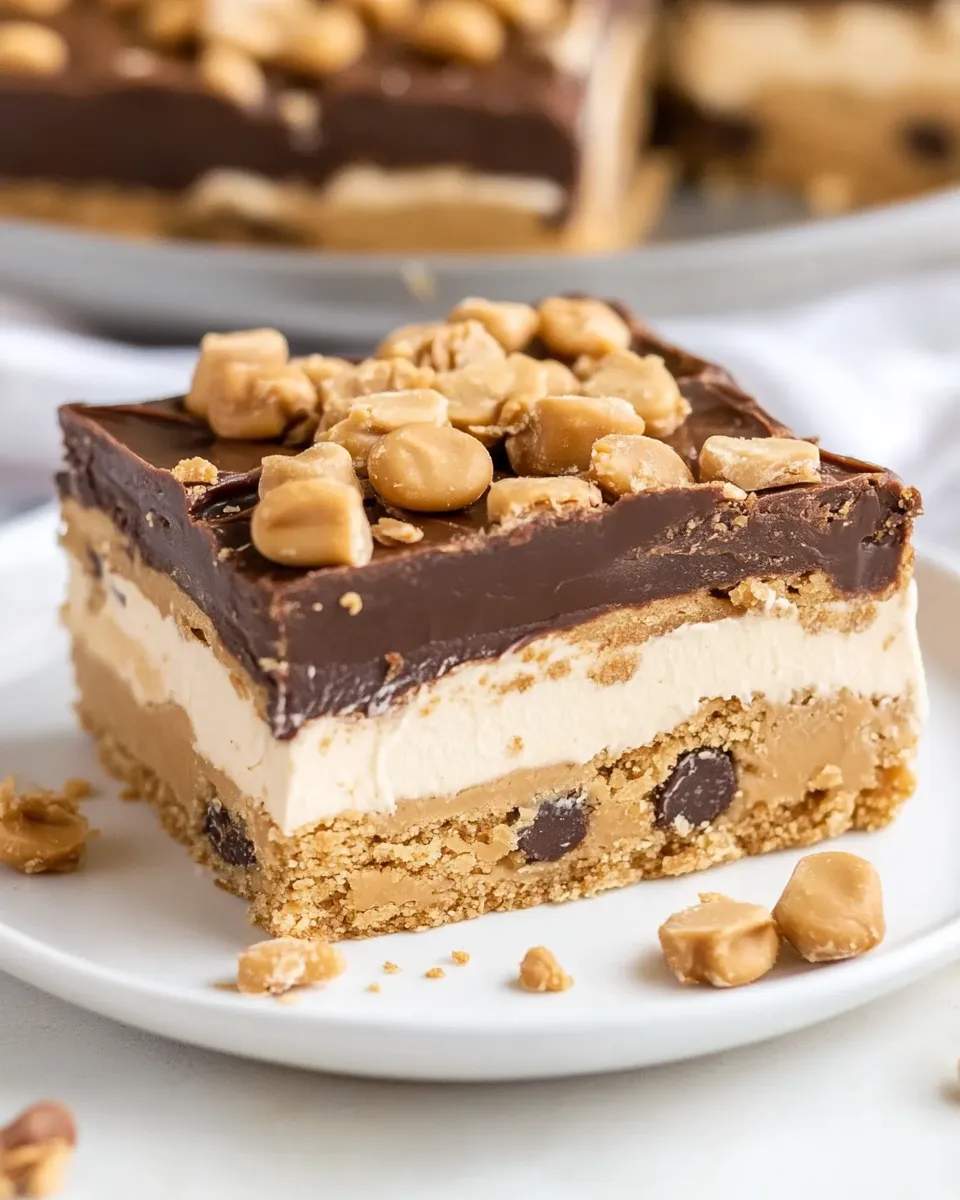
Step 4: Combine the Layers
Fold the Cool Whip into the cream cheese mixture gently until well combined. Spread half of this mixture over the cooled cookie crust. Next, pour the prepared chocolate pudding layer over the cream cheese mixture, spreading it evenly. Finally, spread the remaining cream cheese mixture on top of the chocolate pudding layer.
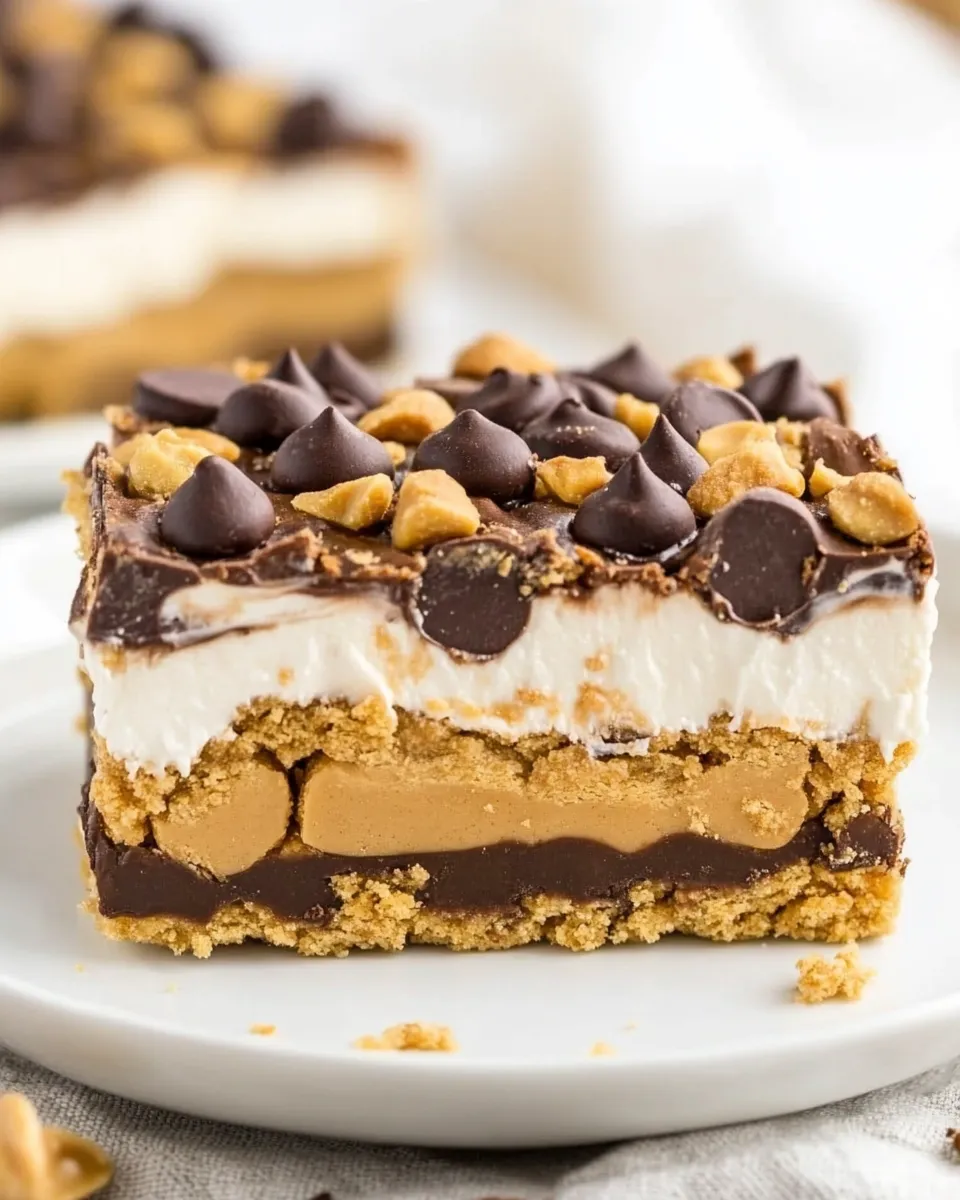
Step 5: Add the Toppings
Finish off by sprinkling the reserved crushed peanut butter sandwich cookies, milk chocolate chips, and peanut butter chips on top. Press them down gently so they adhere to the layers below.
Step 6: Chill and Serve
Cover the baking dish with plastic wrap and refrigerate for at least 4 hours, or ideally overnight. This allows the flavors to meld beautifully and the bars to set properly. Once chilled, slice into squares and serve!
Customize for Your Needs
- Swap out the peanut butter sandwich cookies for another cookie type for a unique flavor.
- Use dark chocolate pudding or add a drizzle of dark chocolate on top for a richer taste.
- Incorporate nuts like chopped peanuts for added crunch and flavor.
- Make it a no-bake dessert by skipping the oven step and letting it set in the fridge only.
Notes on Ingredients
When selecting your ingredients, choose high-quality peanut butter for the best flavor. Cream cheese should be at room temperature for smooth mixing. If you prefer a lighter option, consider using a reduced-fat cream cheese or a dairy-free alternative in the recipe. The Cool Whip can be substituted with homemade whipped cream if desired.
Shelf Life & Storage
Peanut Butter Dream Bars can be stored in an airtight container in the refrigerator for up to 5 days. They can also be frozen for up to 3 months. To freeze, slice the bars and wrap them individually in plastic wrap, then place them in a freezer-safe container. Thaw in the refrigerator before serving.
Quick Questions
Can I use crunchy peanut butter instead of creamy?
Yes! Crunchy peanut butter will add a nice texture to the bars, enhancing the overall experience.
What can I use instead of Cool Whip?
You can use homemade whipped cream as an alternative. Just whip heavy cream with sugar and vanilla until stiff peaks form.
How do I know when the bars are ready to serve?
The bars should be firm to the touch and have set layers after chilling in the refrigerator. They should hold their shape when sliced.
Can I make these bars ahead of time?
Absolutely! These bars actually taste better the next day, as the flavors have more time to meld together. Make them a day or two in advance for the best results.
Serve & Enjoy
Once your Peanut Butter Dream Bars are ready, it’s time to dig in! These delightful bars are perfect for sharing, but don’t be surprised if you find yourself trying to keep them all to yourself. Serve them chilled for the best flavor, and watch your friends and family devour them in no time. The combination of peanut butter and chocolate in these bars is nothing short of heavenly, making them a true crowd-pleaser.
Peanut Butter Dream Bars are a delicious dessert that’s easy to prepare and sure to impress. With their creamy layers and crunchy topping, they are a treat that will have everyone asking for the recipe. Make a batch today, and enjoy the rich, delightful flavors that this dessert has to offer!
Peanut Butter Dream Bars
Ingredients
Equipment
Method
- Preheat your oven to 350°F (175°C). In a large mixing bowl, combine the crushed peanut butter sandwich cookies with the melted butter. Mix until the crumbs are fully coated. Press this mixture into the bottom of a greased 9x13 inch baking dish, creating an even layer. Bake in the preheated oven for about 10 minutes until set. Remove from the oven and let it cool.
- In another mixing bowl, whisk together the milk and the instant chocolate pudding mix until it thickens, about 2 minutes. Set aside.
- In a separate bowl, beat the softened cream cheese with an electric mixer until smooth. Gradually add the powdered sugar and continue to mix until well combined. Then, add the creamy peanut butter and mix until fully incorporated.
- Fold the Cool Whip into the cream cheese mixture gently until well combined. Spread half of this mixture over the cooled cookie crust. Next, pour the prepared chocolate pudding layer over the cream cheese mixture, spreading it evenly. Finally, spread the remaining cream cheese mixture on top of the chocolate pudding layer.
- Finish off by sprinkling the reserved crushed peanut butter sandwich cookies, milk chocolate chips, and peanut butter chips on top. Press them down gently so they adhere to the layers below.
- Cover the baking dish with plastic wrap and refrigerate for at least 4 hours, or ideally overnight. Once chilled, slice into squares and serve!
Notes
- Use high-quality peanut butter for the best flavor.
- Consider a reduced-fat cream cheese or dairy-free alternative for a lighter option.
- These bars are best served chilled; they taste better the next day!