Pistachio Salad
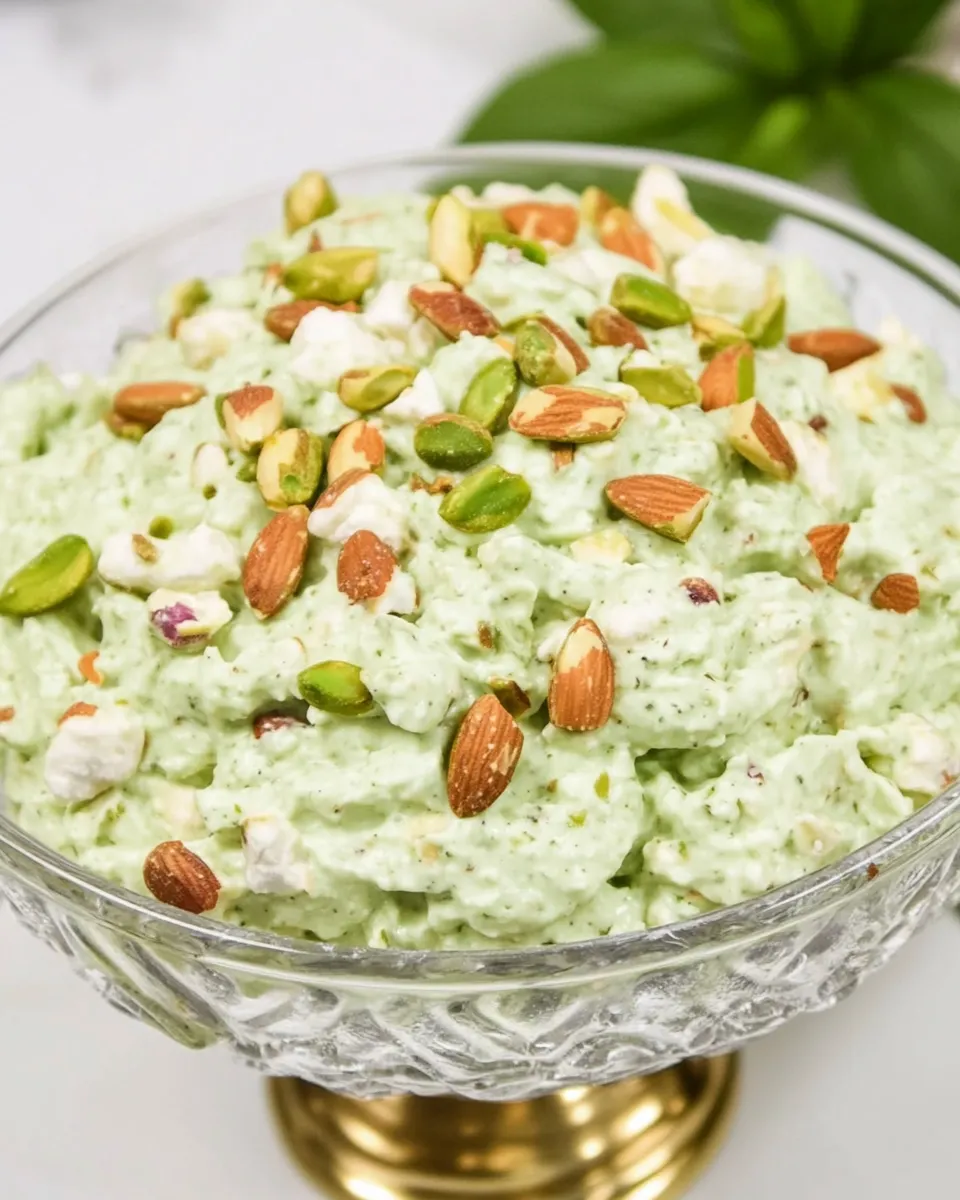
Pistachio Salad is a delightful and colorful dish that brings a wonderful twist to any gathering. This creamy salad, often found at potlucks and family gatherings, combines flavors and textures that will tickle your taste buds. With the crunch of pistachios, the sweetness of pineapple, and the fluffiness of whipped topping, this salad is not just a side dish; it’s a dessert experience. Whether you’re serving it at a holiday meal, a summer barbecue, or just as a refreshing treat, this Pistachio Salad is sure to impress.
Why It Deserves a Spot
Pistachio Salad deserves a prominent place on your table for several reasons. First and foremost, its vibrant colors make it an eye-catching addition to any spread. The creamy green hue from the pistachio pudding mix combined with the bright yellow of pineapple creates a stunning visual that’s hard to resist. Additionally, this salad is incredibly easy to make, requiring just a few simple ingredients that you likely already have in your pantry. It’s a no-fuss recipe that’s perfect for both novice cooks and seasoned chefs. Furthermore, the combination of flavors—sweet, nutty, and creamy—makes every bite a delightful experience. Plus, it can be made ahead of time, allowing you to enjoy your gathering without the stress of last-minute preparations.
What You’ll Need
To whip up this delightful Pistachio Salad, gather the following ingredients:
- 1 (20 ounce) can crushed pineapple, drained
- 1 (3 ounce) package instant pistachio pudding mix
- 8 ounces frozen whipped topping, thawed
- 10.5 ounce package miniature marshmallows
Make sure to have everything ready to go before you start to ensure a smooth preparation process.
What’s in the Gear List
To make your Pistachio Salad, you’ll need a few essential items:
- Mixing bowl: A large bowl to combine all your ingredients.
- Whisk or spatula: For mixing everything together until smooth.
- Measuring cups and spoons: To ensure accurate ingredient amounts.
- Serving dish: A beautiful bowl to present your salad.
Having these tools on hand will make the process enjoyable and efficient.
Cook Pistachio Salad Like This
Step 1: Prepare the Pineapple
Start by opening the can of crushed pineapple. Pour the contents into a fine mesh strainer to drain the excess juice. Let it sit for a few minutes to ensure most of the liquid is removed, as this will help keep your salad from becoming too watery.
Step 2: Mix the Pudding
In a large mixing bowl, combine the drained pineapple with the instant pistachio pudding mix. Stir well to ensure that the pudding mix is evenly distributed throughout the pineapple.
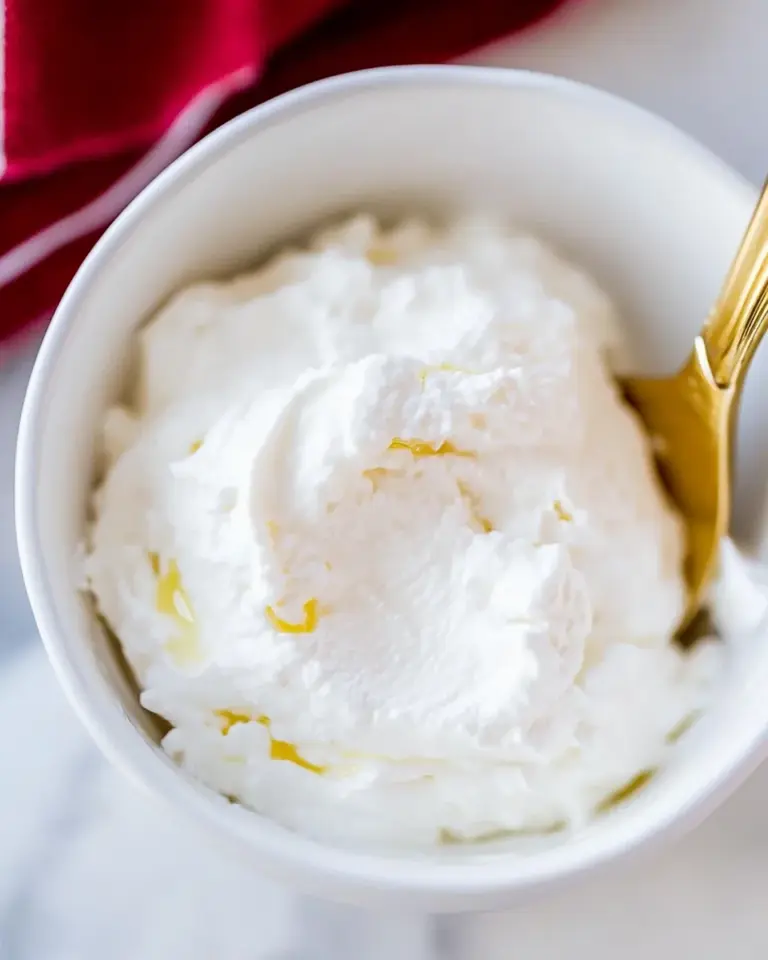
Step 3: Incorporate the Whipped Topping
Next, gently fold in the thawed whipped topping into the pineapple and pudding mixture. Use a spatula to combine everything until it’s smooth and creamy. Be careful not to overmix, as you want to keep the light and airy texture of the whipped topping.
Step 4: Add the Marshmallows
Now it’s time to add the miniature marshmallows. Carefully fold them into the mixture, ensuring they’re evenly distributed. The marshmallows add a lovely texture and sweetness to the salad.
Step 5: Chill and Serve
Once everything is mixed, transfer the Pistachio Salad to a serving dish. Cover it with plastic wrap and refrigerate for at least 2 hours, allowing the flavors to meld together. When you’re ready to serve, give it a gentle stir and enjoy this delightful treat.
Ingredient Flex Options
Feel free to get creative with your Pistachio Salad! Here are some ingredient flex options to consider:
- Nut Variations: Substitute pistachios with chopped walnuts or pecans for a different nutty flavor.
- Fruit Additions: Consider adding mini chocolate chips, diced strawberries, or mandarin oranges for additional flavor and texture.
- Healthier Alternatives: Use Greek yogurt instead of whipped topping for a lighter option.
- Flavor Boost: Add a splash of vanilla extract for extra depth of flavor.
These variations can help customize the salad to suit your taste preferences and dietary needs.
Testing Timeline
To ensure your Pistachio Salad turns out perfectly, consider this testing timeline:
- Preparation Time: 15 minutes
- Chilling Time: 2 hours (or longer for best results)
- Total Time: Approximately 2 hours and 15 minutes
This timeline allows ample time for the flavors to develop while keeping the preparation quick and simple.
Storing Tips & Timelines
If you happen to have leftovers (though we doubt that will happen!), here are some storing tips:
- Refrigerate: Store any leftover Pistachio Salad in an airtight container in the refrigerator for up to 3 days.
- Do Not Freeze: Avoid freezing this salad, as the texture of whipped topping and marshmallows may change upon thawing.
Keeping it stored properly will ensure you can enjoy this delightful dish for a few more days.
Top Questions & Answers
Can I make Pistachio Salad a day in advance?
Absolutely! In fact, making it a day in advance allows the flavors to meld wonderfully. Just be sure to store it in the refrigerator until ready to serve.
Can I use a different flavor of pudding mix?
Yes! While pistachio is traditional, you can experiment with other flavors like vanilla or banana for a unique twist on this classic salad.
Is there a non-dairy version of this salad?
Yes! You can use non-dairy whipped topping and ensure the pudding mix is dairy-free to create a delicious non-dairy version of Pistachio Salad.
What can I serve with Pistachio Salad?
Pistachio Salad pairs beautifully with grilled meats, barbecued dishes, or even as a dessert alongside cakes and pies. It’s versatile enough to complement many meal types!
Bring It to the Table
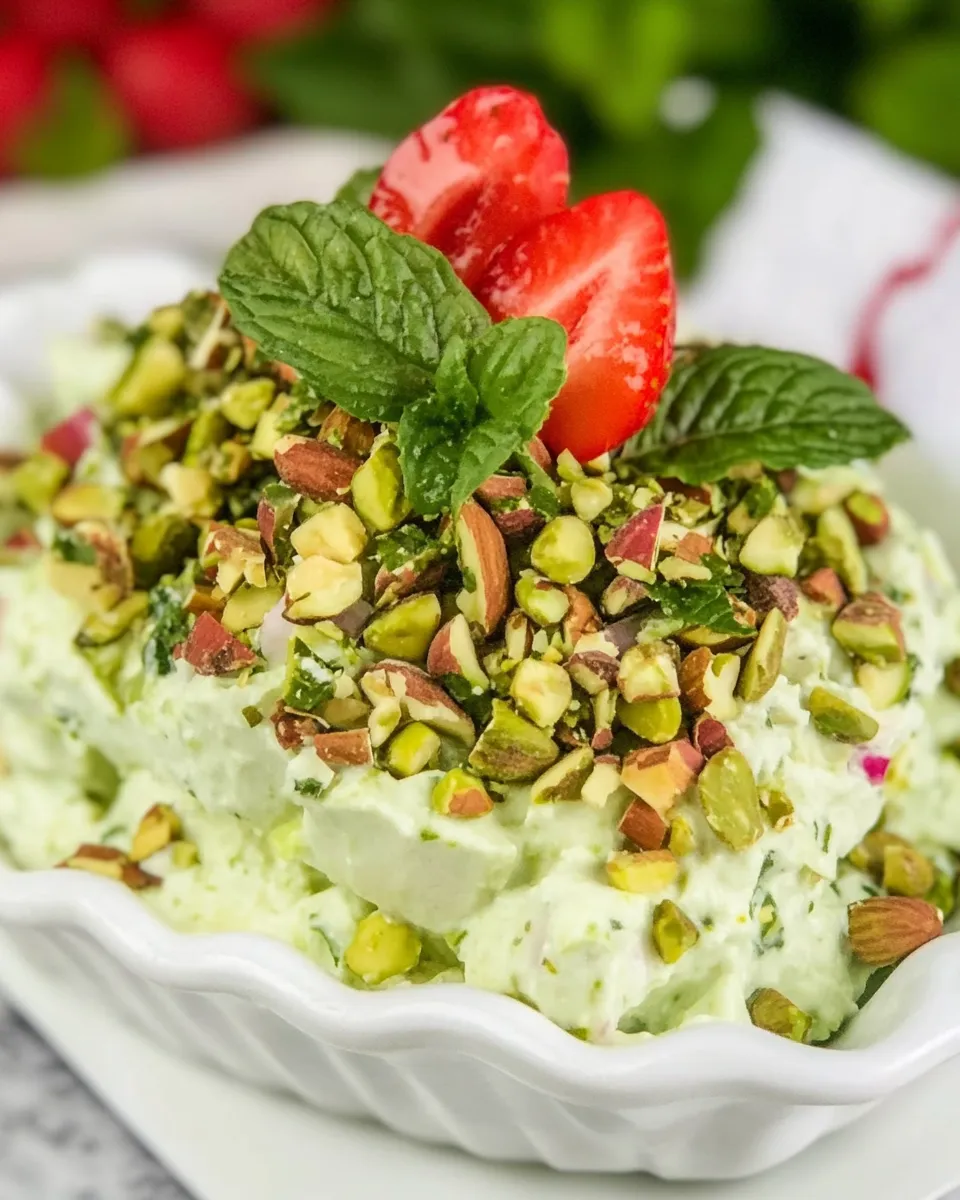
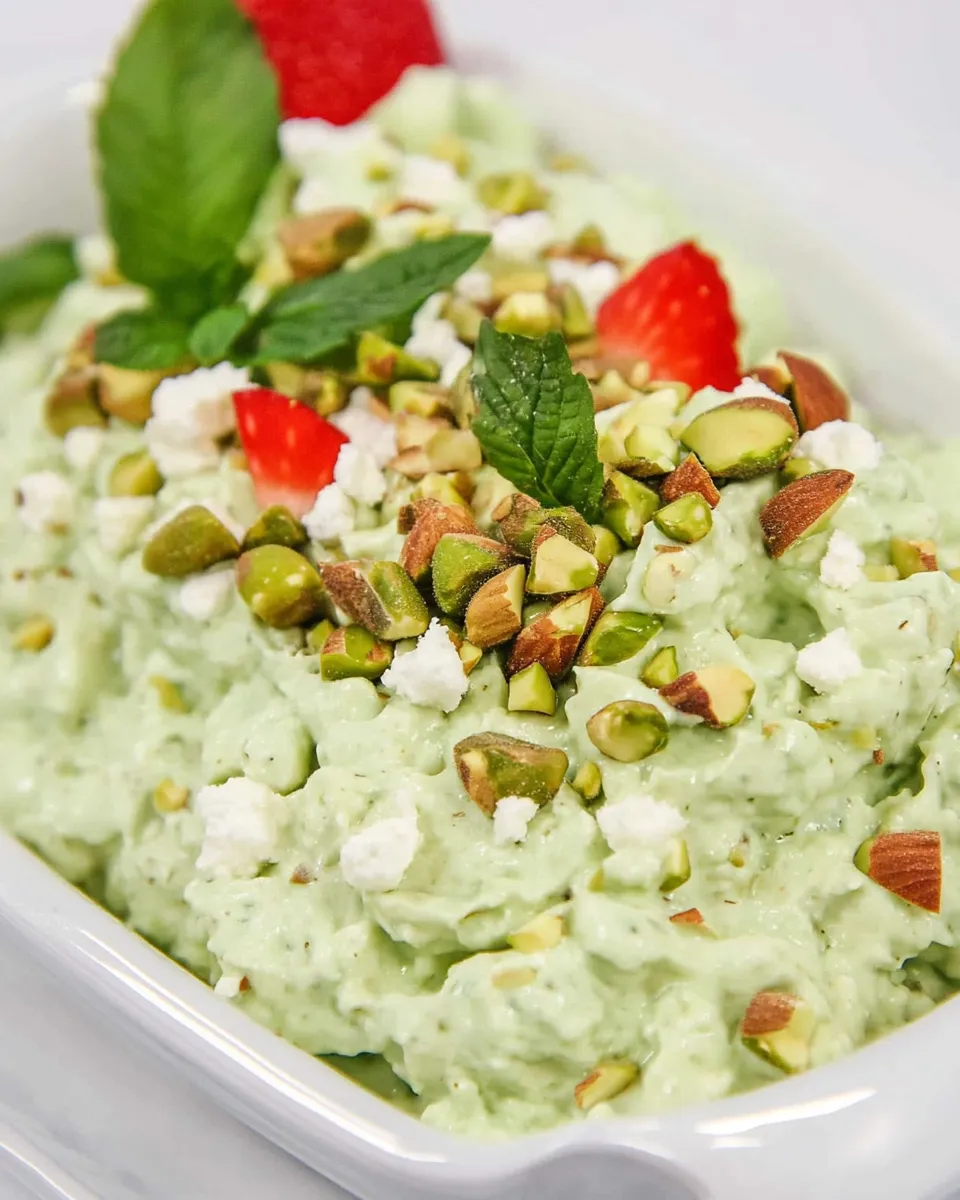
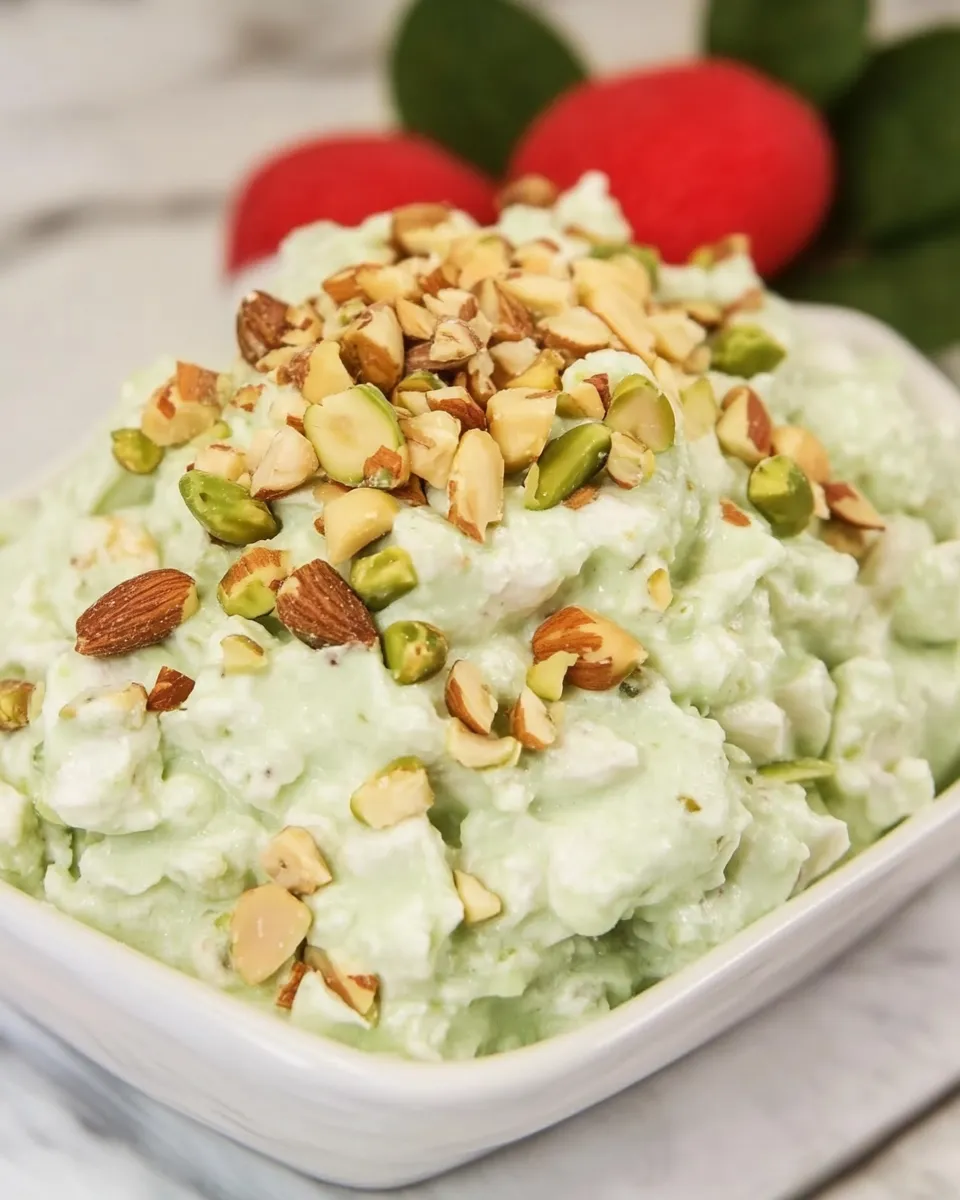
When it comes to serving Pistachio Salad, presentation is key. Transfer your chilled salad to a beautiful serving bowl and consider garnishing it with a sprinkle of crushed pistachios or a few fresh mint leaves for an extra pop of color. This salad can be served as a refreshing side dish or a light dessert, making it perfect for both casual gatherings and festive occasions. Your guests will be intrigued by its vibrant color, and they won’t be able to resist diving in for a taste.
In conclusion, this Pistachio Salad is not just a dish; it’s an experience. The combination of flavors and textures promises to delight everyone at the table. With its easy preparation and the ability to customize, it’s a recipe that you’ll return to time and again. So next time you’re looking for a crowd-pleasing addition to your meal, remember this Pistachio Salad and make it your go-to recipe for any occasion. Enjoy every delicious bite!
Pistachio Salad
Ingredients
Equipment
Method
- Start by opening the can of crushed pineapple. Pour the contents into a fine mesh strainer to drain the excess juice. Let it sit for a few minutes to ensure most of the liquid is removed.
- In a large mixing bowl, combine the drained pineapple with the instant pistachio pudding mix. Stir well to ensure even distribution.
- Gently fold in the thawed whipped topping into the pineapple and pudding mixture. Be careful not to overmix.
- Carefully fold in the miniature marshmallows, ensuring even distribution.
- Transfer the salad to a serving dish, cover it with plastic wrap, and refrigerate for at least 2 hours before serving.
Notes
- Make it a day in advance for better flavor.
- Experiment with different pudding flavors for a twist.
- Store leftovers in an airtight container for up to 3 days.