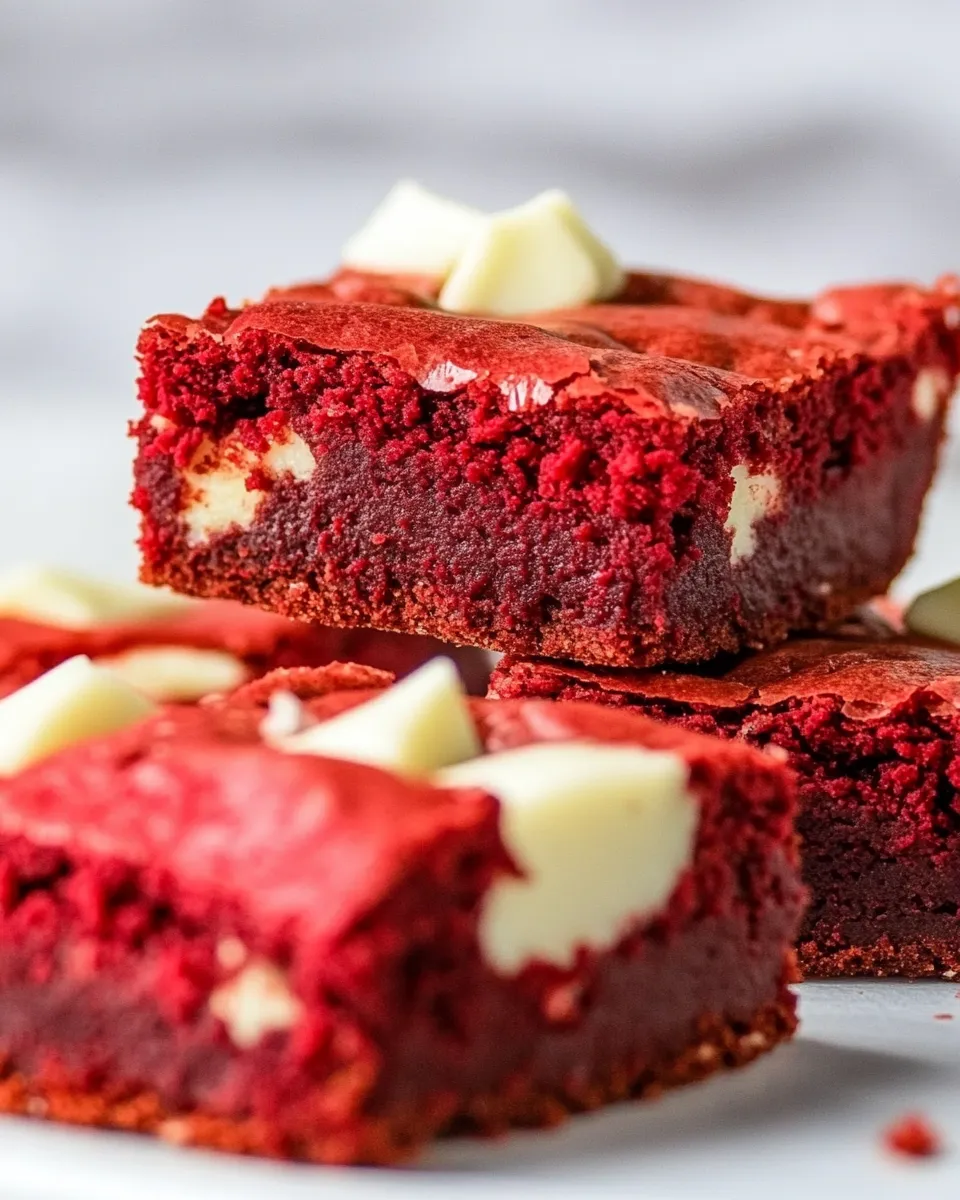
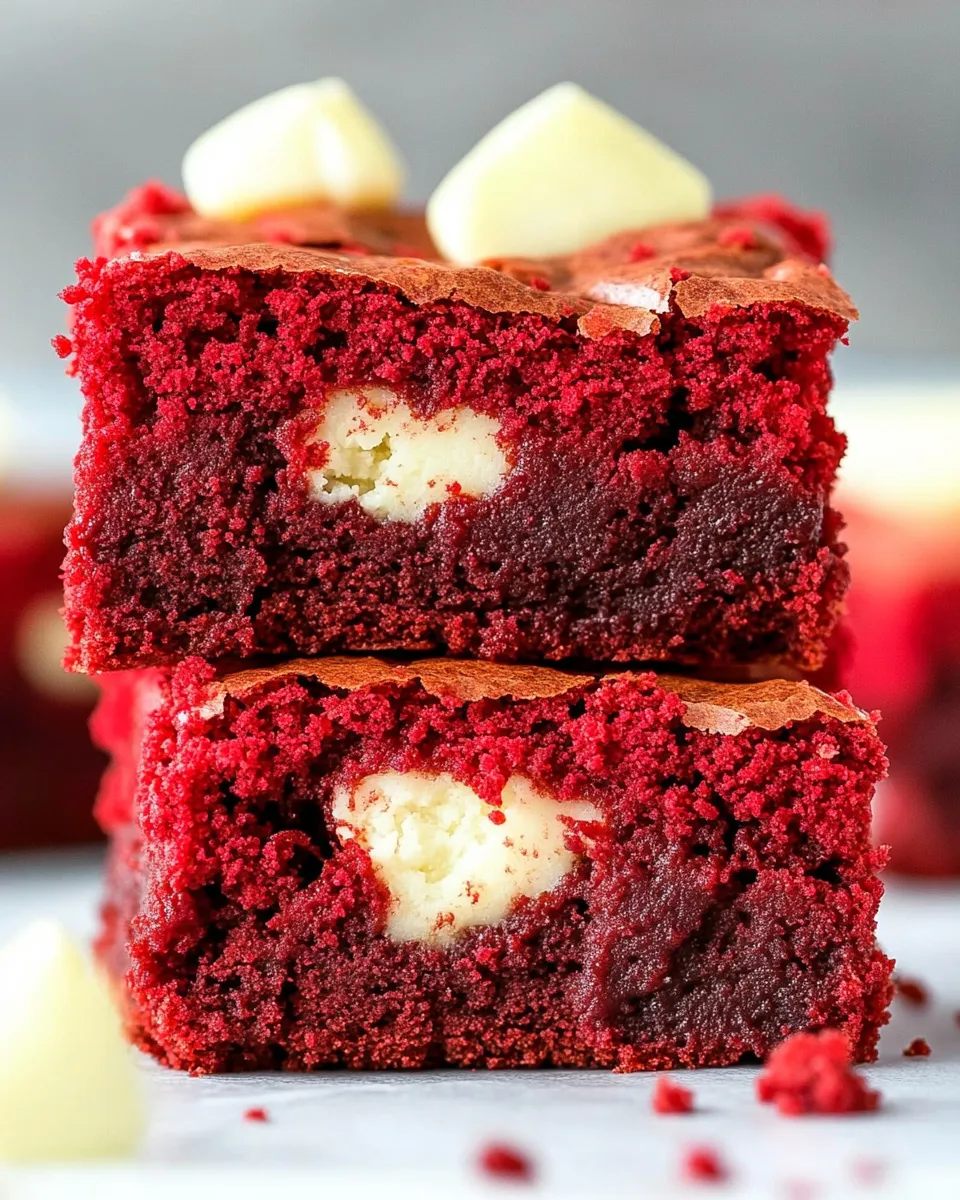
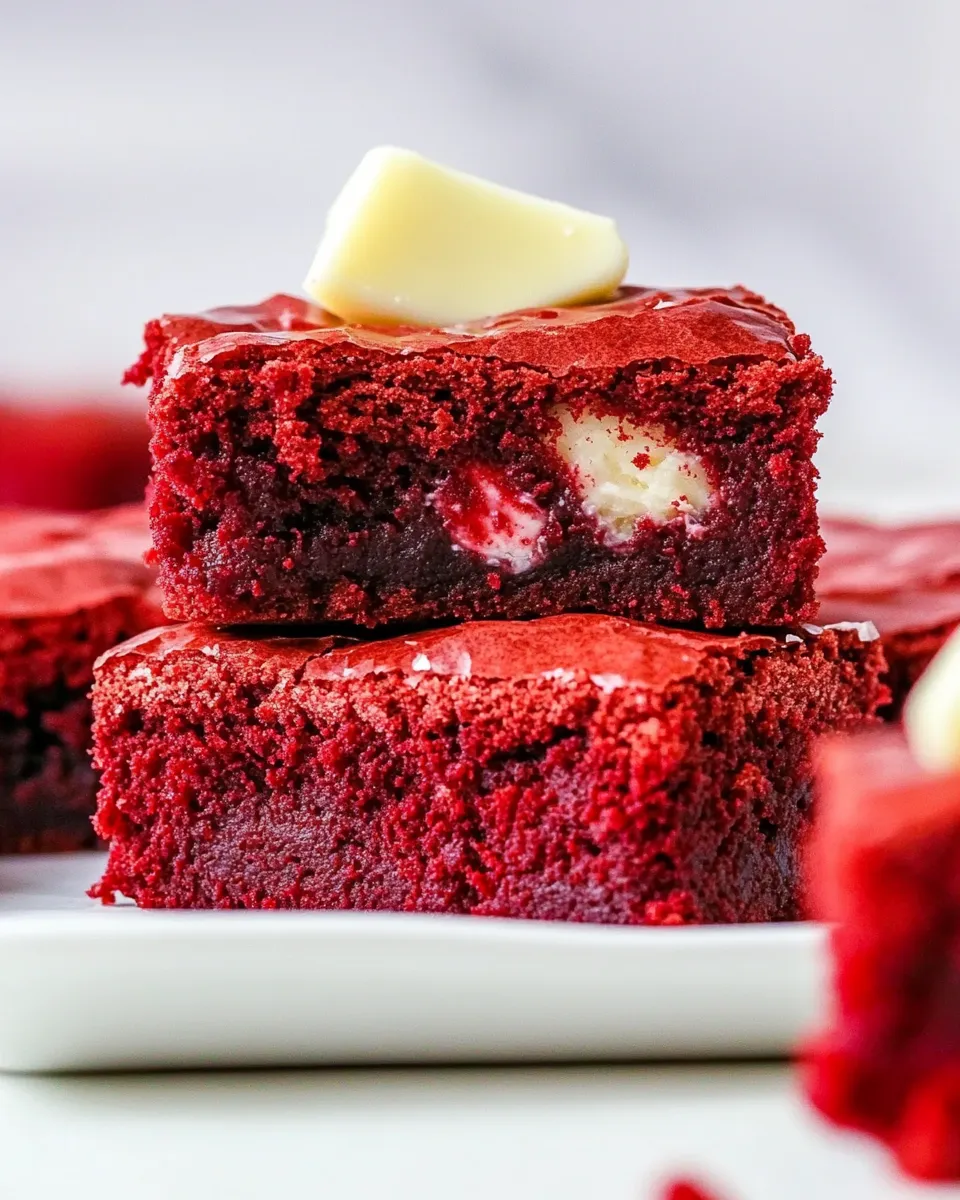
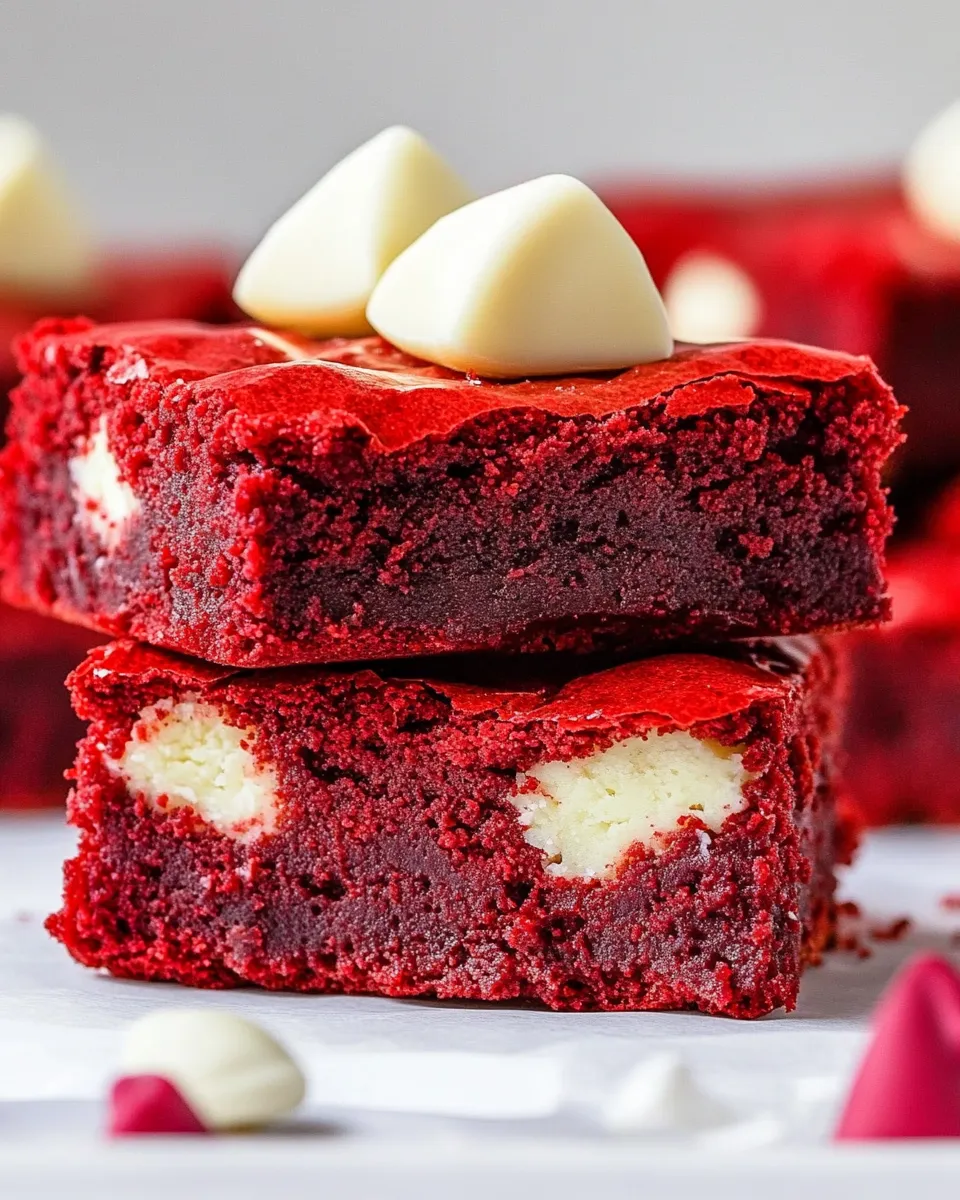
Red Velvet Brownies
If you’re looking for a dessert that combines the rich, velvety allure of red velvet cake with the fudgy decadence of brownies, then these Red Velvet Brownies are going to be your new go-to treat. Perfectly chewy, delightfully sweet, and adorned with white chocolate chips, they’re a showstopper for any occasion. Whether you’re celebrating a birthday, hosting a cozy gathering, or simply indulging in a sweet craving, these brownies are bound to impress. So, preheat your oven and let’s dive into this delightful recipe!
Why It Works Every Time
These Red Velvet Brownies are a harmonious blend of ingredients that create a perfect balance of flavor and texture. The combination of packed brown sugar and softened unsalted butter ensures a moist and chewy brownie, while the addition of cocoa powder gives just the right hint of chocolate. The white chocolate chips provide a creamy contrast to the slight tang of the vinegar and the vibrant red color from the food coloring, making these brownies not only delicious but also visually stunning. The baking powder gives them a lift, ensuring they are not too dense, while the vinegar enhances the cocoa flavor, creating a truly indulgent treat.
What’s in the Bowl
To make these scrumptious Red Velvet Brownies, gather the following ingredients:
- 1 cup (113g) unsalted butter, softened – This will create a rich, fudgy base.
- 2 cups (400g) packed brown sugar – Adds moisture and sweetness.
- 2 large eggs – Essential for binding the ingredients.
- 1 teaspoon vanilla extract – For a hint of aromatic flavor.
- 1 tablespoon (5g) unsweetened cocoa powder – A touch of chocolate flavor.
- 1 teaspoon baking powder – Helps the brownies rise slightly.
- 1 teaspoon salt – Enhances the overall flavor.
- 2 cups (258g) all-purpose flour – The main structure of the brownies.
- 1 teaspoon white or distilled vinegar – Balances the sweetness and intensifies the chocolate.
- 2 tablespoons red food coloring – For that signature red velvet hue.
- 1 1/2 cups (10 ounces or 284g) white chocolate chips – Adds a creamy texture and sweet flavor.
Essential Tools for Success
To create your Red Velvet Brownies, you’ll need a few key tools:
- Mixing bowls – For combining ingredients.
- Whisk – To mix the wet ingredients thoroughly.
- Rubber spatula – For folding in the dry ingredients without overmixing.
- 9×13 inch baking pan – The perfect size for these brownies.
- Parchment paper – For easy removal of the brownies from the pan.
- Oven thermometer – To ensure your oven is at the correct temperature for baking.
The Method for Red Velvet Brownies
Follow these simple steps to make your Red Velvet Brownies:
Step 1: Preheat the Oven
Preheat your oven to 350°F (175°C) and line a 9×13 inch baking pan with parchment paper, leaving an overhang on the sides for easy removal.
Step 2: Cream the Butter and Sugar
In a large mixing bowl, combine the softened unsalted butter and packed brown sugar. Using a whisk, beat them together until the mixture is fluffy and well combined.
Step 3: Add Eggs and Vanilla
Add the large eggs, one at a time, mixing well after each addition. Then, stir in the vanilla extract until fully incorporated.
Step 4: Mix in Dry Ingredients
In a separate bowl, whisk together the cocoa powder, baking powder, salt, and all-purpose flour. Gradually add this dry mixture into the wet ingredients, stirring gently with a rubber spatula until just combined.
Step 5: Add Vinegar and Food Coloring
Stir in the white or distilled vinegar and red food coloring, mixing until the batter reaches a uniform red color.
Step 6: Fold in White Chocolate Chips
Gently fold in the white chocolate chips, ensuring they are evenly distributed throughout the batter.
Step 7: Bake
Pour the brownie batter into the prepared baking pan, smoothing it out evenly. Bake in the preheated oven for 25-30 minutes, or until a toothpick inserted into the center comes out with a few moist crumbs.
Step 8: Cool and Slice
Allow the brownies to cool in the pan for at least 15 minutes before lifting them out using the parchment paper. Transfer to a wire rack to cool completely before slicing into squares.
Season-by-Season Upgrades
These Red Velvet Brownies are versatile and can be adapted for different seasons or occasions:
- Spring – Top brownies with a light cream cheese frosting and fresh berries for a refreshing twist.
- Summer – Serve with a scoop of vanilla ice cream for a delightful dessert.
- Fall – Add a sprinkle of cinnamon to the batter for a warm, cozy flavor.
- Winter – Drizzle with melted dark chocolate for an elegant finish.
Notes from the Test Kitchen
For the best results, be sure to measure your ingredients accurately. Using a kitchen scale can help achieve precise measurements, especially for the flour and sugar. If you prefer a richer chocolate flavor, feel free to increase the cocoa powder slightly. Just be cautious not to alter the balance of dry ingredients too much. Additionally, for an extra pop of color, consider adding a few chocolate chips on top before baking.
Shelf Life & Storage
These Red Velvet Brownies can be stored in an airtight container at room temperature for up to 3 days. If you want to keep them longer, they can be refrigerated for up to a week or frozen for up to 3 months. Just make sure to wrap them tightly in plastic wrap and place them in a freezer-safe container. When ready to enjoy, simply thaw them at room temperature or warm them slightly in the microwave.
Top Questions & Answers
Can I use a different type of food coloring?
Yes, while red food coloring is traditional for red velvet desserts, you can experiment with other colors to create unique brownies. Just ensure you use a gel or liquid food coloring that won’t alter the consistency of the batter too much.
Can I substitute the white chocolate chips?
Absolutely! If you’re not a fan of white chocolate, you can replace them with dark chocolate chips or even semi-sweet chocolate chips. The flavor will change slightly, but it will still be delicious!
Do I have to use vinegar in the recipe?
The vinegar helps to enhance the cocoa flavor and provides a slight tanginess typical of red velvet desserts. If you prefer not to use it, you can omit it, but the flavor may not be as rich.
What can I serve with these brownies?
These Red Velvet Brownies are delightful on their own, but they pair wonderfully with a scoop of vanilla ice cream, a dollop of whipped cream, or a drizzle of chocolate or cream cheese frosting for an extra special treat.
In Closing
These Red Velvet Brownies are not only a feast for the eyes but also a true indulgence for your taste buds. With their rich flavor, chewy texture, and creamy bursts of white chocolate, they’re sure to become a favorite in your dessert repertoire. Whether for a special occasion or a simple weeknight treat, these brownies will satisfy your sweet tooth and impress your friends and family. So why wait? Gather your ingredients and get baking; a delicious batch of Red Velvet Brownies awaits you!
Red Velvet Brownies
Ingredients
Equipment
Method
- Step 1: Preheat your oven to 350°F (175°C) and line a 9x13 inch baking pan with parchment paper, leaving an overhang on the sides for easy removal.
- Step 2: In a large mixing bowl, combine the softened unsalted butter and packed brown sugar. Using a whisk, beat them together until the mixture is fluffy and well combined.
- Step 3: Add the large eggs, one at a time, mixing well after each addition. Then, stir in the vanilla extract until fully incorporated.
- Step 4: In a separate bowl, whisk together the cocoa powder, baking powder, salt, and all-purpose flour. Gradually add this dry mixture into the wet ingredients, stirring gently with a rubber spatula until just combined.
- Step 5: Stir in the white or distilled vinegar and red food coloring, mixing until the batter reaches a uniform red color.
- Step 6: Gently fold in the white chocolate chips, ensuring they are evenly distributed throughout the batter.
- Step 7: Pour the brownie batter into the prepared baking pan, smoothing it out evenly. Bake in the preheated oven for 25-30 minutes, or until a toothpick inserted into the center comes out with a few moist crumbs.
- Step 8: Allow the brownies to cool in the pan for at least 15 minutes before lifting them out using the parchment paper. Transfer to a wire rack to cool completely before slicing into squares.
Notes
- Measure ingredients accurately for best results.
- Consider using a kitchen scale for precise measurements.
- For a richer flavor, increase the cocoa powder slightly.
- Add chocolate chips on top before baking for extra color.
- Store brownies in an airtight container at room temperature for up to 3 days.