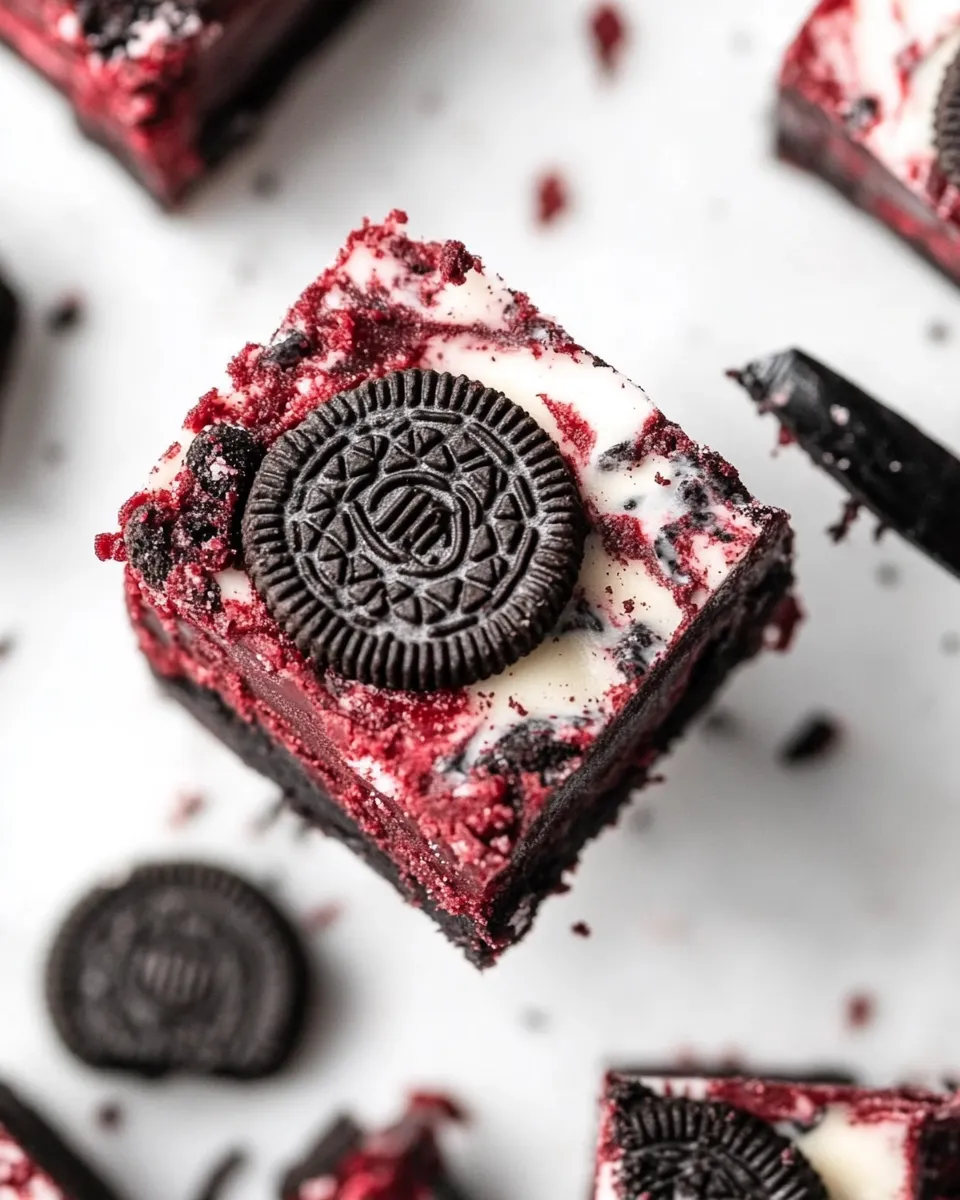
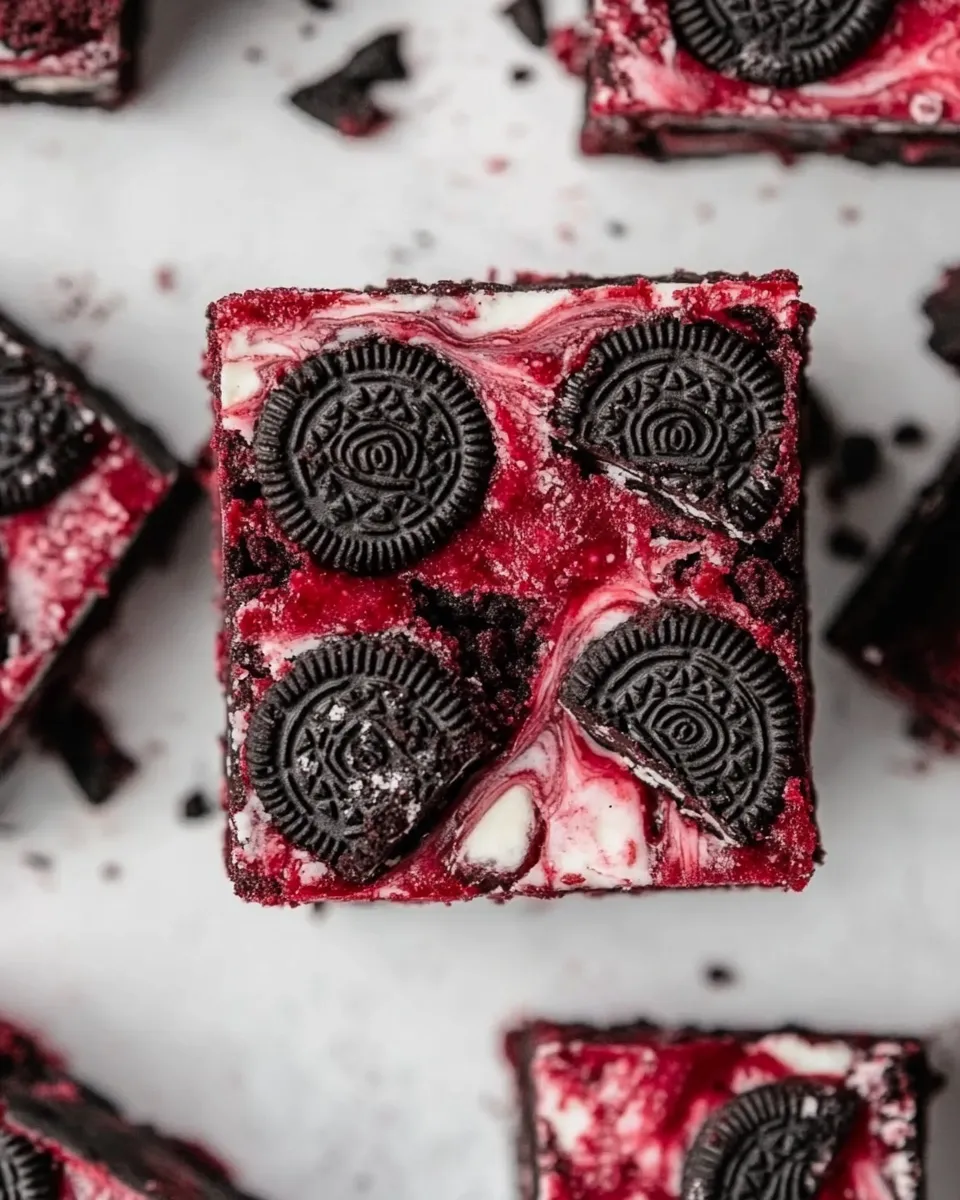
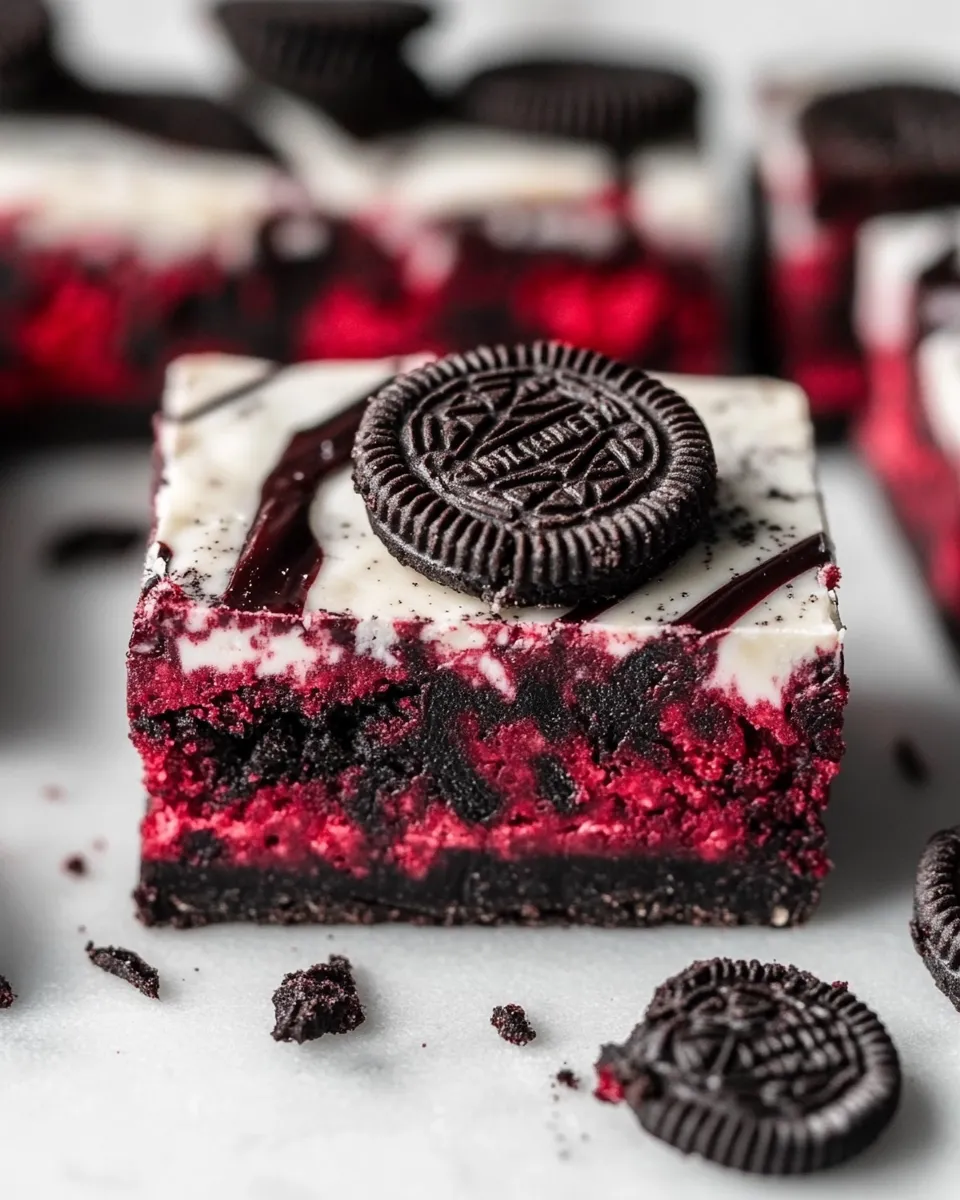
Red Velvet Oreo Fudge
When it comes to dessert, there’s something about fudge that just screams indulgence. Now, imagine that rich, creamy texture blended with the iconic flavors of red velvet and the delightful crunch of Oreos. Introducing Red Velvet Oreo Fudge, a treat that is not only visually striking but also utterly delicious. This recipe combines sweetened condensed milk, white and semi-sweet chocolate chips, and mini marshmallows to create a fudge that melts in your mouth, while crushed Oreos take it to the next level. Whether you’re preparing for a party or looking for the perfect afternoon treat, this recipe is sure to impress.
What Sets This Recipe Apart
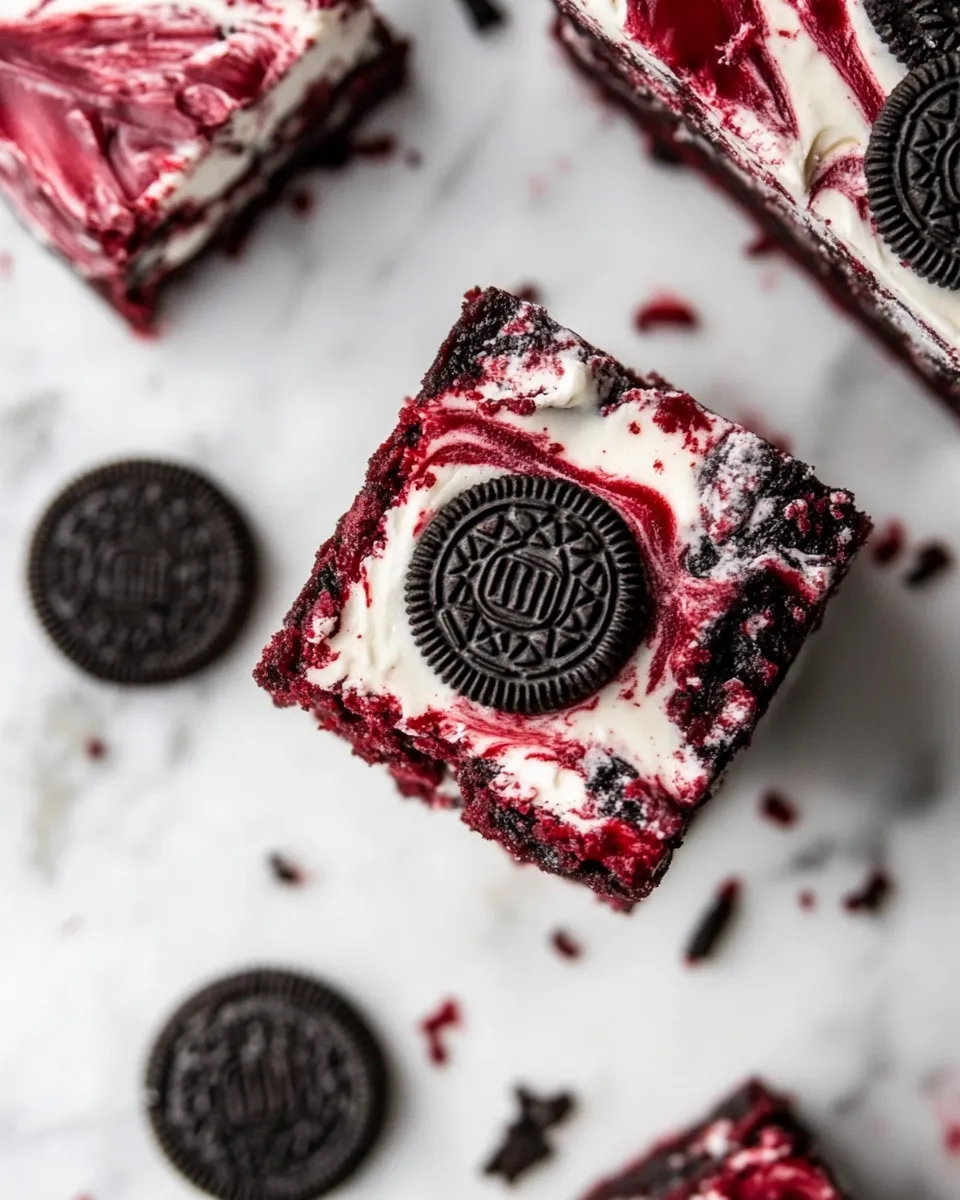
This Red Velvet Oreo Fudge stands out for its unique flavor combination and stunning appearance. The vibrant red hue, thanks to the red food coloring, makes it a visual delight. Each bite is a perfect balance of creamy chocolate and the iconic taste of red velvet cake, enhanced by the crunchy texture of Oreos. It’s a dessert that feels celebratory, yet it’s simple enough to whip up any day of the week. Plus, the use of mini marshmallows adds a delightful chewiness that you won’t find in traditional fudge recipes.
Ingredient Breakdown
To achieve that glorious Red Velvet Oreo Fudge, you’ll need the following ingredients:
- 1 can sweetened condensed milk (14 oz) – This is the base of our fudge, providing creaminess and sweetness.
- 2 cups white chocolate chips – For a sweet, creamy flavor that pairs beautifully with red velvet.
- 1 cup semi-sweet chocolate chips – To add depth and a hint of richness to the fudge.
- 2 cups mini marshmallows – These give the fudge a wonderful texture and a light, fluffy quality.
- 2 tablespoons unsalted butter, sliced into smaller pieces – To enhance the creamy texture and richness.
- 1 teaspoon vanilla extract – For a warm, aromatic flavor that rounds out the sweetness.
- 1 teaspoon red food coloring – More or less can be used, depending on your desired shade of red.
- 2 cups crushed Oreos (about 24-28 Oreos) – The star ingredient, adding crunch and that classic cookie flavor.
Toolbox for This Recipe
Before you dive into making this decadent fudge, gather the following tools:
- Double boiler or microwave-safe bowl – For melting the chocolate and combining the ingredients smoothly.
- Spatula – Essential for mixing and scraping down the sides of your bowl.
- 9×9 inch baking dish – To set the fudge; you can line it with parchment paper for easy removal.
- Measuring cups and spoons – Accurate measurements are key to perfect fudge.
- Cooling rack – To help the fudge cool evenly after setting.
Red Velvet Oreo Fudge Cooking Guide
Creating your Red Velvet Oreo Fudge is a fun and straightforward process. Follow these step-by-step instructions for the perfect treat!
Step 1: Prepare Your Baking Dish
Line your 9×9 inch baking dish with parchment paper, allowing some overhang for easy removal later. This will help you lift the fudge out without any fuss.
Step 2: Melt the Chocolate
In a double boiler or a microwave-safe bowl, combine the white chocolate chips, semi-sweet chocolate chips, and sliced butter. If using a microwave, heat in 30-second intervals, stirring in between, until fully melted and smooth.
Step 3: Mix in Sweetened Condensed Milk
Once the chocolate mixture is melted, remove it from heat and stir in the sweetened condensed milk until fully incorporated. The mixture should be glossy and smooth.
Step 4: Add Marshmallows and Flavorings
Fold in the mini marshmallows, vanilla extract, and red food coloring. Mix gently to combine, ensuring the marshmallows are evenly distributed throughout the mixture.
Step 5: Incorporate the Oreos
Carefully fold in the crushed Oreos, making sure they are evenly dispersed throughout the fudge mixture. This is where the magic happens, so take your time!
Step 6: Pour and Set
Pour the fudge mixture into the prepared baking dish, smoothing it out with your spatula. Allow it to set at room temperature for about 2-3 hours, or until firm. For quicker results, you can refrigerate it for about 1 hour.
Step 7: Cut and Serve
Once set, lift the fudge out of the baking dish using the parchment paper overhang. Cut into squares and enjoy! You can also sprinkle some additional crushed Oreos on top for extra flair.
Fit It to Your Goals
This Red Velvet Oreo Fudge can be tailored to fit various dietary preferences or occasions:
- Make it gluten-free: Use gluten-free Oreos or any other gluten-free chocolate cookie.
- Reduce the sweetness: Use less sweetened condensed milk or opt for a sugar-free version if available.
- For a festive touch: Add sprinkles or edible glitter on top before serving.
- Control the color: Adjust the amount of red food coloring to create a lighter or deeper shade of red.
Author’s Commentary
As a dessert lover, I believe that fudge is one of the simplest yet most satisfying treats you can make at home. The combination of red velvet and Oreos not only elevates this classic dessert but also makes it visually appealing for any occasion. Whether you’re celebrating a birthday, holiday, or simply indulging yourself, this fudge is bound to be a hit. Plus, it’s so easy to make that you’ll find yourself whipping it up again and again!
Leftovers & Meal Prep
If you happen to have leftovers (which is rare with this delicious fudge), store them in an airtight container at room temperature for up to a week. You can also refrigerate the fudge to extend its shelf life; just make sure to let it come to room temperature before serving for the best texture. This fudge is perfect for meal prep as it can be made ahead of time, making it a convenient treat to have on hand for unexpected guests or sweet cravings.
Troubleshooting Q&A
What if my fudge is too soft?
If your fudge doesn’t set properly, it may need more time to cool. You can also place it in the refrigerator to help it firm up. If you find that it’s still too soft after chilling, it might be necessary to add more chocolate next time to achieve the right consistency.
Can I use different types of chocolate?
Absolutely! You can experiment with different varieties of chocolate, such as dark chocolate or even flavored chocolate chips. Just be mindful that this may alter the overall flavor of your Red Velvet Oreo Fudge.
How do I know when the fudge is ready to cut?
The fudge is ready to cut when it feels firm to the touch and has cooled completely. If you gently press on the surface and it springs back, it’s ready to be sliced into squares.
Can I freeze Red Velvet Oreo Fudge?
Yes! You can freeze the fudge for up to 3 months. Just make sure to wrap it tightly in plastic wrap and then place it in an airtight container. Thaw it in the refrigerator before serving for the best texture.
The Takeaway
Creating Red Velvet Oreo Fudge is a delightful adventure in baking that results in a treat that’s sure to please everyone. With its luscious texture, vibrant color, and the delicious combination of chocolate and cookies, it’s an indulgence that feels special yet is incredibly easy to make. Perfect for any occasion or simply as a sweet treat to enjoy at home, this fudge is a must-try. Don’t forget to share it with friends and family—they’ll be asking for the recipe before they even take their first bite!
Red Velvet Oreo Fudge
Ingredients
Equipment
Method
- Line your 9x9 inch baking dish with parchment paper, allowing some overhang for easy removal later.
- In a double boiler or a microwave-safe bowl, combine the white chocolate chips, semi-sweet chocolate chips, and sliced butter. Heat until fully melted and smooth.
- Remove from heat and stir in the sweetened condensed milk until fully incorporated.
- Fold in the mini marshmallows, vanilla extract, and red food coloring. Mix gently to combine.
- Carefully fold in the crushed Oreos, ensuring they are evenly dispersed.
- Pour the fudge mixture into the prepared baking dish, smoothing it out with your spatula. Allow to set at room temperature for 2-3 hours or refrigerate for about 1 hour.
- Once set, lift the fudge out using the parchment paper overhang, cut into squares, and enjoy!
Notes
- Store leftovers in an airtight container at room temperature for up to a week.
- For a festive touch, add sprinkles or edible glitter on top before serving.
- This fudge can be frozen for up to 3 months; just thaw in the refrigerator before serving.