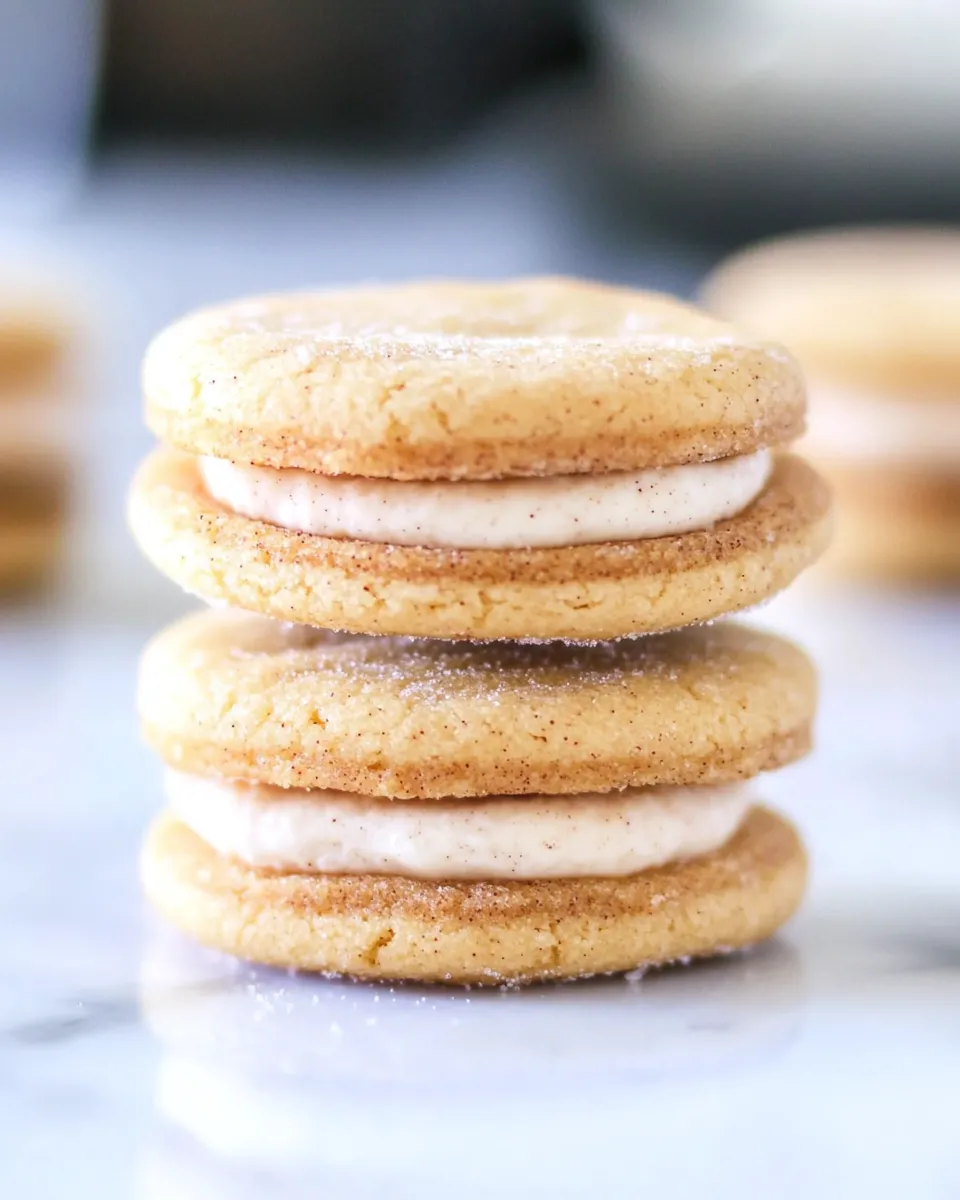
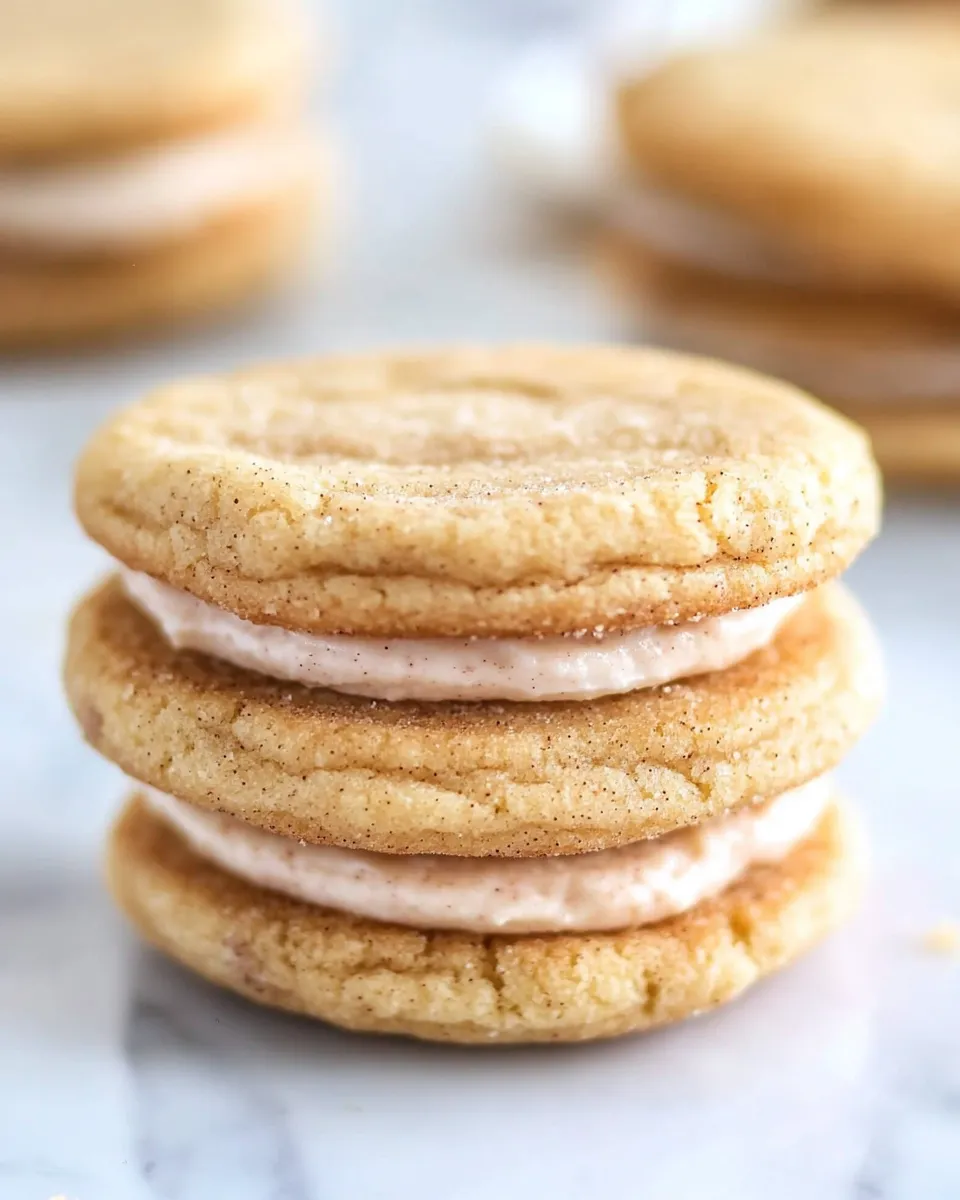
Snickerdoodle Sandwich Cookies
There’s something incredibly delightful about the combination of soft, cinnamon-sugar cookies with a creamy filling. Snickerdoodle Sandwich Cookies take the classic snickerdoodle to the next level by transforming them into luscious sandwiches, making them a perfect treat for any occasion. Imagine biting into a pillowy cookie filled with a sweet, fluffy center; it’s a dream come true for cookie lovers! In this article, we’ll explore everything you need to know to create these delectable treats, ensuring that your baking skills shine.
Reasons to Love Snickerdoodle Sandwich Cookies
- Irresistible Flavor: The warm notes of cinnamon combined with the sweetness of sugar create a comforting and nostalgic taste.
- Soft and Chewy: The cookies are tender and chewy, making them enjoyable to eat at any time of day.
- Versatile Filling: The marshmallow fluff filling adds a unique twist that complements the cookies perfectly, but you can easily customize it!
- Great for Sharing: These sandwich cookies are perfect for parties, potlucks, or simply sharing with family and friends.
- Fun to Make: Baking these cookies is a fun activity that both beginner and experienced bakers will enjoy.
Ingredient Notes
- All-purpose flour: Provides the structure for the cookies. Make sure to measure it correctly for the best results.
- Cream of tartar: Gives snickerdoodles their characteristic tangy flavor and helps create a chewy texture.
- Baking soda: A leavening agent that helps the cookies rise and become fluffy.
- Salt: Enhances the flavors in the cookies and balances the sweetness.
- Granulated sugar: Sweetens the cookies and adds to their chewy texture. We’ll use this in two different ways in the recipe.
- Unsalted butter: Softened butter is key for a rich flavor and tender texture.
- Eggs: Provide moisture and bind the ingredients together.
- Cinnamon: The star spice of the cookie, giving it that signature snickerdoodle taste.
- Powdered sugar: Used in the filling to create a smooth and creamy texture.
- Vanilla extract: Adds depth of flavor to the filling.
- Marshmallow fluff: This creamy, sweet filling is what makes these cookies truly special.
Setup & Equipment
- Mixing bowls: You’ll need a couple of bowls for mixing the cookie dough and the filling.
- Electric mixer: A stand or hand mixer will make creaming the butter and sugar easier.
- Baking sheets: Ensure you have enough to bake multiple trays of cookies at once.
- Parchment paper: Line your baking sheets for easy cleanup and to prevent sticking.
- Cookie scoop: A medium-sized scoop helps ensure uniform cookie sizes.
- Cooling racks: These are essential for letting the cookies cool properly after baking.
Snickerdoodle Sandwich Cookies: Step-by-Step Guide
Step 1: Preheat the Oven
Preheat your oven to 350°F (175°C). This ensures that your cookies bake evenly and achieve that lovely golden color.
Step 2: Prepare Baking Sheets
Line your baking sheets with parchment paper. This will help prevent the cookies from sticking and make cleanup a breeze.
Step 3: Mix the Dry Ingredients
In a medium bowl, whisk together 2 ½ cups of all-purpose flour, 2 teaspoons of cream of tartar, 1 teaspoon of baking soda, and ¾ teaspoon of salt. Set aside.
Step 4: Cream the Butter and Sugar
In a large mixing bowl, beat together 1 cup of softened unsalted butter and 1 ¾ cups of granulated sugar using an electric mixer until the mixture is light and fluffy. This will take about 2-3 minutes.
Step 5: Add the Eggs
Add the 2 large eggs, one at a time, mixing well after each addition. This will help incorporate air into the mixture, making your cookies light.
Step 6: Combine Wet and Dry Ingredients
Gradually add the dry ingredient mixture to the butter and sugar mixture, mixing until just combined. Be careful not to overmix; this will keep your cookies tender.
Step 7: Roll the Cookie Dough
In a small bowl, mix together 1 tablespoon of cinnamon and ¼ cup of granulated sugar. Scoop out the cookie dough using a cookie scoop and roll each ball in the cinnamon-sugar mixture before placing it on the prepared baking sheets.
Step 8: Bake the Cookies
Bake the cookies for 10-12 minutes, or until the edges are set and the tops are slightly cracked. Remove them from the oven and let them cool on the baking sheets for a few minutes before transferring them to a cooling rack.
Step 9: Make the Filling
In a large bowl, beat together another cup of softened unsalted butter, 1 cup of powdered sugar, 1 teaspoon of vanilla extract, and ½ teaspoon of cinnamon until smooth and creamy. Fold in 7 ounces of marshmallow fluff until well combined.
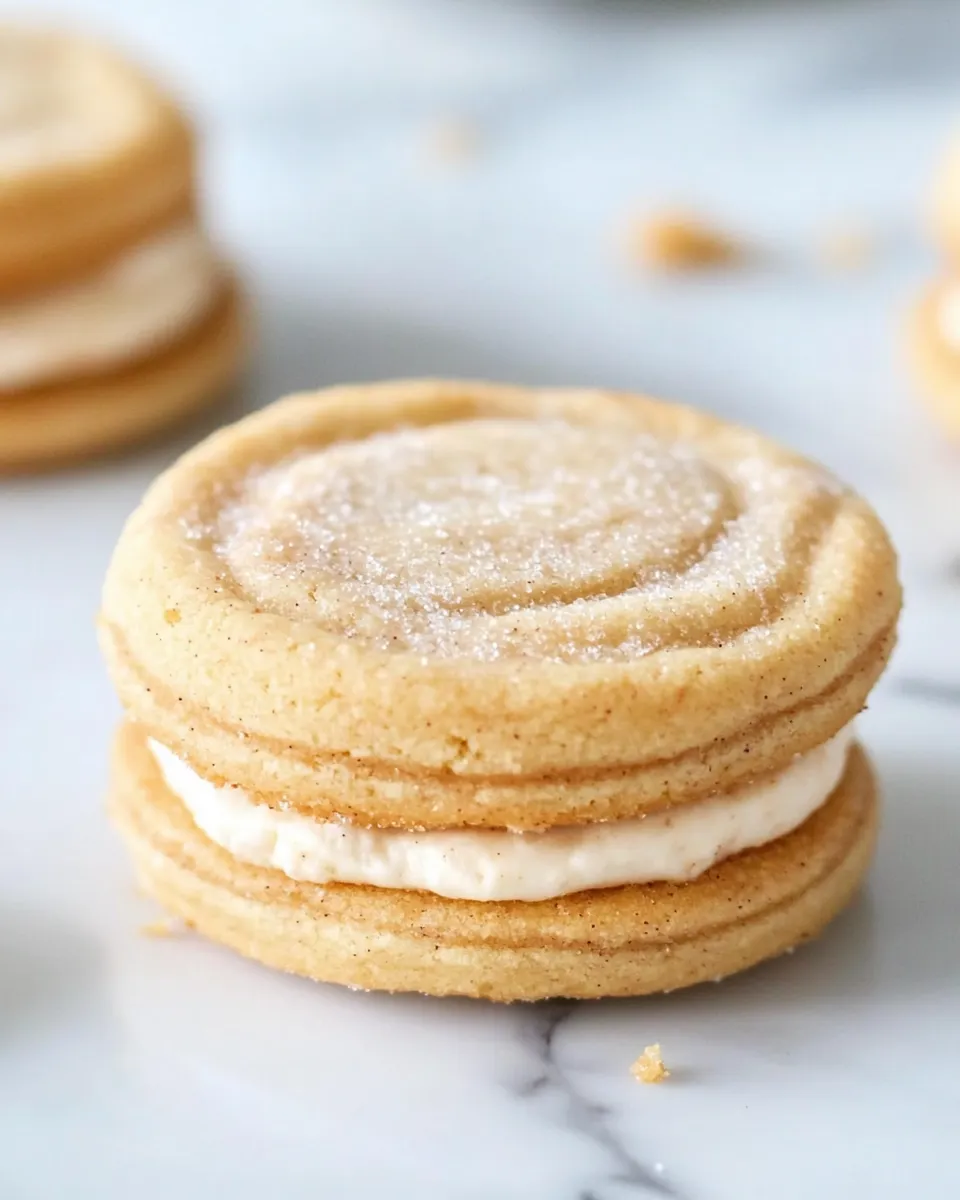
Step 10: Assemble the Sandwich Cookies
Once the cookies are completely cool, spread a generous amount of the marshmallow filling on the flat side of one cookie and top it with another cookie, pressing down gently to create a sandwich. Repeat with the remaining cookies and filling.
Seasonal Spins

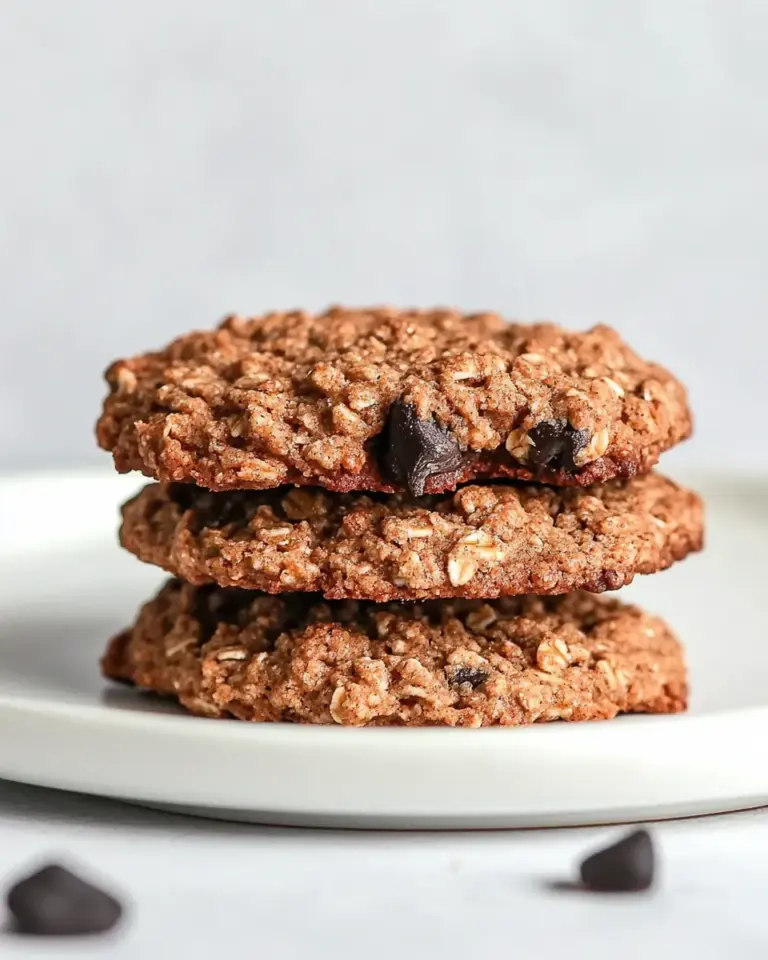
- Chocolate Chip Snickerdoodles: Add mini chocolate chips to the cookie dough for a delicious twist.
- Pumpkin Spice Variation: Incorporate pumpkin puree and spices for a fall-inspired treat.
- Nutty Addition: Mix in chopped nuts, such as pecans or walnuts, for added texture and flavor.
- Holiday Colors: Add festive sprinkles to the filling for a cheerful holiday treat.
Mistakes Even Pros Make
- Overmixing the Dough: This can lead to tough cookies. Mix just until combined.
- Not Measuring Flour Correctly: Scoop and level your flour to avoid dense cookies.
- Using Cold Butter: Ensure your butter is softened to room temperature for proper creaming.
- Skipping the Cooling Step: Allow cookies to cool completely before filling to prevent the filling from melting.
Storing, Freezing & Reheating
To store your Snickerdoodle Sandwich Cookies, keep them in an airtight container at room temperature for up to 3 days. If you want to keep them longer, you can freeze the assembled cookies. Just place them in a single layer in a freezer-safe container. They can be frozen for up to 2 months. When ready to enjoy, let them thaw at room temperature for about 30 minutes before serving.
Common Qs About Snickerdoodle Sandwich Cookies
Can I make these cookies gluten-free?
Yes, you can substitute the all-purpose flour with a gluten-free flour blend that measures 1:1. Be sure to check the blend for xanthan gum, which helps provide structure.
Can I use a different filling instead of marshmallow fluff?
Absolutely! You can fill these cookies with cream cheese frosting, buttercream, or even whipped cream for a different flavor profile.
What should I do if my cookies spread too much while baking?
If your cookies spread excessively, try chilling the dough for 30 minutes before baking. This helps the cookies keep their shape.
Can I double the recipe?
Yes, you can easily double the recipe if you want to make more Snickerdoodle Sandwich Cookies for a crowd. Just ensure you have enough baking sheets and space to cool them!
Time to Try It
Now that you have all the tips, tricks, and a detailed recipe at your fingertips, it’s time to roll up your sleeves and get baking! Snickerdoodle Sandwich Cookies promise to be a hit with everyone who tries them. With their soft texture, sweet filling, and delightful cinnamon flavor, these cookies are sure to become a go-to in your baking repertoire. Happy baking!
Snickerdoodle Sandwich Cookies
Ingredients
Equipment
Method
- Step 1: Preheat your oven to 350°F (175°C).
- Step 2: Line your baking sheets with parchment paper.
- Step 3: In a medium bowl, whisk together 2 ½ cups of flour, 2 teaspoons of cream of tartar, 1 teaspoon of baking soda, and ¾ teaspoon of salt. Set aside.
- Step 4: In a large mixing bowl, beat together 1 cup of softened butter and 1 ¾ cups of granulated sugar until light and fluffy, about 2-3 minutes.
- Step 5: Add the 2 large eggs, mixing well after each addition.
- Step 6: Gradually add the dry ingredients to the wet mixture, mixing until just combined.
- Step 7: In a small bowl, mix together 1 tablespoon of cinnamon and ¼ cup of granulated sugar. Roll the cookie dough balls in this mixture before placing them on the baking sheets.
- Step 8: Bake for 10-12 minutes until edges are set; let cool on baking sheets for a few minutes before transferring to cooling racks.
- Step 9: For the filling, beat together another cup of softened butter, 1 cup of powdered sugar, 1 teaspoon of vanilla extract, and ½ teaspoon of cinnamon until smooth. Fold in the marshmallow fluff.
- Step 10: Once cooled, spread the filling on the flat side of one cookie and top with another cookie.
Notes
- Store cookies in an airtight container at room temperature for up to 3 days.
- Freeze the assembled cookies for up to 2 months in a freezer-safe container.
- Let frozen cookies thaw at room temperature for about 30 minutes before serving.
- For a gluten-free option, use a 1:1 gluten-free flour blend.
- Feel free to customize the filling with cream cheese frosting or whipped cream.