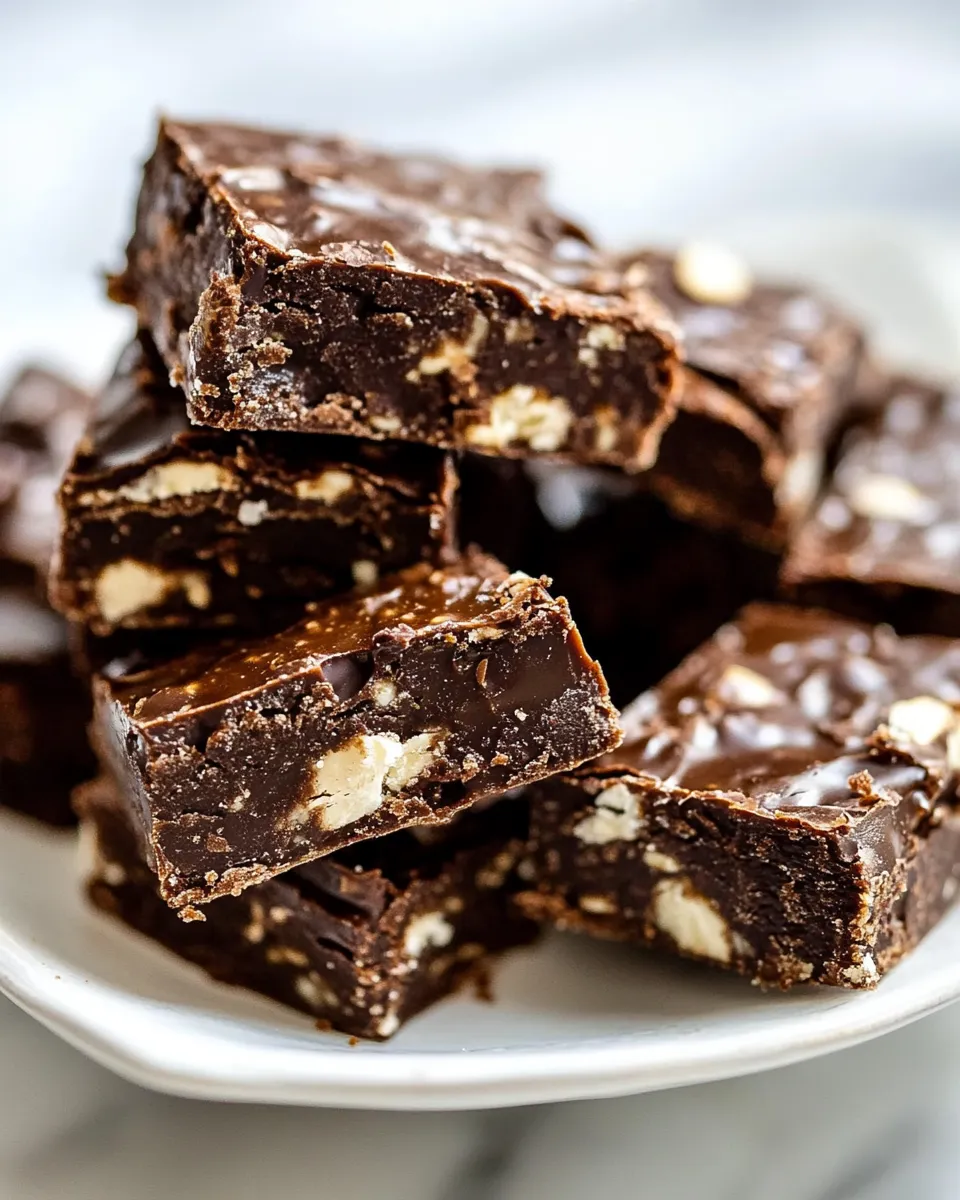
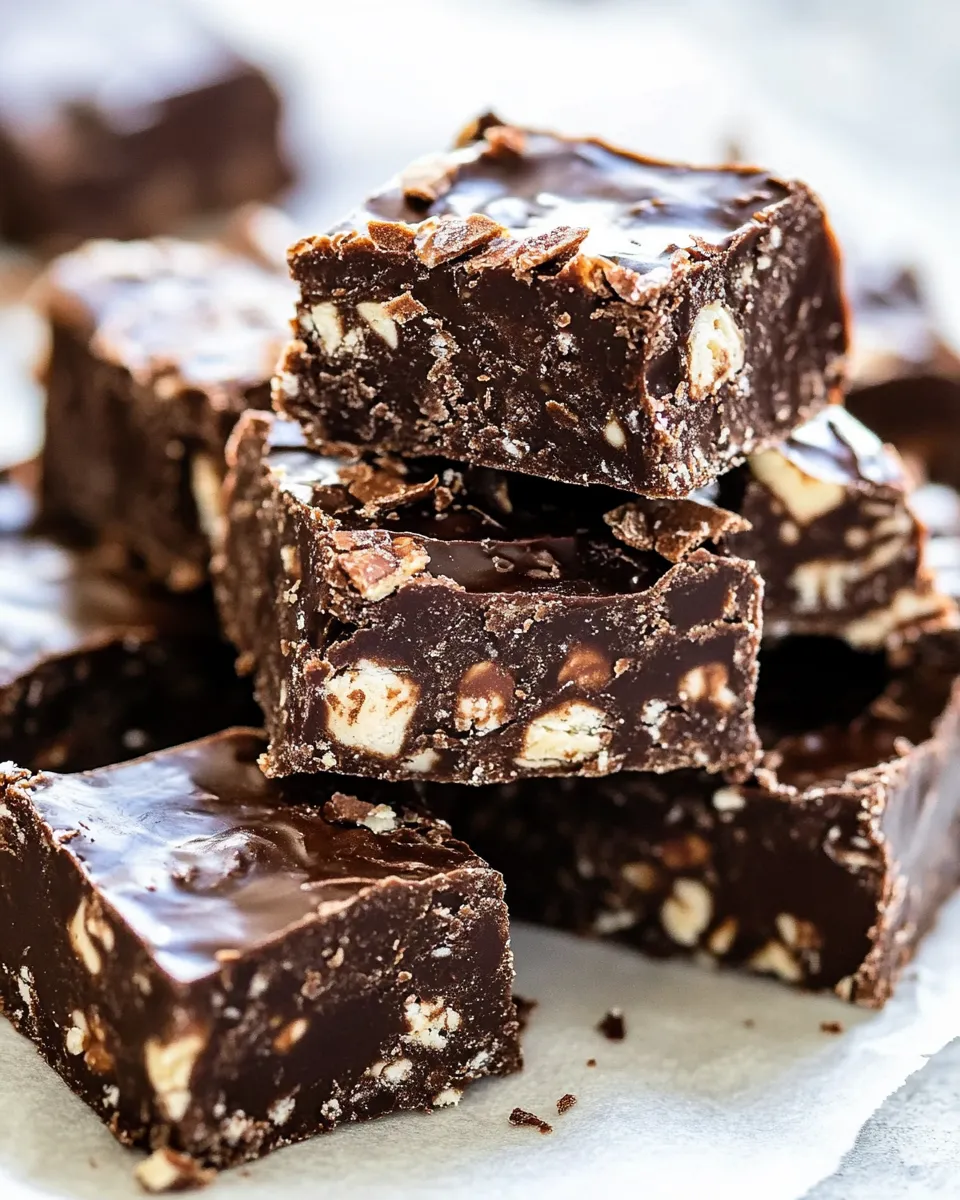
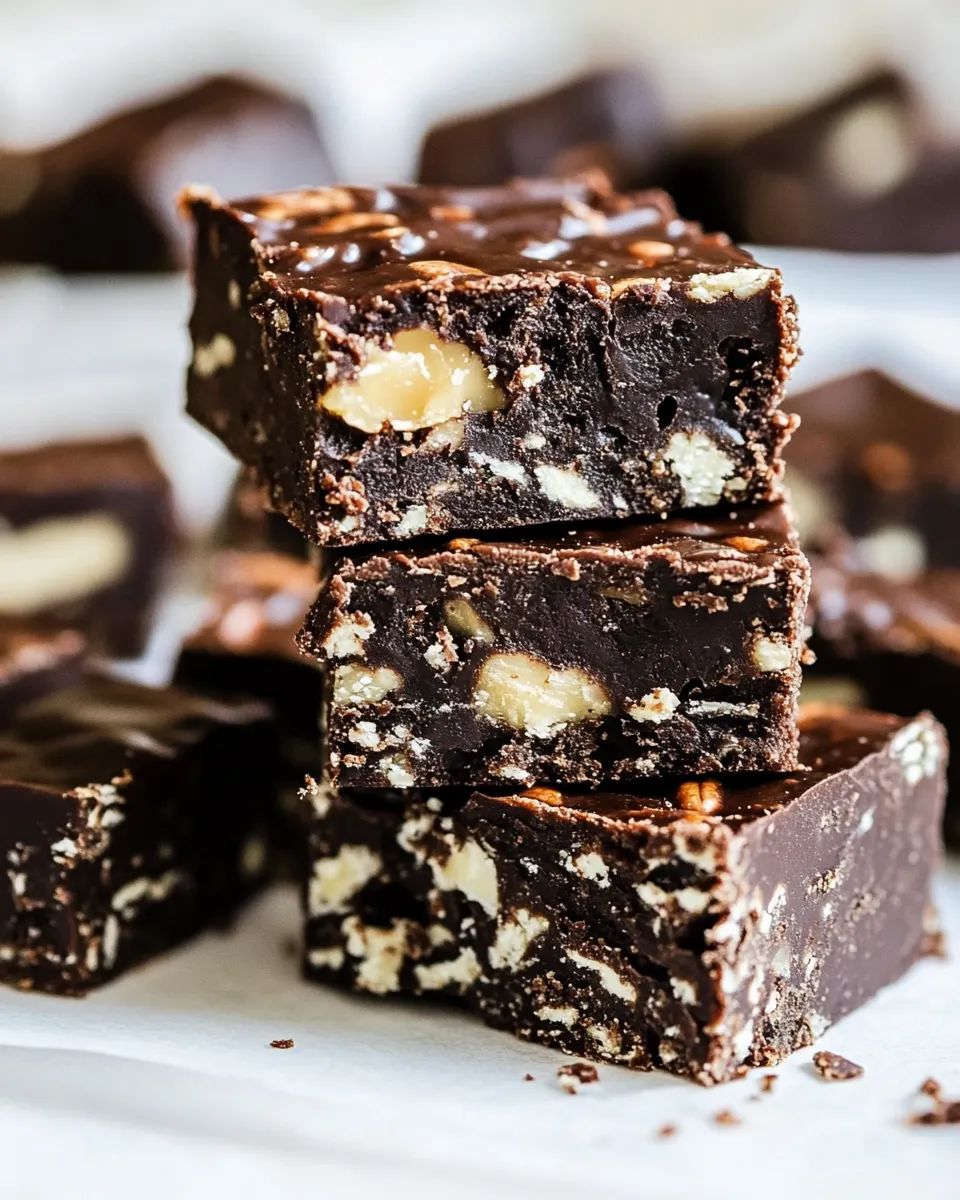
2 Minute Microwave Fudge
If you’ve ever craved a sweet, chocolatey treat but found yourself short on time, this 2 Minute Microwave Fudge is the answer to your prayers. In just two minutes, you can whip up a batch of rich, velvety fudge that’s perfect for satisfying your sweet tooth or impressing your friends. Whether you need a quick dessert for a gathering or a last-minute gift, this recipe is not only easy but incredibly delicious. Let’s dive into what makes this fudge a favorite among home bakers and chocolate lovers alike.
Why Cooks Rave About It
The beauty of this 2 Minute Microwave Fudge lies in its simplicity. With minimal ingredients and no complicated techniques, it’s a treat that anyone can make, regardless of their baking skills. The microwave does the heavy lifting, allowing you to enjoy homemade fudge without the fuss of traditional methods. It sets up quickly, and the result is a rich, creamy texture that melts in your mouth. Plus, it’s versatile—add your favorite nuts, swap out flavors, or even play with toppings. This fudge is guaranteed to become a staple in your dessert repertoire.
Ingredient Rundown
To make your own 2 Minute Microwave Fudge, gather the following ingredients:
- 1 pound powdered sugar: This creates the sweet base of your fudge, giving it that characteristic smooth texture.
- 1 cup cocoa powder: Cocoa powder provides the deep chocolate flavor that makes this fudge irresistible.
- 2 teaspoons salt: A pinch of salt enhances the chocolate’s flavor and balances the sweetness.
- 1 cup milk: Milk adds creaminess and helps everything come together into a luscious mixture.
- 1 teaspoon vanilla extract: Vanilla adds a lovely aroma and depth of flavor to the fudge.
- 1 cup butter: Butter gives richness and helps create the smooth texture.
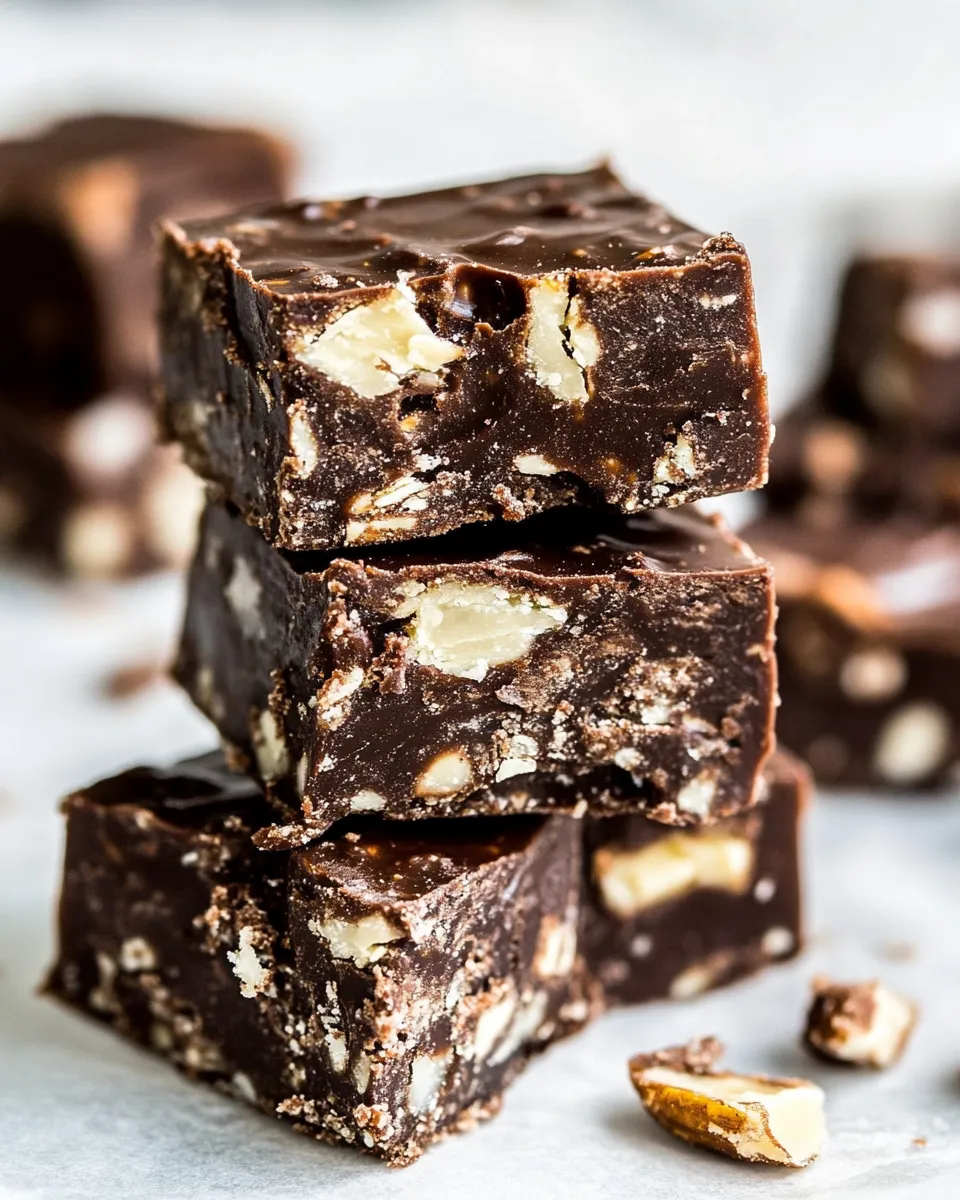
- 1 cup pecans (chopped): Nuts add a delightful crunch and nutty flavor; feel free to substitute with your favorite nuts.
- Sea salt (optional): A sprinkle of sea salt on top elevates the flavor and adds a gourmet touch.
What’s in the Gear List
Before you get started, you’ll need a few kitchen essentials:
- Microwave-safe bowl: Ensure it’s large enough to hold all your ingredients while allowing for some stirring room.
- Spatula: A rubber spatula will help you mix everything smoothly and scrape down the sides of the bowl.
- Measuring cups and spoons: Accurate measurements are key to creating the perfect fudge.
- 9×9 inch baking dish: This will be where your fudge sets up; line it with parchment paper for easy removal.
Cook 2 Minute Microwave Fudge Like This
Making your 2 Minute Microwave Fudge is a breeze! Follow these steps for a surefire success:
Step 1: Combine Dry Ingredients
In a large microwave-safe bowl, whisk together the powdered sugar, cocoa powder, and salt until well blended. This step ensures that there are no lumps in your fudge.
Step 2: Add Wet Ingredients
Next, pour in the milk, vanilla extract, and add the butter. Make sure the butter is cut into smaller pieces for easier melting.
Step 3: Microwave
Place the bowl in the microwave and heat on high for 1 minute. Remove and stir the mixture. It may not look fully melted yet, but that’s okay! Place it back in the microwave for an additional 30 seconds.
Step 4: Stir Until Smooth
Remove the bowl from the microwave and stir vigorously with your spatula. Continue stirring until the fudge is completely smooth and glossy.
Step 5: Fold in Pecans
Once the fudge is smooth, gently fold in the chopped pecans until they are evenly distributed throughout the mixture.
Step 6: Pour and Set
Pour the fudge mixture into your prepared baking dish, using the spatula to spread it into an even layer. If desired, sprinkle a little sea salt on top for that sweet and salty contrast.
Step 7: Chill and Cut
Refrigerate the fudge for at least 1 hour, or until it’s firm. Once set, cut into squares and enjoy your delicious creation!
In-Season Swaps
Don’t hesitate to customize your fudge with seasonal swaps or add-ins to keep things exciting:
- Walnuts or almonds: These work wonderfully instead of pecans for a different nutty flavor.
- Dried fruit: Try adding chopped dried cherries or cranberries for a tart contrast to the sweetness.
- Coconut flakes: Unsweetened coconut can add a tropical twist to your fudge.
- Mint extract: Swap out the vanilla for mint extract for a refreshing flavor change.
Troubles You Can Avoid
While making 2 Minute Microwave Fudge is straightforward, here are some common pitfalls to avoid:
- Overheating: Be careful not to overheat the mixture in the microwave. Stop heating as soon as it’s melted to prevent burning.
- Lumpy fudge: Whisking the dry ingredients thoroughly before adding wet ingredients can help avoid lumps.
- Not cooling enough: Ensure the fudge is fully chilled before cutting it to achieve clean edges.
Freezer-Friendly Notes
If you have leftovers (which is unlikely!), or want to make a batch in advance, here are some tips for freezing:
- Wrap tightly: Wrap the fudge in plastic wrap and then place it in an airtight container to prevent freezer burn.
- Freeze for up to 3 months: Your fudge will maintain its taste and texture in the freezer for up to three months.
- Thaw in the fridge: When ready to enjoy, simply transfer the fudge to the fridge for several hours to thaw slowly.
Ask & Learn
Can I make this fudge without nuts?
Absolutely! Just omit the nuts or substitute with your favorite ingredients; the fudge will still turn out delicious.
What can I use instead of butter?
You can substitute with a plant-based butter or coconut oil for a dairy-free version of the 2 Minute Microwave Fudge.
How can I make this fudge more chocolatey?
For an extra chocolate kick, consider adding chocolate chips into the mixture before microwaving or topping the fudge with melted chocolate drizzle.
Is there a way to make this fudge healthier?
For a healthier version, you can use a sugar substitute and dark cocoa powder. Just be mindful that texture and flavor may vary slightly.
Hungry for More?
If you love the ease of this 2 Minute Microwave Fudge, you’ll be thrilled to explore more quick and delicious dessert recipes. From no-bake cheesecakes to mug cakes, there’s a world of sweet treats waiting for you. Don’t forget to visit our blog for more mouthwatering ideas and tips to take your dessert game to the next level!
This 2 Minute Microwave Fudge is not just a quick fix—it’s a delightful indulgence that you can whip up any time the craving strikes. With its rich flavor and creamy texture, it’s sure to impress family and friends. So grab those ingredients and get ready to create a sweet masterpiece that’s as easy as it is delicious!
2 Minute Microwave Fudge
Ingredients
Equipment
Method
- In a large microwave-safe bowl, whisk together the powdered sugar, cocoa powder, and salt until well blended.
- Pour in the milk, vanilla extract, and add the butter.
- Place the bowl in the microwave and heat on high for 1 minute. Remove and stir the mixture. Microwave for an additional 30 seconds.
- Stir vigorously until the fudge is completely smooth and glossy.
- Gently fold in the chopped pecans until evenly distributed.
- Pour the fudge mixture into your prepared baking dish, spreading it into an even layer.
- Refrigerate for at least 1 hour, or until it’s firm. Once set, cut into squares and enjoy!
Notes
- Wrap tightly in plastic wrap for storage.
- Freeze for up to 3 months for later enjoyment.
- Customize with different nuts or add-ins for variety.