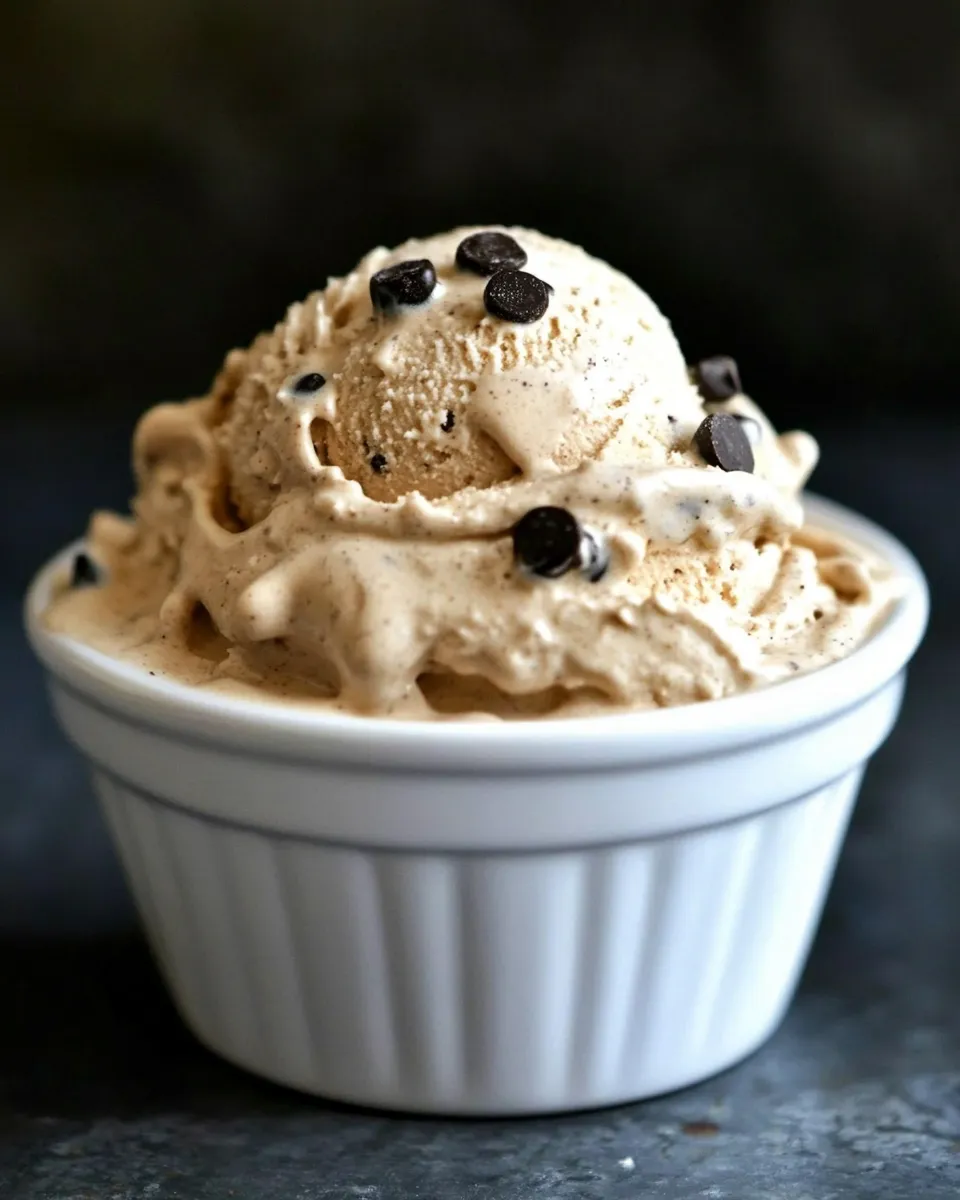
Coffee Chip Ice Cream Recipe
If you’re on the hunt for a homemade treat that combines the rich allure of coffee with the satisfying crunch of chocolate, look no further than this Coffee Chip Ice Cream Recipe. Creamy, decadent, and delightfully easy to whip up, this ice cream is perfect for warm afternoons or as a sweet finish to any meal. With just a handful of ingredients, you can create a dessert that rivals any gourmet ice cream shop. So grab your ice cream maker and let’s dive into this delightful recipe!
Why It’s Crowd-Pleasing

There are few desserts that can evoke the same joy as a scoop of homemade ice cream, and this Coffee Chip Ice Cream Recipe takes the classic treat to a whole new level. The combination of velvety cream, aromatic coffee, and rich chocolate creates a flavor profile that will please both coffee lovers and chocolate enthusiasts alike. Whether you serve it at a summer barbecue or a cozy family dinner, this ice cream is sure to be a hit. Plus, it’s a fantastic way to impress your friends with your baking prowess!
The Ingredient Lineup
To make this delicious Coffee Chip Ice Cream Recipe, you’ll need the following ingredients:
- 2 cups (454g) whole milk – This is the base of your ice cream, providing creaminess and richness.
- 1 cup (238g) whipping cream – Adds a luxurious texture that makes the ice cream incredibly smooth.
- 4 ounces (113g) cream cheese – This ingredient adds a slight tang and enhances the creaminess.
- 3 teaspoons (7g) instant espresso – For that deep, bold coffee flavor that coffee lovers crave.
- 1 tablespoon (5g) unsweetened cocoa powder – Adds depth and a hint of chocolate flavor.
- 1 1/2 cups (297g) granulated sugar – Sweetens the mixture perfectly.
- Pinch (0.4g) kosher salt – Balances the sweetness and enhances the flavors.
- 1 teaspoon (5g) vanilla extract – A classic flavor enhancer that complements the coffee.
- 1/2 cup (87g) dark chocolate espresso bits, or chocolate chips – For that delightful chocolate crunch in every bite.
Recommended Tools
Before you start, make sure you have the following tools on hand:
- Ice Cream Maker – Essential for churning the mixture into creamy perfection.
- Mixing Bowls – You’ll need a large bowl for mixing your ingredients.
- Whisk – For blending the ingredients smoothly.
- Measuring Cups and Spoons – Accurate measurements are key to a successful ice cream.
- Spoon or Spatula – For transferring the mixture to the ice cream maker.
Coffee Chip Ice Cream Recipe — Do This Next
Now that you have your ingredients and tools ready, let’s get started on this delightful Coffee Chip Ice Cream Recipe!
Step 1: Prepare the Base
In a large mixing bowl, combine the whole milk, whipping cream, and cream cheese. Using a whisk, blend the ingredients until the cream cheese is fully incorporated and the mixture is smooth.
Step 2: Add the Flavorings
Next, add the instant espresso and unsweetened cocoa powder to the mixture. Whisk until fully dissolved, ensuring that there are no lumps.
Step 3: Sweeten It Up
Gradually add the granulated sugar and a pinch of kosher salt to the mixture. Continue whisking until the sugar is completely dissolved. This may take a minute or two, but it’s crucial for a smooth ice cream.
Step 4: Add Vanilla
Stir in the vanilla extract to infuse the mixture with a warm, aromatic flavor that will complement the coffee beautifully.
Step 5: Chill the Mixture
Cover the bowl with plastic wrap and place it in the refrigerator for at least 2 hours, or overnight if you have the time. Chilling the mixture allows the flavors to meld and enhances the overall taste of your ice cream.
Step 6: Churn the Ice Cream
Once the mixture is thoroughly chilled, pour it into your ice cream maker. Follow the manufacturer’s instructions for churning. This process usually takes about 20-25 minutes, but keep an eye on it until it reaches a soft-serve consistency.
Step 7: Add Chocolate Bits
In the last few minutes of churning, add the dark chocolate espresso bits or chocolate chips to the ice cream. This will distribute the chocolate evenly throughout the mixture.
Step 8: Freeze
Transfer the churned ice cream to an airtight container and smooth the top with a spatula. Freeze for at least 4 hours, or until firm. This step is crucial for achieving the perfect scoopability.
Dietary Swaps & Alternatives
If you have dietary restrictions or simply want to try something different, consider these substitutes:
- Milk Alternatives: Use almond milk or oat milk for a dairy-free version.
- Cream Alternatives: Coconut cream can replace whipping cream for a dairy-free option.
- Sweeteners: Swap granulated sugar with coconut sugar or agave syrup for a different sweetening option.
- Flavor Variations: Experiment with flavored extracts like hazelnut or chocolate for a unique twist.
Mistakes Even Pros Make
Even experienced bakers can run into a few common pitfalls when making ice cream:
- Skipping the Chill: Not chilling the base before churning can lead to a less creamy texture.
- Overchurning: Churning for too long can cause the ice cream to become grainy, rather than smooth and creamy.
- Not Adding Enough Flavor: Espresso and cocoa powder may seem small, but they pack a punch. Don’t skimp on these key ingredients.
- Serving Too Soon: Patience is key! Allowing the ice cream to firm up in the freezer ensures the best texture when serving.
Save for Later: Storage Tips
To keep your Coffee Chip Ice Cream fresh and delicious, consider these storage tips:
- Use an Airtight Container: This prevents ice crystals from forming and helps maintain texture.
- Cover with Plastic Wrap: Press plastic wrap against the surface of the ice cream before sealing the container to reduce air exposure.
- Store in the Back of the Freezer: This keeps the ice cream at a consistent temperature, preventing it from melting and refreezing.
- Consume Within Two Weeks: For the best flavor and texture, enjoy your homemade ice cream within two weeks of making it.
Handy Q&A
Can I make this ice cream without an ice cream maker?
Yes! If you don’t have an ice cream maker, pour the mixture into a shallow dish and freeze it. Stir every 30 minutes for the first few hours to break up ice crystals until it is firm.
What can I use instead of instant espresso?
If you don’t have instant espresso, you can use finely ground coffee or brewed espresso, but keep in mind this may change the consistency of the ice cream slightly.
How do I know when my ice cream is done churning?
Your ice cream is ready when it reaches a soft-serve consistency, and you can create peaks with a spoon. It should be thick but still pourable when you first take it out of the ice cream maker.
Can I add other mix-ins?
Absolutely! Feel free to add nuts, toffee bits, or even crushed cookies for additional texture and flavor. Just be sure not to overload the mixture.
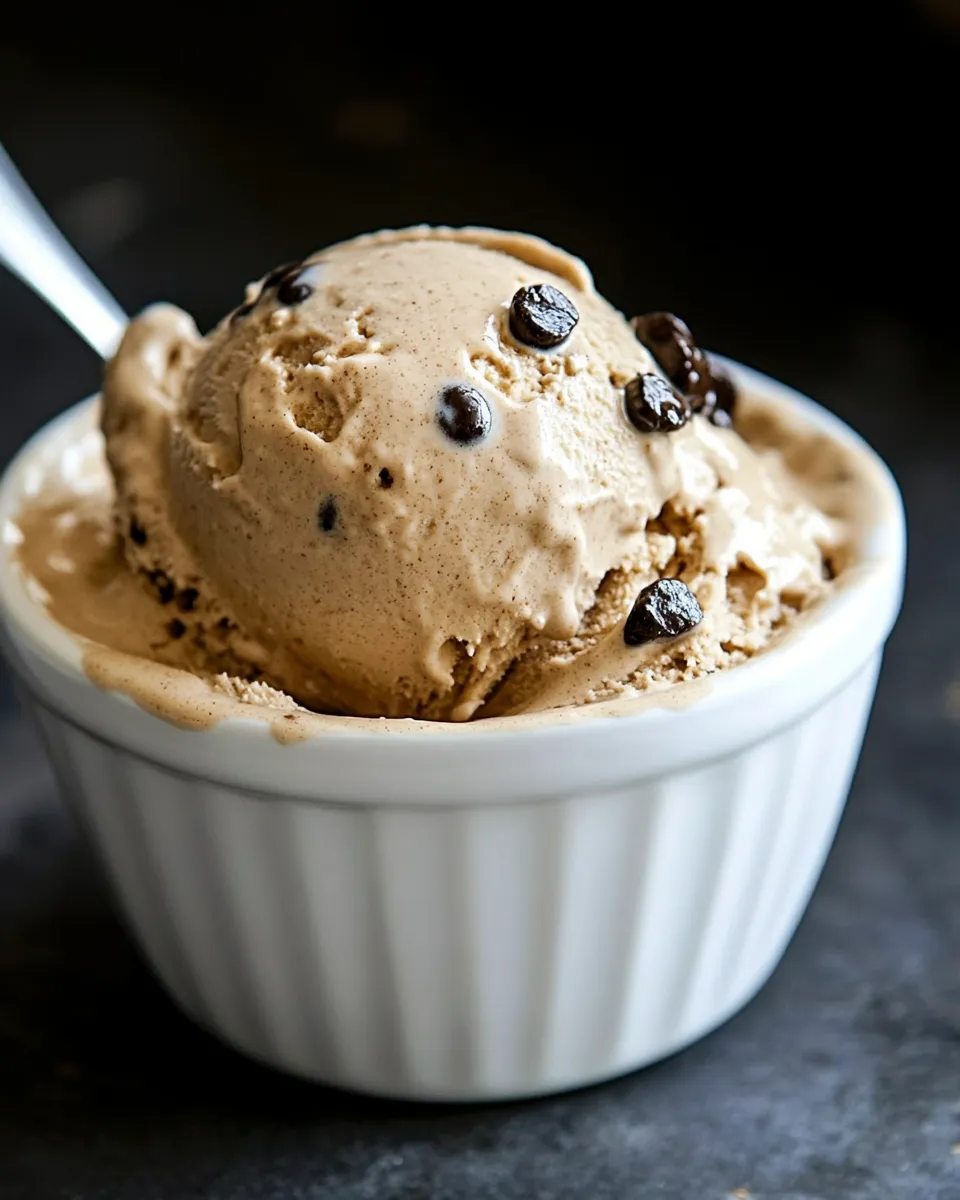
Let’s Eat
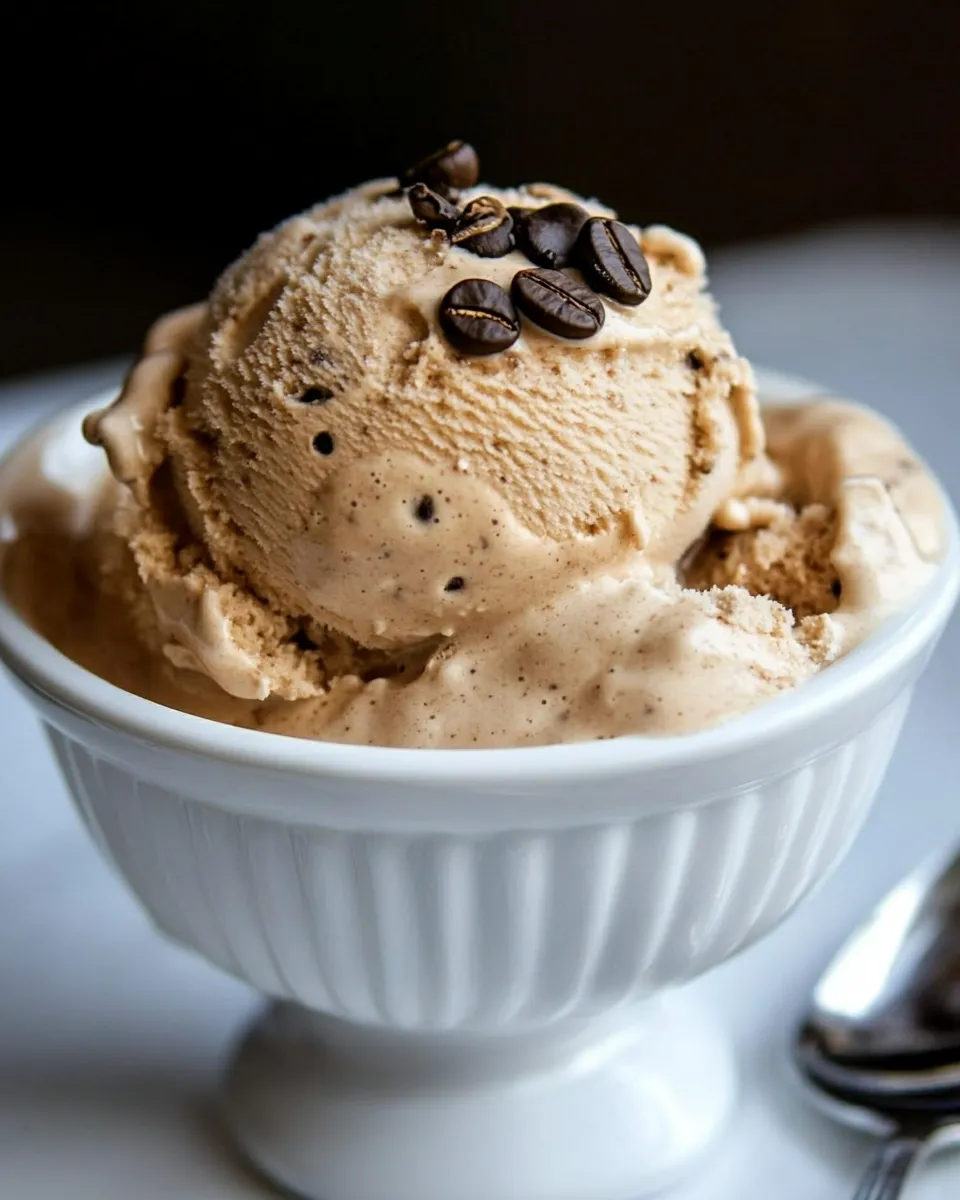
Once your Coffee Chip Ice Cream has set and is ready to scoop, serve it in bowls or cones, topped with extra chocolate bits or a drizzle of chocolate sauce for an indulgent treat. Each bite will be a delightful combination of creamy coffee and rich chocolate—a true dessert lover’s dream!
So, what are you waiting for? Dive into this Coffee Chip Ice Cream Recipe and enjoy the satisfaction of making a treat that’s not only delicious but also made with love. Your friends and family will adore every scoop, and who knows, you might just become their favorite ice cream maker!
Coffee Chip Ice Cream Recipe
Ingredients
Equipment
Method
- In a large mixing bowl, combine the whole milk, whipping cream, and cream cheese. Whisk until smooth.
- Add the instant espresso and unsweetened cocoa powder. Whisk until fully dissolved.
- Gradually add the granulated sugar and kosher salt. Continue whisking until dissolved.
- Stir in the vanilla extract.
- Cover and chill the mixture for at least 2 hours.
- Pour the mixture into your ice cream maker and churn until soft-serve consistency.
- Add the chocolate bits in the last few minutes of churning.
- Transfer to an airtight container and freeze for at least 4 hours.
Notes
- Use an airtight container to prevent ice crystals.
- Cover with plastic wrap before sealing to reduce air exposure.
- Store in the back of the freezer for consistent temperature.