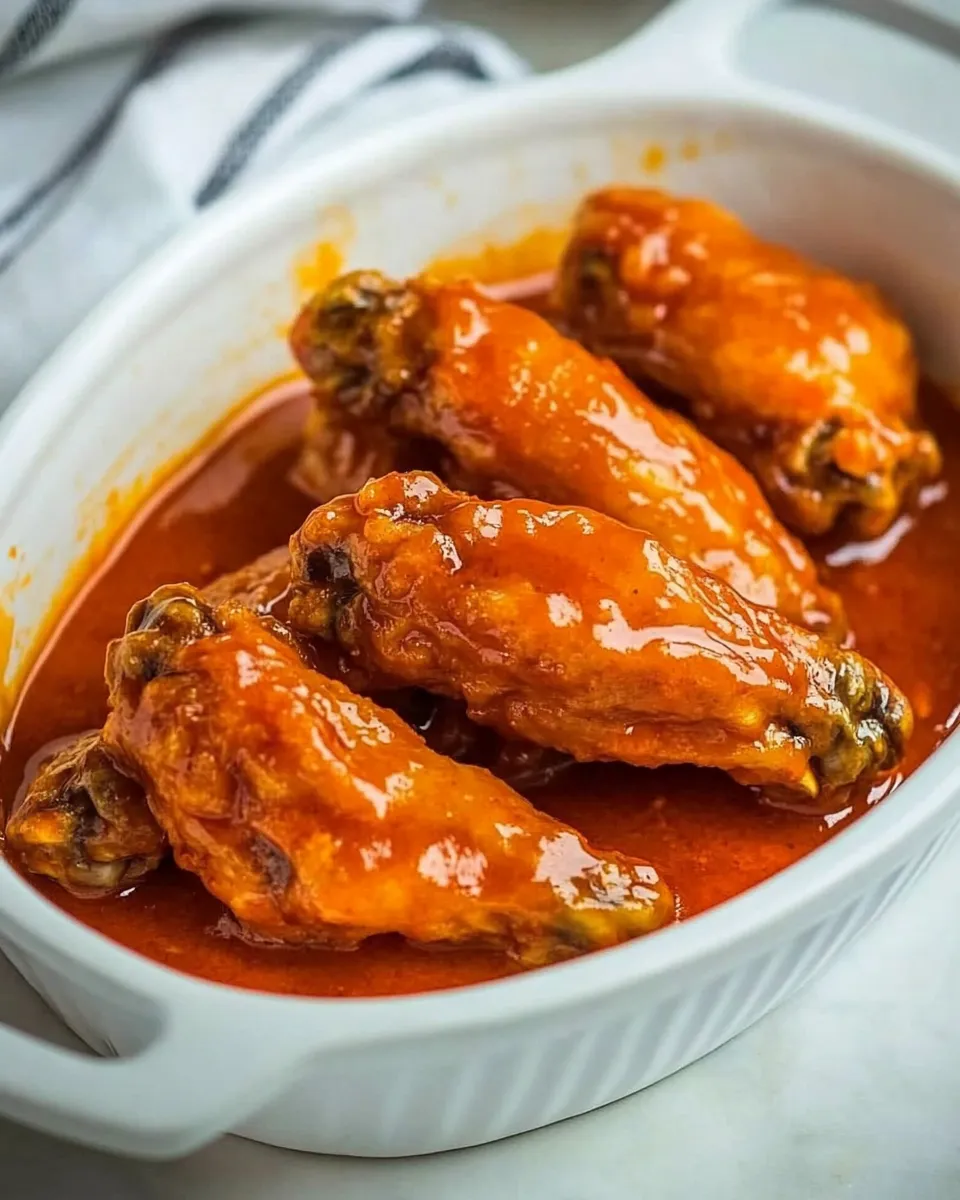
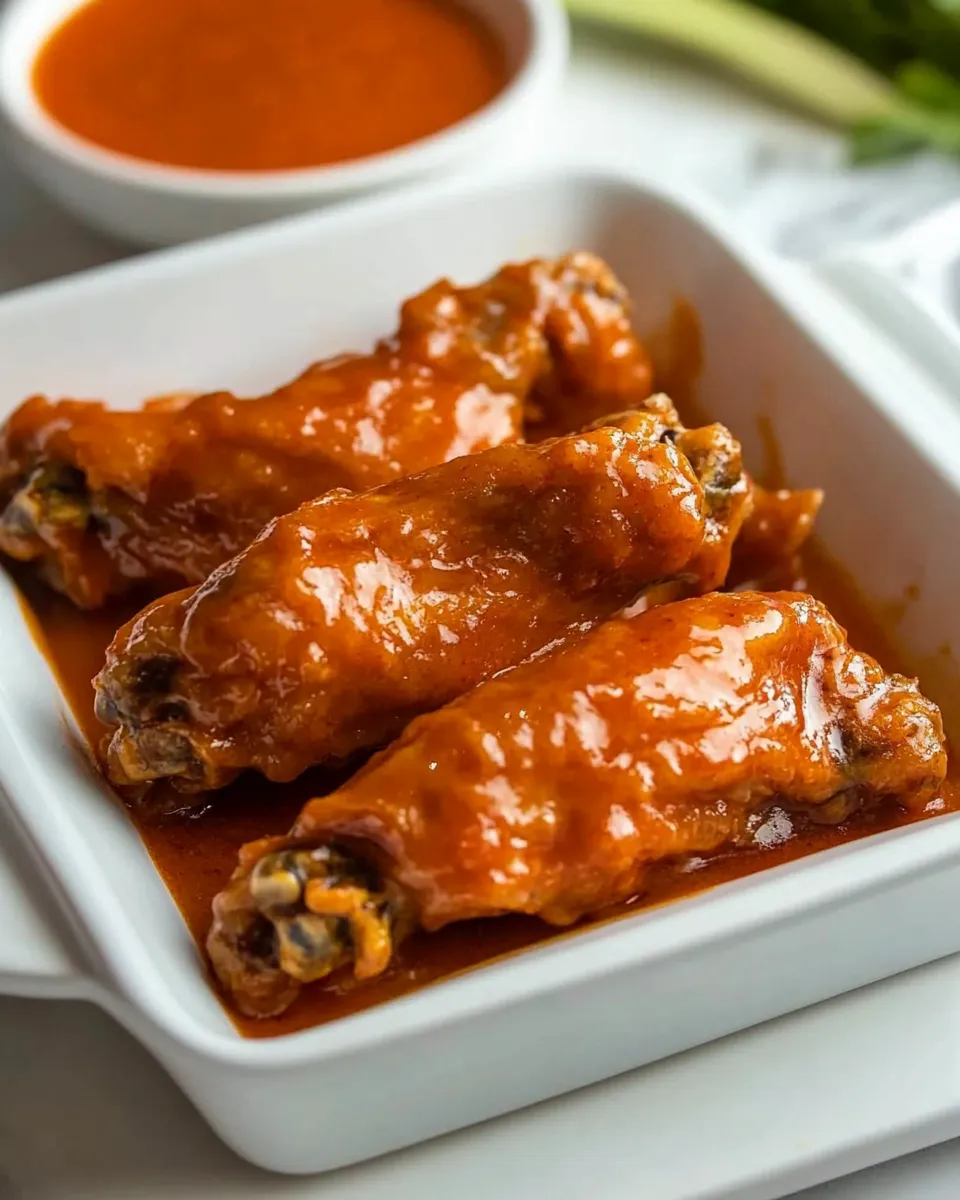
Fried Buffalo Wings Recipe
Fried Buffalo Wings are the ultimate game-day snack, party appetizer, or a delicious indulgence for any occasion. With a crispy coating and that perfect blend of spicy and tangy flavors, they’re sure to be a hit with family and friends. This recipe brings together simple ingredients to create mouthwatering wings that are easy to prepare and even easier to devour. Let’s get started on this flavorful journey!
Why It’s Crowd-Pleasing
There’s something undeniably appealing about Fried Buffalo Wings. The crispy texture combined with the spicy sauce creates a flavor explosion that satisfies cravings and brings everyone together. Whether served with a side of creamy ranch or blue cheese dressing, these wings are perfect for sharing—making them an ideal choice for parties, game nights, or casual gatherings. Plus, they’re versatile! You can adjust the heat level to suit your taste, ensuring everyone can enjoy them.
Shopping List
To whip up these delicious Fried Buffalo Wings, here are the ingredients you’ll need:
- 1 cup gluten-free flour – For a crispy coating.
- 1 tablespoon ground paprika – Adds smokiness and color.
- 1 teaspoon ground cayenne pepper – Adjust according to your spice preference.
- 1 teaspoon garlic powder – For that savory depth of flavor.
- Kosher salt and freshly ground black pepper – To taste.
- 3 pounds chicken wingettes or chicken wings – Make sure the joints are removed.
- Vegetable oil – For frying.
- ½ cup salted butter (1 stick) – For the sauce.
- 1 cup Buffalo sauce – Store-bought or homemade.
- 3 tablespoons honey – To balance the heat.
Must-Have Equipment
Before you begin your culinary adventure, make sure you have the following equipment:
- Deep fryer or large heavy-bottomed pot – Essential for frying the wings evenly.
- Cooking thermometer – To ensure the oil is at the right temperature.
- Mixing bowls – For mixing the flour and spices.
- Tongs – For flipping wings in the fryer.
- Paper towels – For draining excess oil.
Fried Buffalo Wings Recipe: From Prep to Plate
Now, let’s dive into the step-by-step process of making Fried Buffalo Wings that will have everyone begging for more.
Step 1: Prepare the Chicken Wings
Begin by ensuring your chicken wings are cleaned and dried thoroughly with paper towels. This step is crucial for achieving that crispy texture. If you’re using whole wings, cut them at the joints to create wingettes.
Step 2: Make the Coating
In a large mixing bowl, combine the gluten-free flour, ground paprika, cayenne pepper, garlic powder, kosher salt, and freshly ground black pepper. Mix well to ensure the spices are evenly distributed throughout the flour.
Step 3: Dredge the Wings
Take each wing and coat it generously in the flour mixture. Shake off any excess flour and place the coated wings on a baking sheet. This step will help create that crispy exterior when fried.
Step 4: Heat the Oil
In your deep fryer or heavy-bottomed pot, pour in enough vegetable oil to submerge the wings (about 3-4 inches deep). Heat the oil to 350°F (175°C). Use a cooking thermometer to ensure the oil reaches the right temperature for frying.
Step 5: Fry the Wings
Carefully add the coated wings to the hot oil in batches, ensuring not to overcrowd the pot. Fry them for about 8-10 minutes or until they are golden brown and crispy. Use tongs to turn them occasionally for even cooking.
Step 6: Prepare the Buffalo Sauce
While the wings are frying, melt the salted butter in a saucepan over low heat. Once melted, remove it from the heat and stir in the Buffalo sauce and honey until well combined. This sauce will add a sweet and spicy kick to your wings.
Step 7: Toss and Serve
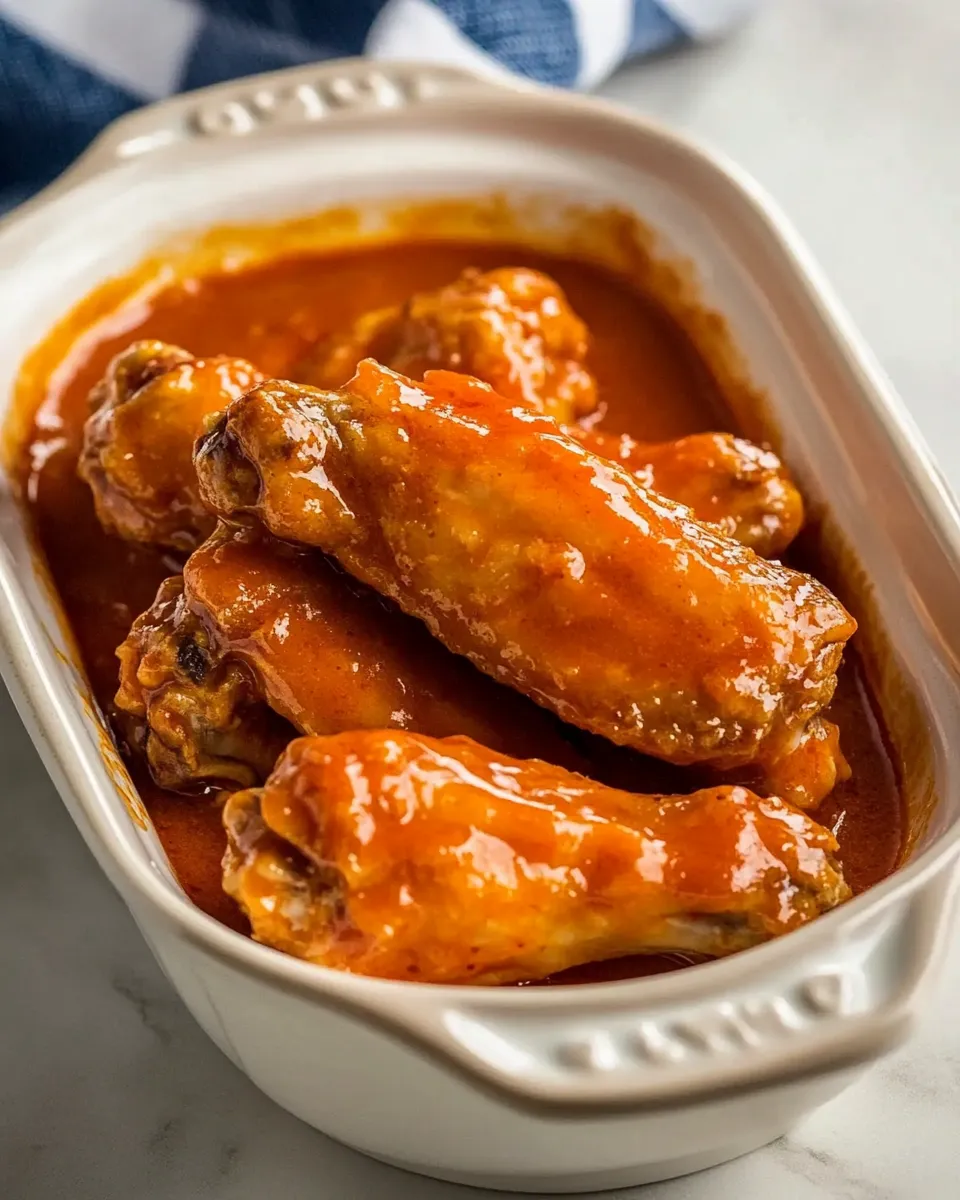
Once the wings are done frying, remove them from the oil and place them on a paper towel-lined plate to drain excess oil. In a large mixing bowl, toss the hot wings in the prepared Buffalo sauce until evenly coated.
Serve the wings immediately with your favorite dipping sauces and enjoy the crispy, flavorful goodness!
Adaptations for Special Diets
If you’re looking to customize this Fried Buffalo Wings Recipe for different dietary preferences or restrictions, consider these adaptations:
- Gluten-Free: Use gluten-free flour as listed in the recipe.
- Spicy Level: Reduce or omit the cayenne pepper if you prefer milder wings.
- Butter-Free: Substitute with a vegan butter alternative for a dairy-free version.
- Honey-Free: Use agave syrup or maple syrup for a vegan-friendly option.
Insider Tips
- Make sure your wings are completely dry before coating them. This helps the flour adhere better and results in a crispier finish.
- For extra crunch, you can double-dip the wings: coat them in the flour mixture, dip them in water or egg, and then coat them again in the flour.
- Keep the fried wings warm in a 200°F (93°C) oven while you finish frying the rest.
- Experiment with different flavors of Buffalo sauce or mix in some ranch seasoning for a unique twist.
Save It for Later
If you find yourself with leftover Fried Buffalo Wings, don’t worry! They can be stored in an airtight container in the refrigerator for up to 3 days. To reheat, place them in an oven at 350°F (175°C) for about 10-15 minutes to restore their crispiness. Alternatively, you can microwave them, but they may not be as crispy.
For meal prep, consider making a large batch of wings and freezing them. Place the cooked wings in a single layer on a baking sheet, freeze until solid, and then transfer to a freezer bag. When ready to enjoy, simply reheat in the oven until heated through.
FAQ
Can I use frozen chicken wings for this recipe?
Yes, you can use frozen chicken wings! Just be sure to thaw them completely and pat them dry before coating and frying.
What can I serve with Fried Buffalo Wings?
Fried Buffalo Wings pair wonderfully with celery sticks, carrot sticks, and dipping sauces like ranch or blue cheese dressing.
How can I make these wings less spicy?
To reduce the spice level, you can decrease the amount of cayenne pepper or opt for a milder Buffalo sauce.
Can I bake these wings instead of frying them?
Yes, you can bake them! Preheat your oven to 425°F (220°C), place the coated wings on a baking sheet, and bake for about 40-45 minutes, flipping halfway through, until crispy.
Save & Share
If you loved this Fried Buffalo Wings Recipe, be sure to share it with your friends and family! These tasty bites are perfect for gatherings, and everyone will appreciate having this recipe in their back pocket. Snap a photo of your wings and tag us on social media—we’d love to see your delicious creations!
With this Fried Buffalo Wings Recipe, you’re not just making a dish; you’re creating memories around the table. Gather your loved ones, enjoy the flavors, and revel in the joy of good food. Happy cooking!
Fried Buffalo Wings Recipe
Ingredients
Equipment
Method
- Begin by ensuring your chicken wings are cleaned and dried thoroughly with paper towels. This step is crucial for achieving that crispy texture. If you’re using whole wings, cut them at the joints to create wingettes.
- In a large mixing bowl, combine the gluten-free flour, ground paprika, cayenne pepper, garlic powder, kosher salt, and freshly ground black pepper. Mix well to ensure the spices are evenly distributed throughout the flour.
- Take each wing and coat it generously in the flour mixture. Shake off any excess flour and place the coated wings on a baking sheet. This step will help create that crispy exterior when fried.
- In your deep fryer or heavy-bottomed pot, pour in enough vegetable oil to submerge the wings (about 3-4 inches deep). Heat the oil to 350°F (175°C). Use a cooking thermometer to ensure the oil reaches the right temperature for frying.
- Carefully add the coated wings to the hot oil in batches, ensuring not to overcrowd the pot. Fry them for about 8-10 minutes or until they are golden brown and crispy. Use tongs to turn them occasionally for even cooking.
- While the wings are frying, melt the salted butter in a saucepan over low heat. Once melted, remove it from the heat and stir in the Buffalo sauce and honey until well combined. This sauce will add a sweet and spicy kick to your wings.
- Once the wings are done frying, remove them from the oil and place them on a paper towel-lined plate to drain excess oil. In a large mixing bowl, toss the hot wings in the prepared Buffalo sauce until evenly coated.
- Serve the wings immediately with your favorite dipping sauces and enjoy the crispy, flavorful goodness!
Notes
- Make sure your wings are completely dry before coating them for a crispier finish.
- For extra crunch, double-dip the wings: coat them in the flour mixture, dip in water or egg, and coat again.
- Keep fried wings warm in a 200°F (93°C) oven while finishing the rest.
- Experiment with different flavors of Buffalo sauce or mix in ranch seasoning for a unique twist.