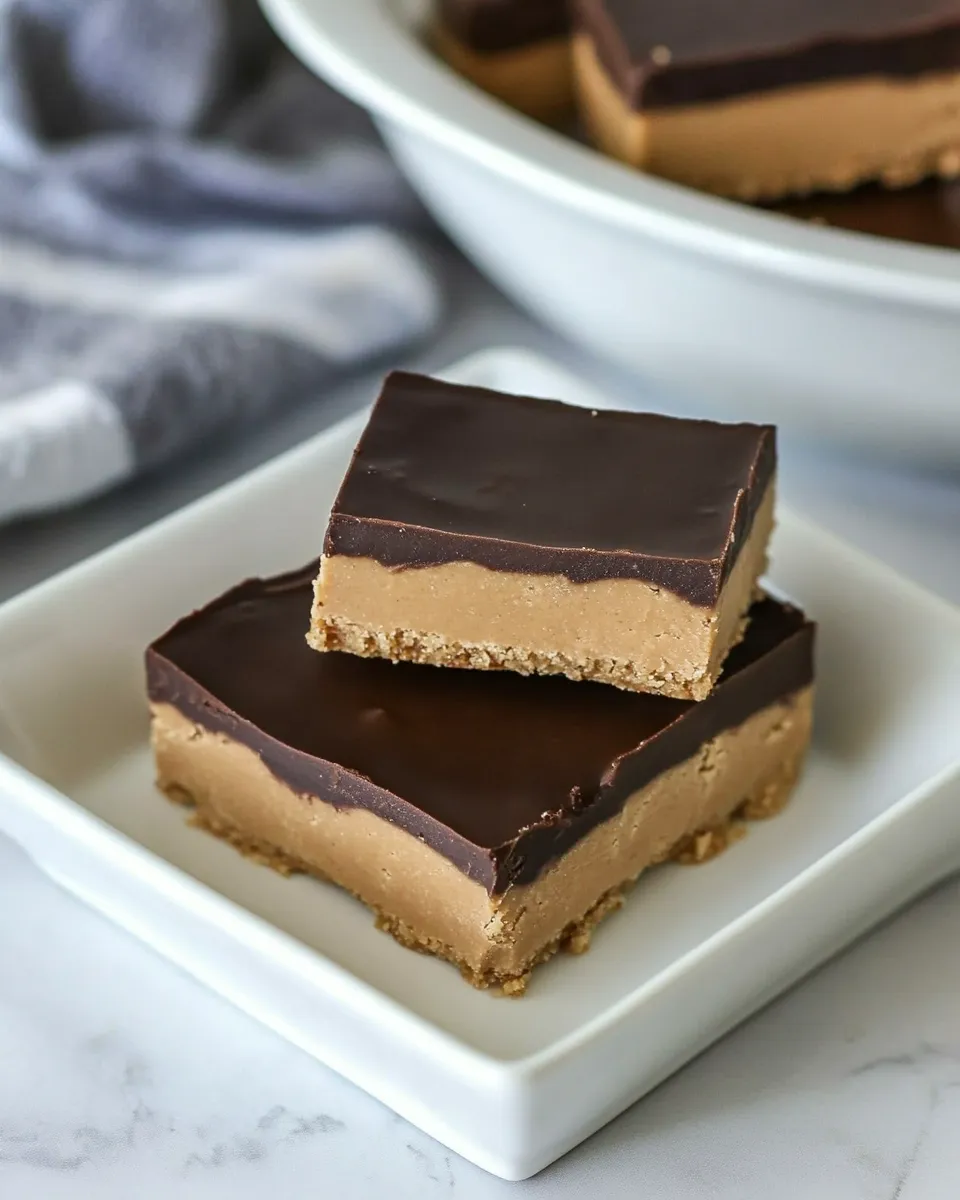
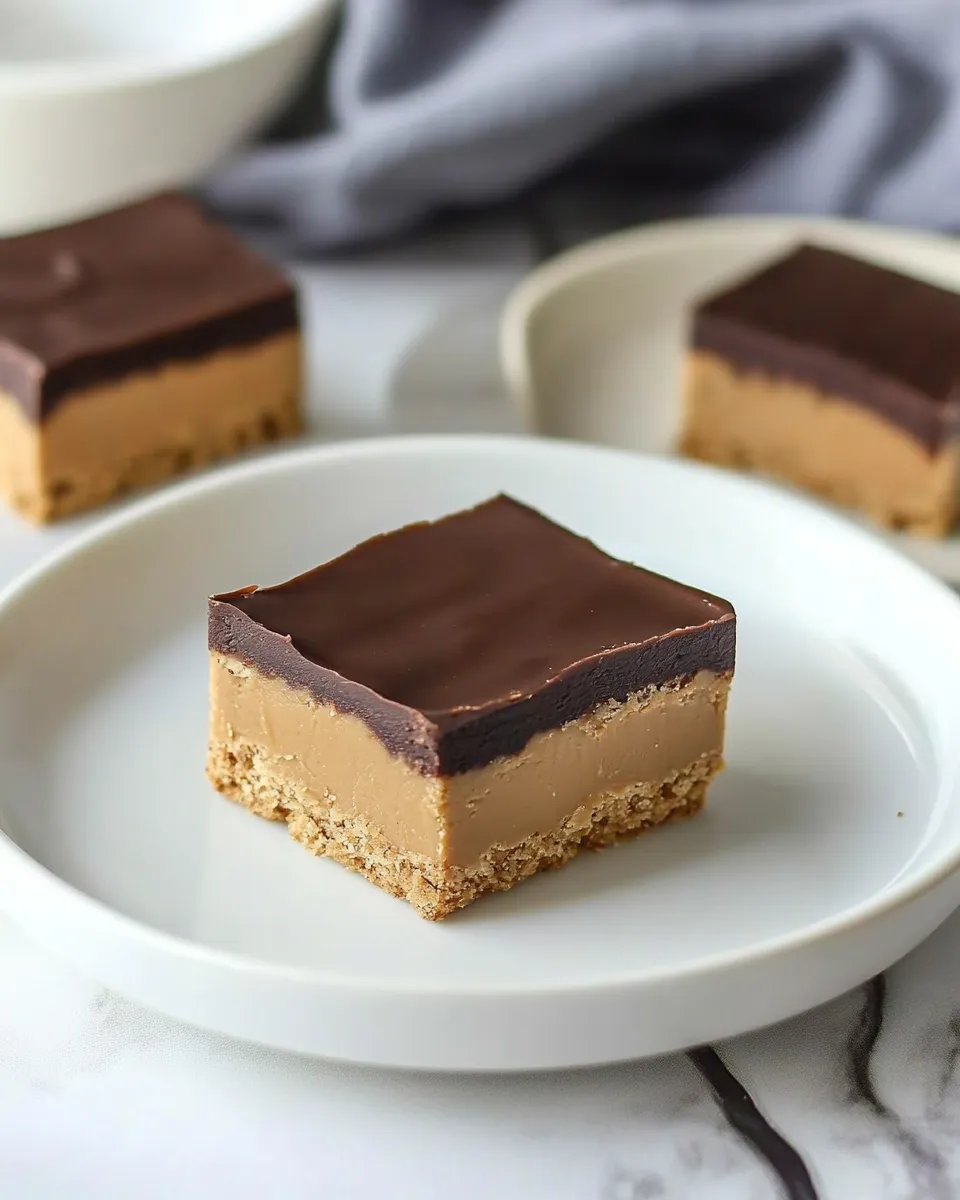
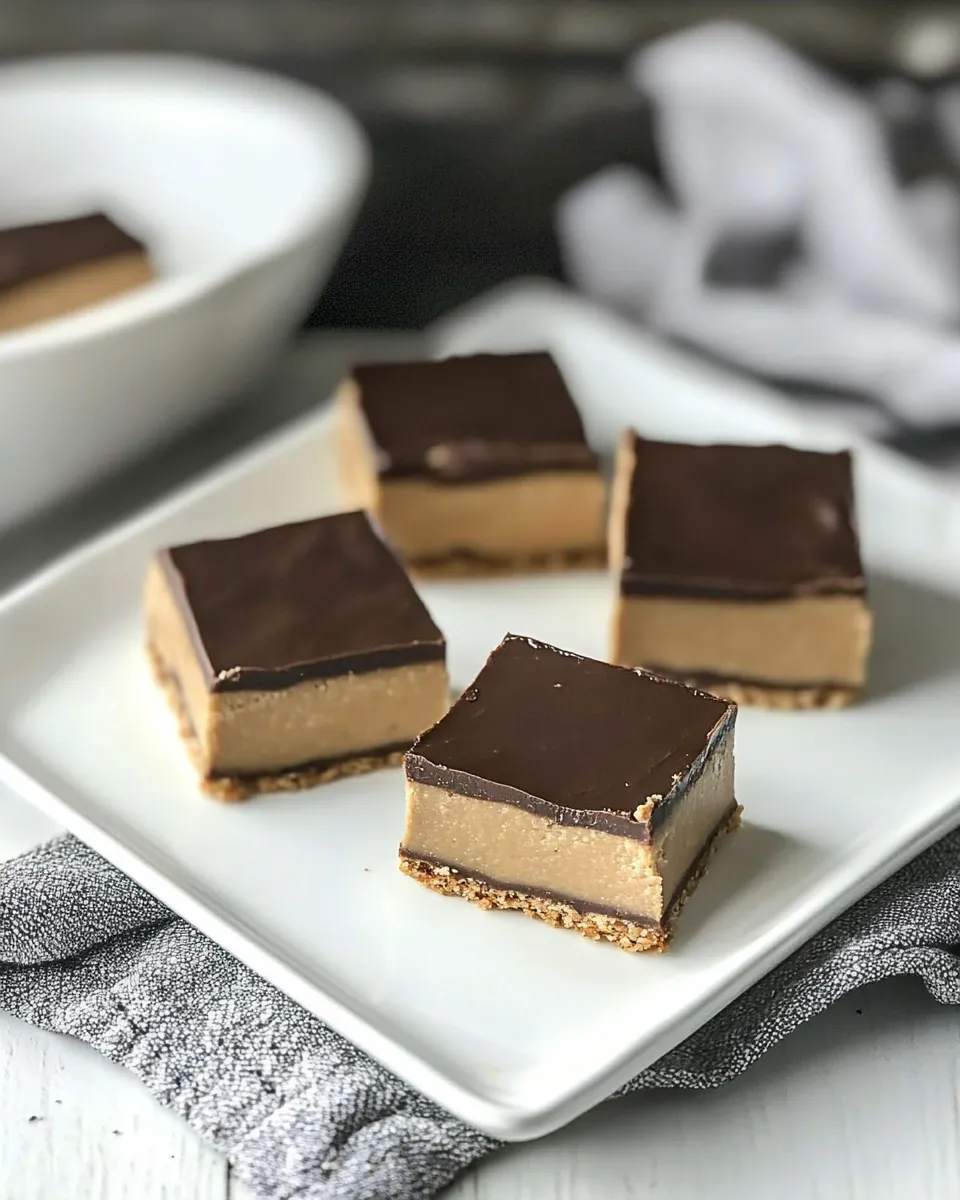
Better Than Reeses Peanut Butter Bars
Are you ready to embark on a sweet journey that will leave your taste buds dancing? If you are a fan of peanut butter and chocolate, then you are in for a real treat with these Better Than Reeses Peanut Butter Bars. These bars are rich, creamy, and oh-so-delicious, making them the perfect indulgence for any occasion. Trust me, once you try these, you might just forget all about the store-bought version. Let’s dive into why you need to whip these up in your kitchen today!
Top Reasons to Make Better Than Reeses Peanut Butter Bars
- Irresistible Flavor: The combination of smooth peanut butter and rich chocolate makes these bars a flavor explosion.
- Simple Ingredients: With just a handful of pantry staples, you can create a decadent treat without a fuss.
- No Baking Required: These bars come together quickly and don’t require an oven, making them a perfect last-minute dessert.
- Customizable: You can easily tweak the recipe with your favorite add-ins, such as nuts or different types of chocolate.
- Great for Sharing: Whether it’s a party, potluck, or just a treat for your family, these bars are sure to impress everyone.
Ingredient Breakdown
To make your Better Than Reeses Peanut Butter Bars, gather the following ingredients:
- 12 tablespoons butter, melted: This will give your bars a rich and creamy base.
- 2 cups graham cracker crumbs: These add a delightful crunch and sweetness to the bars.
- 2 cups powdered sugar: This helps to sweeten and bind the mixture together.
- 1 cup smooth peanut butter: Opt for a high-quality peanut butter for the best flavor and texture.
Kitchen Gear Checklist
Before you start creating your delicious bars, make sure you have the following kitchen tools on hand:
- 9×13-inch baking pan: This is the perfect size for your bars to set properly.
- Mixing bowls: You’ll need a few for combining your ingredients.
- Spatula: A spatula is essential for mixing and spreading your mixture evenly.
- Measuring cups and spoons: Accurate measurements are key to achieving the perfect texture.
- Plastic wrap: Use this to cover your bars as they chill in the fridge.
Better Than Reeses Peanut Butter Bars — Do This Next
Now that you have your ingredients and tools ready, let’s get started on making your Better Than Reeses Peanut Butter Bars.
Step 1: Prepare the Baking Pan
Begin by greasing your 9×13-inch baking pan or lining it with parchment paper. This will help your bars come out easily once they are set.
Step 2: Mix the Base
In a large mixing bowl, combine the melted butter, graham cracker crumbs, powdered sugar, and peanut butter. Stir until the mixture is well combined and smooth.
Step 3: Spread the Mixture
Pour the mixture into the prepared baking pan. Using a spatula, spread it evenly across the bottom of the pan, pressing down firmly to create a solid base.
Step 4: Chill the Bars
Cover the pan with plastic wrap and place it in the refrigerator. Let it chill for at least 30 minutes, or until firm.
Step 5: Add the Chocolate Topping (Optional)
If you want to take your bars to the next level, melt some chocolate (about 1-2 cups) and pour it over the chilled peanut butter layer. Spread it evenly and return the pan to the refrigerator until the chocolate sets.
Step 6: Cut and Serve
Once everything is set, remove the pan from the fridge. Use a sharp knife to cut the bars into squares or rectangles. Serve them chilled or at room temperature, and enjoy your homemade Better Than Reeses Peanut Butter Bars!
Make It Year-Round
These bars are perfect for any time of the year. Here are some suggestions to enjoy them throughout the seasons:
- Summer: Serve them at BBQs or picnics for a refreshing sweet treat.
- Fall: Add a sprinkle of cinnamon to the peanut butter mixture for a seasonal twist.
- Winter: Package them as gifts during the holidays for friends and family.
- Spring: Pair them with fresh fruit for a delightful dessert at brunch.
Don’t Do This
When making your Better Than Reeses Peanut Butter Bars, avoid the following common pitfalls:
- Don’t rush the chilling process; letting the bars set properly is crucial for a great texture.
- Avoid using crunchy peanut butter if you prefer a smooth consistency in your bars.
- Don’t skip the parchment paper lining; it makes removal from the pan much easier.
- Be careful not to overmix the base; mixing just until combined will yield the best results.
Store, Freeze & Reheat
To keep your Better Than Reeses Peanut Butter Bars fresh and delicious:
Store them in an airtight container in the refrigerator for up to a week. If you want to keep them longer, you can freeze them! Just wrap each square in plastic wrap and place them in a freezer-safe container. They can last for up to three months in the freezer. When you’re ready to enjoy, simply thaw them in the fridge or at room temperature for a short time. There’s no need to reheat as they are delicious chilled or at room temperature!
Common Qs About Better Than Reeses Peanut Butter Bars
Can I use natural peanut butter for this recipe?
Yes, you can use natural peanut butter! Just ensure that it’s well-stirred and creamy for the best texture.
Do I need to bake these bars?
No, these bars do not require baking! They set in the refrigerator, making them super easy to whip up.
Can I add chocolate chips to the peanut butter layer?
Absolutely! Adding chocolate chips can enhance the flavor and give a delightful texture to your bars.
What if I don’t have graham cracker crumbs?
You can substitute graham cracker crumbs with crushed digestive biscuits or vanilla wafer crumbs for a similar effect.
Before You Go
As you can see, making Better Than Reeses Peanut Butter Bars is not only easy but also immensely rewarding. With their rich, creamy texture and a perfect balance of sweetness, these bars are sure to become a favorite in your household. Whether you keep them to enjoy yourself or share with friends and family, they are bound to bring smiles and satisfied cravings. So, gather your ingredients, roll up your sleeves, and get ready to create something truly delicious!
These bars are a sweet reminder that some of the best treats can come from your own kitchen, and once you make them, you’ll wonder why you didn’t try them sooner. Happy baking!
Better Than Reeses Peanut Butter Bars
Ingredients
Equipment
Method
- Step 1: Prepare the Baking Pan - Grease your 9x13-inch baking pan or line it with parchment paper.
- Step 2: Mix the Base - In a large mixing bowl, combine the melted butter, graham cracker crumbs, powdered sugar, and peanut butter. Stir until well combined and smooth.
- Step 3: Spread the Mixture - Pour the mixture into the prepared baking pan. Spread it evenly across the bottom, pressing down firmly.
- Step 4: Chill the Bars - Cover the pan with plastic wrap and place it in the refrigerator. Let it chill for at least 30 minutes or until firm.
- Step 5: Add the Chocolate Topping (Optional) - Melt some chocolate and pour it over the chilled peanut butter layer. Spread evenly and return to the fridge until set.
- Step 6: Cut and Serve - Remove from the fridge, cut into squares or rectangles, and enjoy chilled or at room temperature.
Notes
- Store the bars in an airtight container in the refrigerator for up to a week.
- Freeze wrapped squares for up to three months for longer storage.
- Let frozen bars thaw in the fridge or at room temperature before serving.