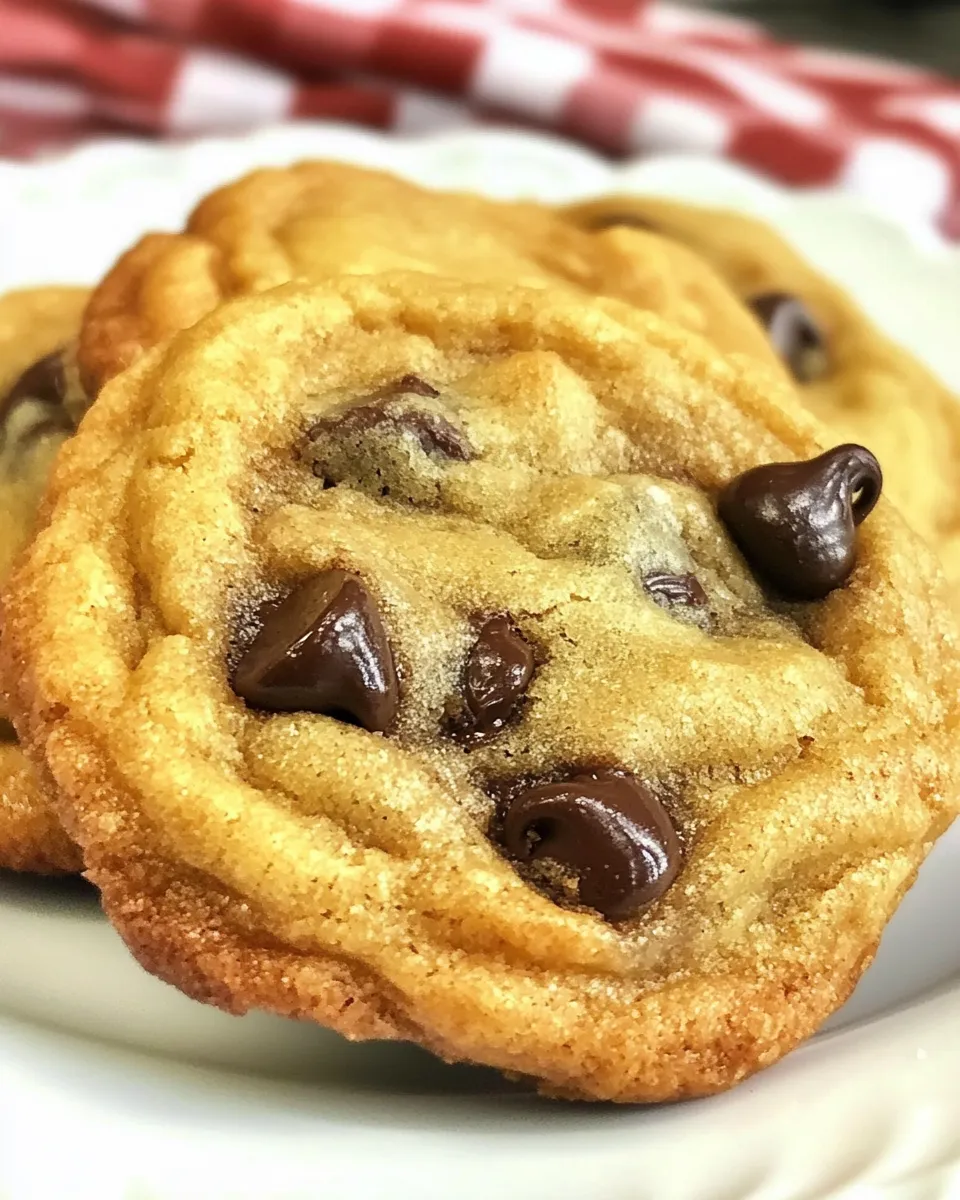
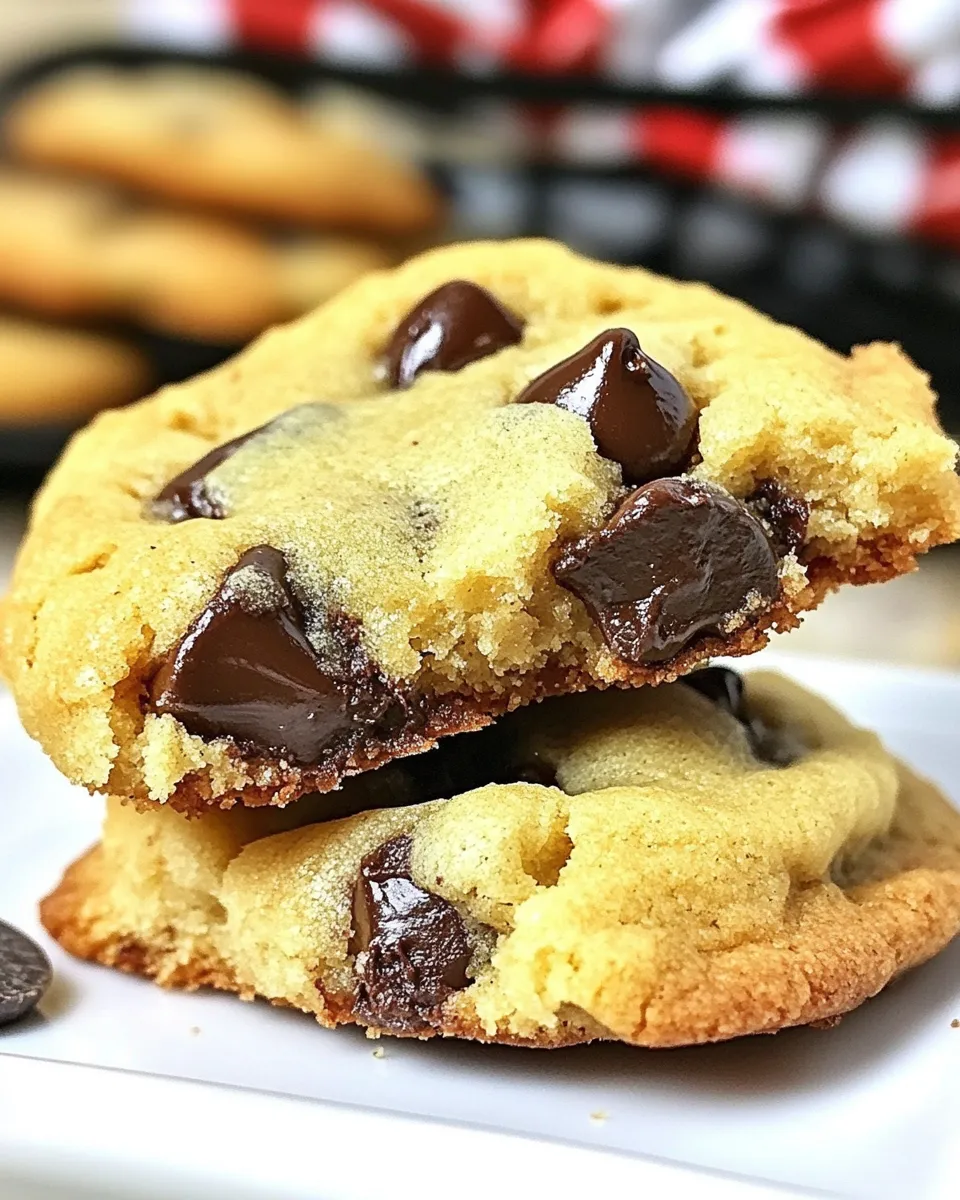
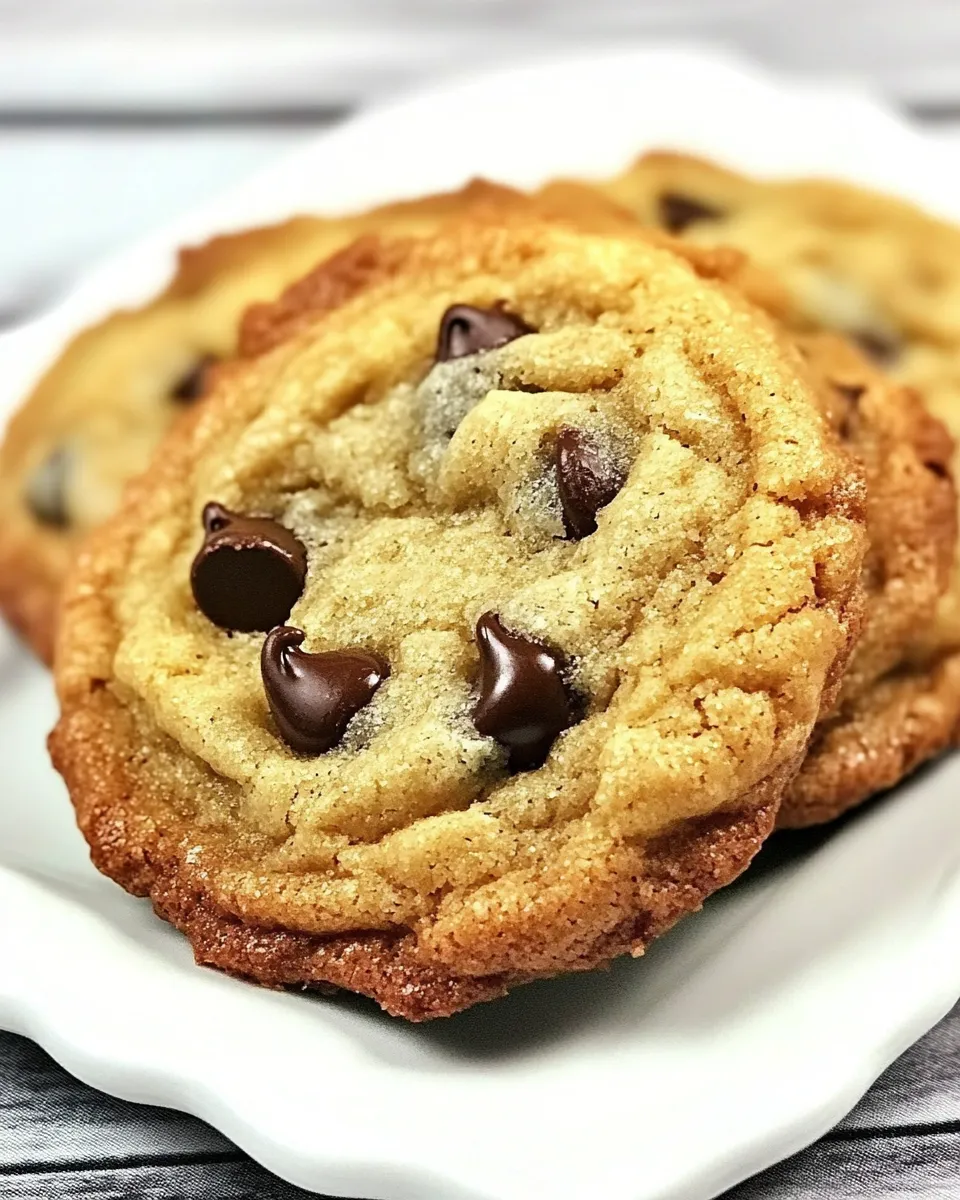
Bisquick Chocolate Chip Cookies
There’s something incredibly satisfying about a warm, gooey chocolate chip cookie fresh out of the oven. Bisquick Chocolate Chip Cookies take that classic treat to the next level with a simple and quick recipe that uses everyone’s favorite baking mix. Whether you’re a busy parent looking for an easy dessert or a novice baker wanting to impress your friends, these cookies are your go-to solution. They come together in just a few minutes, and the result is a batch of cookies that are soft, chewy, and loaded with chocolate chips.
Why Cooks Rave About It
What makes Bisquick Chocolate Chip Cookies a favorite among home bakers? It’s all about the convenience and the taste. By using Bisquick baking mix, you skip the hassle of measuring out flour, baking soda, and salt. This means you can whip up a delicious batch of cookies in no time at all. The flavor? Absolutely divine! The rich buttery taste combined with the sweetness of brown sugar and the melty chocolate chips creates a cookie that’s hard to resist. Whether enjoyed with a glass of milk or as an after-dinner treat, these cookies won’t last long on the counter.
What’s in the Bowl
Before you dive into baking, let’s gather our ingredients. Here’s what you’ll need for these delightful cookies:
- 1 cup butter, softened – This is the base of your cookie, providing richness and moisture.
- 1 cup brown sugar, packed – Adds sweetness and a hint of caramel flavor.
- 2 tsp vanilla extract – Enhances the overall flavor of the cookies.
- 1 egg – Binds the ingredients together and contributes to the cookie’s texture.
- 2 cups Bisquick baking mix – The star of the recipe, simplifying the process.
- 1 cup semi-sweet chocolate chips (6 oz) – The chocolaty goodness that every cookie needs.
- 1 cup nuts, chopped (optional) – For a delightful crunch, if desired.
Kitchen Gear Checklist
Before you start mixing, make sure you have the right tools on hand:
- Mixing bowl – For combining all the ingredients.
- Electric mixer – Makes creaming the butter and sugar a breeze.
- Measuring cups and spoons – Essential for accurate measurements.
- Baking sheet – A sturdy surface for baking your cookies.
- Parchment paper (optional) – For easy cleanup and to prevent sticking.
- Cookie scoop or tablespoon – Ensures uniform cookie sizes.
Bisquick Chocolate Chip Cookies — Do This Next

Now that you have everything prepped, let’s get to the fun part — baking! Follow these easy steps for delicious Bisquick Chocolate Chip Cookies:
Step 1: Preheat Your Oven
Set your oven to 350°F (175°C). This ensures that your cookies bake evenly and come out perfectly golden.
Step 2: Cream the Butter and Sugar
In a large mixing bowl, combine the softened butter and brown sugar. Using an electric mixer, beat them together until the mixture is light and fluffy. This step is crucial for creating a soft cookie texture.
Step 3: Add the Egg and Vanilla
Crack the egg into the bowl and pour in the vanilla extract. Mix until everything is well combined. The batter should be smooth and creamy.
Step 4: Incorporate the Bisquick
Gradually add the Bisquick baking mix to the butter mixture. Mix until just combined, being careful not to overmix. The dough should be thick and slightly sticky.
Step 5: Fold in the Chocolate Chips
Gently fold in the semi-sweet chocolate chips and, if using, the chopped nuts. This is where the magic happens, as you see those delicious chocolate morsels get evenly distributed throughout the dough.
Step 6: Scoop the Dough
Using a cookie scoop or a tablespoon, drop rounded balls of dough onto a baking sheet lined with parchment paper. Leave some space between each cookie, as they will spread while baking.
Step 7: Bake to Perfection
Place the baking sheet in the preheated oven and bake for 10-12 minutes, or until the edges are lightly golden. The centers may look slightly underbaked, but they will continue to cook on the baking sheet after being removed from the oven.
Step 8: Cool and Enjoy
Let the cookies cool on the baking sheet for a few minutes before transferring them to a wire rack to cool completely. Enjoy your Bisquick Chocolate Chip Cookies warm or at room temperature!
Variations for Dietary Needs
Want to customize your Bisquick Chocolate Chip Cookies? Here are some variations to consider:
- Gluten-Free: Use a gluten-free baking mix instead of Bisquick.
- Dairy-Free: Substitute the butter with a dairy-free margarine or coconut oil.
- Vegan: Replace the egg with a flax egg (1 tablespoon ground flaxseed mixed with 2.5 tablespoons water) and use dairy-free chocolate chips.
- Nut-Free: Omit the nuts or replace them with seeds like sunflower seeds for added crunch.
Problems & Prevention
No one wants to end up with flat or dry cookies. Here are some common issues and how to prevent them:
- Cookies Spread Too Much: Ensure your butter is softened but not melted. Chilling the dough for 30 minutes before baking can also help.
- Dry Cookies: Be careful not to overbake. Remove them from the oven when they are still slightly underdone in the center.
- Too Sweet: If you find them too sweet, try reducing the amount of brown sugar slightly in your next batch.
- Burnt Bottoms: Use a light-colored baking sheet to prevent the bottoms from browning too quickly.
Save It for Later
If you find yourself with extra cookies (which is rare, but it can happen!), you can easily store them for later enjoyment. Here are some tips:
You can keep your Bisquick Chocolate Chip Cookies in an airtight container at room temperature for up to a week. For longer storage, freeze the cookies in a single layer, then transfer them to a freezer-safe bag or container. They will stay good for up to three months. When you’re ready to enjoy, simply thaw at room temperature or pop them in the microwave for a few seconds to warm them up!
Reader Questions
Can I use regular flour instead of Bisquick?
While Bisquick is specifically formulated for convenience, you can use regular flour along with baking powder and salt to create a similar effect. However, the ratios will differ, so refer to a standard chocolate chip cookie recipe for measurements.
What can I substitute for brown sugar?
If you don’t have brown sugar on hand, you can substitute it with granulated sugar mixed with a bit of molasses (1 tablespoon of molasses for every cup of granulated sugar) or use coconut sugar for a healthier alternative.
Can I add other mix-ins?
Absolutely! Feel free to add in your favorite mix-ins like white chocolate chips, dried fruit, or even crushed candy bars for a fun twist on the classic recipe.
How can I make my cookies chewier?
For chewier cookies, try using bread flour instead of all-purpose flour or adding an extra egg yolk to the dough. Also, be mindful of not overbaking, as this can lead to a drier texture.
Bring It to the Table
When it comes to sharing your freshly baked Bisquick Chocolate Chip Cookies, presentation matters! Arrange them on a beautiful platter, perhaps with a glass of milk or a warm cup of coffee nearby. They are perfect for gatherings, birthday parties, or simply as a delightful treat to enjoy with loved ones. The smiles on everyone’s faces as they take their first bite will be priceless.
Baking Bisquick Chocolate Chip Cookies is not just about the end result; it’s about the joy of creating something sweet and delicious. With each bite, you’ll savor the rich flavors and the love that went into making them. So, roll up your sleeves, gather your ingredients, and get ready to indulge in the soft, gooey goodness of these irresistible cookies. Enjoy the process as much as the delightful reward!
Bisquick Chocolate Chip Cookies
Ingredients
Equipment
Method
- Step 1: Preheat your oven to 350°F (175°C).
- Step 2: In a large mixing bowl, cream together the softened butter and brown sugar using an electric mixer until light and fluffy.
- Step 3: Add the egg and vanilla extract, mixing until well combined.
- Step 4: Gradually add the Bisquick baking mix to the mixture, mixing until just combined.
- Step 5: Fold in the chocolate chips and optional chopped nuts.
- Step 6: Scoop rounded balls of dough onto a baking sheet lined with parchment paper, leaving space between each cookie.
- Step 7: Bake for 10-12 minutes or until the edges are lightly golden.
- Step 8: Let cookies cool on the baking sheet for a few minutes before transferring to a wire rack.
Notes
- Store cookies in an airtight container at room temperature for up to a week.
- For longer storage, freeze cookies for up to three months.
- Chill the dough for 30 minutes to prevent spreading.