Crispy Oven Fried Chicken Tenders
If you’ve ever craved that satisfying crunch of fried chicken tenders without the guilt of deep-frying, then you’re in for a treat. These Crispy Oven Fried Chicken Tenders are a delightful combination of flavor and texture, thanks to a special coating that makes them irresistibly crispy. Perfect for a family dinner, a gathering with friends, or simply to satisfy your cravings, these tenders are easy to make and even easier to devour. Let’s dive into the details of this delicious recipe!
Reasons to Love Crispy Oven Fried Chicken Tenders
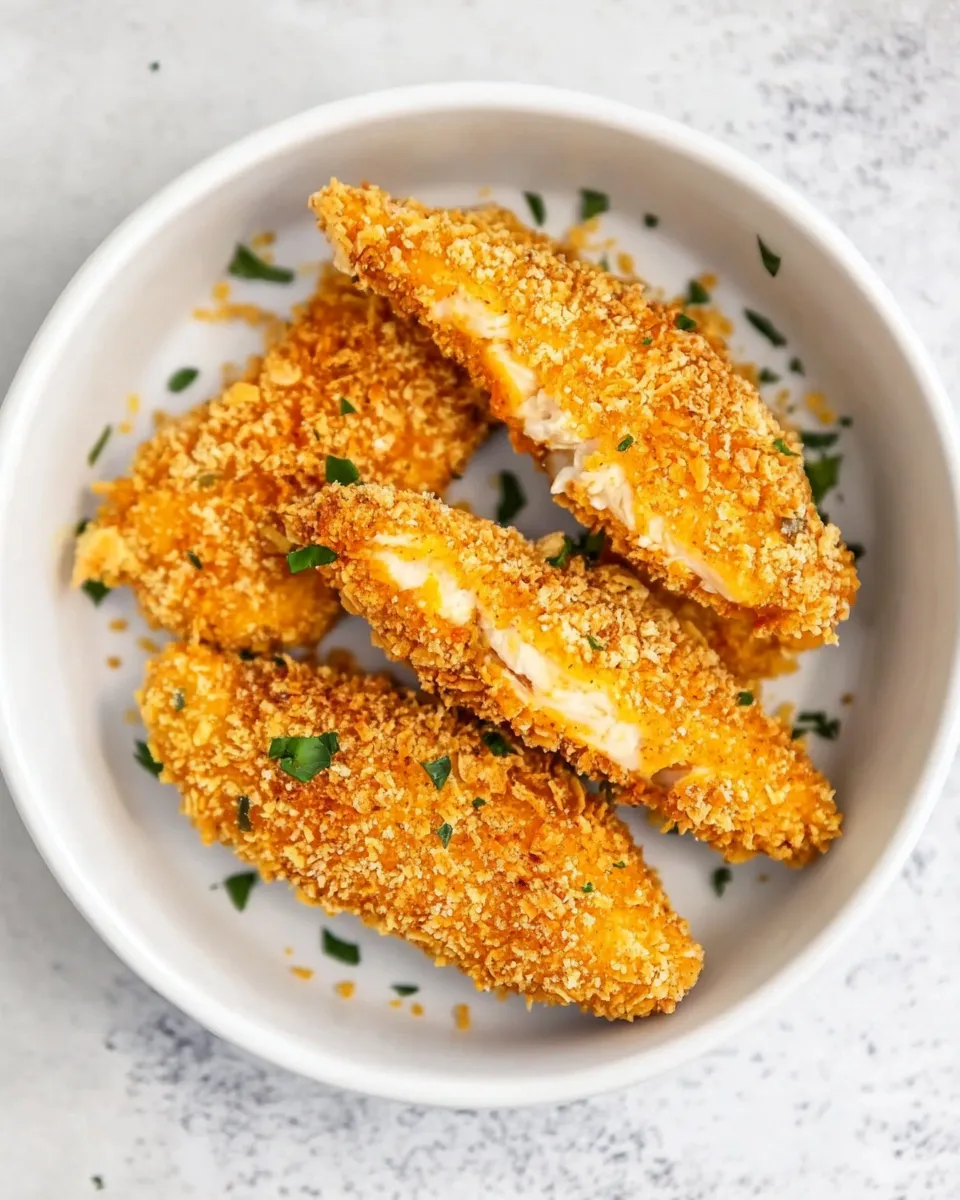
There are so many reasons to love these Crispy Oven Fried Chicken Tenders. First, they are baked rather than fried, which means you can enjoy all the crunch without the excess oil. Second, they are incredibly versatile; serve them with your favorite dipping sauces or toss them in a salad for added protein. Lastly, they are simple enough for a weeknight dinner yet impressive enough for entertaining. Plus, they are kid-approved, making them a hit with the whole family!
What’s in the Bowl
To create these mouthwatering tenders, gather the following ingredients:
- 400g boneless skinless mini chicken breast fillets, or large chicken breast evenly sliced
- 250ml buttermilk (see notes for homemade buttermilk)
- Sea salt and black pepper, to taste
- 120g cornflakes
- 2 tablespoons panko breadcrumbs
- 60ml extra-virgin olive oil
- 1 teaspoon ground cayenne pepper (optional)
- 1 teaspoon ground garlic (optional)
- 1 teaspoon dried oregano
- Sea salt and black pepper, to taste
Before You Start: Equipment
Before you get cooking, make sure you have the following equipment on hand:
- Baking sheet: For baking the chicken tenders.
- Parchment paper: To line the baking sheet for easy cleanup.
- Mixing bowls: For marinating the chicken and preparing the coating.
- Whisk: To mix together the buttermilk and seasonings.
- Meat mallet or rolling pin: To flatten the chicken for even cooking.
Crispy Oven Fried Chicken Tenders: From Prep to Plate
Now that you have everything you need, let’s get started on making these Crispy Oven Fried Chicken Tenders!
Step 1: Marinate the Chicken
Begin by placing the chicken breast fillets in a mixing bowl. Pour in the buttermilk and season generously with sea salt and black pepper. Ensure all pieces of chicken are well-coated. Cover and refrigerate for at least 30 minutes (or up to 2 hours for even more flavor).
Step 2: Prepare the Coating
While the chicken is marinating, preheat your oven to 200°C (400°F). Line a baking sheet with parchment paper for easy cleanup. In a mixing bowl, crush the cornflakes until they resemble coarse crumbs. You can do this by placing them in a zip-top bag and using a rolling pin or your hands. Add the panko breadcrumbs, cayenne pepper (if using), garlic powder, dried oregano, and a pinch of sea salt and black pepper. Mix well.
Step 3: Coat the Chicken
Remove the chicken from the refrigerator. One by one, take each piece out of the buttermilk, allowing the excess to drip off. Dredge the chicken in the cornflake mixture, pressing gently to adhere the coating. Place the coated chicken tenders on the prepared baking sheet.
Step 4: Drizzle with Olive Oil
Once all the chicken tenders are on the baking sheet, drizzle the extra-virgin olive oil over them. This will help them get crispy in the oven.
Step 5: Bake to Perfection
Bake the chicken tenders for 15-20 minutes, or until they are golden brown and cooked through. You can turn them halfway through the baking time for an even crispier texture.
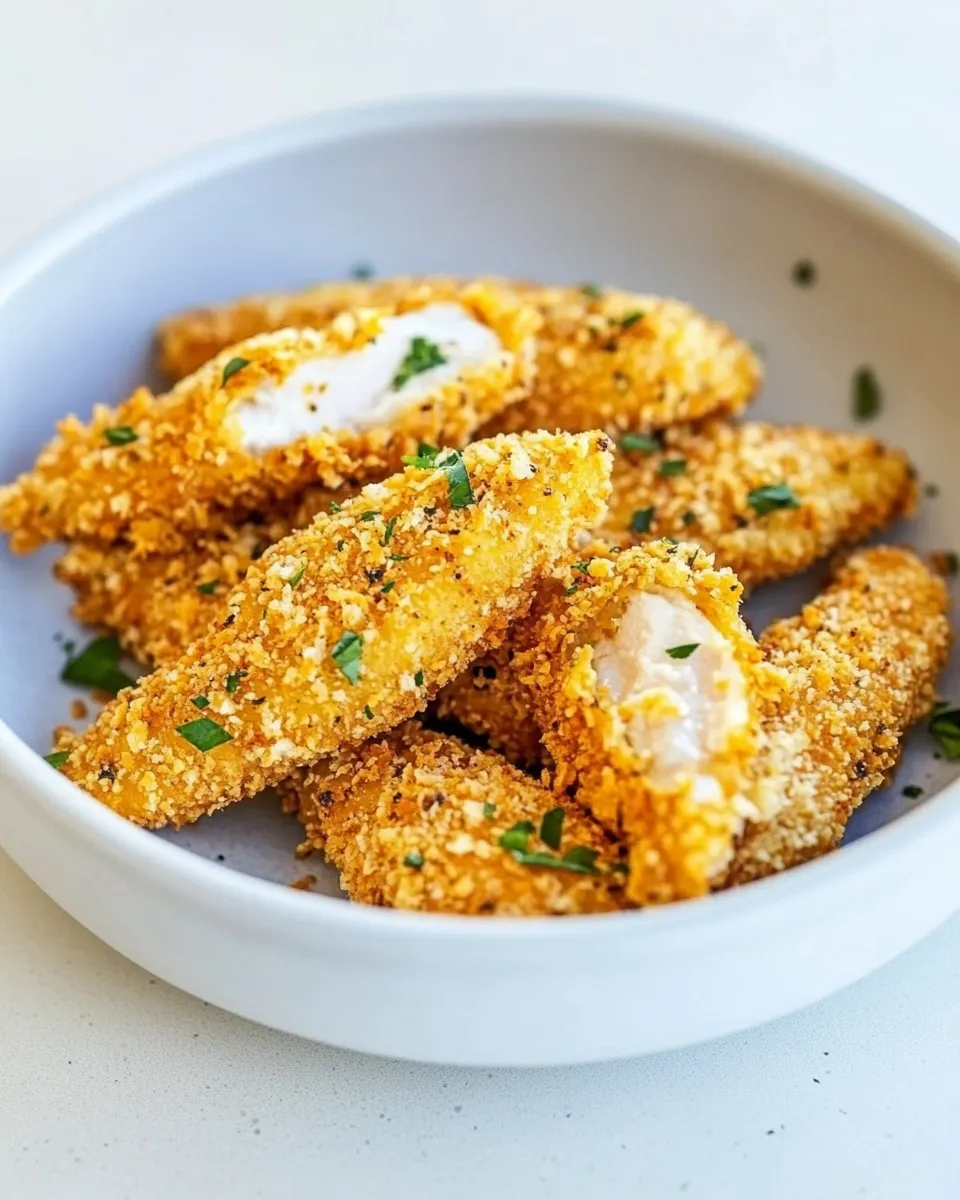
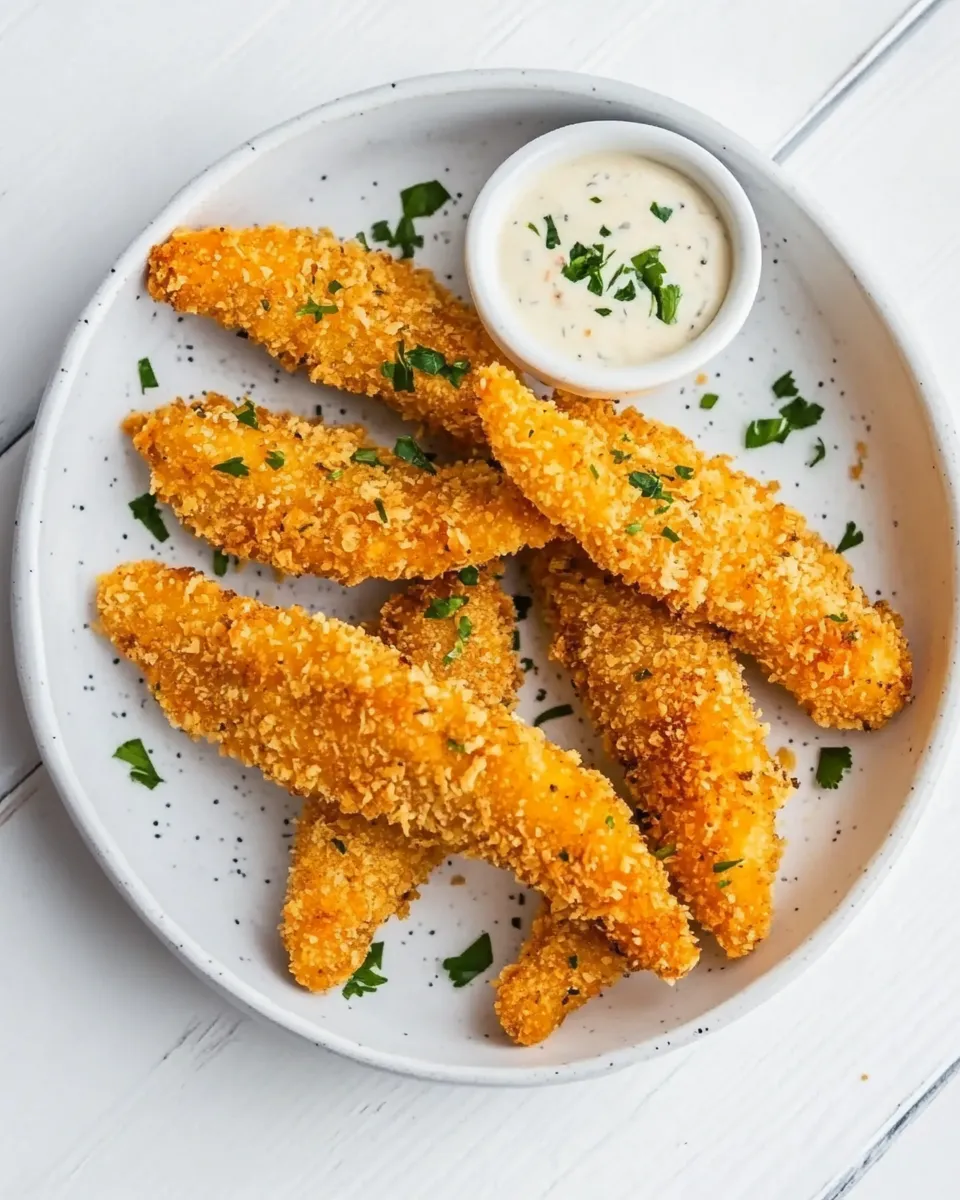
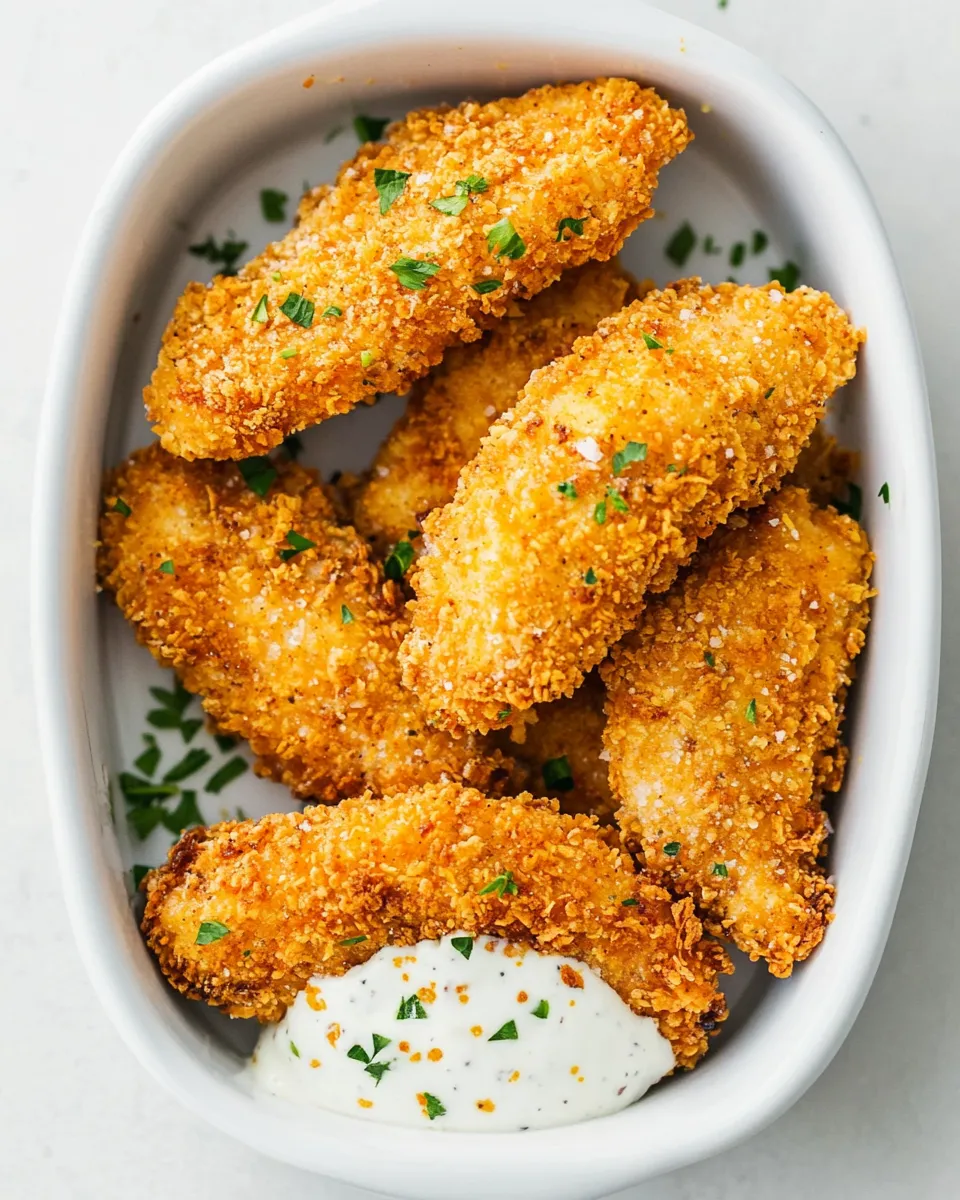
Step 6: Serve and Enjoy!
Remove the tenders from the oven and let them rest for a few minutes before serving. Pair them with your favorite dipping sauces like honey mustard, ranch, or BBQ sauce, and enjoy your delicious Crispy Oven Fried Chicken Tenders.
Texture-Safe Substitutions
If you need to make some substitutions, consider the following options to maintain that crunchy texture:
- Instead of cornflakes, you can use crushed rice cereal for a gluten-free option.
- Panko breadcrumbs can be swapped for regular breadcrumbs, although panko provides a lighter crunch.
- For a dairy-free version, use a plant-based milk mixed with a splash of vinegar as a buttermilk substitute.
- For added flavor, try incorporating different herbs and spices into the coating, like paprika or Italian seasoning.
Avoid These Mistakes
To ensure your Crispy Oven Fried Chicken Tenders turn out perfectly, avoid these common pitfalls:
- Don’t skip the marinating step; it’s essential for flavor and tenderness.
- Avoid overcrowding the baking sheet; give the tenders space to crisp up.
- Be cautious with the cooking time; overcooking can lead to dry chicken.
- Make sure the oven is fully preheated before baking for optimal crispiness.
Meal Prep & Storage Notes
These tenders are great for meal prep! Here’s how to store them:
- Cooked tenders can be stored in an airtight container in the refrigerator for up to 4 days.
- To freeze, place cooked tenders on a baking sheet to freeze individually, then transfer to a freezer bag for up to 3 months.
- Reheat in the oven at 180°C (350°F) for 10-15 minutes to restore their crispiness.
- For meal prep, marinate the chicken in advance and coat just before baking to keep them fresh.
Common Qs About Crispy Oven Fried Chicken Tenders
Can I use chicken thighs instead of breasts?
Absolutely! Chicken thighs will work just fine and will add a bit more juiciness to your tenders. Just make sure they are boneless and skinless for the best results.
Is there a way to make these tenders extra spicy?
Definitely! You can add more cayenne pepper to the coating or toss the cooked tenders in a spicy sauce right before serving for an extra kick.
Can I bake these tenders without buttermilk?
Yes, you can use regular milk with a splash of vinegar or lemon juice as a substitute for buttermilk. It will still help tenderize the chicken and add flavor.
How do I know when the tenders are fully cooked?
The best way to check is by using a meat thermometer. The internal temperature should reach 75°C (165°F). Alternatively, cut into one of the thicker pieces to ensure there is no pink meat.
The Last Word
These Crispy Oven Fried Chicken Tenders are not only a delicious and healthier alternative to traditional fried chicken, but they also bring joy to any meal. Easy to prepare and packed with flavor, they are sure to become a staple in your home. Whether served as a snack, a main dish, or in a salad, these tenders will have everyone clamoring for more.
With just a few ingredients and some simple steps, you can whip up a batch of these crowd-pleasers in no time. So gather your ingredients, preheat that oven, and get ready to enjoy some of the best chicken tenders you’ve ever tasted!
Crispy Oven Fried Chicken Tenders
Ingredients
Equipment
Method
- Step 1: Marinate the Chicken. Place the chicken breast fillets in a mixing bowl. Pour in the buttermilk and season generously with sea salt and black pepper. Ensure all pieces of chicken are well-coated. Cover and refrigerate for at least 30 minutes.
- Step 2: Prepare the Coating. Preheat your oven to 200°C (400°F). Line a baking sheet with parchment paper. In a mixing bowl, crush the cornflakes until they resemble coarse crumbs. Add the panko breadcrumbs, cayenne pepper, garlic powder, dried oregano, and a pinch of sea salt and black pepper. Mix well.
- Step 3: Coat the Chicken. Remove the chicken from the refrigerator. Dredge the chicken in the cornflake mixture, pressing gently to adhere the coating. Place the coated chicken tenders on the prepared baking sheet.
- Step 4: Drizzle with Olive Oil. Drizzle the extra-virgin olive oil over the chicken tenders.
- Step 5: Bake to Perfection. Bake for 15-20 minutes, or until golden brown and cooked through. Turn them halfway through for an even crispier texture.
- Step 6: Serve and Enjoy! Let them rest for a few minutes before serving. Pair with your favorite dipping sauces.
Notes
- For a gluten-free option, substitute cornflakes with crushed rice cereal.
- Store cooked tenders in an airtight container in the refrigerator for up to 4 days.
- Reheat in the oven at 180°C (350°F) for 10-15 minutes to restore crispiness.