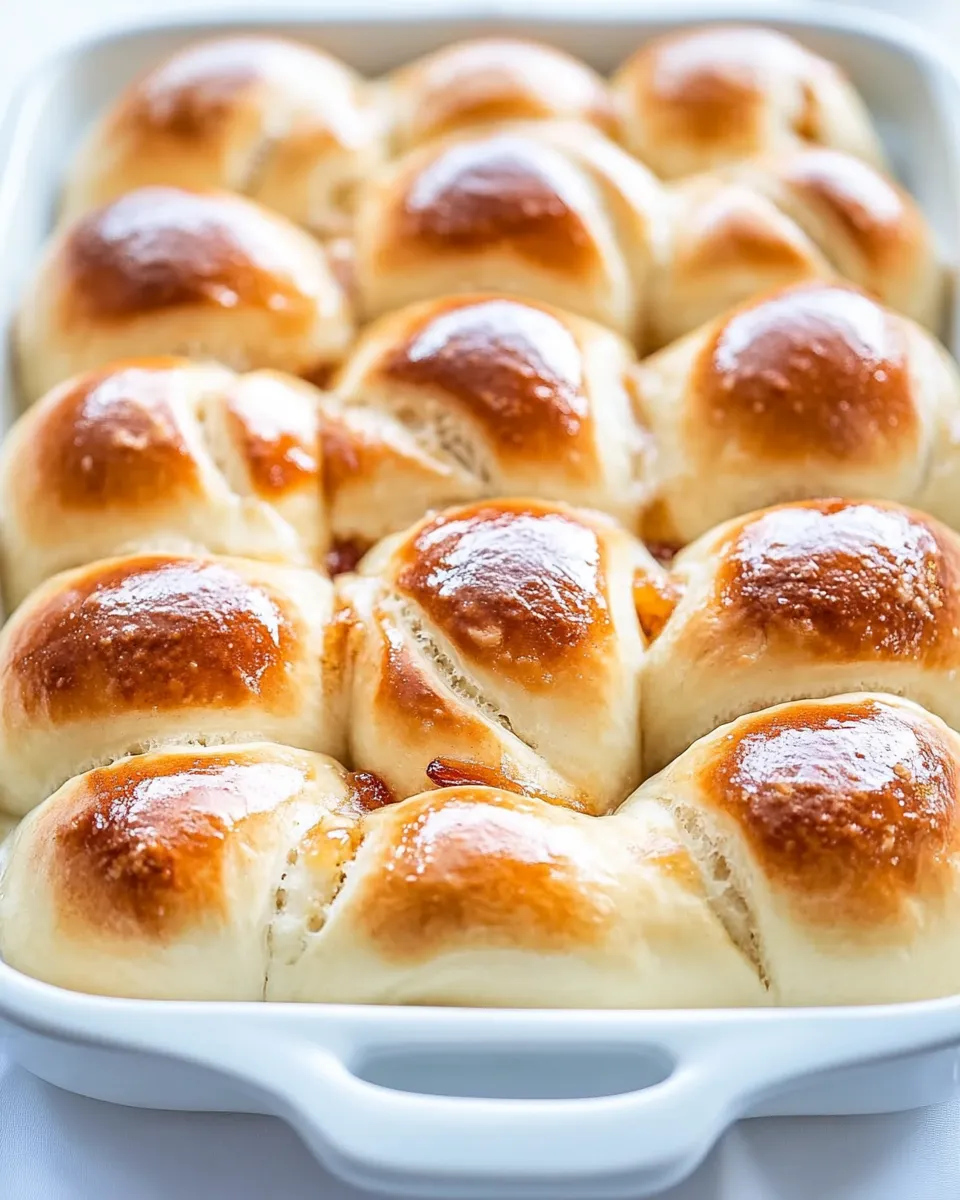
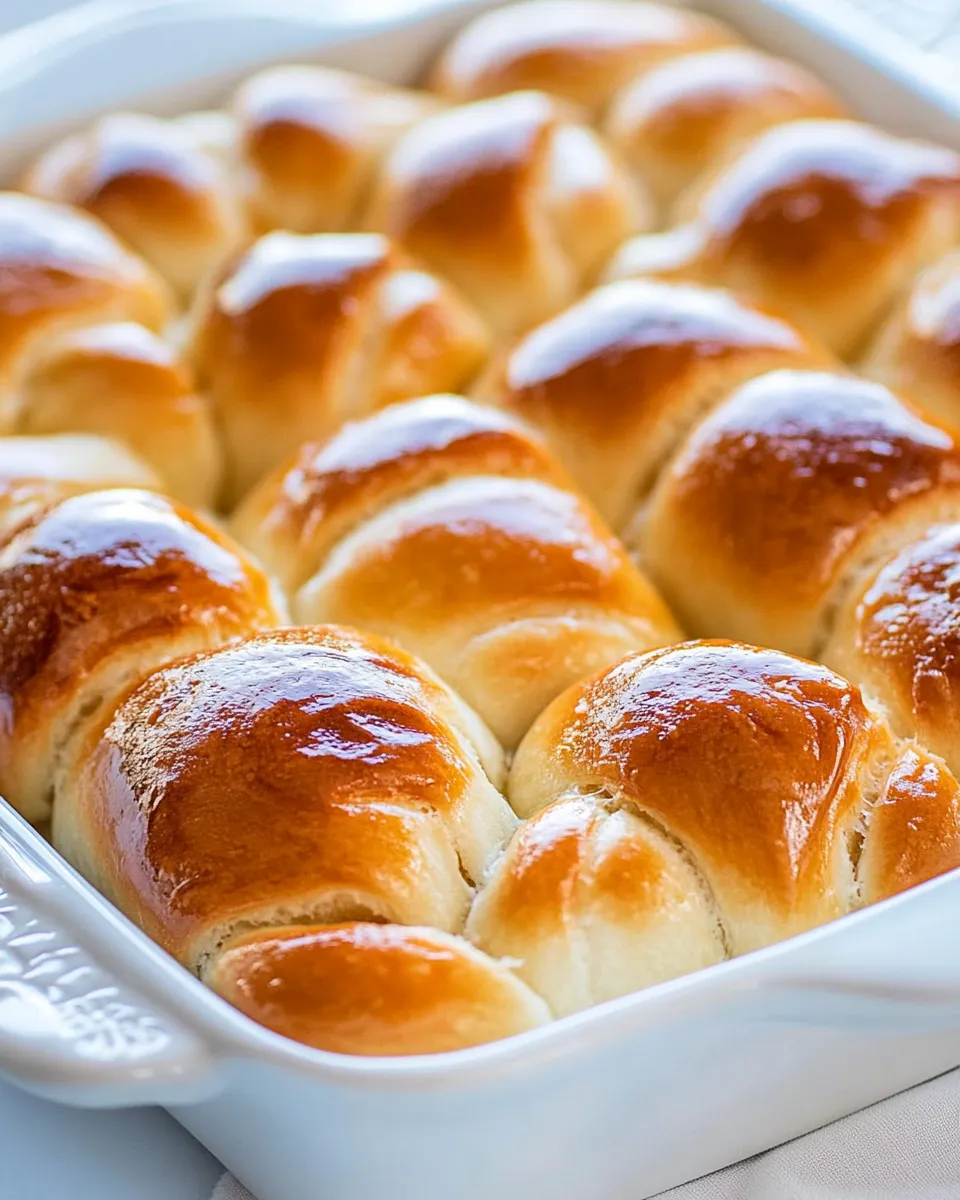
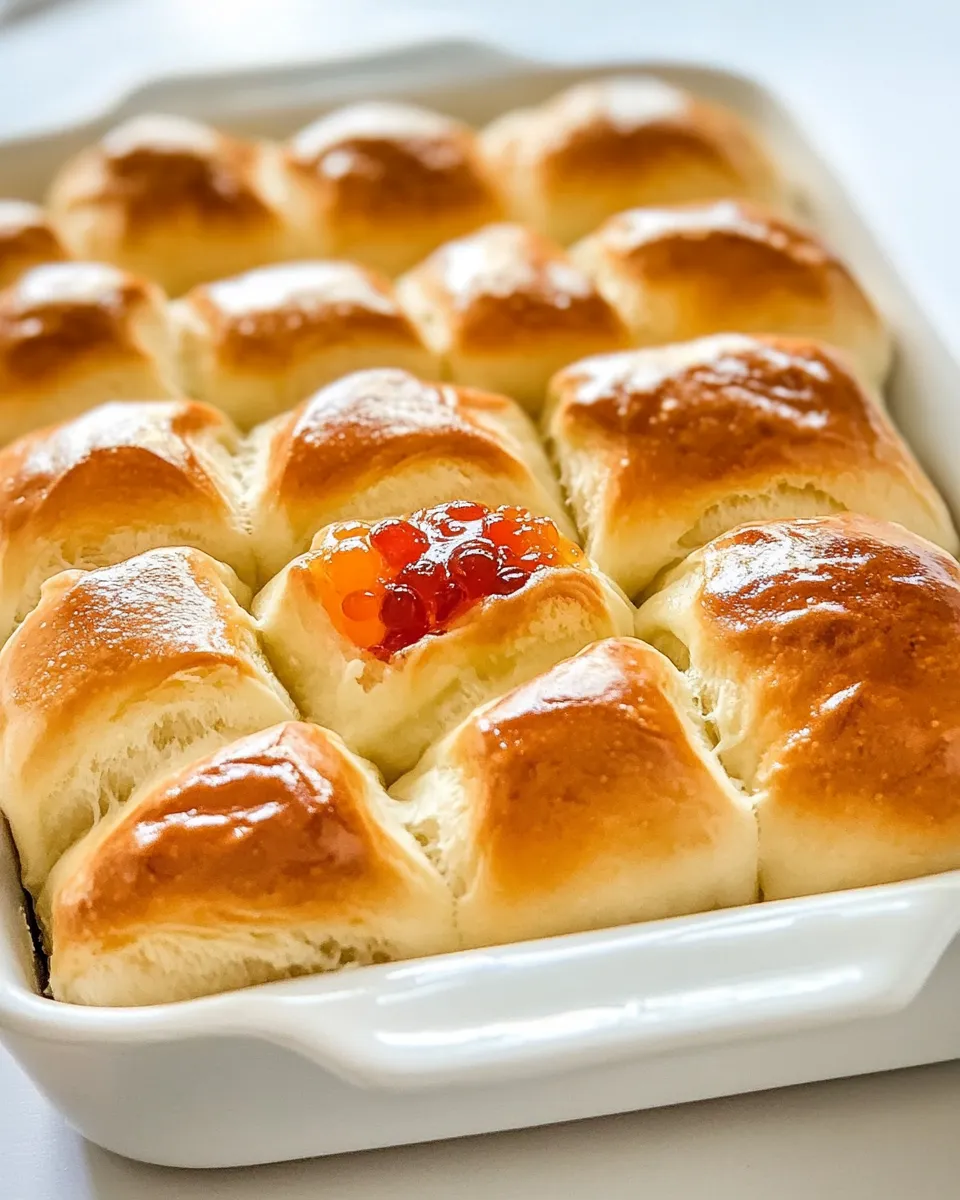
Jelly Filled Rolls
If you’re on the lookout for a delightful treat that combines a soft, fluffy texture with a burst of fruity goodness, look no further than Jelly Filled Rolls. These sweet rolls are perfect for breakfast, dessert, or a special occasion. The combination of warm bread and your favorite jam or jelly creates an irresistible bite that invites you to come back for more. Let’s dive into the world of Jelly Filled Rolls, where the aroma of freshly baked bread will fill your kitchen and the taste will leave everyone asking for seconds.
Why It Deserves a Spot
Jelly Filled Rolls are not just any ordinary roll; they are a nostalgic bite that brings back memories of childhood breakfasts or family gatherings. The beauty of these rolls lies in their versatility. You can use any flavor of jelly you desire, making it a canvas for your creativity. Whether you prefer classic strawberry, tangy raspberry, or even exotic flavors like passionfruit, the possibilities are endless. The soft, pillowy texture of the dough pairs beautifully with the sweet, fruity filling, creating a perfect harmony that is sure to please everyone at the table. Plus, they’re fun to make! Gather your loved ones and enjoy the process of rolling and filling – it’s an activity filled with laughter and joy.
The Ingredient Lineup
To create these delightful Jelly Filled Rolls, you will need the following ingredients:
- 5 to 6 cups all-purpose flour
- 1 teaspoon salt
- 5 tablespoons sugar
- 1 tablespoon active dry yeast
- 1 cup lukewarm water
- 1/2 cup unsalted butter (melted)
- 1 cup milk (warmed up in the microwave for about 30 seconds)
- 1 beaten egg
- 1 teaspoon vanilla extract
- 1 to 1 1/2 cups jam or jelly of your choice
- 1 beaten egg (for egg wash)
Equipment Breakdown
Before you start baking, make sure you have these essential tools ready:
- Mixing bowl – for combining ingredients.
- Dough hook or wooden spoon – for kneading the dough.
- Measuring cups and spoons – for precise measurements.
- Rolling pin – for rolling out the dough.
- Baking sheet – to place the rolls on for baking.
- Clean kitchen towel – to cover the dough while it rises.
- Pastry brush – for applying the egg wash.
- Cooling rack – for cooling the rolls after baking.
Jelly Filled Rolls: Step-by-Step Guide
Step 1: Activate the Yeast
In a small bowl, combine the lukewarm water, sugar, and active dry yeast. Let it sit for about 5-10 minutes until it becomes frothy. This step is crucial as it activates the yeast, helping your rolls rise beautifully.
Step 2: Prepare the Dough
In a large mixing bowl, combine 5 cups of all-purpose flour and salt. Make a well in the center and add the lukewarm milk, melted butter, beaten egg, and vanilla extract. Pour in the activated yeast mixture. Mix until the dough comes together.
Step 3: Knead the Dough
Transfer the dough to a floured surface and knead for about 8-10 minutes until it is smooth and elastic. If the dough is too sticky, gradually add more flour until you achieve the desired consistency.
Step 4: Let It Rise
Place the kneaded dough in a greased bowl, cover it with a clean kitchen towel, and let it rise in a warm place for about 1-2 hours, or until it has doubled in size.
Step 5: Shape the Rolls
Once the dough has risen, punch it down to release the air. Roll it out into a rectangle about 1/2 inch thick. Spread an even layer of jam or jelly over the surface, leaving a small border around the edges.
Step 6: Roll It Up
Starting from one long side, carefully roll the dough into a tight log. Pinch the edges to seal the roll and cut it into equal pieces, about 1-2 inches wide.
Step 7: Second Rise
Place the rolls cut side up on a greased baking sheet, making sure to leave some space between them. Cover with a towel and let them rise for another 30-45 minutes until puffy.
Step 8: Preheat the Oven
While the rolls are rising, preheat your oven to 350°F (175°C). This ensures that your rolls will bake evenly.
Step 9: Egg Wash
Once the rolls have risen, brush the tops with the beaten egg to give them a lovely golden color when baked.
Step 10: Bake
Bake the rolls in the preheated oven for 20-25 minutes, or until they are golden brown. The aroma will be heavenly!
Step 11: Cool and Serve
Remove the rolls from the oven and transfer them to a cooling rack. Let them cool slightly before serving. Enjoy them warm for the best experience!
Ingredient Flex Options
Feel free to put your spin on these Jelly Filled Rolls with the following options:
- Use different flavors of jam or jelly, such as blueberry, peach, or apricot.
- Substitute the all-purpose flour with whole wheat flour for a healthier twist.
- Add spices like cinnamon or nutmeg to the dough for extra flavor.
- Incorporate chocolate chips or nuts into the filling for added texture.
Notes from the Test Kitchen
- Make sure your water is lukewarm, not hot, to avoid killing the yeast.
- For a softer roll, ensure that you do not over-knead the dough.
- Letting the rolls cool on a rack prevents them from becoming soggy.
- If you want a sweeter roll, add more sugar to the dough.
Keep-It-Fresh Plan
To keep your Jelly Filled Rolls fresh and delicious:
- Store them in an airtight container at room temperature for up to 3 days.
- For longer storage, freeze the rolls in a freezer-safe bag for up to 3 months. Thaw at room temperature before serving.
- Reheat in the microwave for a few seconds to enjoy the fresh-baked taste again.
Ask & Learn
Can I use instant yeast instead of active dry yeast?
Yes, you can substitute instant yeast for active dry yeast. You will not need to activate it in water; simply mix it directly with the dry ingredients.
What jelly works best for these rolls?
The best jelly for these rolls depends on your personal preference. Classic flavors like strawberry and raspberry are always a hit, but feel free to experiment with your favorites!
Can I make the dough the night before?
Absolutely! You can prepare the dough the night before and let it rise in the refrigerator. Just make sure to bring it back to room temperature before shaping the rolls.
What should I do if my dough doesn’t rise?
If your dough doesn’t rise, ensure that the yeast is fresh and that the water was at the right temperature. If the environment is too cold, try placing the dough in a warmer spot to encourage rising.
The Last Word
Jelly Filled Rolls are a delightful addition to any meal or occasion. Their sweet, fluffy texture combined with the burst of flavor from your chosen jelly makes them a versatile treat that everyone will love. With just a few simple ingredients and a little time, you can whip up a batch of these delicious rolls that will impress family and friends alike. So roll up your sleeves, gather your ingredients, and get ready to fill your kitchen with the sweet aroma of freshly baked Jelly Filled Rolls. Happy baking!

Jelly Filled Rolls
Ingredients
Equipment
Method
- Step 1: Activate the Yeast - In a small bowl, combine the lukewarm water, sugar, and active dry yeast. Let it sit for about 5-10 minutes until it becomes frothy.
- Step 2: Prepare the Dough - In a large mixing bowl, combine 5 cups of all-purpose flour and salt. Make a well in the center and add the lukewarm milk, melted butter, beaten egg, and vanilla extract. Pour in the activated yeast mixture. Mix until the dough comes together.
- Step 3: Knead the Dough - Transfer the dough to a floured surface and knead for about 8-10 minutes until it is smooth and elastic.
- Step 4: Let It Rise - Place the kneaded dough in a greased bowl, cover it with a clean kitchen towel, and let it rise in a warm place for about 1-2 hours, or until it has doubled in size.
- Step 5: Shape the Rolls - Once the dough has risen, punch it down to release the air. Roll it out into a rectangle about 1/2 inch thick. Spread an even layer of jam or jelly over the surface.
- Step 6: Roll It Up - Starting from one long side, carefully roll the dough into a tight log. Pinch the edges to seal the roll and cut it into equal pieces, about 1-2 inches wide.
- Step 7: Second Rise - Place the rolls cut side up on a greased baking sheet. Cover with a towel and let them rise for another 30-45 minutes until puffy.
- Step 8: Preheat the Oven - While the rolls are rising, preheat your oven to 350°F (175°C).
- Step 9: Egg Wash - Once the rolls have risen, brush the tops with the beaten egg.
- Step 10: Bake - Bake the rolls in the preheated oven for 20-25 minutes, or until they are golden brown.
- Step 11: Cool and Serve - Remove the rolls from the oven and transfer them to a cooling rack. Let them cool slightly before serving.
Notes
- Ensure your water is lukewarm to activate the yeast correctly.
- Avoid over-kneading for a softer roll.
- Cool rolls on a rack to prevent sogginess.