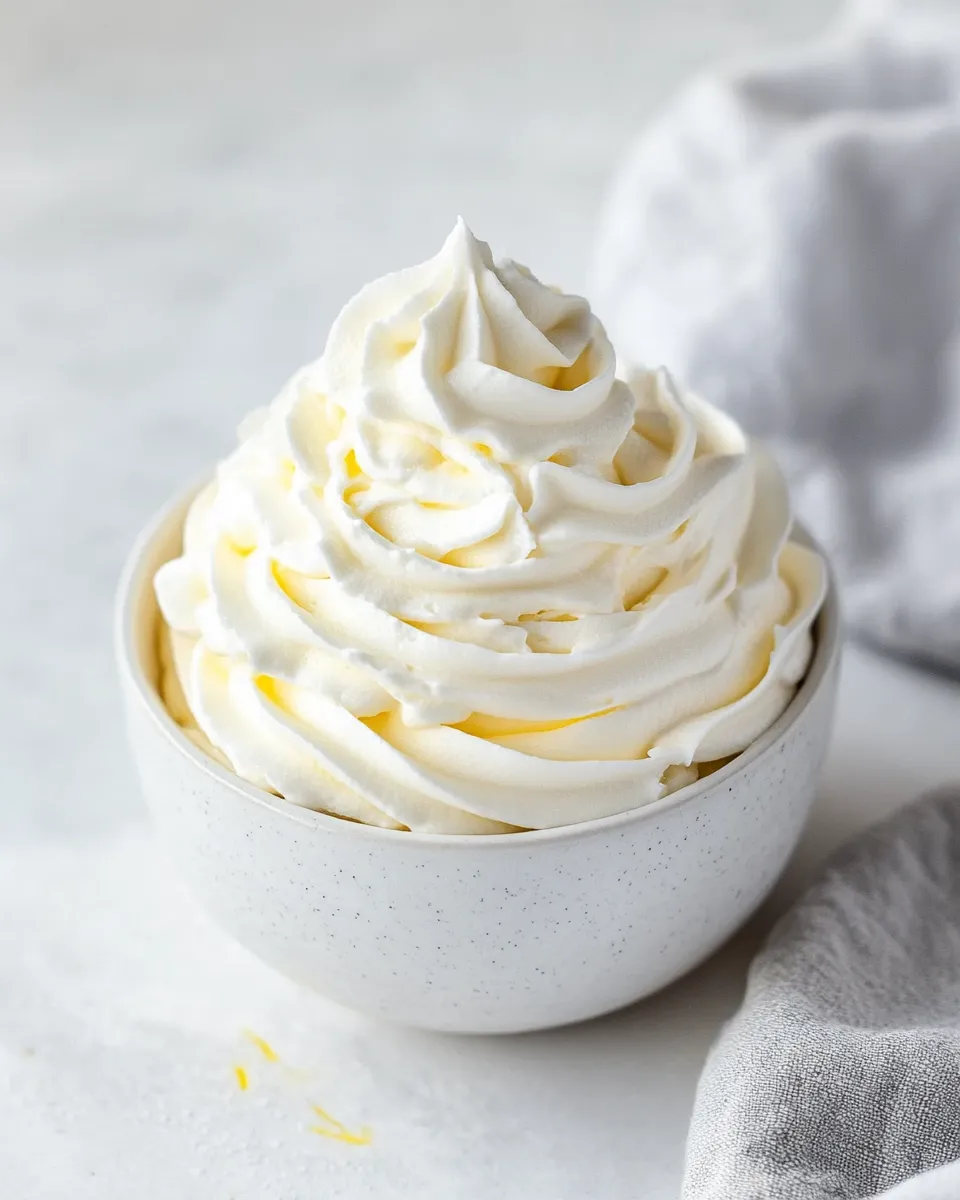
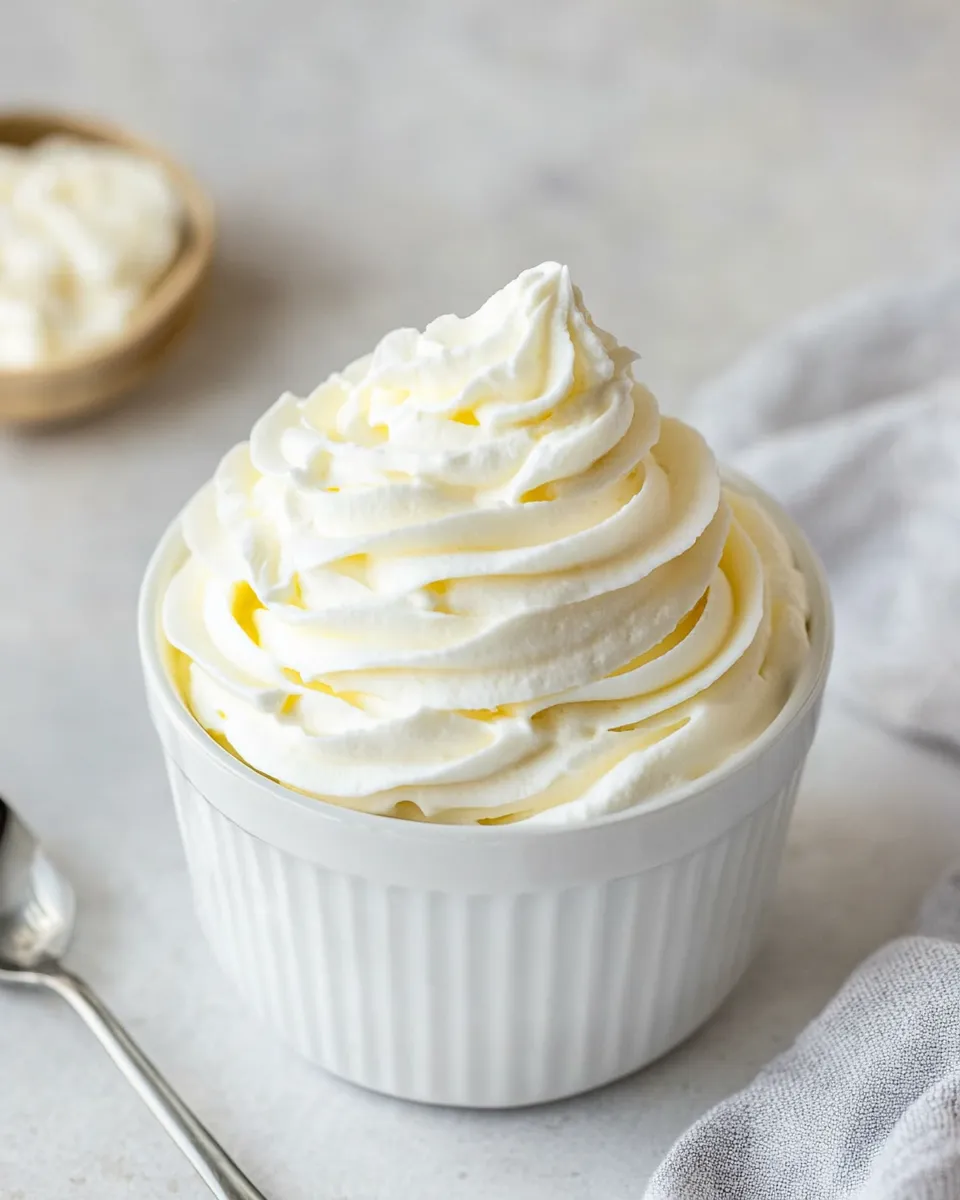
Stabilized Whipped Cream
Whipped cream is an essential component of countless desserts, from luscious cakes to delightful pies and even as a topping for your morning coffee. However, regular whipped cream can quickly lose its shape and texture, especially when exposed to warm temperatures or when made ahead of time. This is where stabilized whipped cream comes into play. It holds its whipped form for days, making it a baker’s best friend. In this article, we’ll walk you through how to make this magic mixture using just a few simple ingredients, ensuring you have the perfect topping for your treats.
Top Reasons to Make Stabilized Whipped Cream
- Long-lasting: Unlike traditional whipped cream, stabilized whipped cream can last for days without deflating or weeping, making it perfect for layered cakes and desserts.
- Easy to make: With just a few ingredients, you can whip up a batch in no time, and the process is straightforward.
- Customizable: You can easily adjust the sweetness and flavors to suit your taste, whether you prefer a hint of vanilla or a touch of cocoa.
- Versatile: Use it to top cakes, pies, cupcakes, or even as a filling for pastries – the options are endless!
Ingredient Notes
- 1 cup heavy whipping cream, chilled: This is the base of your stabilized whipped cream. Make sure it’s cold, as this helps it whip up nicely.
- 2 tablespoons instant vanilla pudding powder: This ingredient is key for stabilizing the whipped cream. It thickens the mixture and gives it a subtle vanilla flavor.
- 2-3 tablespoons powdered sugar: Depending on your desired sweetness, this optional ingredient can enhance the flavor while maintaining stability.
Toolbox for This Recipe
- Mixing bowl: A medium to large bowl works best for whipping the cream.
- Electric mixer: A handheld or stand mixer will make whipping much easier and quicker.
- Measuring cups and spoons: Accurate measurements are essential for the perfect texture.
- Spatula: Use this for folding in ingredients, if necessary.
Stabilized Whipped Cream, Made Easy
Step 1: Gather Your Ingredients
Begin by gathering all of your ingredients and tools. Ensure that your heavy whipping cream is chilled in the refrigerator.
Step 2: Combine the Dry Ingredients
In a mixing bowl, combine the 2 tablespoons of instant vanilla pudding powder and the optional powdered sugar. Whisk them together to ensure they are evenly mixed.
Step 3: Add the Heavy Whipping Cream
Pour the chilled heavy whipping cream into the bowl with the pudding mixture.
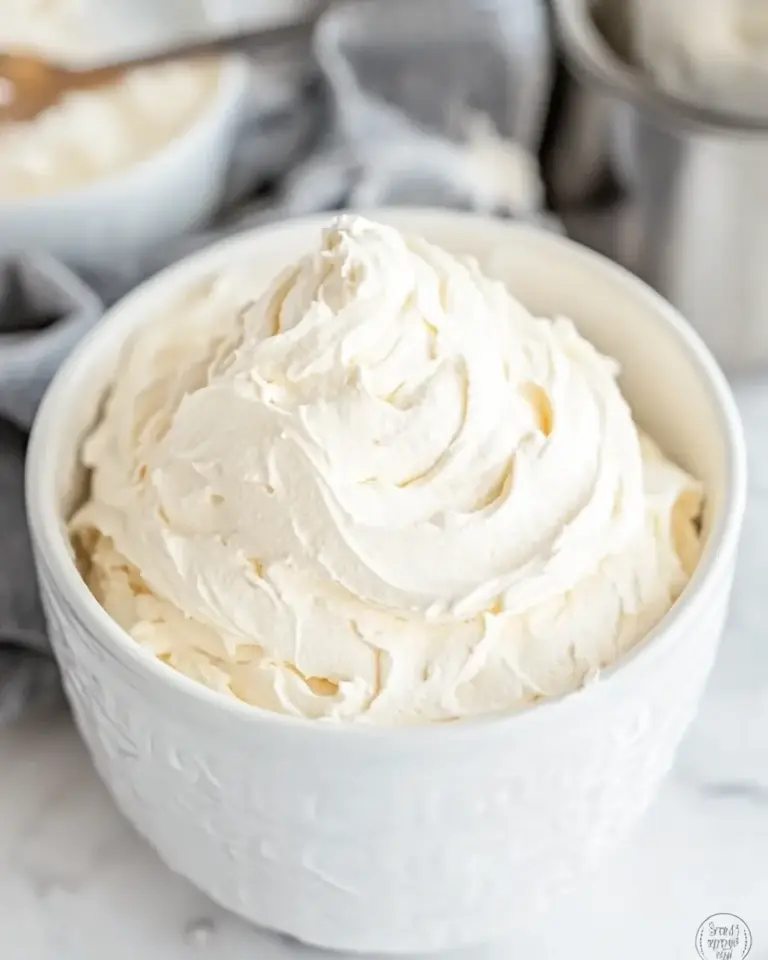
Step 4: Whip Until Stiff Peaks Form
Using your electric mixer, beat the mixture on medium-high speed until stiff peaks form. This usually takes about 3-5 minutes. Be careful not to over-whip, as this can lead to a grainy texture.
Step 5: Taste and Adjust
Once the cream has reached the desired consistency, taste it. If you want it sweeter, you can gradually add more powdered sugar, mixing until combined.
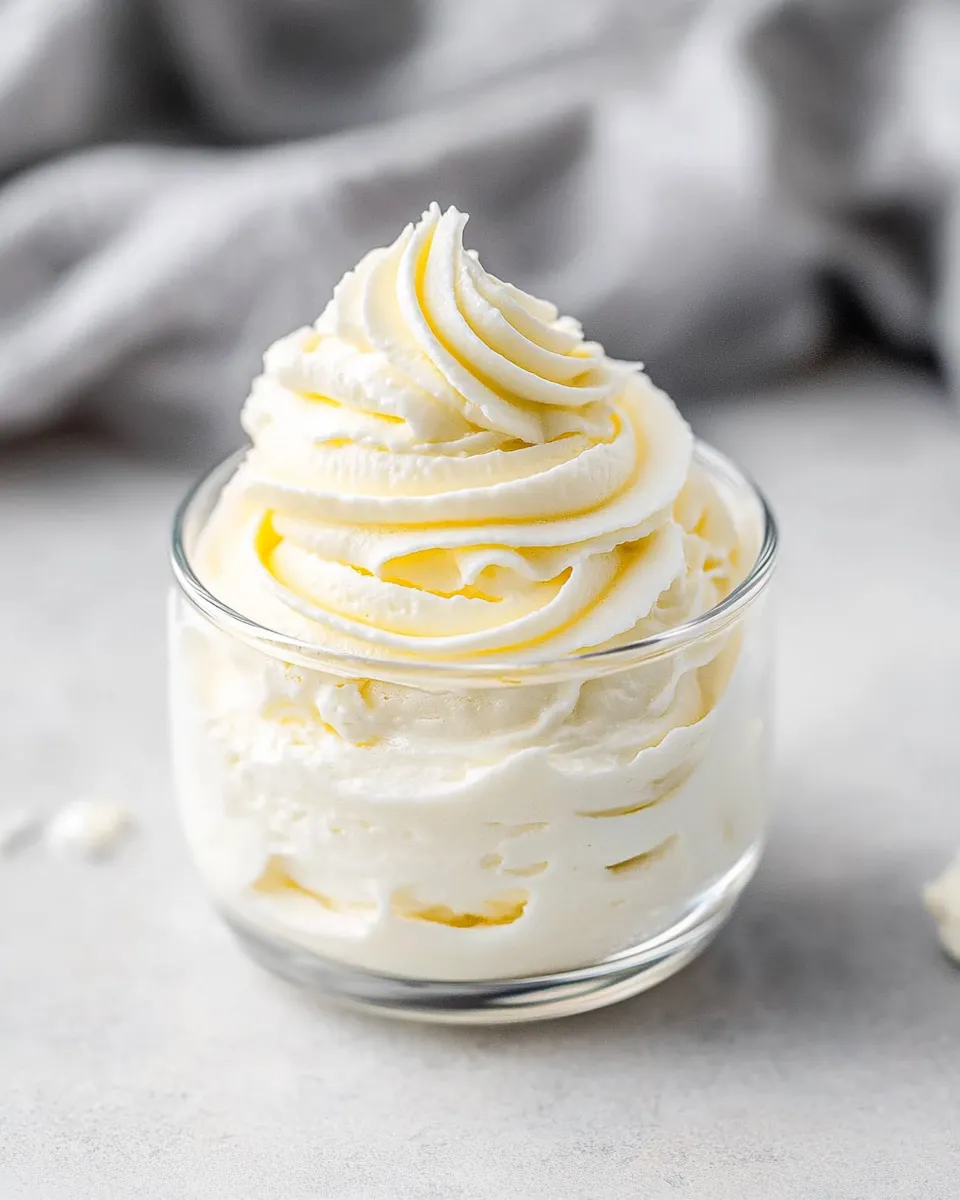
Step 6: Use or Store
Your stabilized whipped cream is now ready to use! If not using immediately, store it in an airtight container in the refrigerator.
Fresh Takes Through the Year
- Spring: Add a splash of lemon or orange zest for a fresh, citrusy whipped cream perfect for topping fruit tarts.
- Summer: Mix in some crushed berries or a bit of cocoa powder for a delightful summer dessert treat.
- Fall: Incorporate pumpkin spice or cinnamon for a cozy twist, great for autumn desserts.
- Winter: Flavored extracts like peppermint can add a festive touch to your holiday desserts.
Little Things that Matter
When making stabilized whipped cream, small details can make a big difference:
- Ensure all equipment is cold before starting; this helps the cream whip up faster and increases its volume.
- For a richer flavor, consider using a high-quality vanilla extract instead of vanilla pudding powder, though the pudding will still be necessary for stabilization.
- Don’t rush the whipping process; patience leads to the best texture.
Storage Pro Tips
To get the most out of your stabilized whipped cream:
- Store it in an airtight container to prevent it from absorbing any odors from the fridge.
- It can be kept for up to 3 days in the refrigerator without losing its texture.
- If you need to store it longer, consider freezing it in small portions. Thaw in the refrigerator before serving.
Popular Questions
Can I use a different flavor of pudding mix?
Absolutely! You can experiment with different flavors of instant pudding mix, such as chocolate or butterscotch, to create unique variations of stabilized whipped cream.
Will the whipped cream hold up for a multi-layer cake?
Yes! Stabilized whipped cream is perfect for multi-layer cakes, providing a reliable structure that keeps the layers intact without collapsing.
Can I make this recipe dairy-free?
You can use a dairy-free heavy cream alternative, such as coconut cream, and combine it with a dairy-free pudding mix for a delicious vegan version of stabilized whipped cream.
How can I make my stabilized whipped cream even sweeter?
You can add additional powdered sugar to your whipped cream to suit your taste. Start with a tablespoon at a time until you reach your desired sweetness.
Final Thoughts
Making stabilized whipped cream is a simple yet transformative technique that elevates your desserts in both presentation and taste. With its ability to hold its shape and flavor over time, you’ll find it becomes a staple in your baking arsenal. The best part is how easy it is to customize with flavors and sweeteners to suit your palate. Whether you’re creating a show-stopping cake or a decadent pie, this whipped cream will not only enhance your dessert but also make your baking experience more enjoyable.
So, gather your ingredients and tools, and get ready to whip up something truly special! Enjoy the process, and watch as your desserts come to life with the magic of stabilized whipped cream.
Stabilized Whipped Cream
Ingredients
Equipment
Method
- Step 1: Gather your ingredients and ensure the heavy whipping cream is chilled in the refrigerator.
- Step 2: In a mixing bowl, combine the instant vanilla pudding powder and optional powdered sugar. Whisk them together.
- Step 3: Pour the chilled heavy whipping cream into the bowl with the pudding mixture.
- Step 4: Using an electric mixer, beat the mixture on medium-high speed until stiff peaks form, about 3-5 minutes.
- Step 5: Taste the cream and adjust sweetness by adding more powdered sugar if desired.
- Step 6: Use immediately or store in an airtight container in the refrigerator.
Notes
- Ensure all equipment is cold for better whipping.
- High-quality vanilla extract can enhance flavor.
- Don't rush the whipping process for the best texture.